Today I decided to share my process from a sketch to the actual Illustration.
This I drew while ago, but it hasn't lost its meaning, right?
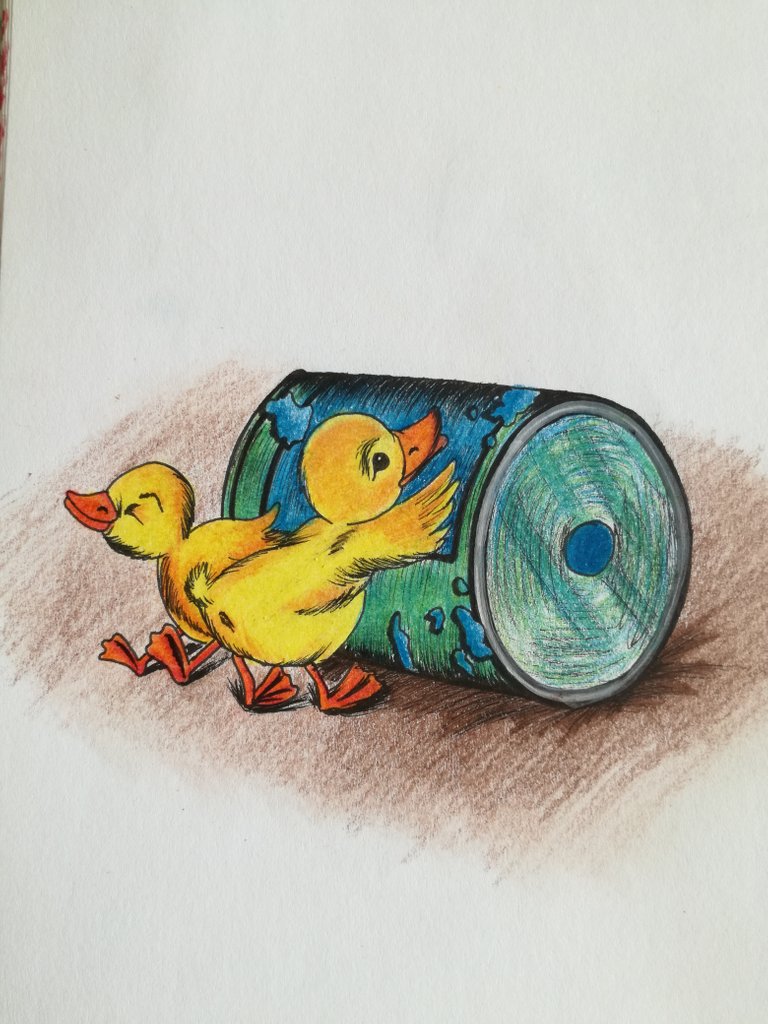
So, what I do at first is research - what I want to draw and looking at photos or picture books.
The reason why I do that is - I do not have to spend that much time on only sketching.
For example, I really love chick and was thinking about my childhood at that moment. What I decided was to draw what it could do.
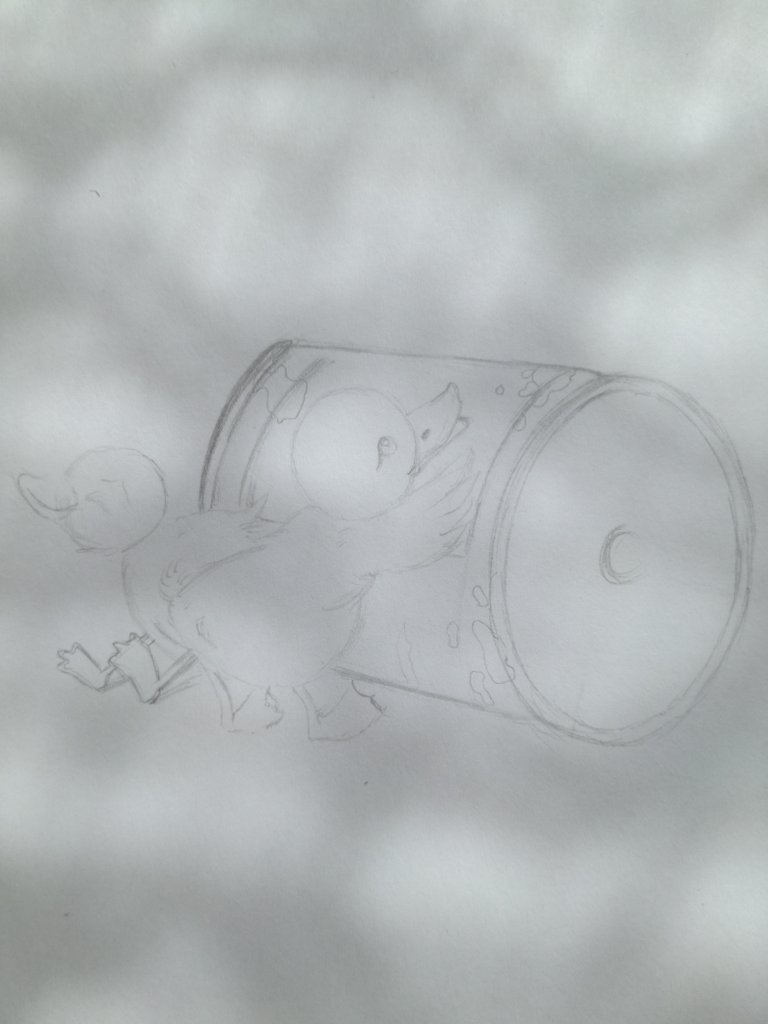
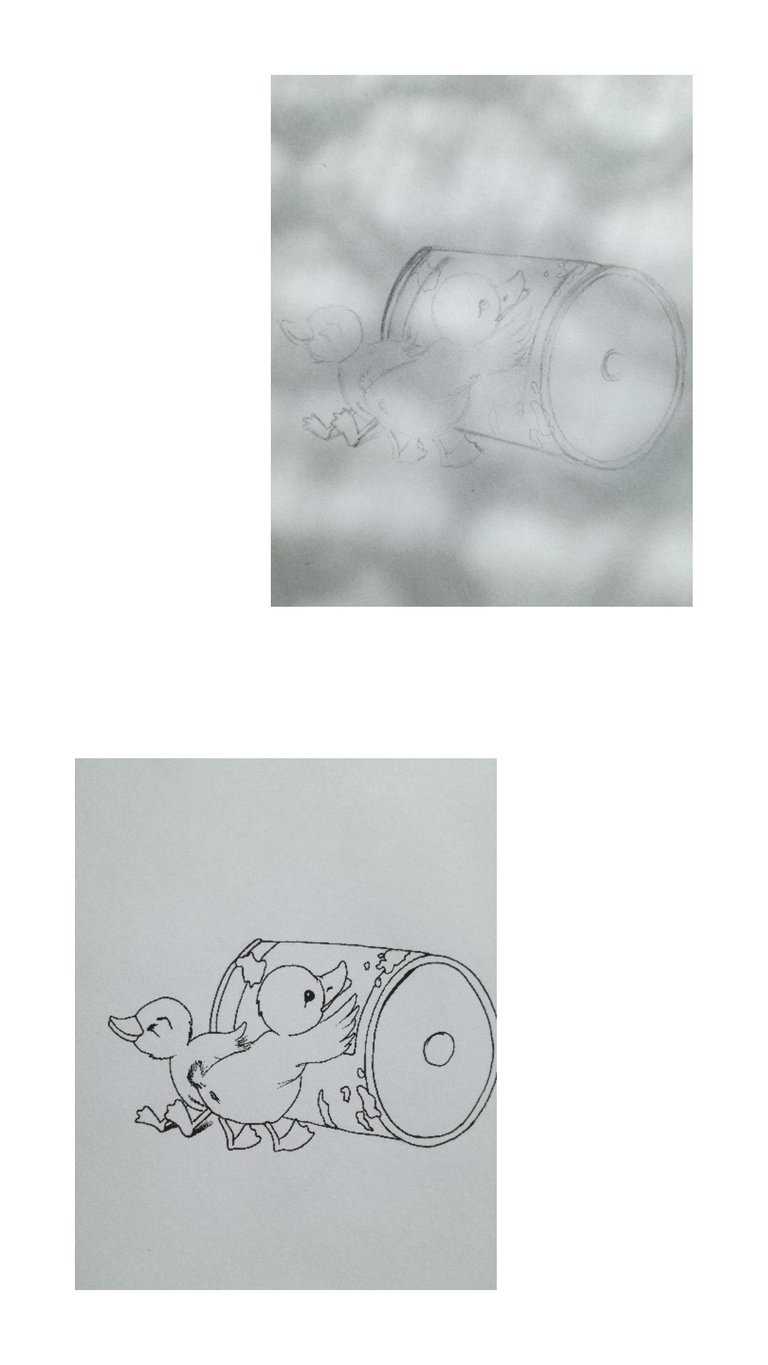
Next step for me is to sketch really detailed. (Reason for that - When I ink, I have less chances to make mistakes.)
I decide how I want it to look, how he will stand and how his expression would look in that kind of situation. To be better at expressions exactly how you would like to I recommend to search on Internet How to draw expressions (Pinterest is the best place for that!).
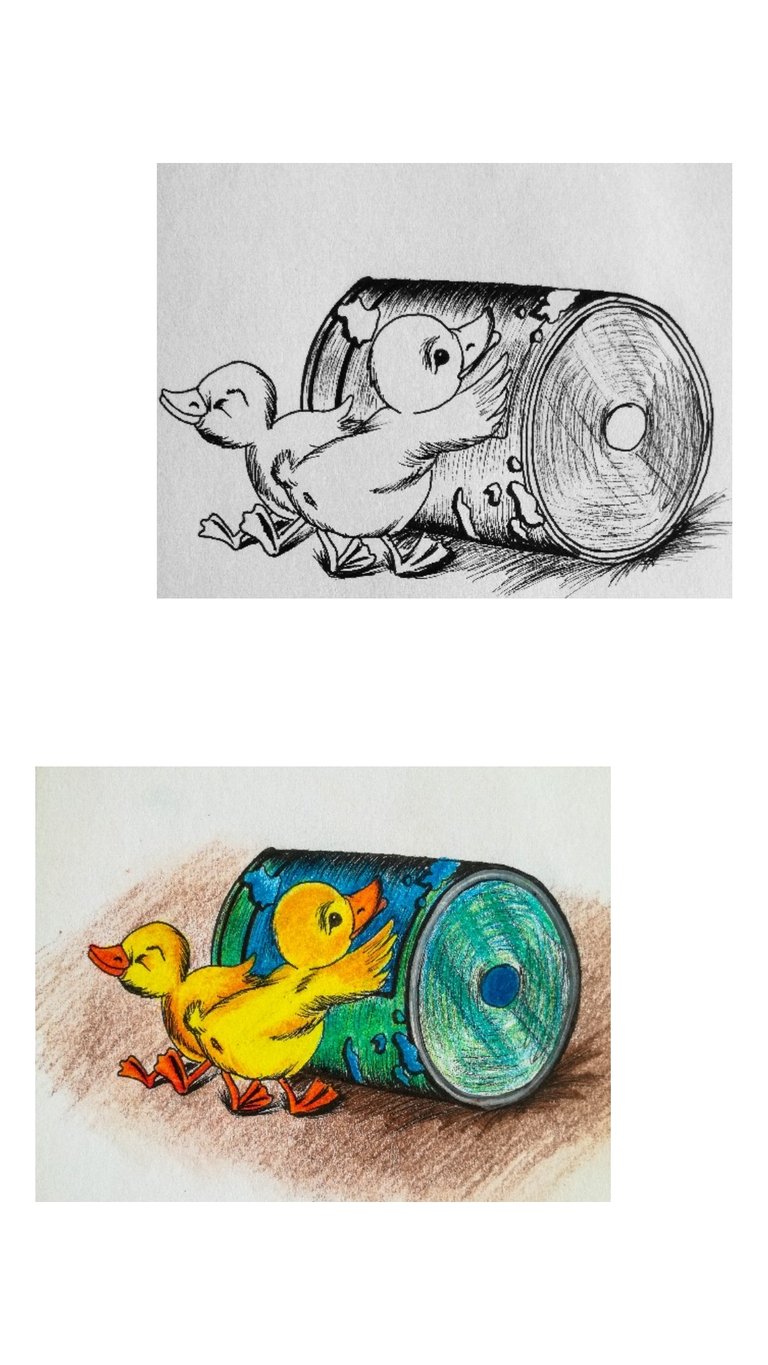
Now it is time for Inking. I love to use Staedtler Pigment Liners. But also good option is Pigma Micron or UniPin Pens. Depends what you expect from pen, really. Other than that all of mentioned ones work amazingly good!
One thing I suggest is to find your pen number that works the best for you. For me it is 0.2. I can make pretty thick and also thin lines with it. And really, if you choose the right pen, one is more than enough! And good thing to point out - You can take your black pen that you have at home and get the same result too!
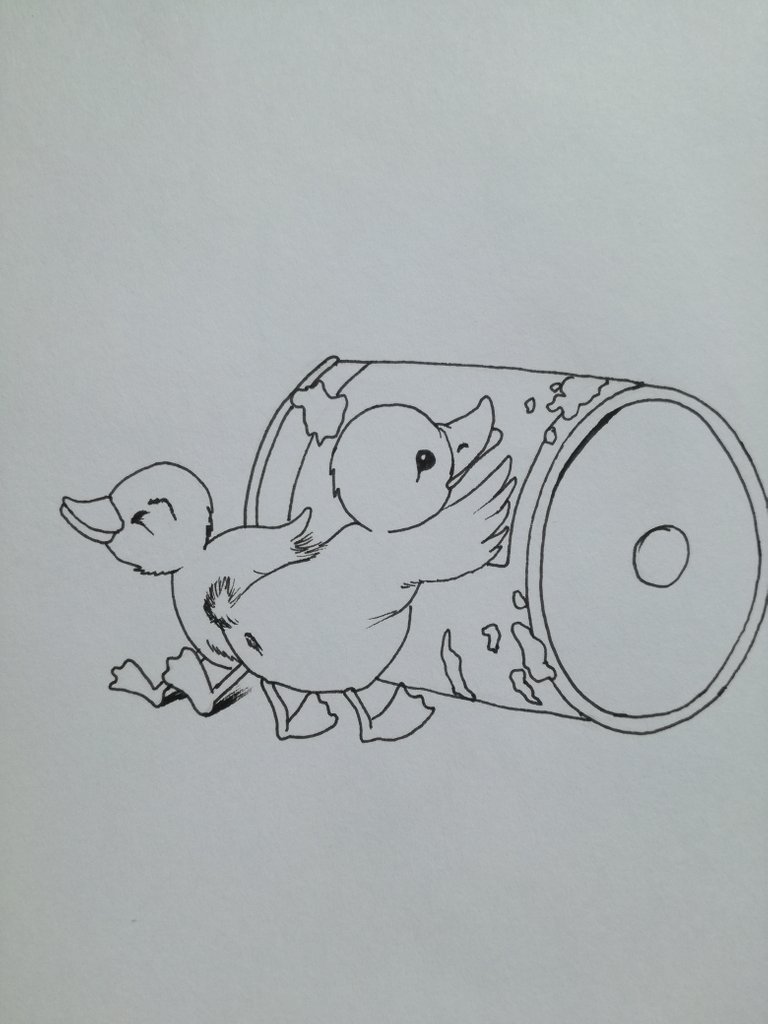
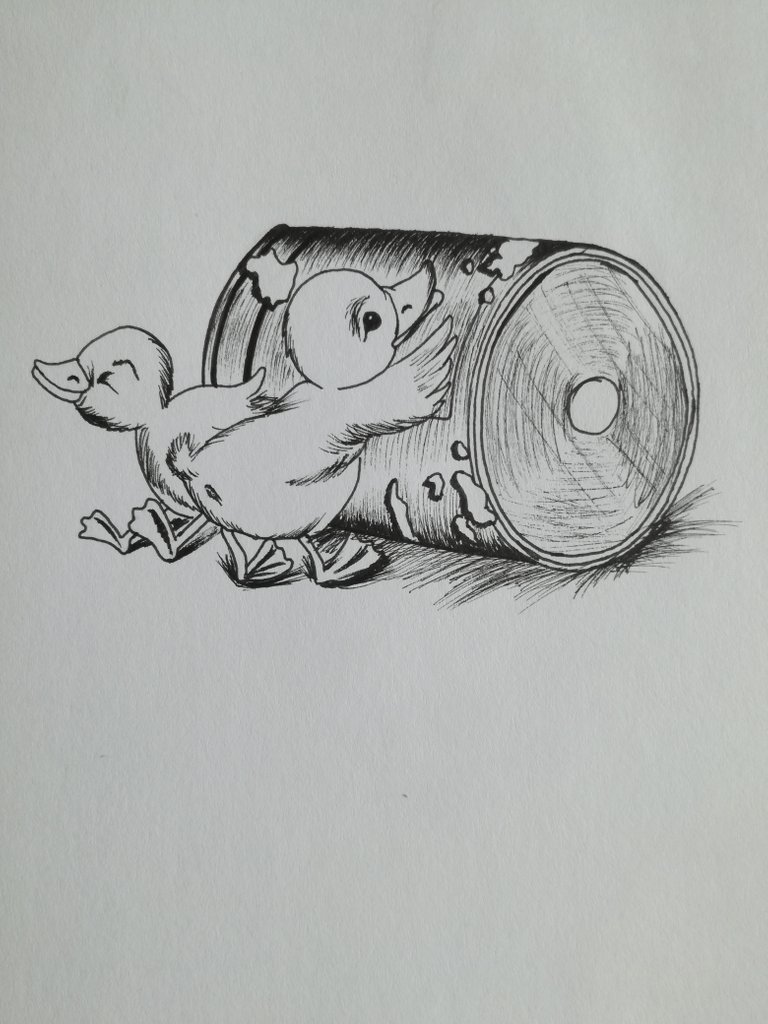
When I ink, I like to do it slowly, take small lines. After filling all the places I look and see if I want thicker lines here and there.
When ink, do not forget to breathe! :D When you will try, will understand about what I am talking.
Next step - colouring.
First thing I want to say - You do not need expensive color pencils. I made this illustration with the cheapest pencils I could find in the shop (and actually in my country almost every kid have them for school). You can easily take Crayola Pencils and work with them.
Colouring process for me always is fun (and sometimes I think that is what for it is meant - to have fun).
Blending is my favourite part! I had only 12 cheap pencils, so I had to think where will be the shadows and which colours I will mix. Yellow goes with brown to get orangey brownish or basically a bit darker colour. Green and blue adding a little bit yellow works really good together too. (You can see it in the photo). To be honest, you can use in a creative way almost all 12 colours, if you want to give illustration more life. If I remember right it took me around half an hour.

Last step - look how it turned out!
I am serious right now. I do that every time and for a good while. I do not change anything. I just look and analyze what I could do, so I know for the next time I will draw!
It is something I always look at and am happy about. First of all - I actually drew it!
Second thing - How can I not to be proud of when my mind and hands worked to make something? I always say to myself to be happy for every minute I have drawn, because I spent my time by doing what I love and being productive!
I hope you enjoyed reading and maybe learned something too! I am more than just passionate about what I can do and feel extremely grateful for everyday I have!
Be thankful for every oporutunity you have to learn something new!
With love,
Endija
For one moment I thought that you would teach the process to convert a sketch to a design on Adobe Illustrator. But anyways nice sketch. keep it up.👍
Then I believe I can take it as a compliment? Thank you! Means a lot to me!
Every time I am looking at that second one who has the eyes closed,it makes me smile! That one is super duper cute !
Oh, you just made my evening even better! Thank you! That was my plan to try to make at least one of them a bit funny and cute at the same time. I guess I did it!
Congratulations @msendija1! You have completed the following achievement on Steemit and have been rewarded with new badge(s) :
<p dir="auto"><a href="http://steemitboard.com/@msendija1" target="_blank" rel="noreferrer noopener" title="This link will take you away from hive.blog" class="external_link"><img src="https://images.hive.blog/768x0/https://steemitimages.com/70x80/http://steemitboard.com/notifications/comments.png" srcset="https://images.hive.blog/768x0/https://steemitimages.com/70x80/http://steemitboard.com/notifications/comments.png 1x, https://images.hive.blog/1536x0/https://steemitimages.com/70x80/http://steemitboard.com/notifications/comments.png 2x" /> Award for the number of comments <p dir="auto"><sub><em>Click on the badge to view your Board of Honor.<br /> <sub><em>If you no longer want to receive notifications, reply to this comment with the word <code>STOP <p dir="auto"><strong><span>Do not miss the last post from <a href="/@steemitboard">@steemitboard:<br /> <a href="https://steemit.com/veterans/@steemitboard/steemitboard-and-the-veterans-on-steemit-the-first-community-badge" target="_blank" rel="noreferrer noopener" title="This link will take you away from hive.blog" class="external_link">SteemitBoard and the Veterans on Steemit - The First Community Badge. <blockquote> <p dir="auto">Do you like <a href="https://steemit.com/@steemitboard" target="_blank" rel="noreferrer noopener" title="This link will take you away from hive.blog" class="external_link">SteemitBoard's project? Then <strong><a href="https://v2.steemconnect.com/sign/account-witness-vote?witness=steemitboard&approve=1" target="_blank" rel="noreferrer noopener" title="This link will take you away from hive.blog" class="external_link">Vote for its witness and <strong>get one more award!oh! dear ... it's so lovely cartoon art. Outstanding work ... thank you :D
Beautiful illustration
Posted using Partiko iOS