[ESP]
¡Saludos, entusiastas de la tecnología! 🔋
La Internet de las Cosas (IoT) ha revolucionado la manera en que interactuamos con el mundo, permitiendo la comunicación entre dispositivos en tiempo real. En esta publicación, nos enfocaremos en cómo programar microcontroladores como el ESP32 y el Arduino para aplicaciones IoT. Veremos cómo conectar dispositivos, enviar y recibir datos, y desarrollar soluciones que mejoran la conectividad y automatización de sistemas. 🌍
Paso 1: Selección del Microcontrolador y Configuración de la Conexión IoT
Microcontroladores Populares para IoT
ESP32: Incluye Wi-Fi y Bluetooth, ideal para conexiones rápidas y eficientes en aplicaciones IoT.
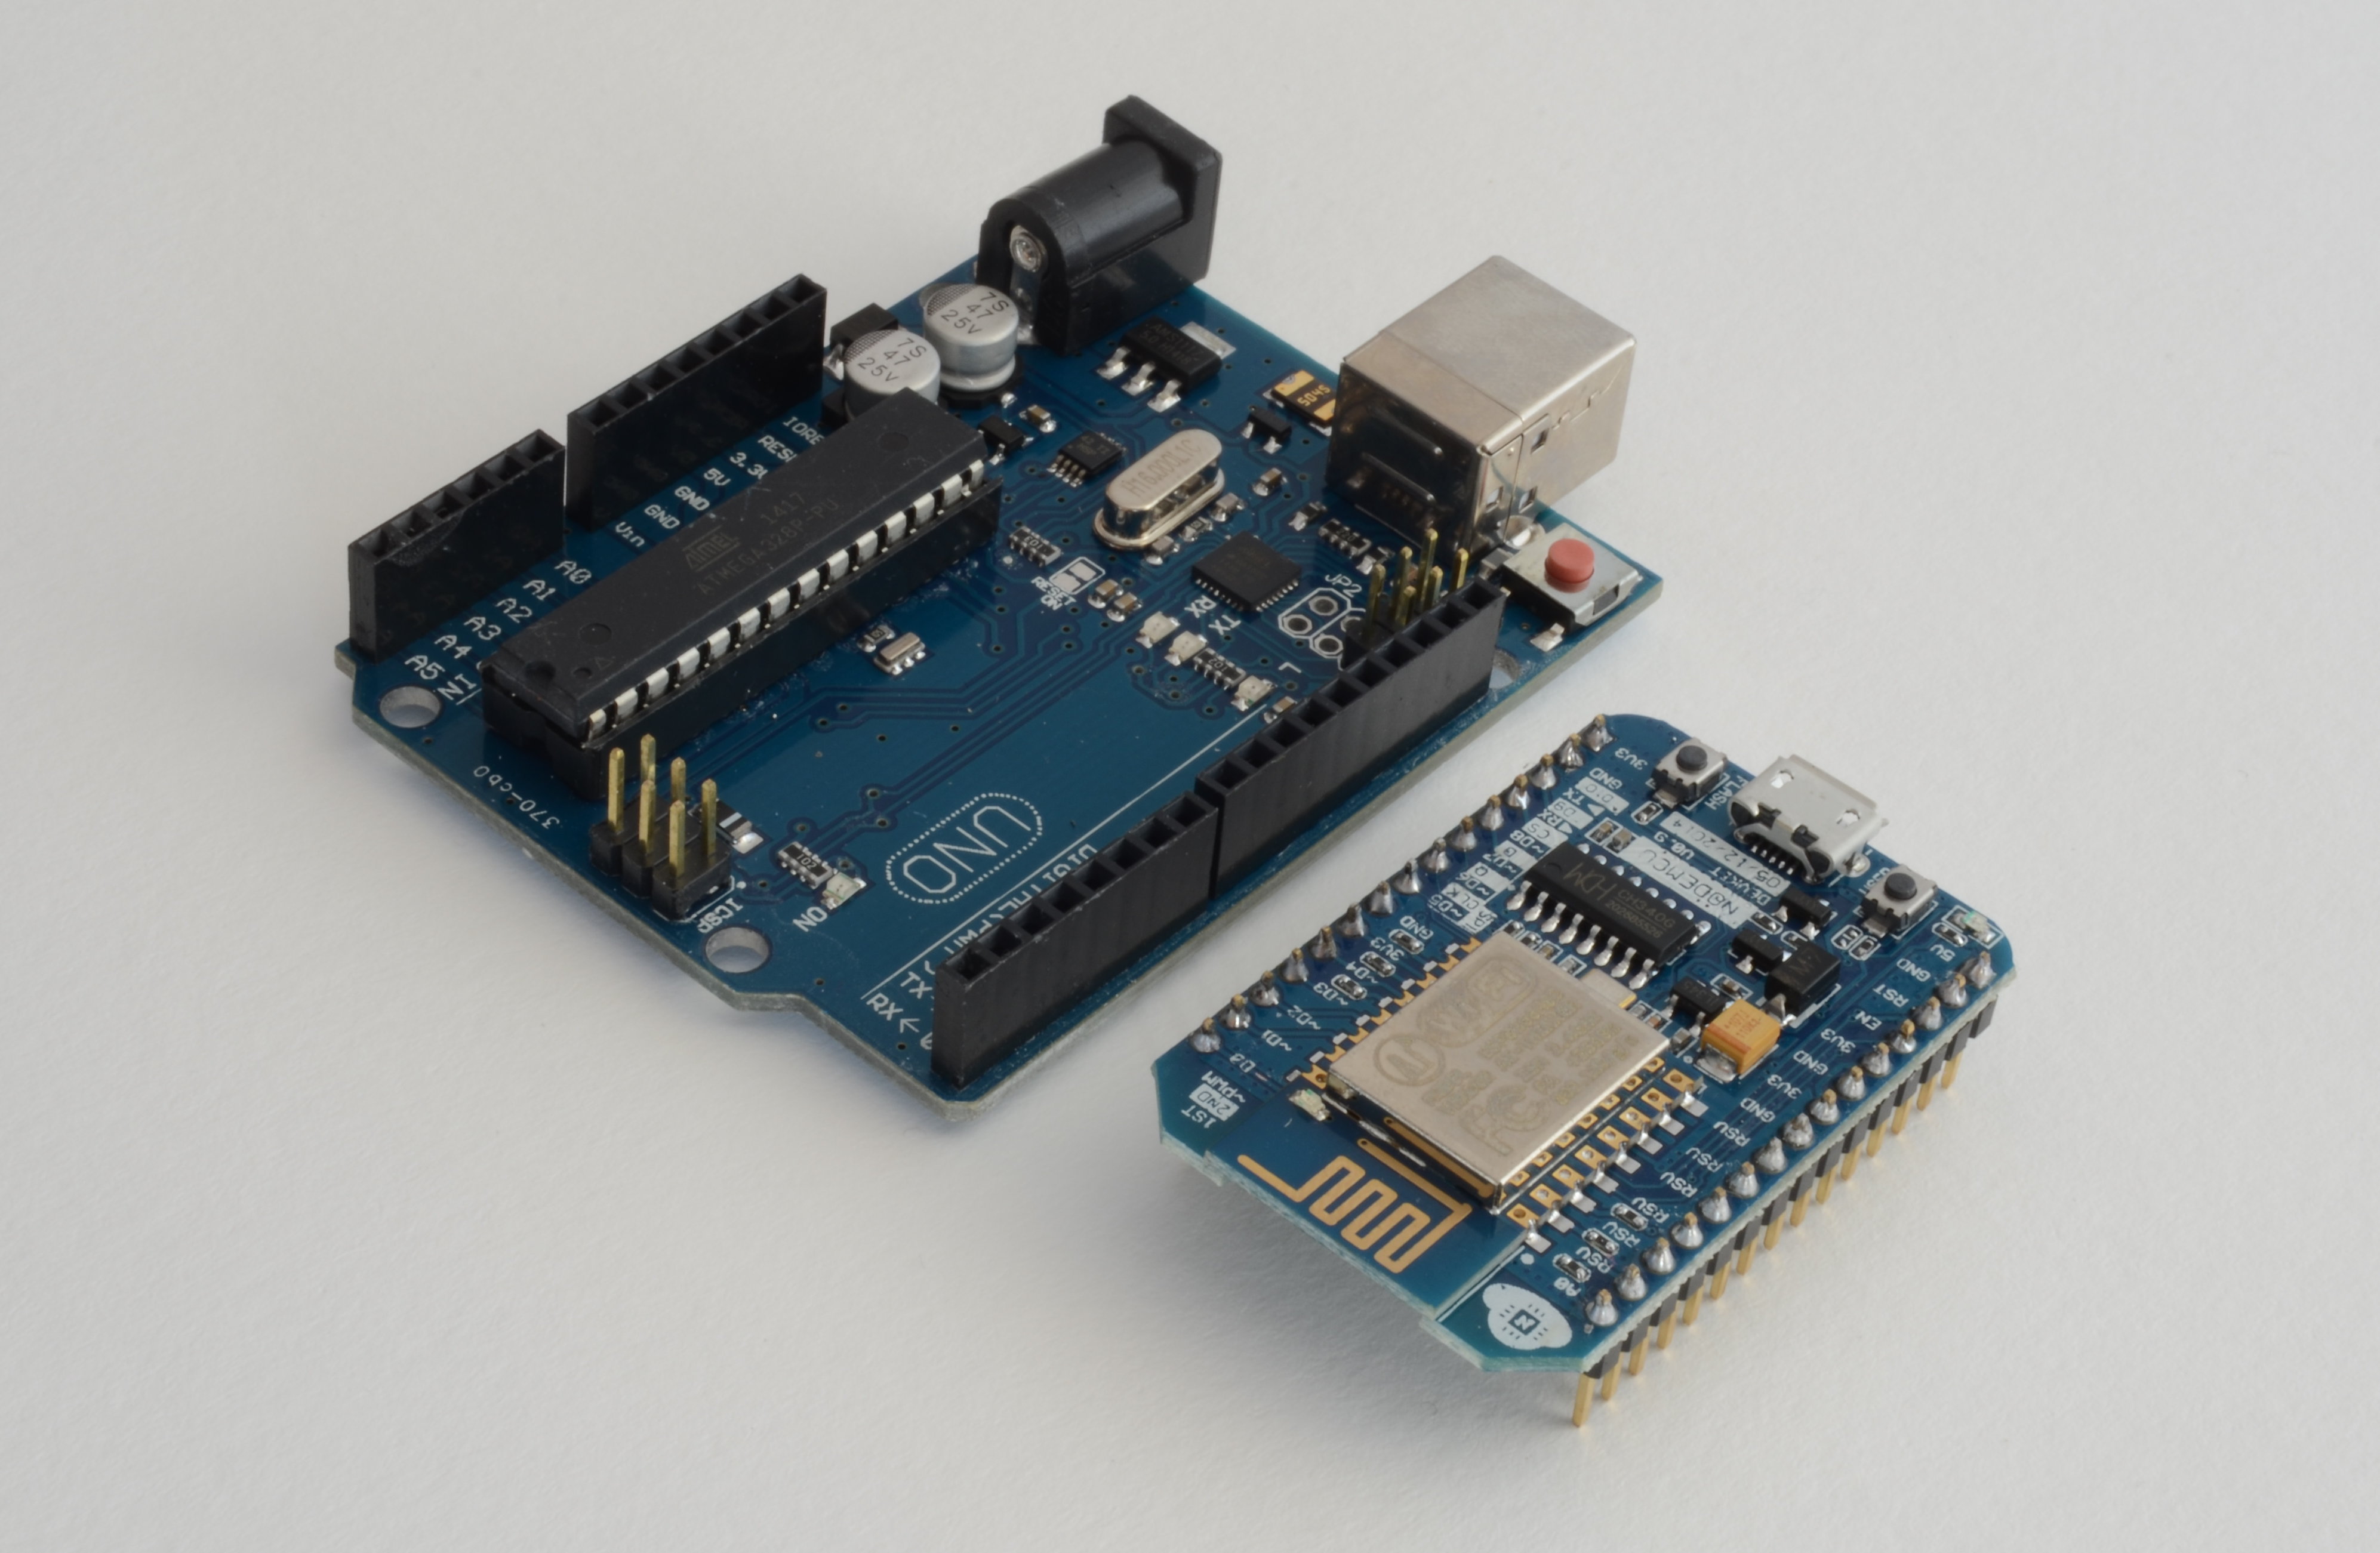
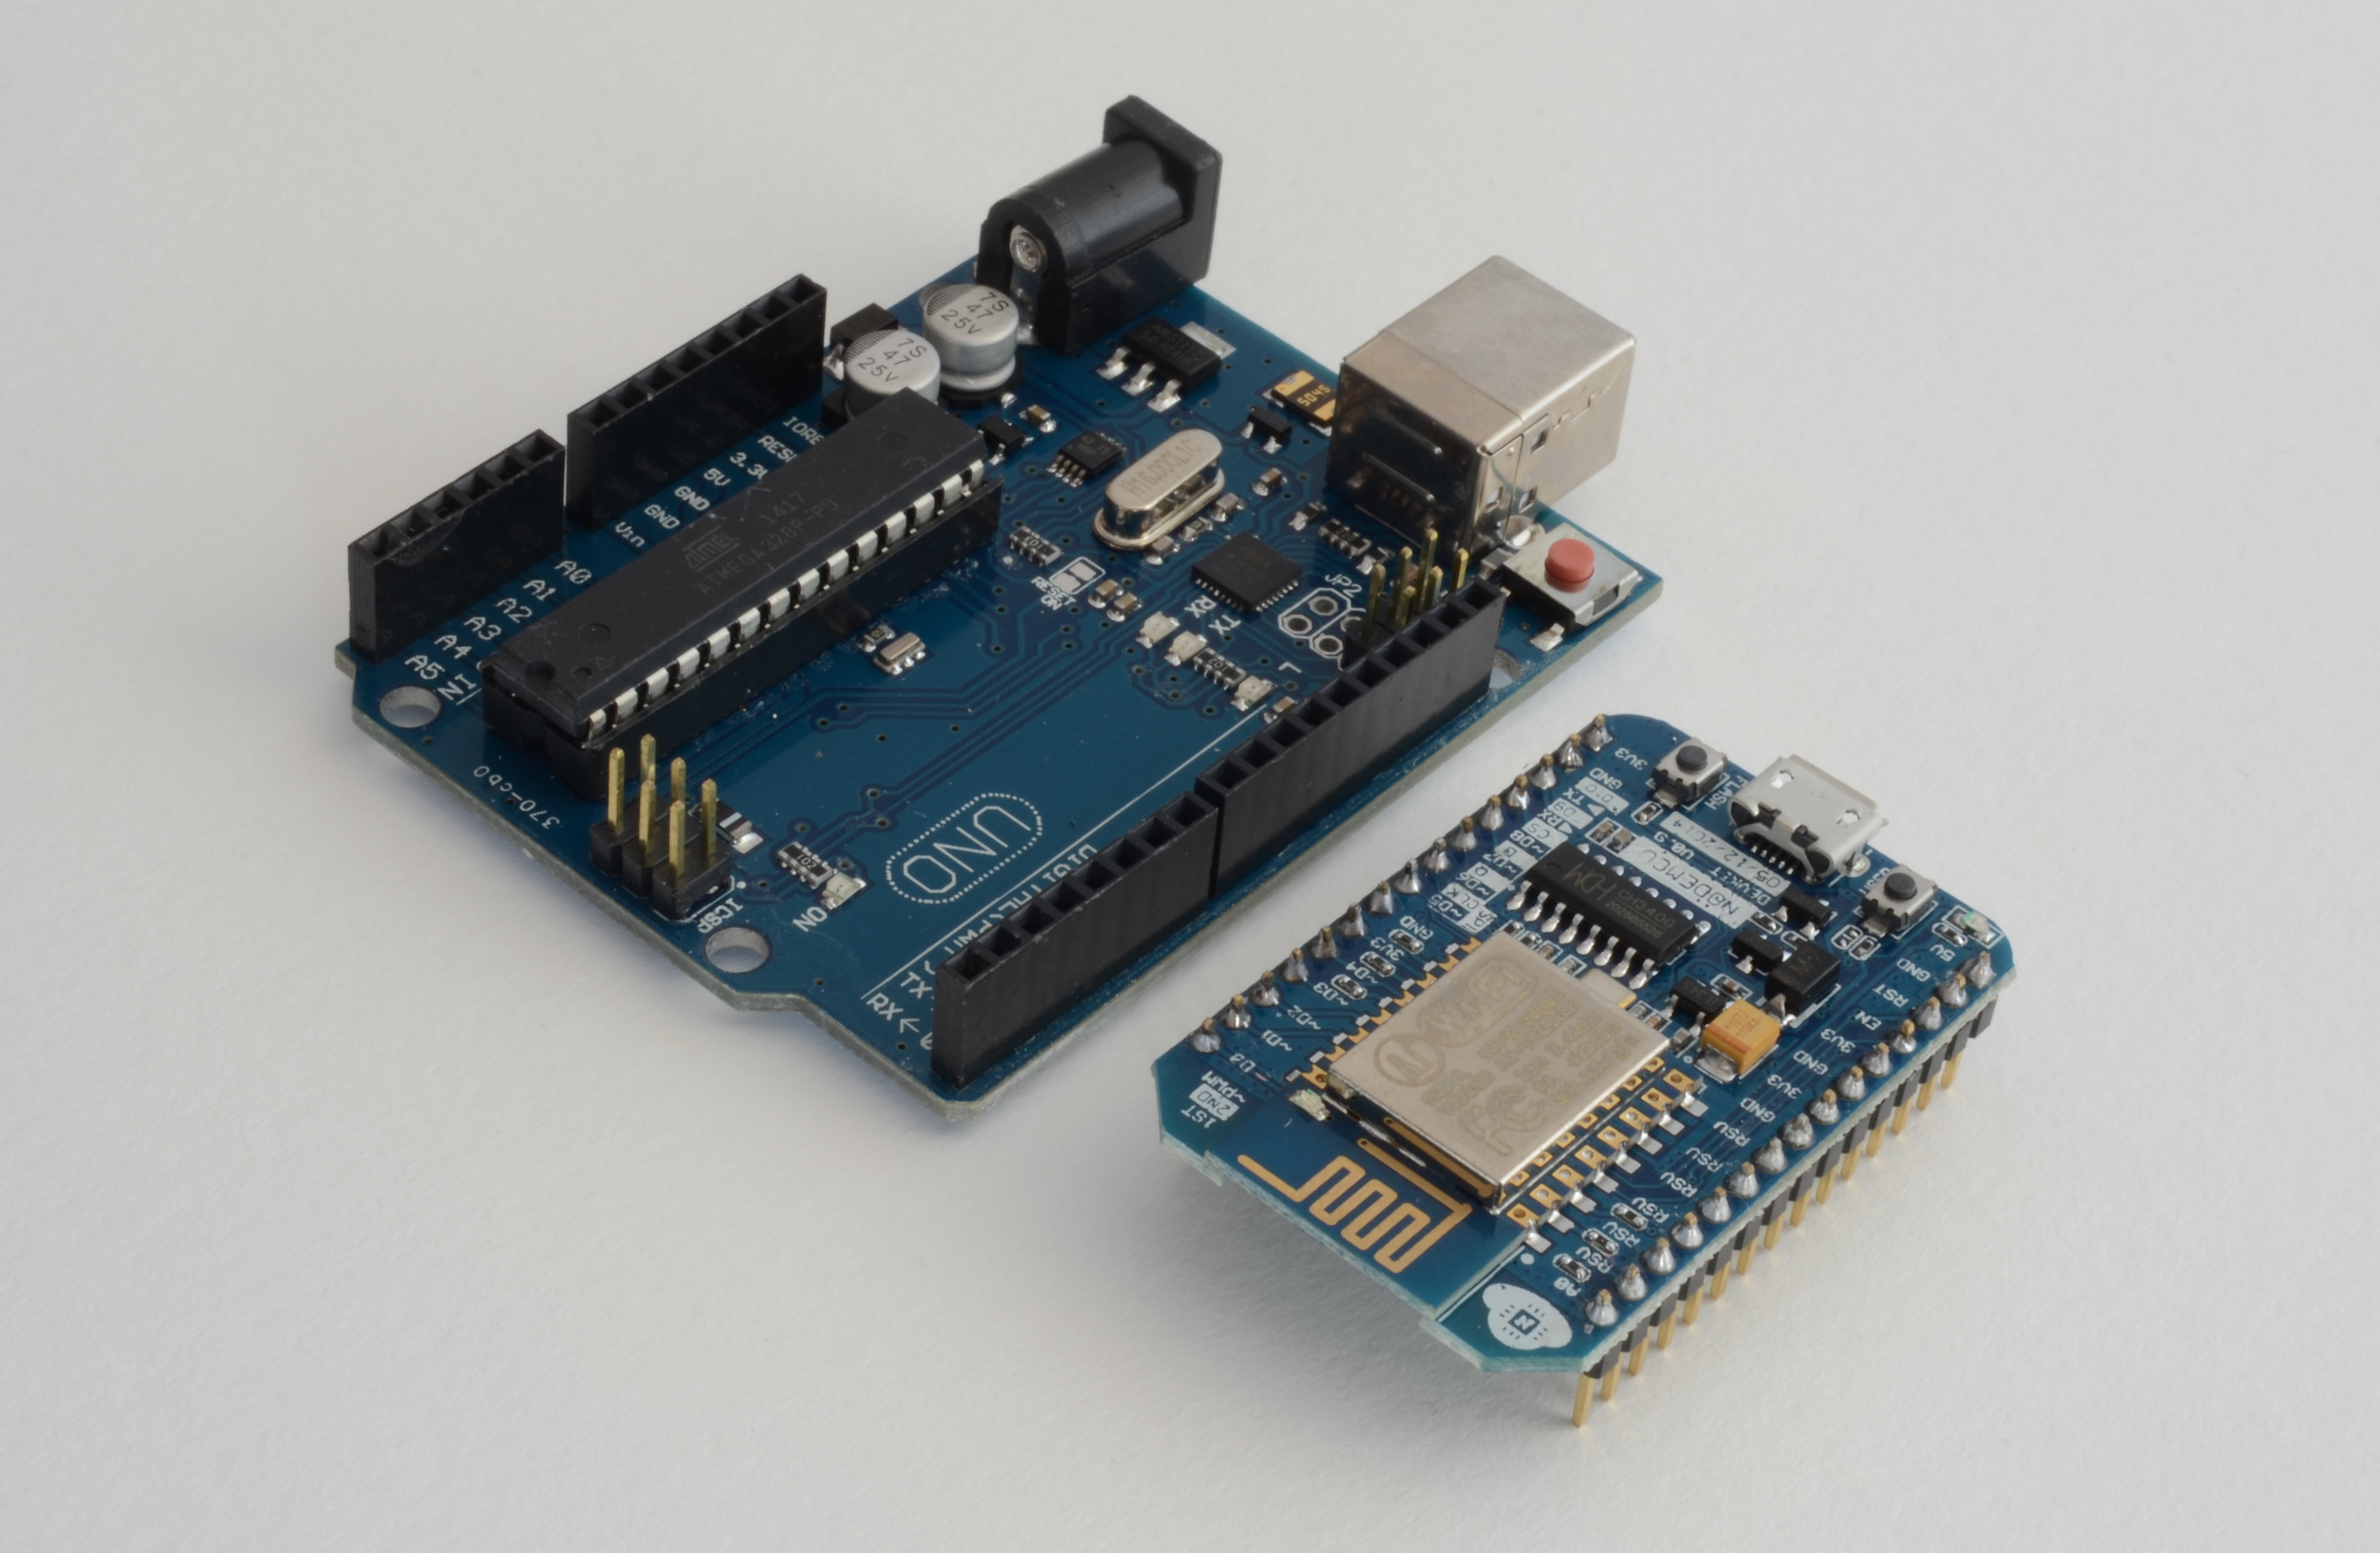
Arduino UNO + Módulo ESP8266: Una opción económica para proyectos simples de IoT, añadiendo conectividad al clásico Arduino.

Configuración de Conexión:
Configurar la red Wi-Fi: Asegura que el microcontrolador se pueda conectar de manera estable.
Protocolo de comunicación: Los protocolos comunes incluyen MQTT para envío de datos y HTTP para aplicaciones web.
Plataforma en la nube: Servicios como Blynk, ThingsBoard o Firebase son populares para almacenamiento y monitoreo de datos en tiempo real.
Paso 2: Código Básico para Enviar Datos IoT con ESP32
A continuación, un ejemplo básico en el que un sensor de temperatura y un sensor de humedad envían datos a una plataforma en la nube. Usaremos el protocolo MQTT para la comunicación.
Código de Ejemplo para Enviar Datos MQTT:}


Explicación:
Este código conecta el ESP32 a Wi-Fi y al servidor MQTT. Envía la lectura de un sensor de temperatura a un broker MQTT cada 5 segundos, permitiendo monitorear los datos en tiempo real.
Puedes modificar el código para agregar sensores adicionales y enviarlos a diferentes tópicos MQTT.
Conclusión: Construyendo el Futuro con IoT y Microcontroladores
La programación de microcontroladores para IoT abre un mundo de posibilidades en automatización, monitoreo y control remoto. Al comprender cómo enviar y recibir datos a través de la red, puedes desarrollar sistemas que mejoran la eficiencia y simplifican tareas cotidianas. ¡Explora, prueba y crea tu propio sistema IoT con microcontroladores! 🌐💡
📢 Gracias por acompañarnos en esta inmersión en IoT!
Si tienes alguna duda sobre la programación de microcontroladores en aplicaciones IoT o quieres compartir tus experiencias, ¡déjalas en los comentarios! 📝
[ENG]
Greetings, tech enthusiasts! 🔋
The Internet of Things (IoT) has revolutionized the way we interact with the world, enabling real-time communication between devices. In this post, we'll focus on how to program microcontrollers like the ESP32 and Arduino for IoT applications. We'll look at how to connect devices, send and receive data, and develop solutions that improve system connectivity and automation. 🌍
Step 1: Selecting the Microcontroller and Setting Up the IoT Connection
Popular Microcontrollers for IoT
ESP32: Includes Wi-Fi and Bluetooth, ideal for fast and efficient connections in IoT applications.
Arduino UNO + ESP8266 Module: An economical option for simple IoT projects, adding connectivity to the classic Arduino.

Connection Settings:
Set up Wi-Fi network: Ensures that the microcontroller can be connected stably.
Communication protocol: Common protocols include MQTT for data sending and HTTP for web applications.
Cloud Platform: Services like Blynk, ThingsBoard or Firebase are popular for real-time data storage and monitoring.
Step 2: Basic Code for Sending IoT Data with ESP32
Here is a basic example where a temperature sensor and a humidity sensor send data to a cloud platform. We will use the MQTT protocol for communication.
Example Code for Sending MQTT Data:}


Explanation:
This code connects the ESP32 to Wi-Fi and the MQTT server. It sends the reading of a temperature sensor to an MQTT broker every 5 seconds, allowing you to monitor the data in real time.
You can modify the code to add additional sensors and send them to different MQTT topics.
Conclusion: Building the Future with IoT and Microcontrollers
Microcontroller programming for IoT opens up a world of possibilities in automation, monitoring, and remote control. By understanding how to send and receive data over the network, you can develop systems that improve efficiency and simplify everyday tasks. Explore, test, and build your own IoT system with microcontrollers! 🌐💡
📢 Thanks for joining us on this dive into IoT!
If you have any questions about microcontroller programming in IoT applications or want to share your experiences, leave them in the comments! 📝
Thanks for your contribution to the STEMsocial community. Feel free to join us on discord to get to know the rest of us!
Please consider delegating to the @stemsocial account (85% of the curation rewards are returned).
You may also include @stemsocial as a beneficiary of the rewards of this post to get a stronger support.
Congratulations @profwhitetower! You have completed the following achievement on the Hive blockchain And have been rewarded with New badge(s)
<table><tr><td><img src="https://images.hive.blog/60x70/https://hivebuzz.me/@profwhitetower/payout.png?202411022125" /><td>You received more than 2000 HP as payout for your posts, comments and curation.<br />Your next payout target is 3000 HP.<br /><sub>The unit is Hive Power equivalent because post and comment rewards can be split into HP and HBD <p dir="auto"><sub><em>You can view your badges on <a href="https://hivebuzz.me/@profwhitetower" target="_blank" rel="noreferrer noopener" title="This link will take you away from hive.blog" class="external_link">your board and compare yourself to others in the <a href="https://hivebuzz.me/ranking" target="_blank" rel="noreferrer noopener" title="This link will take you away from hive.blog" class="external_link">Ranking<br /> <sub><em>If you no longer want to receive notifications, reply to this comment with the word <code>STOP <p dir="auto"><strong>Check out our last posts: <table><tr><td><a href="/hive-122221/@hivebuzz/pud-202411-feedback"><img src="https://images.hive.blog/64x128/https://i.imgur.com/zHjYI1k.jpg" /><td><a href="/hive-122221/@hivebuzz/pud-202411-feedback">Feedback from the November Hive Power Up Day<tr><td><a href="/hive-122221/@hivebuzz/pum-202410-result"><img src="https://images.hive.blog/64x128/https://i.imgur.com/mzwqdSL.png" /><td><a href="/hive-122221/@hivebuzz/pum-202410-result">Hive Power Up Month Challenge - October 2024 Winners List<tr><td><a href="/hive-122221/@hivebuzz/pum-202411"><img src="https://images.hive.blog/64x128/https://i.imgur.com/M9RD8KS.png" /><td><a href="/hive-122221/@hivebuzz/pum-202411">Be ready for the November edition of the Hive Power Up Month!