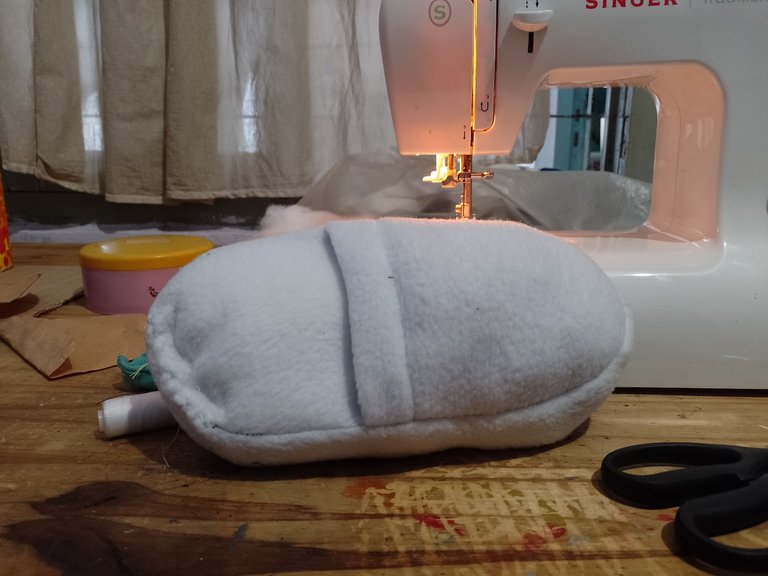
Cuando era muy chica en casa había una revista de peluches, explicaba como coserlos y los moldes, nunca supe cómo se llamaba, hacer peluches es algo que me llamo la atención siempre y como tengo tiempo estoy probando de a poco. Esta vez es un pequeño regalo para la mascota de un amigo, por alguna razón su perrita odia las pantuflas jajaja o las ama tanto que las muerde y enloquece cuando las ve, entonces se me ocurrió hacerle un peluche de pantufla con el que pudiera jugar sin romper todas las pantuflas de la casa.
When I was very little there was a stuffed animal magazine at home, it explained how to sew them and the patterns, I never knew what it was called, making stuffed animals is something that has always caught my attention and since I have time I am trying little by little. This time it is a small gift for a friend's pet, for some reason his dog hates slippers hahaha or loves them so much that he bites them and goes crazy when he sees them, so it occurred to me to make him a slipper stuffed animal that he could play with without breaking all the slippers in the house.
Primero hice los moldes, dibuje una línea de unos 30 cm de largo y a la mitad marque 4 cm para cada lado, fui redondeando la forma y probando como quedaba, acorte unos 4 cm atrás y marque la sópala donde iría el pie, unos 10 cm, le di forma curva atrás también para que se parezca lo más posible a una real.
First I made the molds, I drew a line about 30 cm long and in the middle I marked 4 cm on each side, I rounded the shape and tested how it looked, I shortened about 4 cm at the back and marked the shoulder where the foot would go, about 10 cm, I gave it a curved shape at the back as well so that it looks as much like a real one as possible.
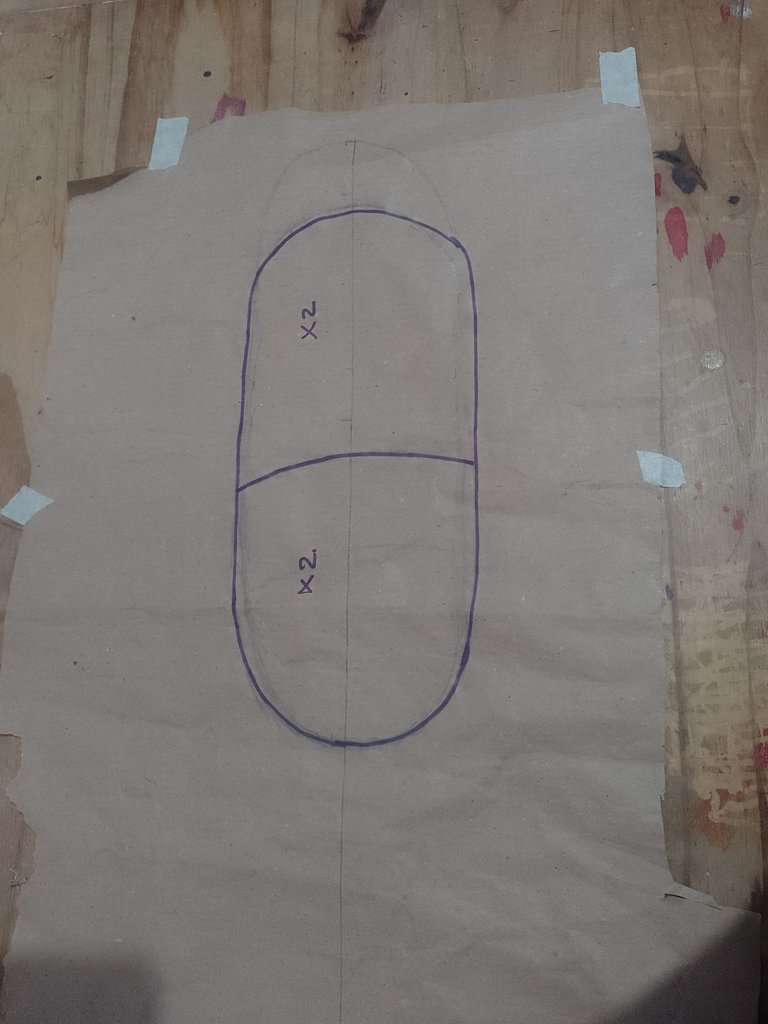
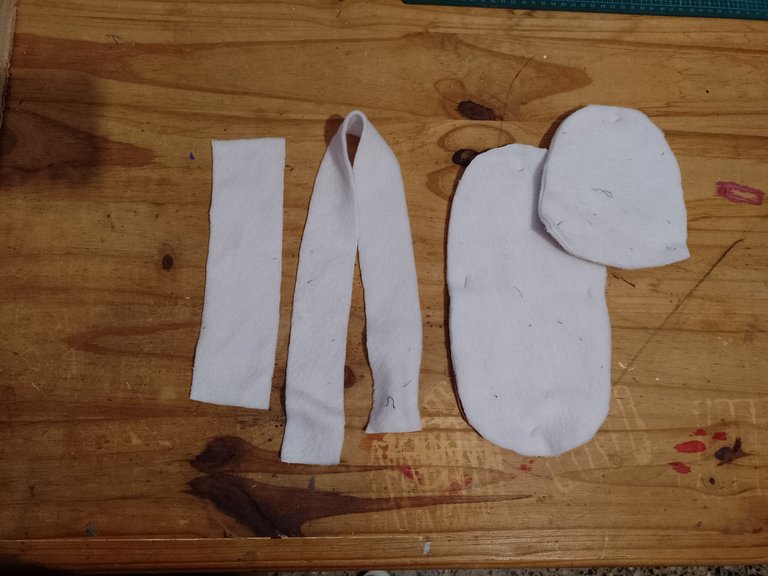
Ya con esto tenia los moldes, son dos de la base y dos de la media copa donde iría un pie, pero en realidad entra una mano, después corté dos tiras, una de 36 cm que es la tira de contorno que da la altura y otra de unos 15 cm de largo por 6 de ancho que será la terminación de la media copa.
With this I had the molds, there are two for the base and two for the half cup where a foot would go, but in reality a hand fits in, then I cut two strips, one of 36 cm which is the contour strip that gives the height and another about 15 cm long by 6 cm wide which will be the finish of the half cup.
Para coser primero cosí la media copa por el contorno con zigzag, dejando un espacio para rellenar, no es un agujero tan grande porque no es necesario que lo sea, pero debe pasar el relleno de forma cómoda.
To sew, I first sewed the half cup around the contour in a zigzag pattern, leaving a space for stuffing. It is not a very large hole because it does not need to be, but the stuffing should pass through comfortably.
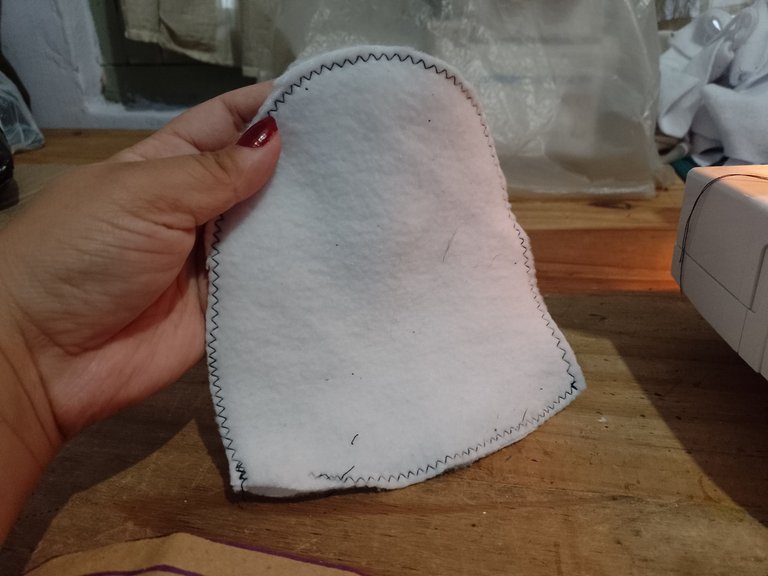
Después la tira de 6 cm la doble a la mitad y la cosí cerrando el borde, y sobre la media copa la cosí ocultando las costuras hacia adentro, dejando el hueco para rellenar.
Then I folded the 6 cm strip in half and sewed it closing the edge, and over the half cup I sewed it hiding the seams inwards, leaving the gap to fill.
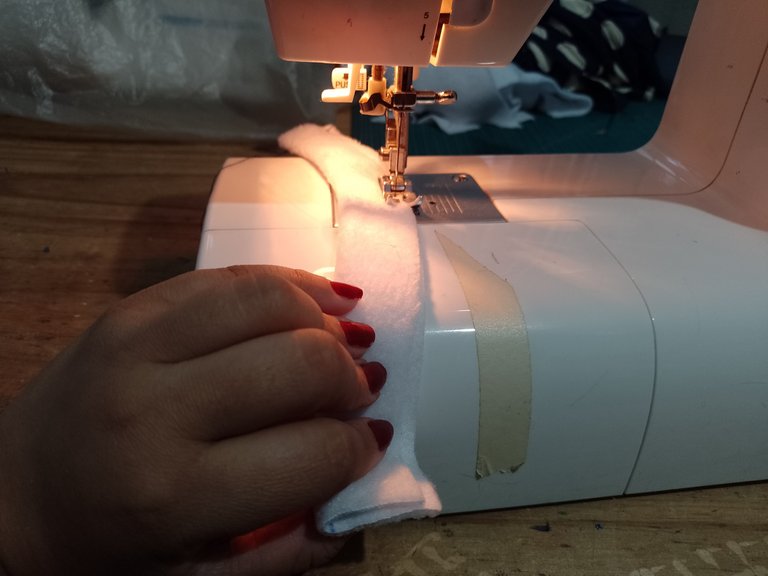
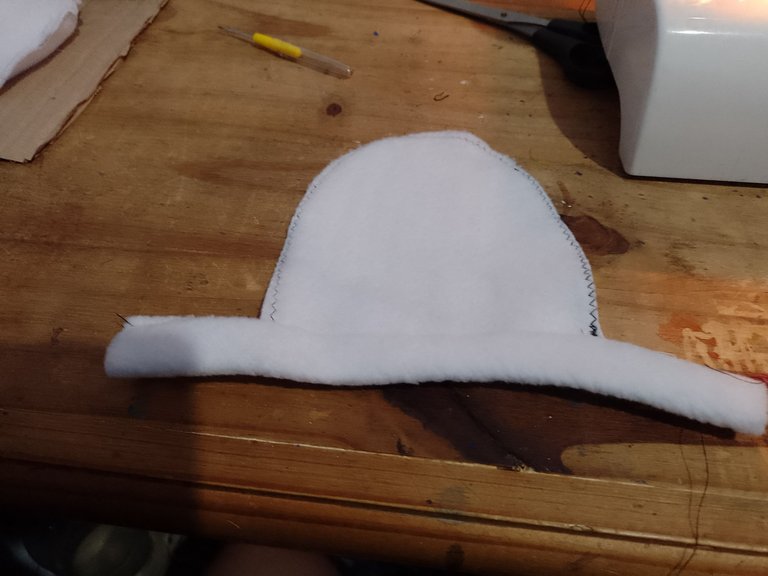
Con una de las tiras y la base las cosí por el contorno, pero antes de eso hace falta coser la tira por los extremos así queda un círculo cerrado.
With one of the strips and the base I sewed them around the edges, but before that you need to sew the strip around the ends so that it forms a closed circle.
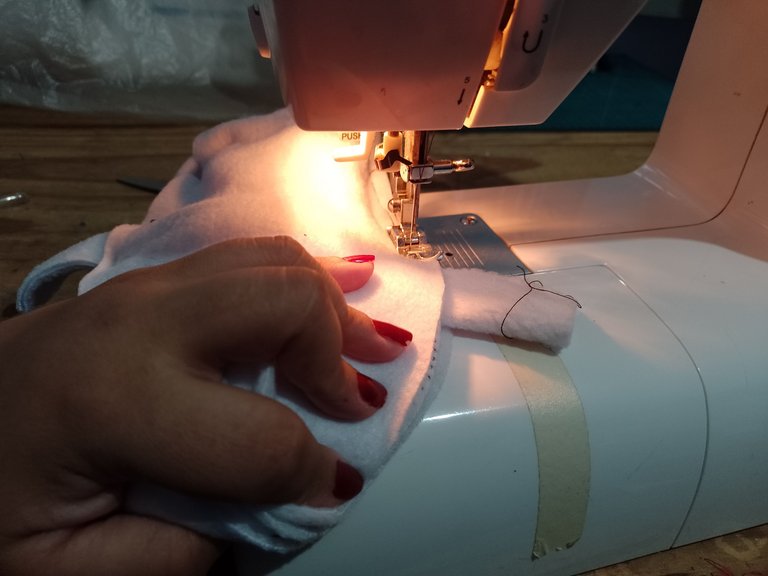
Después se empalman, la media copa, la otra base y la base con la tira, acá es importante acomodar con alfileres porque es mucha tela, y enfrentar el derecho de la tela, ya que se cose del revés.
Then, the half cup, the other base and the base with the strip are joined together. Here it is important to arrange with pins because it is a lot of fabric, and to face the right side of the fabric, since it is sewn inside out.
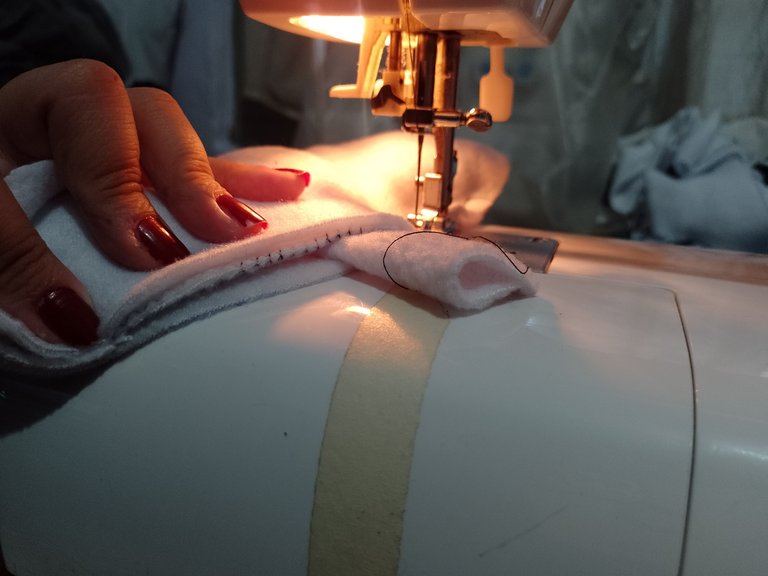
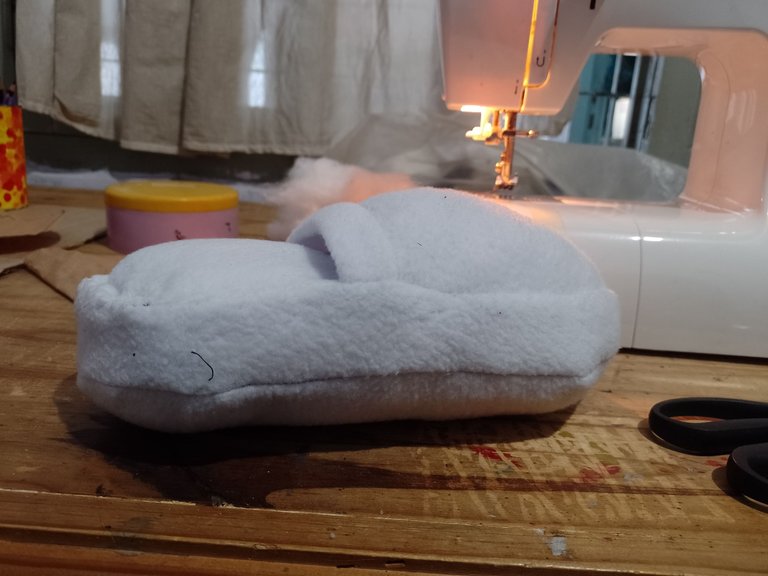
Se deja otro espacio para voltear y rellenar, y con eso listo ya casi terminaba, una vez volteado lo rellené con el sobrante de recortes de polar y con vellón para almohadones.
Another space is left to turn and fill, and with that ready I was almost finished. Once turned I filled it with the leftover polar fleece scraps and with fleece for cushions.
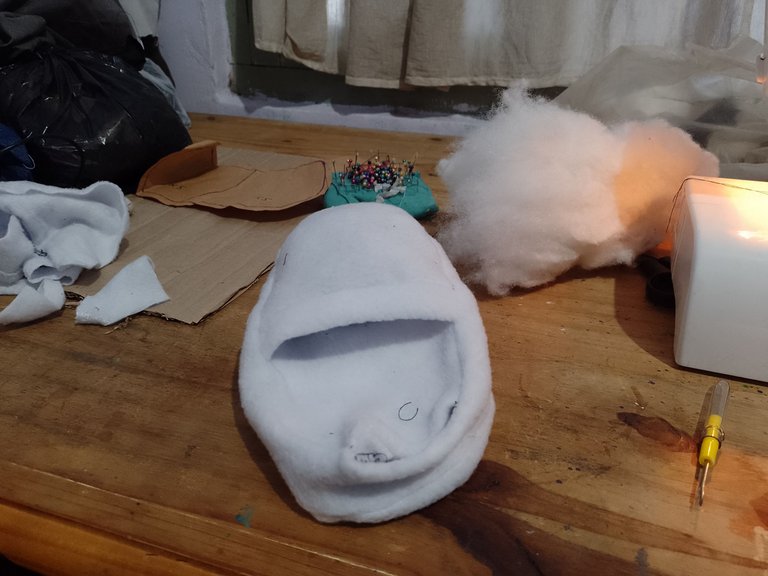
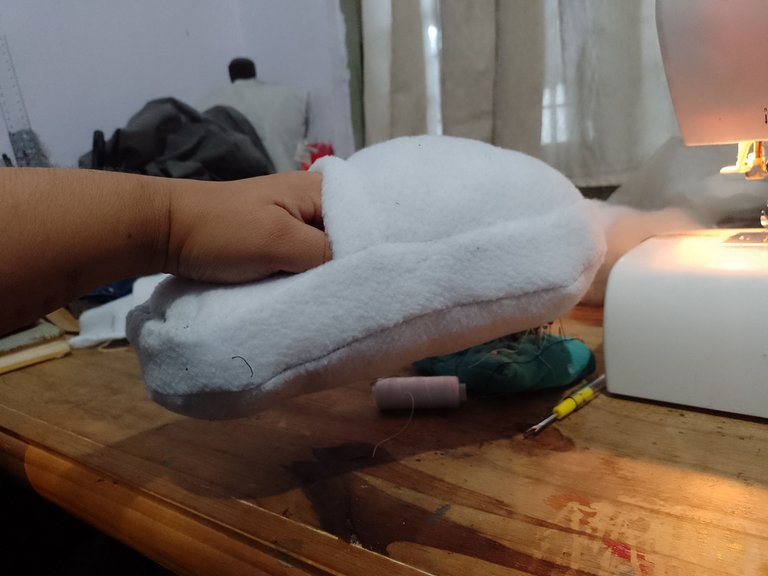
Cerré el hueco con puntada a mano, pero esto si no quedo tan bien, es algo que quiero mejorar ya que no me sale bien la puntada invisible jajaja, pero quedo bastante bien y estoy segura que la perrita va a disfrutar mucho de su regalo ya que ahora si va a poder atacar a una pantufla.
I closed the gap with a hand stitch, but this didn't turn out so well, it's something I want to improve since I'm not good at invisible stitching hahaha, but it turned out pretty well and I'm sure the dog is going to really enjoy her gift since now she'll be able to attack a slipper.
Hasta la próxima ❤️ Yowi.
See you next time ❤️ Yowi.


Todas las fotos fueron tomadas por mí
All photos were taken by me
This is a great creation, my friend! a good step by step. I hope to make some for myself.
Thank you very much, in this case it is for a stuffed animal, but if you wanted to make a pair, you would only have to loosen a hard sole and that would be all, since I based it on a real slipper, good luck with your project :3
Wao! Que bien.
Amo las pantuflas.
muchas gracias
Wow...this is indeed very beautiful.
Thank you very much, I'm glad you like it