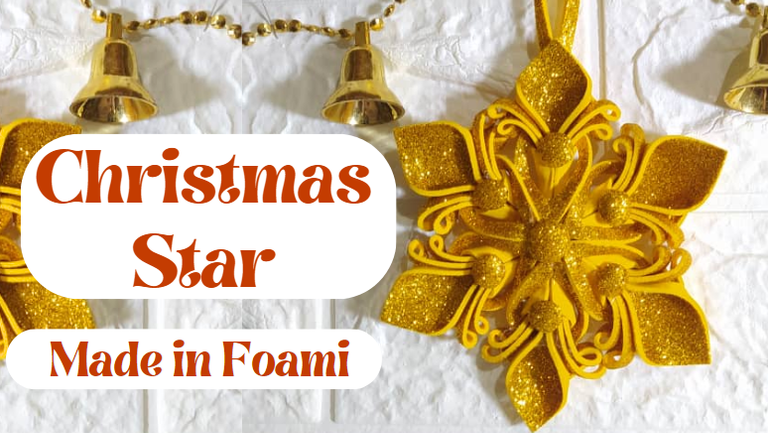
Greetings Diy Hub Community. At Christmas, the star represents the light that guides people towards faith and hope, which is why we always place it at the top of our Christmas Tree, although lately it has become a trend or fashion to place other decorative elements.
In this new tutorial I will teach you how to make a spectacular Christmas star, using only foam. Do you think it is difficult? Not at all! In this Tutorial you will see that it is easy to make, although the final result seems somewhat complicated in its design.
Saludos Comunidad Diy Hub. En Navidad la estrella representa la luz que guía a las personas hacia la fe y la esperanza, por esto siempre la colocamos en el tope de nuestro Árbol de Navidad, aunque últimamente han hecho tendencia o moda colocar otros elementos decorativos.
En este nuevo tutorial les enseñaré cómo hacer una estrella de Navidad espectacular, utilizando solo foami. ¿Creen que es difícil? ¡Nada de eso! En este Tutorial verán que es fácil realizarla, aunque el resultado final parezca algo complicado su diseño.

- Frosted gold foam.
- Ruler, pen and scissors.
- Hot glue gun.
- Foami dorado escarchado.
- Regla, bolígrafo y tijera.
- Pistola de Silicón caliente.


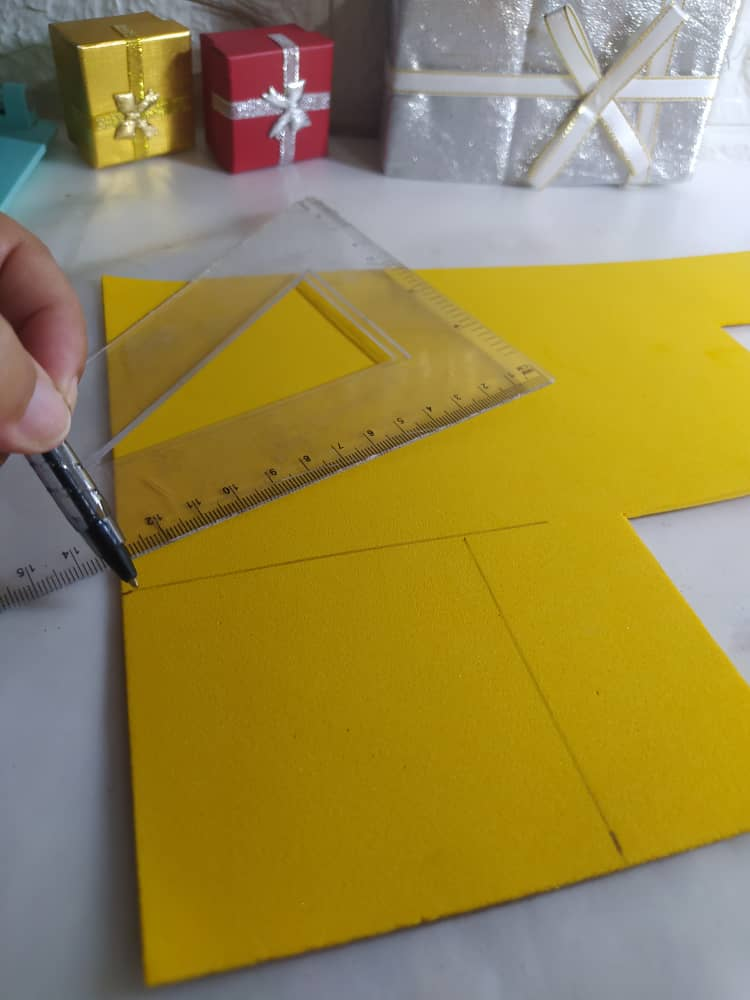
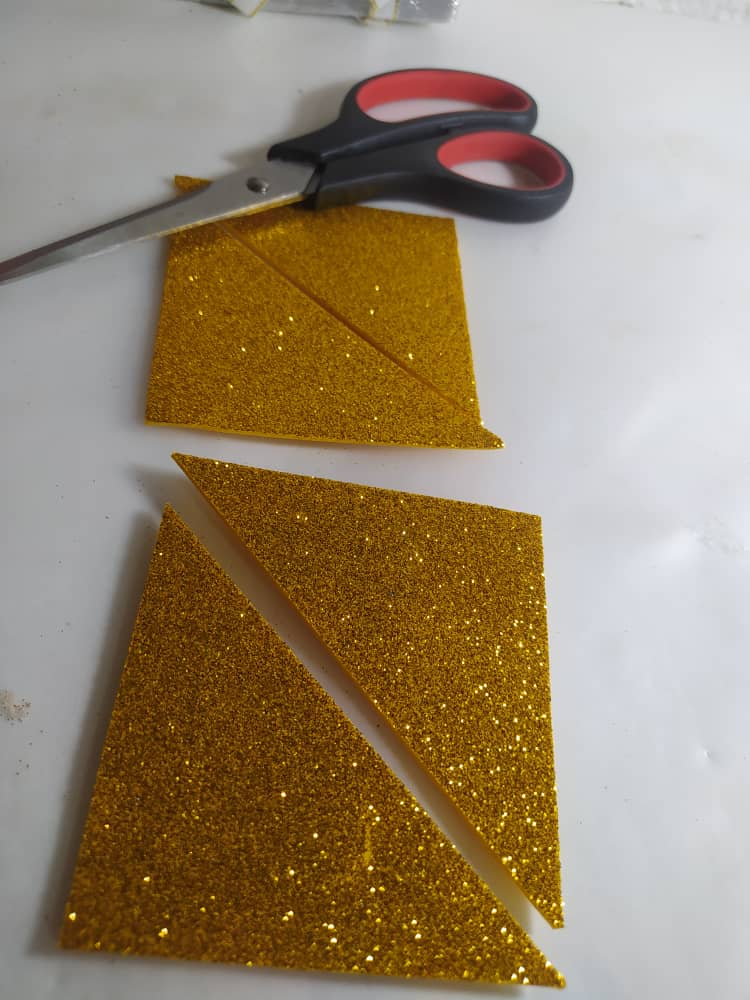
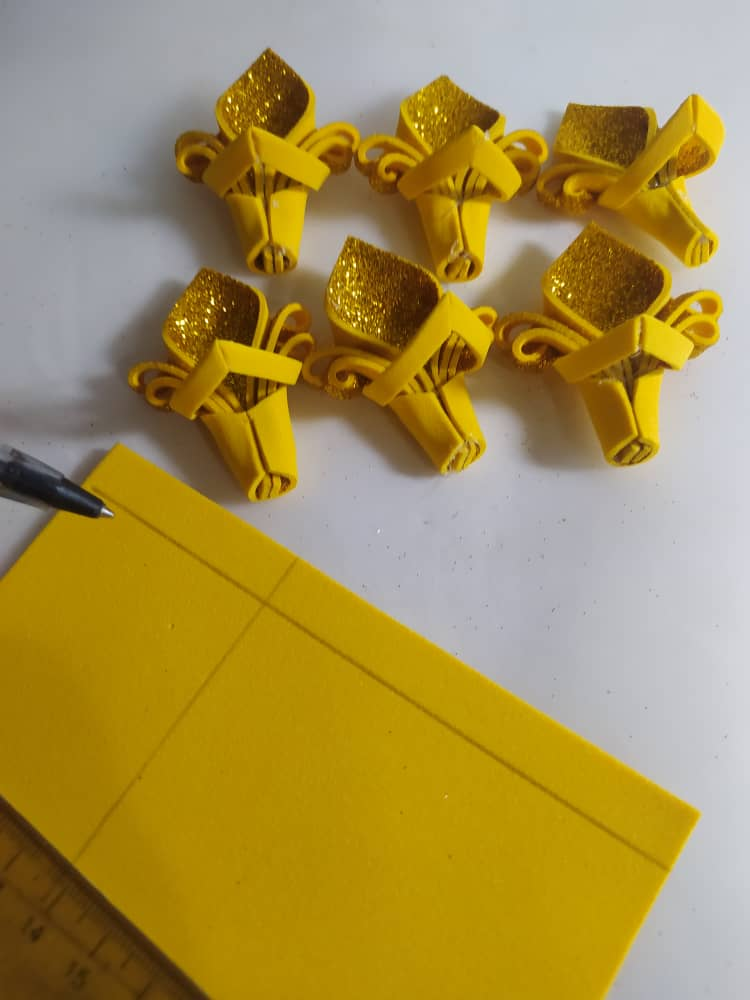
Mark and cut 3 squares of 8cm by 8cm, and cut them diagonally since we will use 6 triangles to make this design.
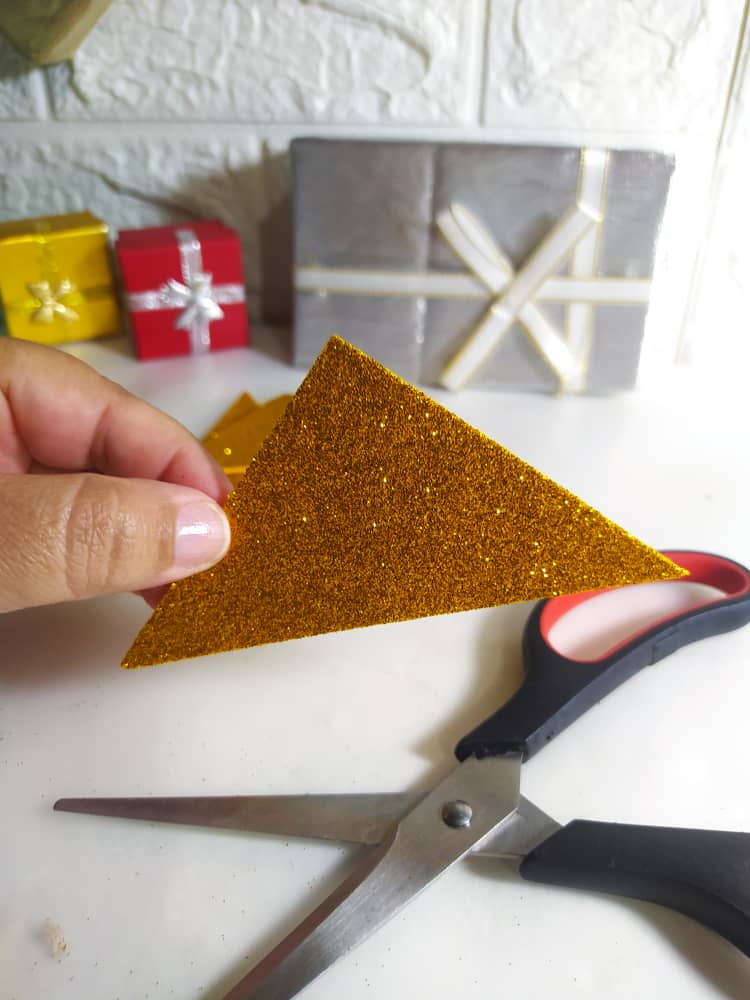
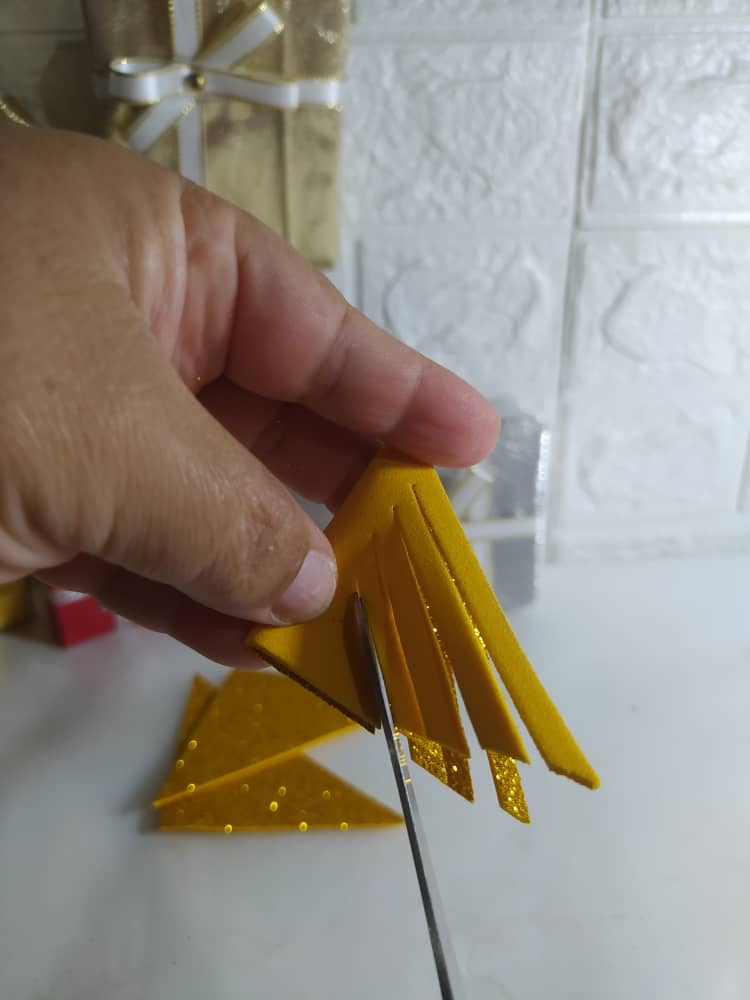
Take a triangle and fold it leaving the longest side facing down. Make 4 cuts following the same shape of those corners that you left together.
📢📢 REMEMBER: You can click on each image to zoom in and better understand each step.
Marca y corta 3 cuadrados de 8cms por 8cms, y los cortas en diagonal ya que usaremos 6 triángulo para realizar este diseño.
Toma un triángulo y dóblalo dejando el lado más largo hacia abajo. Realiza 4 cortes siguiendo la misma forma de esas esquinas que te quedaron juntas.
📢📢 RECUERDA: Puedes darle click a cada imagen, para hacerle zoom y entender mejor cada paso.
 |  |  |  |
|---|
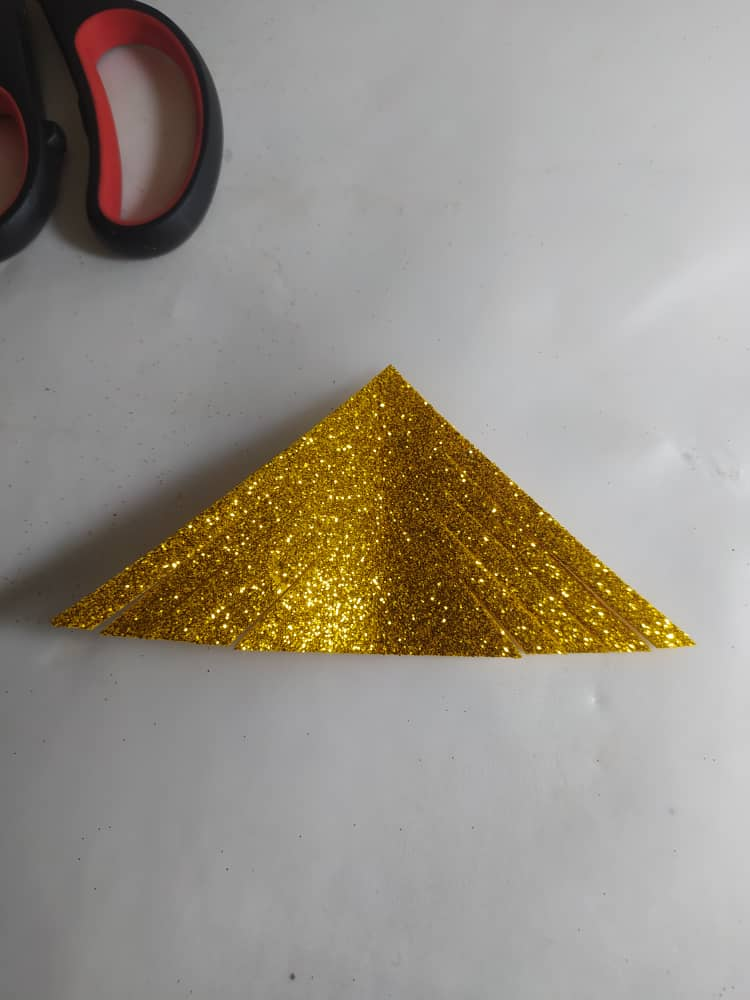
After making the 4 cuts in the triangle it looks like this, and we begin to make the design:
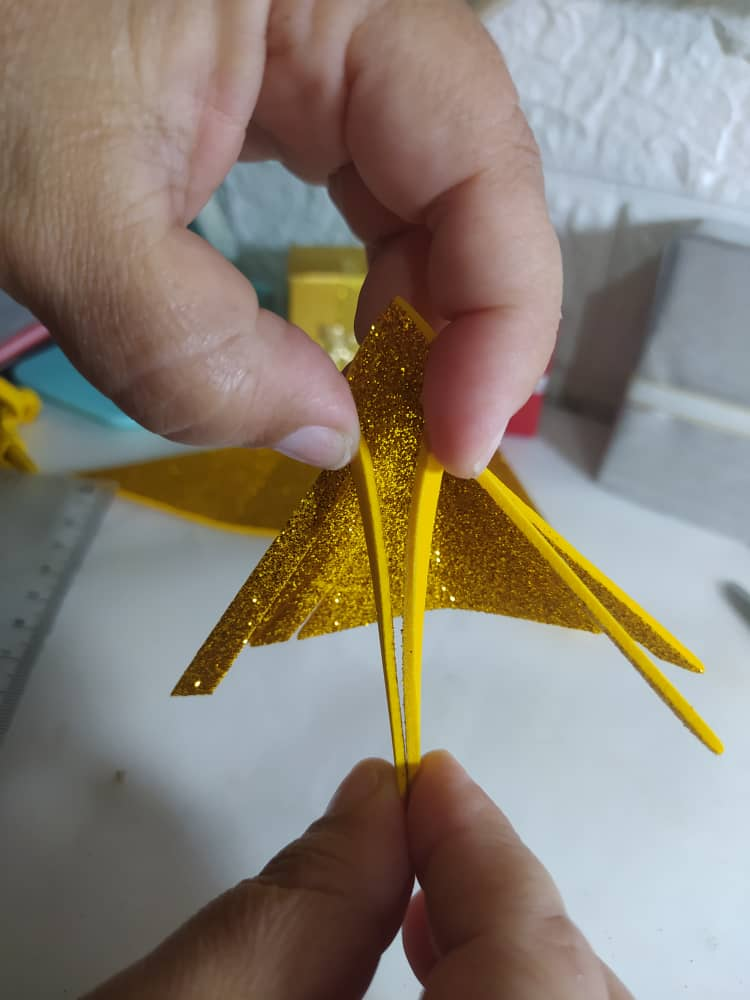
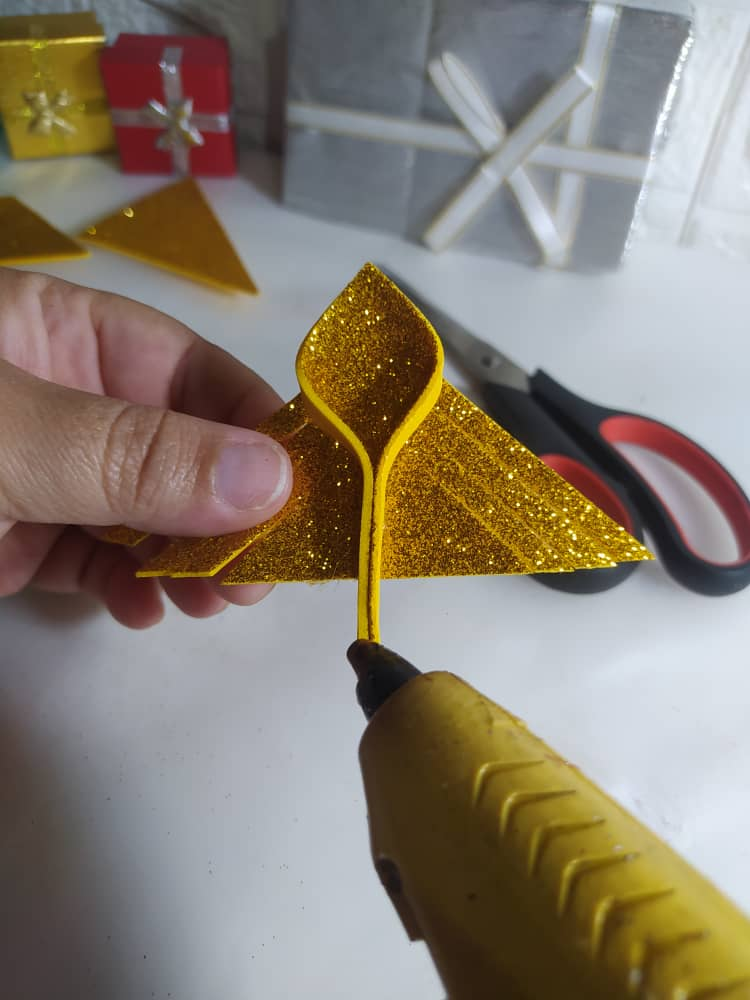
Take the two strips from above, bring them to the front and glue them with hot silicone.
Después de realizar los 4 cortes en el triángulo queda de esta forma, y comenzamos a realizar el diseño:
Toma las dos tiras de arriba, llévalas al frente y pégalas con silicón caliente.
|
 |  |  |
|---|
Next we will work with the next 2 strips, and we will make the following movement to bring them to the center and glue them with hot silicone. I put a gif so that you can see the movement better, and as you can see, it is to turn it and let the foam frosting face up.
Repeat with the 2 strips on the other side.
A continuación trabajaremos con las 2 tiras siguientes, y realizaremos el siguiente movimiento para llevarlas al centro y pegarlas con silicón caliente. Les coloqué un gif para que vean mejor el movimiento, y como pueden ver, es darle esa vuelta y dejar que el escarchado del foami quede hacia arriba.
Repite con las 2 tiras del otro lado.
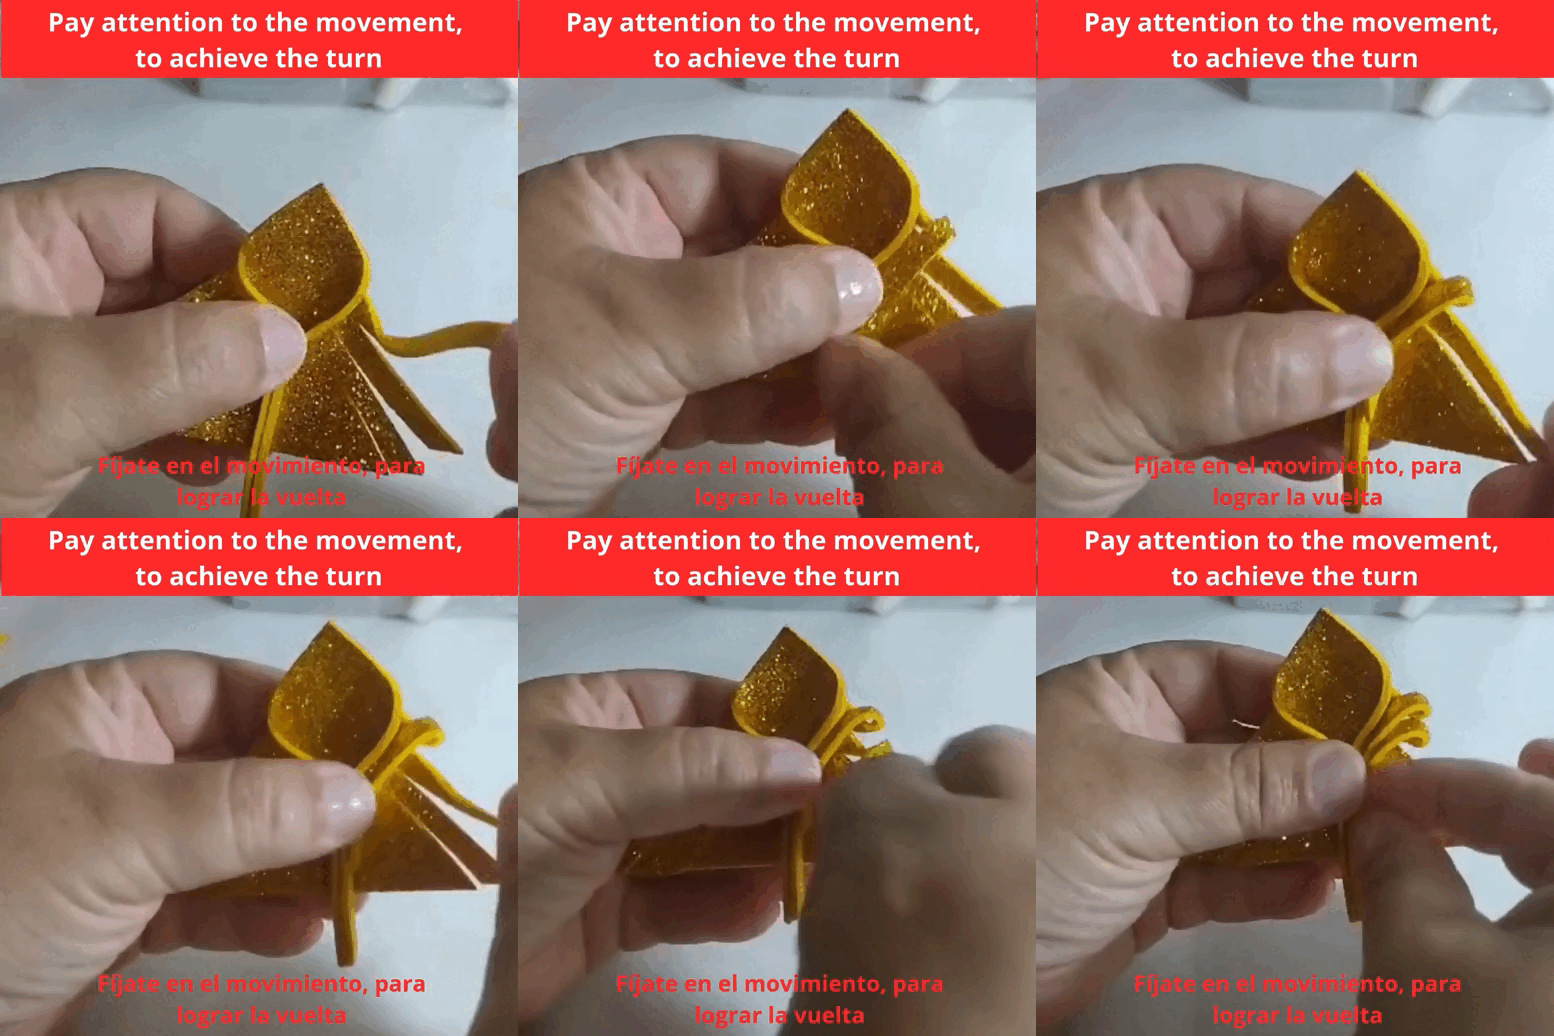
Now we are going to move the 2 last pieces to the center, as you can see in the gif, and glue them there. (Note that we left the 3rd strip intact for the moment)
Ahora vamos a llevar hacia el centro, las 2 piezas que están de últimas, como vez en el gif, y ahí las pegamos. (Nota que la 3era tira la dejamos intacta por los momentos)

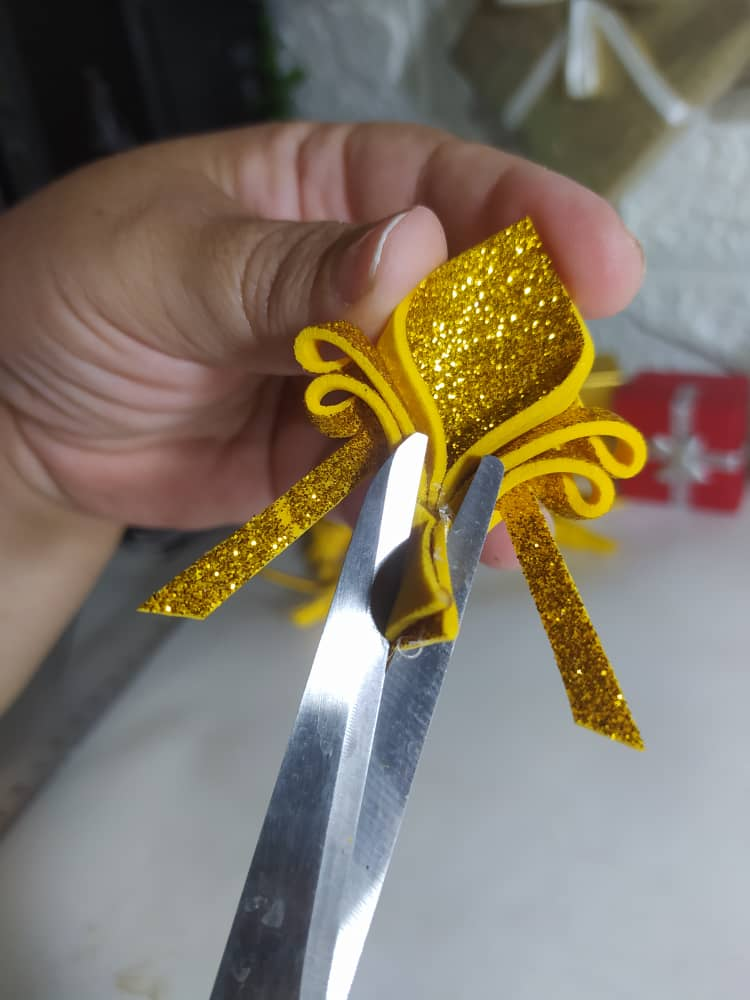
The pieces that we brought to the front in the previous step and glued, we cut off what sticks out.
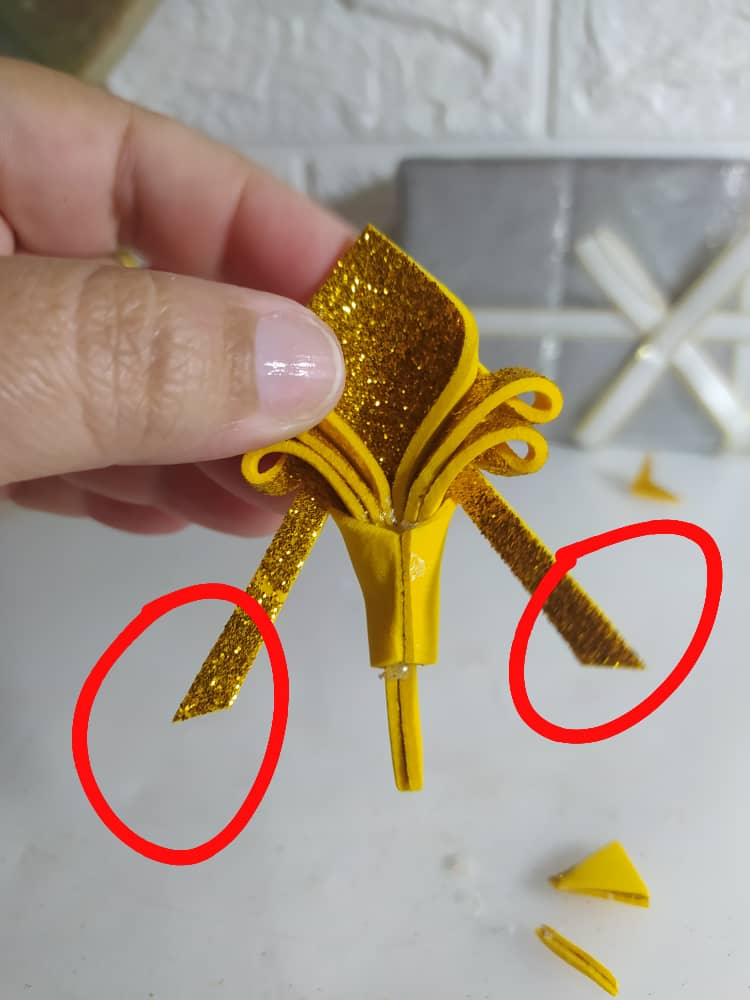
Now, we are going to bring the 3rd strips to the front and glue them together, by their tips, only their tips.
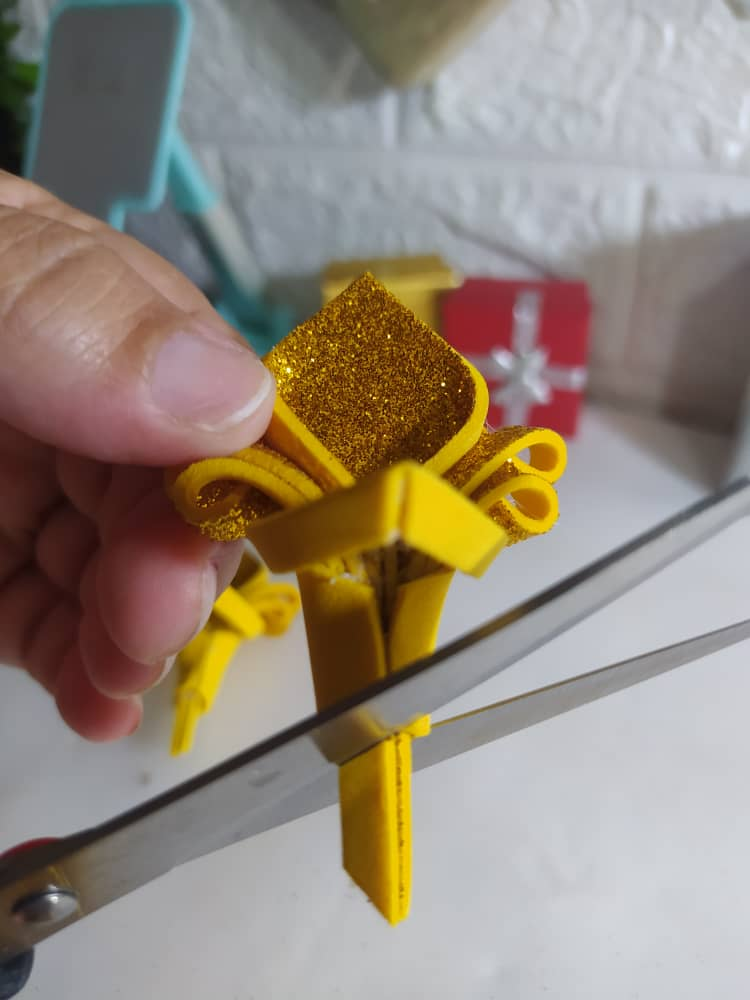
We clean the bottom part, that is, we cut off the first strips that stick out below.
This is all the complicated part, and if you look at each image and follow the instructions, you will see that it was not difficult, just follow the step by step.
Las piezas que llevamos al frente en el paso anterior y que pegamos, le cortamos lo que sobresale.
Ahora sí, las 3era tiras si las vamo a llevar al frente y las pegamos entre ellas, por sus puntas, solo sus puntas.
La parte de abajo las limpiamos, es decir que cortamos las primeras tiras que sobresalen abajo.
Esto es todo lo complicado, y si ves cada imagen y sigues las instrucciones, verás que no fue difícil, solo seguir el paso a paso.
 |  |  | 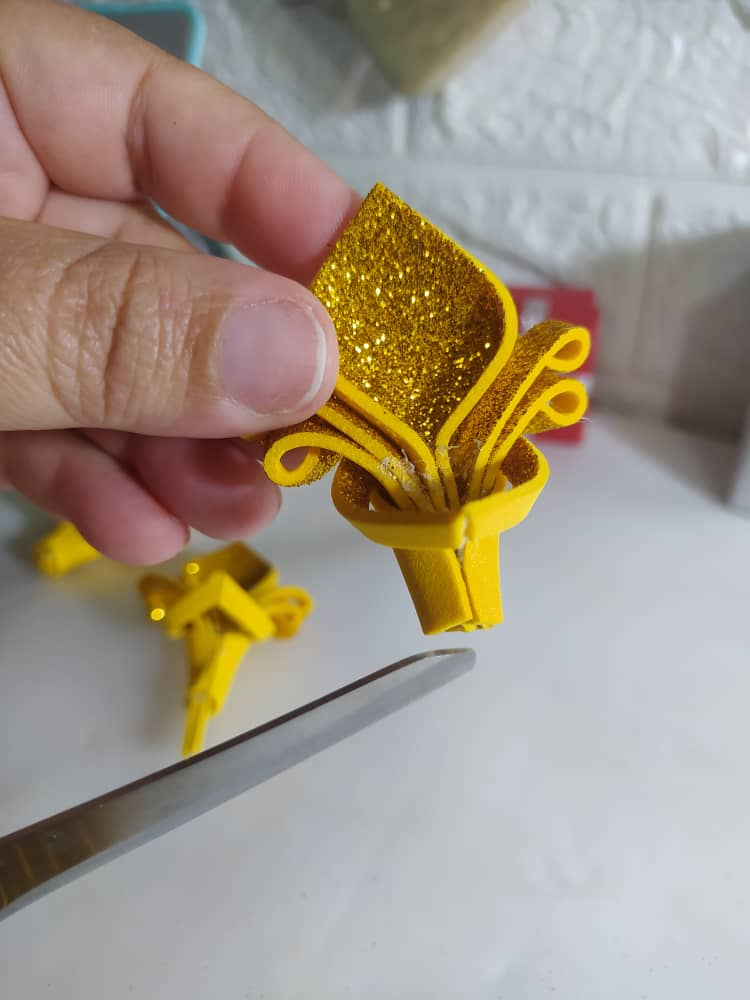 |
|---|
We work the other triangles in the same way, to obtain the 6 parts of this Christmas Star from the 6 triangles.
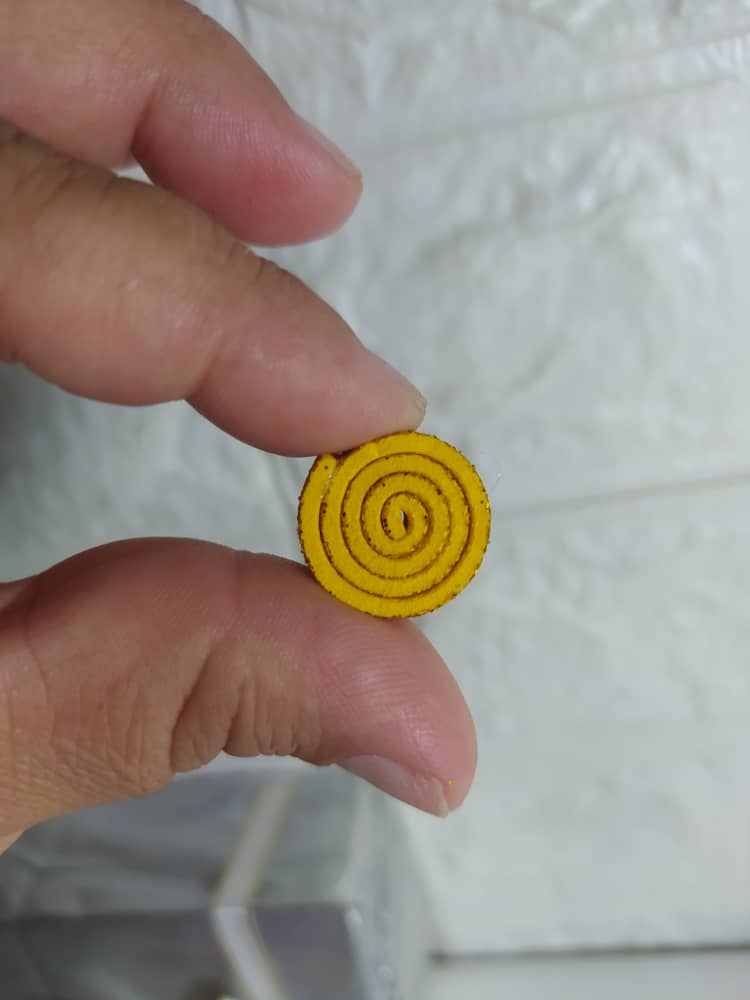
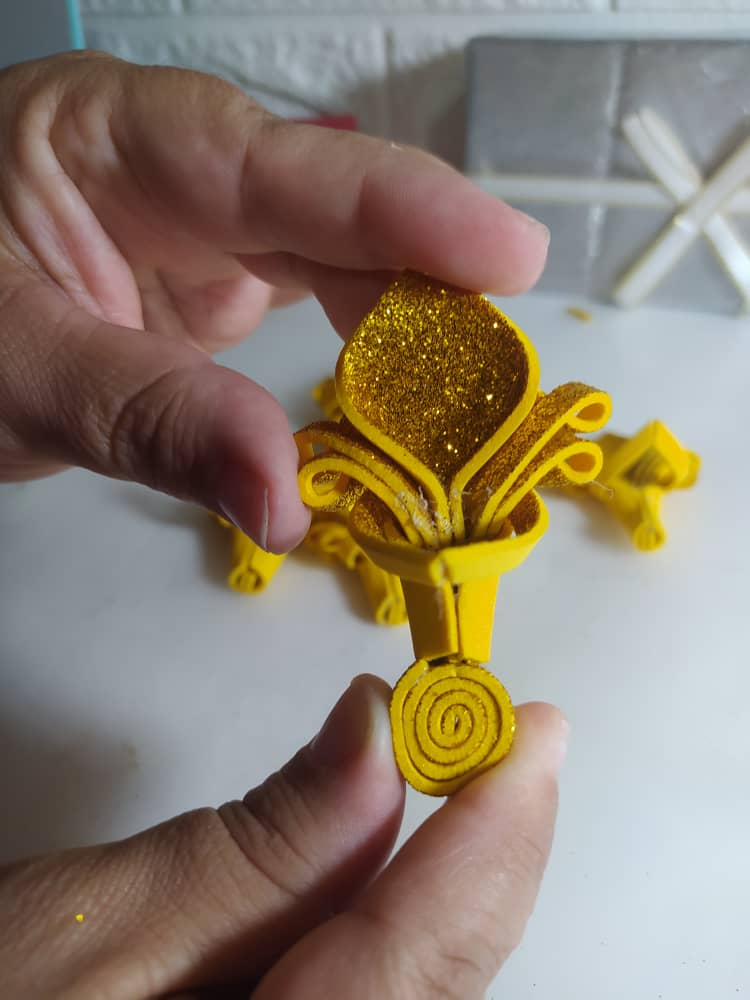
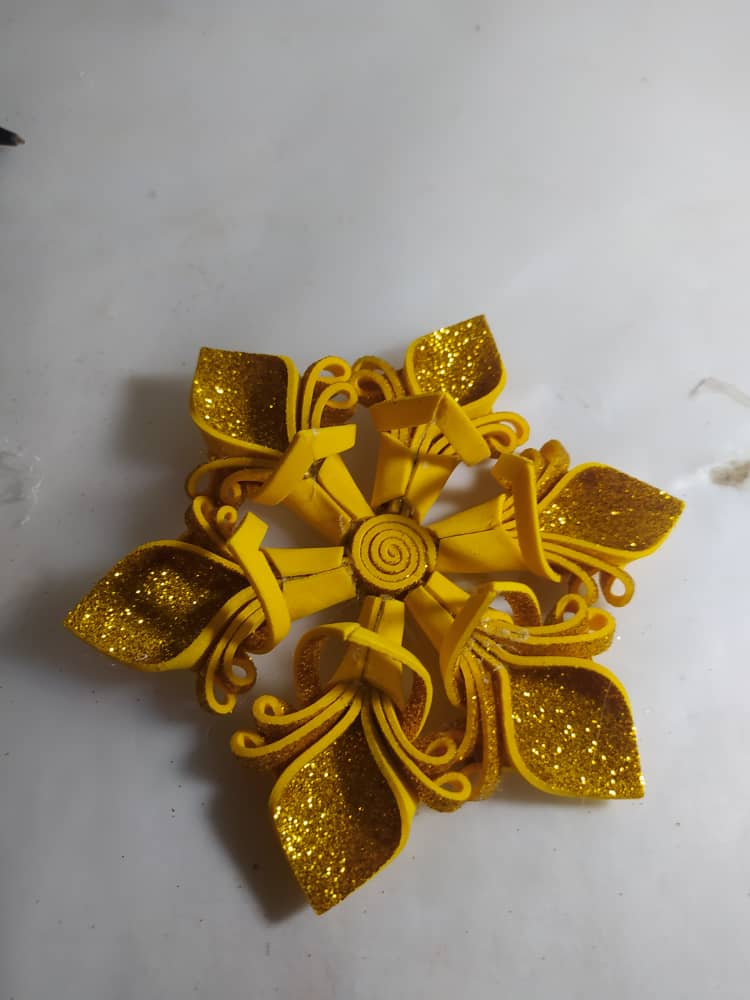
Cut a strip 1cm wide by 18cm long, and roll it up. This will be the center of the Star, and we glue the 6 pieces that we had made, as you can see in the image.
Trabajamos de la misma forma los otros triángulo, para obtener de los 6 triángulo las 6 partes de esta Estrella de Navidad.
Corta una tira de 1cms de ancho por 18cm de largo, y enrollamos. Este será el centro de la Estrella, y pegamos las 6 piezas que habíamos realizado, tal como vez en la imagen.
 |  |  |  |
|---|
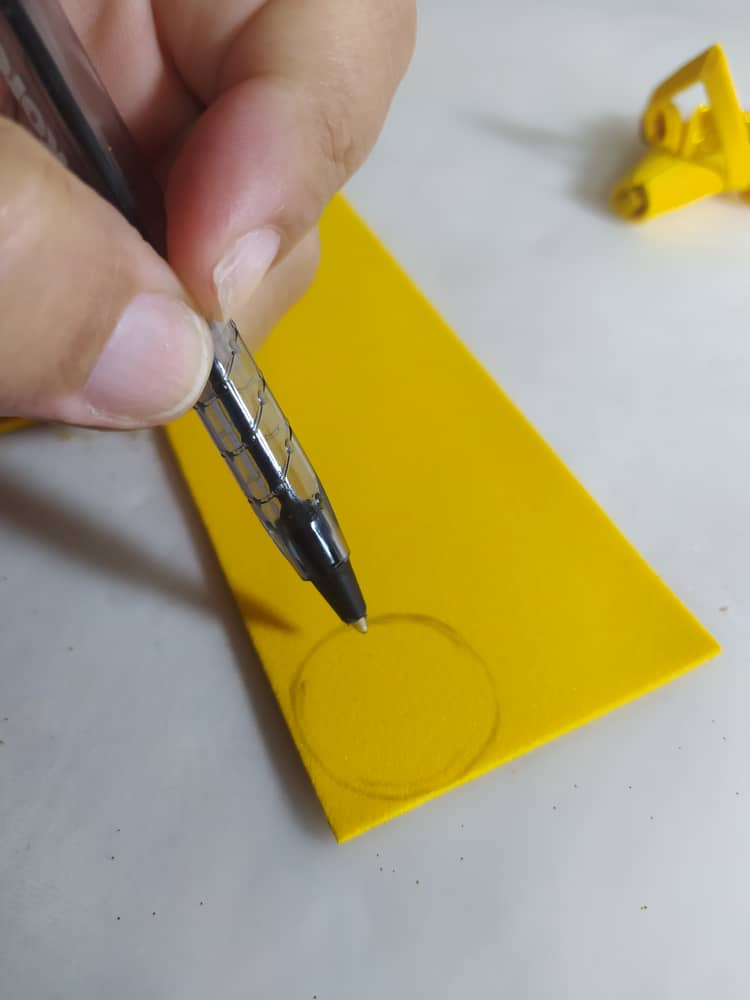
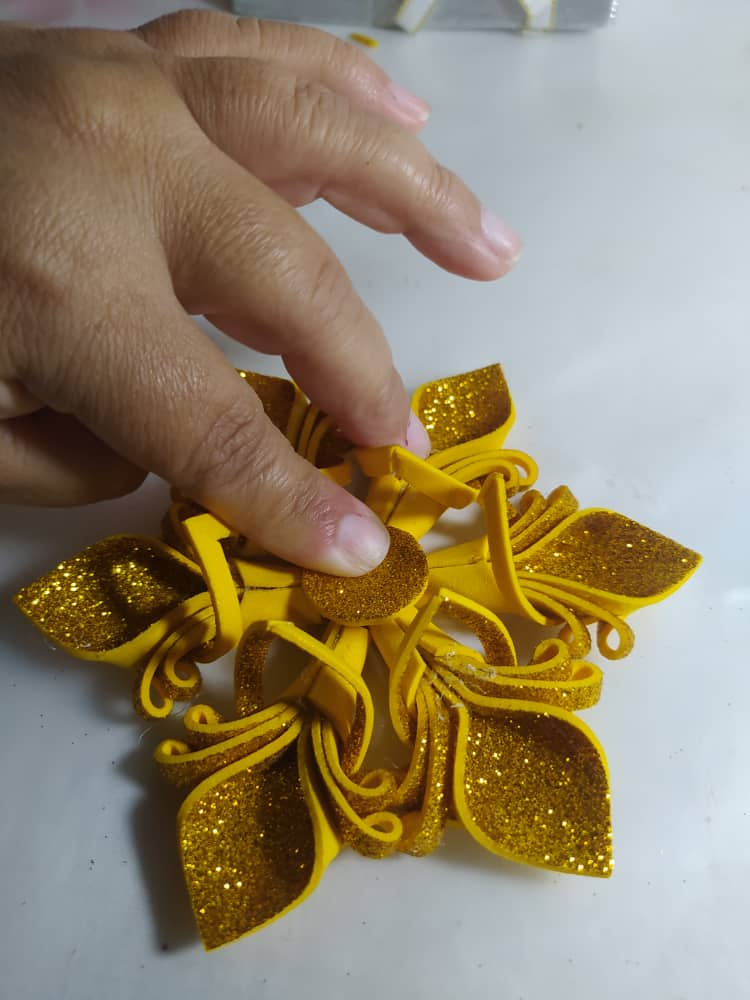
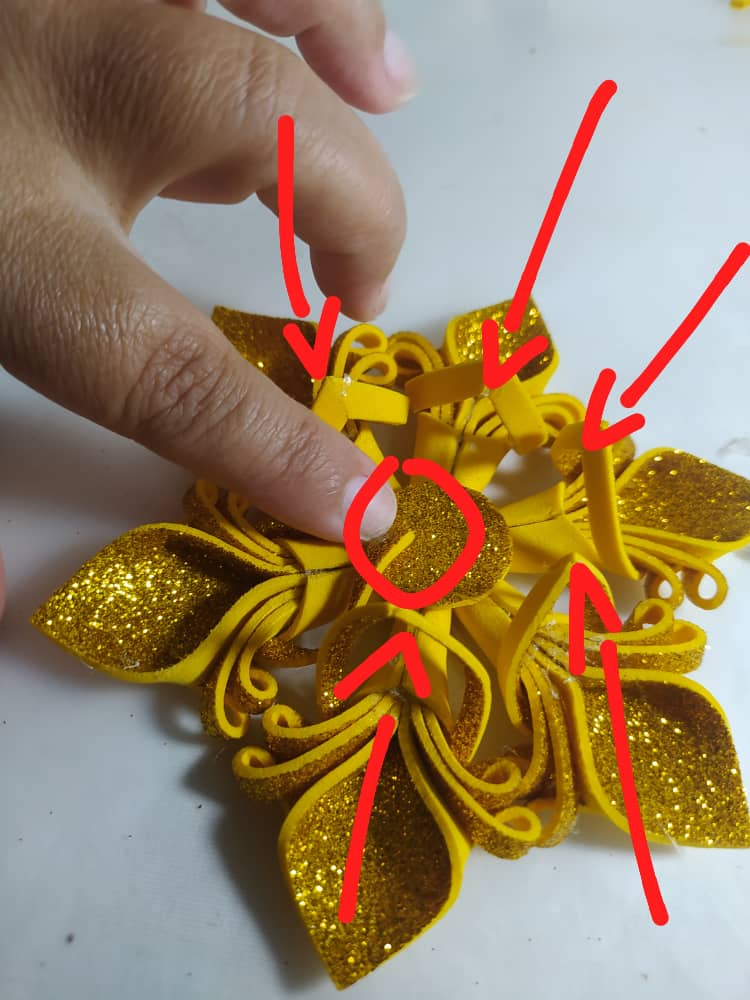
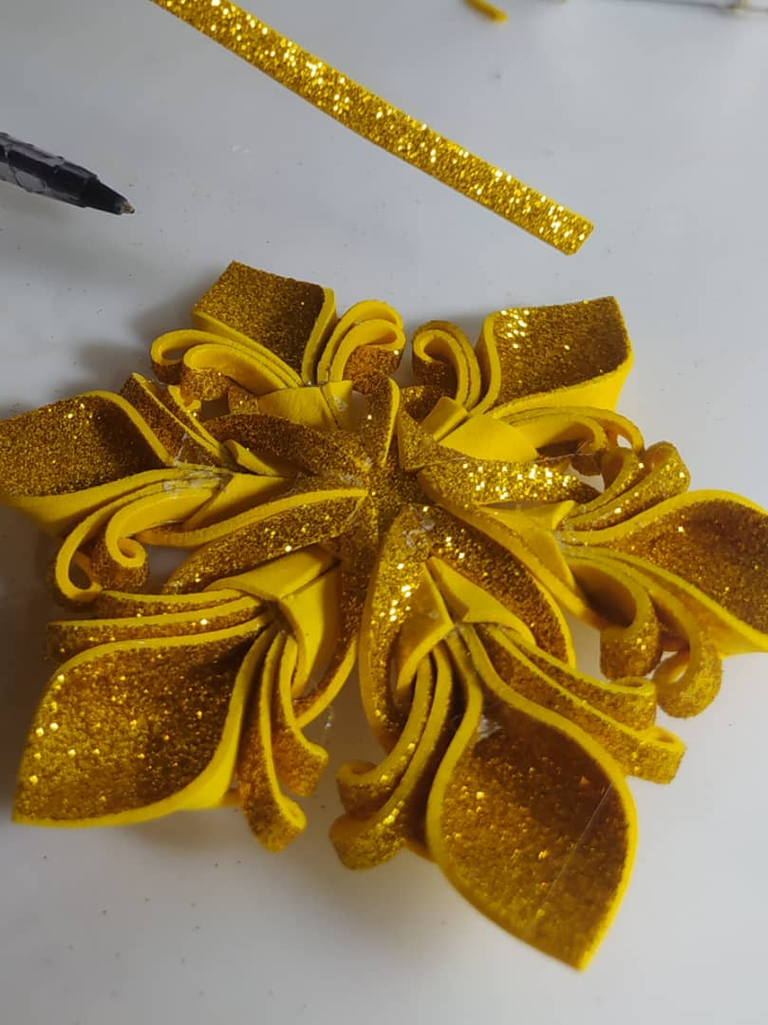
I cut a circle and glued it in the center and now all the little pieces that were raised, we take them to that circle and glue them.
Now everything looks very complicated, but you already know how to get to this point, it was really easy.
Corté un círculo y lo pegué en el centro y ahora todas las piecitas que quedaban levantadas, las llevamos hacia ese círculo y las pegamos.
Ahora si todo luce muy complicado, pero ya sabes como llegar a este punto, fue fácil realmente.
 |  |  |  |
|---|
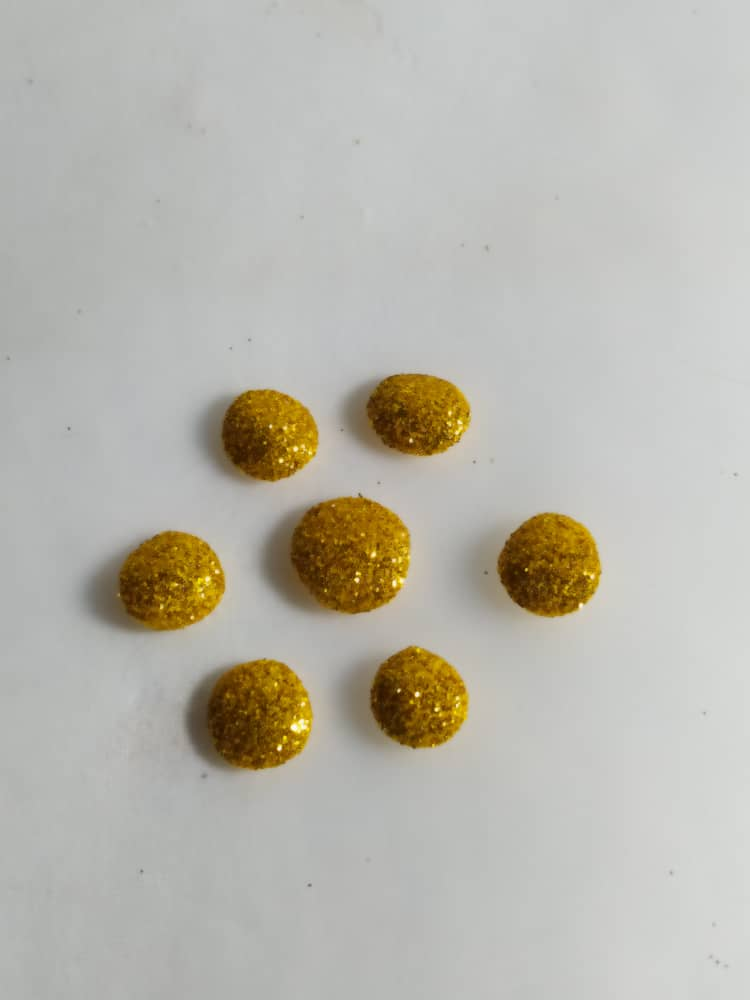
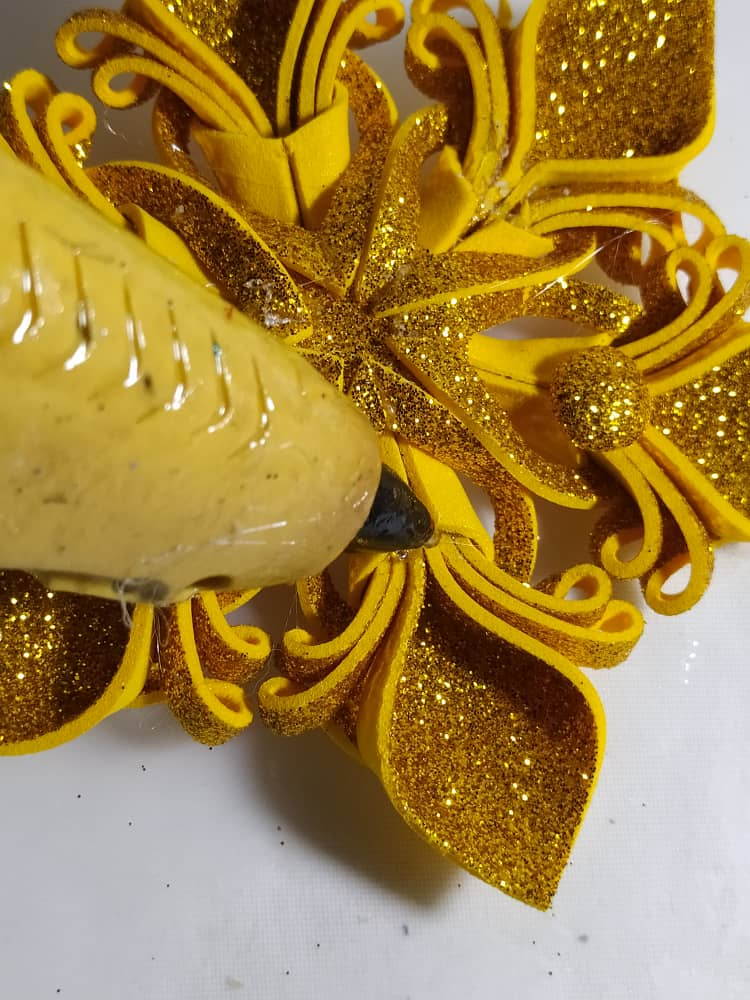
I cut circles to cover the joints of each of the 6 pieces, and also one to give a finishing touch to the center.
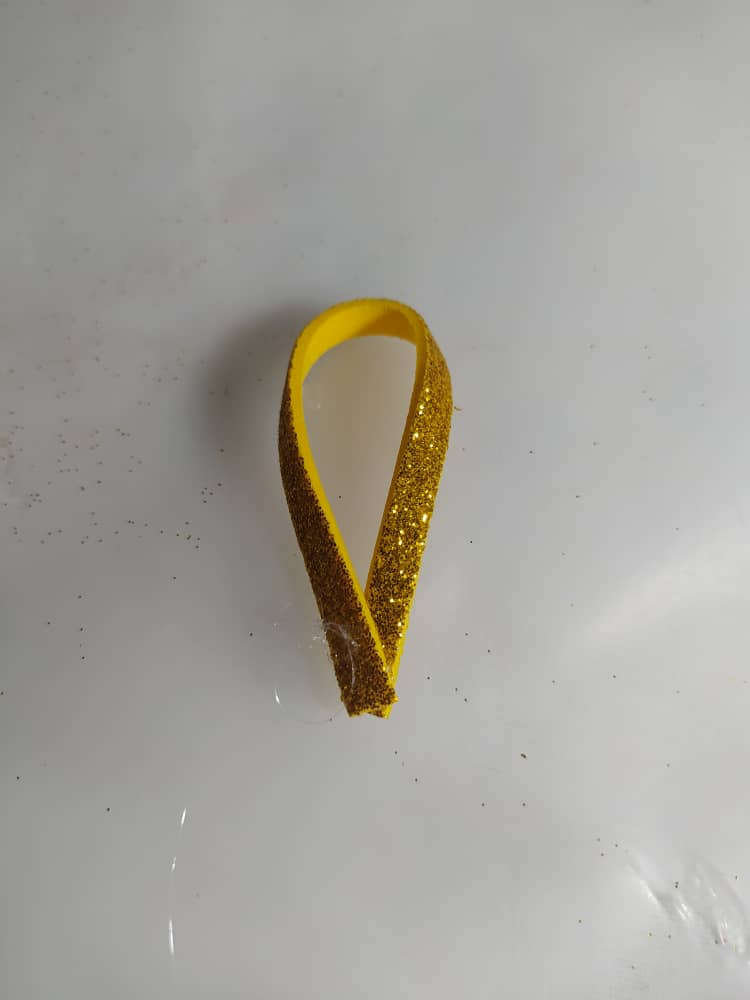
I cut a strip of foam and glued it to the back of one of the pieces, so I could hang the Star wherever I wanted.
Corté círculos para tapar las unione de cada una de las 6 piezas, y también uno para darle un toque final al centro.
Corté una tira de foami y la pegué por detrás de una de las piezas, para poder colgar la Estrella donde quiera.
 |  |  |
|---|
I love this star, I like it because of how beautiful it looks, and also because people who see it think it is very difficult to design, because of all the twists and shapes that were achieved, but it is very easy and when you make one, you want to make more and more.
You can also make the whole design bigger, just by making the initial squares, the ones we used when we started this tutorial, bigger.
Amo esta Estrella, me gusta por lo hermosa que se ve, y también porque las personas que la ven piensan que es muy difícil su diseño, por todas las vueltas y formas que se lograron, pero es muy fácil y cuando haces una, ya quieres hacer más y más.
También puedes hacer más grande todo su diseño, solo haciendo más grandes los cuadrados iniciales, los que usamos cuando empezamos este tutorial.
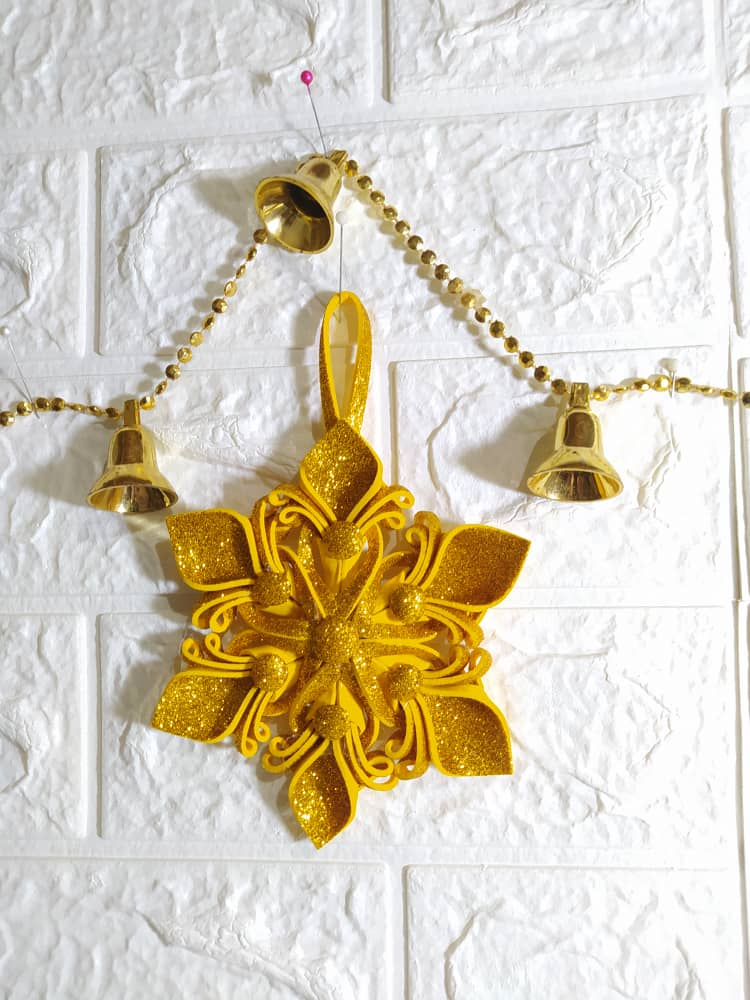
I hope you liked this tutorial, I loved it. By the way, in white with the frosted white foam it looks super cute, I made it in frosted gold foam because I wanted one in that color.
Deseo que te haya gustado este tutorial, yo lo amé. Por cierto, en color blanco con el foami blanco escarchado se ve súper linda, yo la hice en foami dorado escarchado porque quería una en ese color.
I took the photos with my phone Redmi Note 8
Apps I used:
Canva Pro for Cover, Collage and Banners
I used Deepl Translator
My social networks:
Discord: YennysYaneth#0189
Twitter: @yennysferm
Instagram: @yennysyaneth
Las fotos las tomé con mi teléfono Redmi Note 8
Apps que utilicé:
Canva Pro para la Portada, Collage y Banners
Utilicé el Traductor Deepl
Mi redes sociales:
Discord: YennysYaneth#0189
Twitter: @yennysferm
Instagram: @yennysyaneth
Este es un trabajo definitivamente hermoso, lleno de gran detalle, Prolijo, y me atrevería a decir que perfecto.
Tienes unas manos bendecidas para hacer cosas hermosas.
Gracias por regalarnos tus resultados finales tan grandiosos, y tus hermosos post.
Gracias por tu bella participación en el concurso ☺️ Suerte...
!discovery 45
!LADY
!LUV
!HUG
!DIY
Your LOH token balance is not sufficient to send tips. Please hold a minimum of 25 LOH tokens to send tips.
(1/1) sent you LUV. | tools | discord | community | HiveWiki | <>< daily@yennysferm71, @dayadam
Guao... gracias amiga @dayadam esas palabras viniendo de ti, que eres una de las Creadoras de Contenido que tanto admiro, es un halago.
It's really beautiful what you share and I think what I loved the most is that you chose the color gold for your Christmas craft. Your work is an example to follow in this and other communities, congratulations my friend...
Wow, such beautiful words. I'm glad you liked it and appreciate my work. I put a lot of love into my creations. When I make a craft, I make sure it's something that people can actually see in my house or using.
Thanks for stopping by and commenting.
Te quedó precioso. Me encantan los brillos de navidad 🥰🌲... Gracias por compartir ese paso a paso tan detallado. Felices fiestas
!PIZZA 🍕
!LUV
(1/1) sent you LUV. | tools | discord | community | HiveWiki | <>< daily@yennysferm71, @chacald.dcymt
Me alegra que te haya gustado @chacald.dcymt . Este material el foami escarchado, primera vez que lo uso en estas navidades, y ando como fiebrua como decía mi papá.
Gracias por pasar, comentar y por el apoyo.
🤭🤭🤭... Que lo disfrutes y hagas cosas hermosas como esta.
Le quedo adorable y muy fina sin duda es un gran adorno navideño.
Gracias amiga @leidys01 me gustó mucho hacerla y les hice este post con mucho cariño.
This is lovely
I'm glad you liked it, thanks for stopping by and commenting.
This is definitely a work so full of details and perfect And neat. Thank you for sharing your spectacular work in our community.
I am very grateful to you for the motivation you have always given me.
This post was shared and voted inside the discord by the curators team of discovery-it
Join our Community and follow our Curation Trail
Discovery-it is also a Witness, vote for us here
Delegate to us for passive income. Check our 80% fee-back Program
Thank you, very kind
You chose the perfect color for the star, and it's so beautiful. !DIY
I was about to make it in white, but this gold was screaming at me to use it.
I'm glad you like it, thanks for stopping by and commenting.
The gold nailed it 😊
Thanks for the support @diyhub I'm going to learn how to do this, I didn't know it.
$PIZZA slices delivered:
(4/5) @chacald.dcymt tipped @yennysferm71
Amiga, que belleza!! De verdad a simple vista se ve súper complicada, pero la verdad no lo es.
Me encanta!!
Excelente post bien definido y ordenado muchas gracias por compartir tu talento amiga realmente te quedó perfecto, éxitos Bendiciones y muchas felicidades por tan bonito adorno.