
Hola queridos amigos de esta comunidad un gusto saludarlos nuevamente deseándoles un nuevo comienzo de semana lleno de bendiciones alegría prosperidad y muchas ideas creativas para nuestras vidas.
Hoy quiero mostrarles cómo realizar un porta carteras y bolsos ideal para tener todo muy bien organizado y es una manera de elaborar manualidades que nos gusten y así hacer de nuestro tiempo algo productivo.
Los materiales utilizados en la elaboración de el porta carteras y bolsos fueron los siguientes:
- Foami escarchados negro, rosado, morado y blanco.
- Una tabla con ganchos
- Tijera
- Silicón
- Lapiz negro
-Hilo

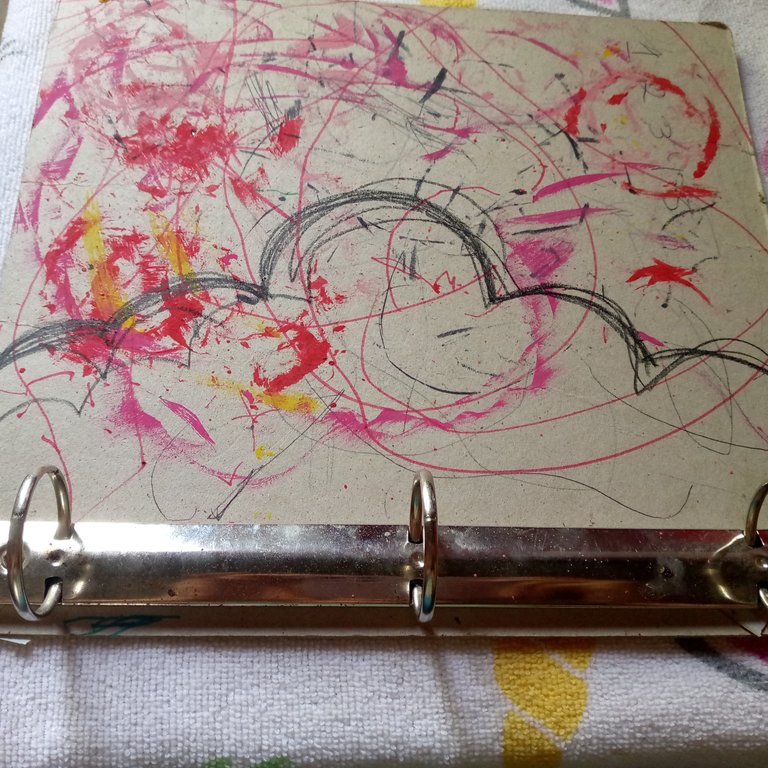
Lo primero que vamos a realizar es el dibujo en forma de nube con color negro en la tabla de ganchos así de esta manera luego de eso lo que vamos a realizar es delicadamente el paso de cómo cortar el restante del cartón que quede así de esta manera.

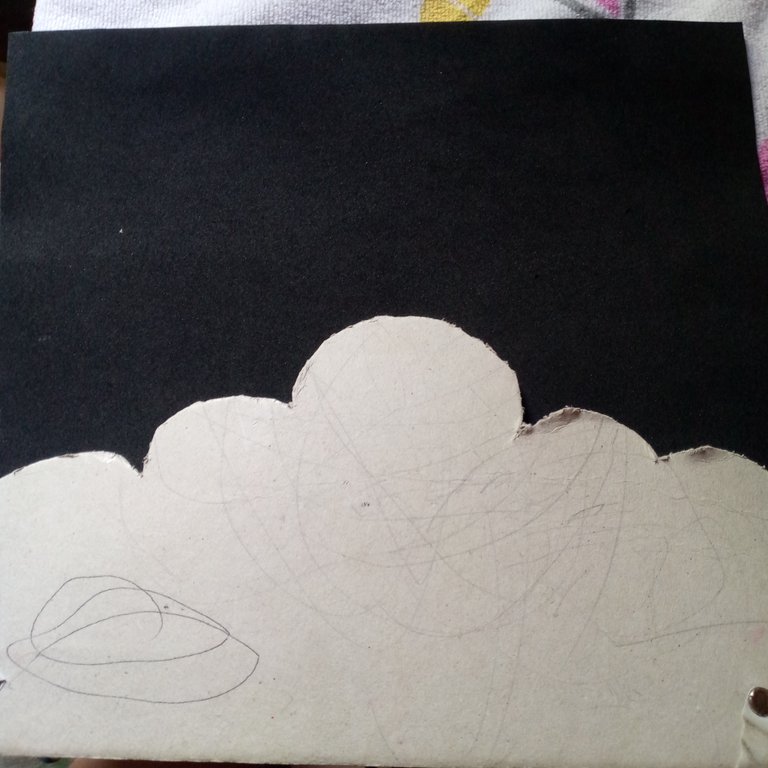
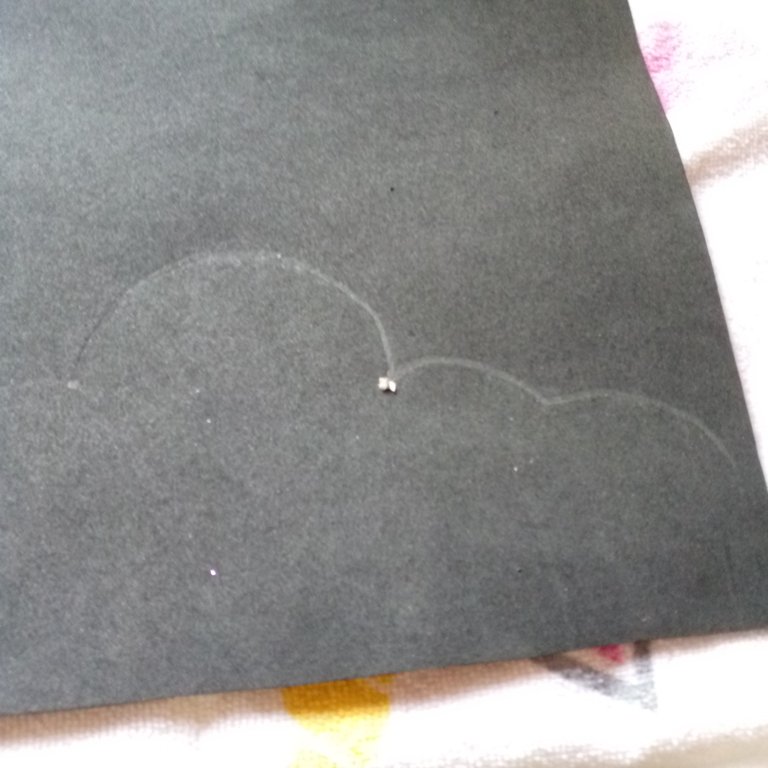
Una vez he realizado el primer paso nos enfocaremos en seleccionar el foami negro y de este realizar el mismo modelo de la nube marcándolo con un color y luego recortándolo así de esta manera luego de tenerlo listo nos vamos a encargar es de pegarlo con suficiente silicón y que quede estable así de esta forma.

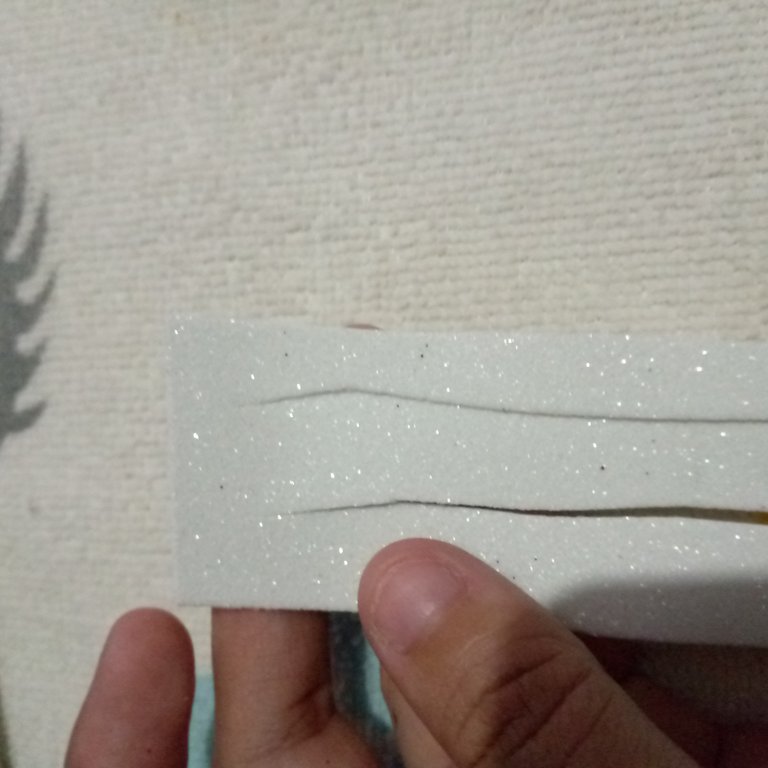
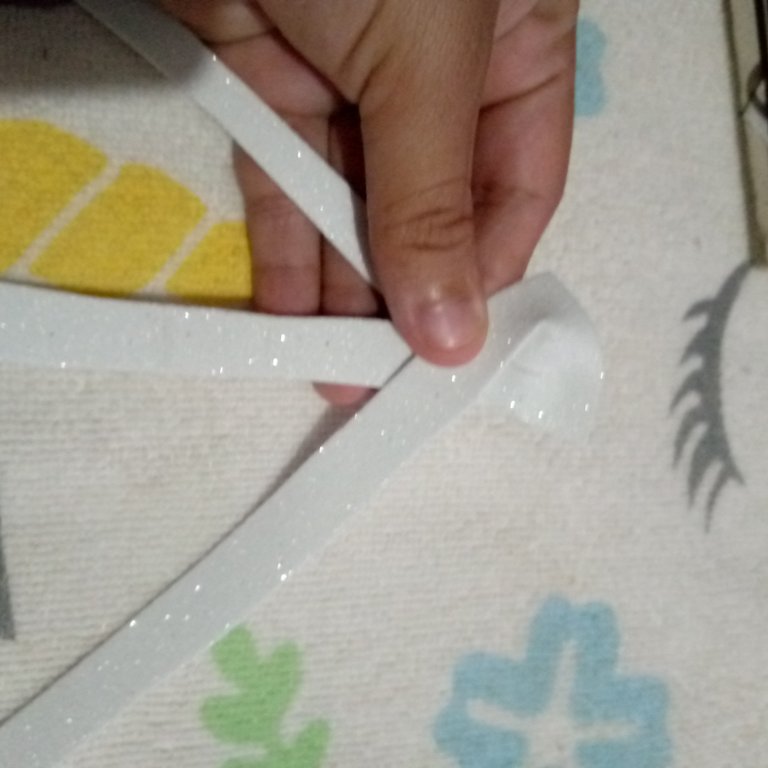
Después con los foamis de diferentes colores nos vamos a encargar de hacer pequeños cuadros y este recortarlos en tres tiras así de esta manera con esto vamos a realizar unas pequeñas flores en forma de pero quedará como un modelo de rosa y este va a ser uno de los que va a decorar nuestra nube estas quedaran como rosas.
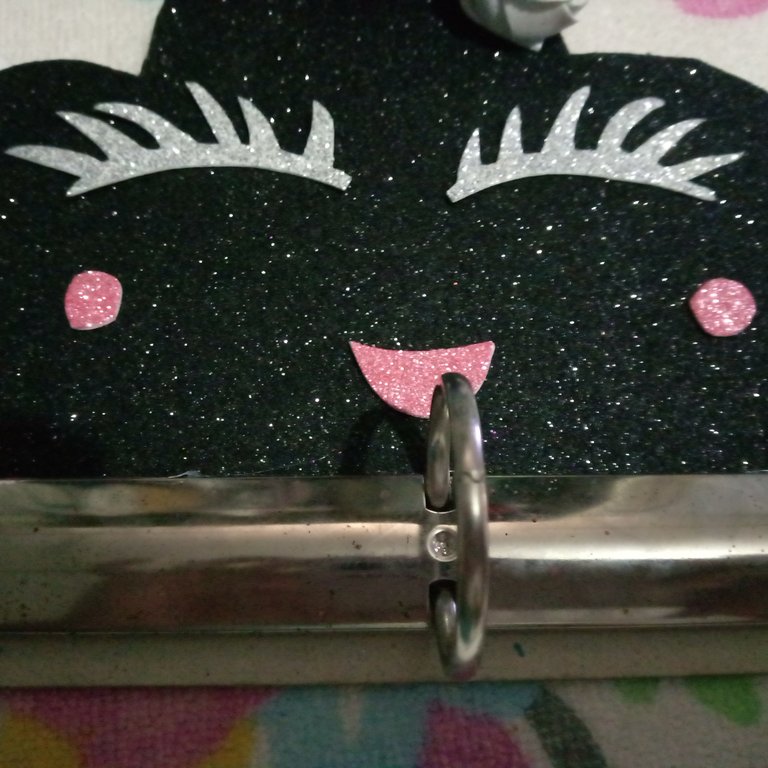
No ya listas nos encargaremos de estructurar la cara realizando los ojos: que serán las mejillas enrasado y creando y recortando la boca en foami rosado y plateado, y por ultimo la estructuraremos.
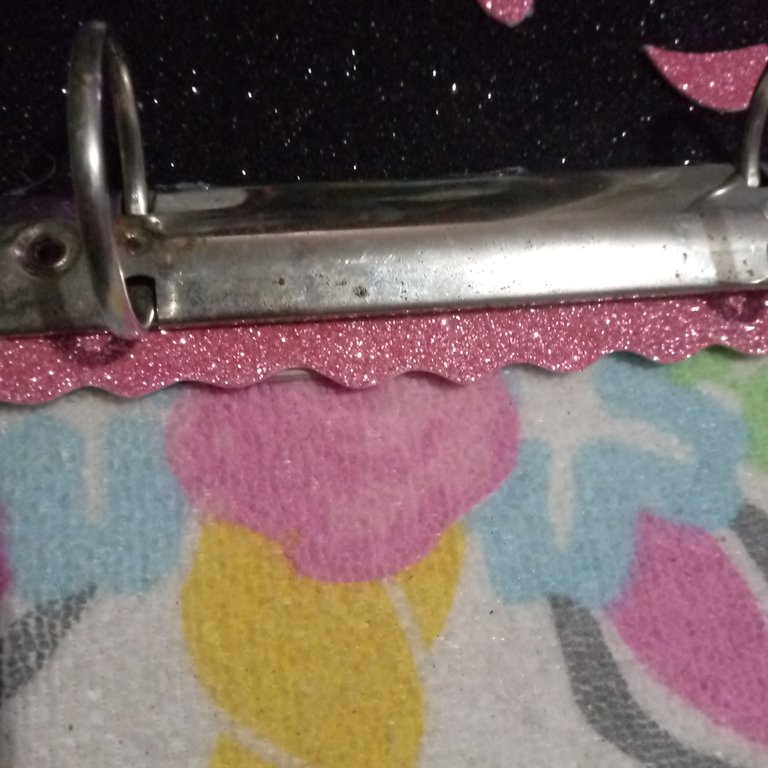
Una vez ya realizada nos encargamos de pegarle en la parte debajo unas acuerelas en foamy rosado asi de esta forma.
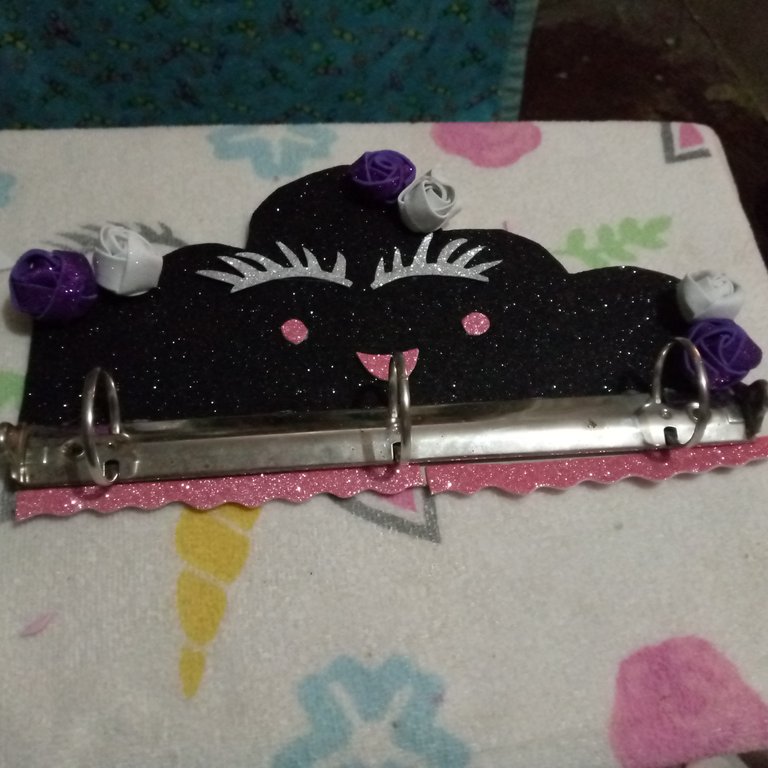
Despues solo ponemos las rosas moradas y blancas en los laterales y en el lado de la cara de la nube.
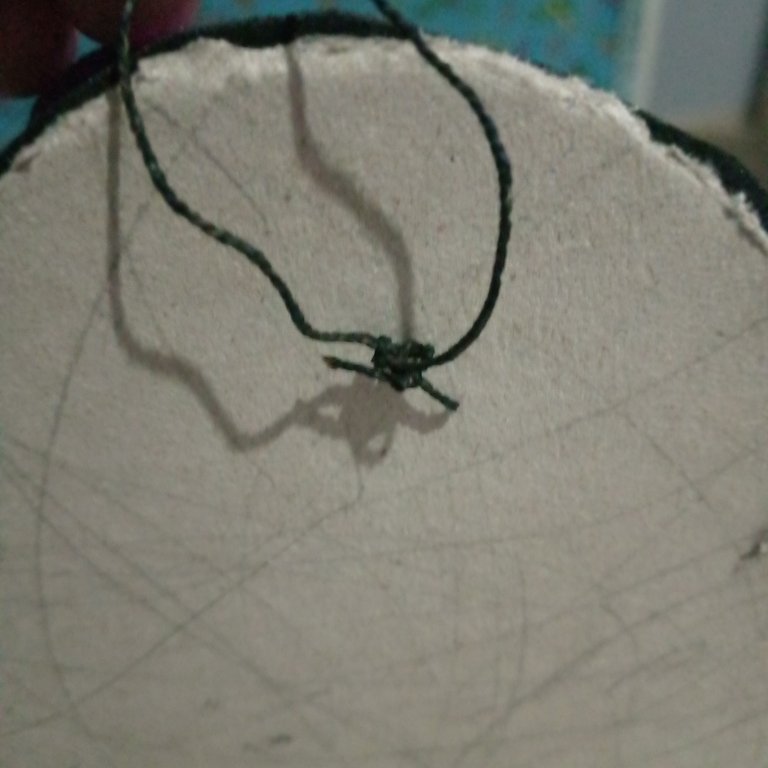
Después solo pegamos un hilo en la parte de atras para sostenerse de los bolso agragando suficiente silicon, para que quede estable.
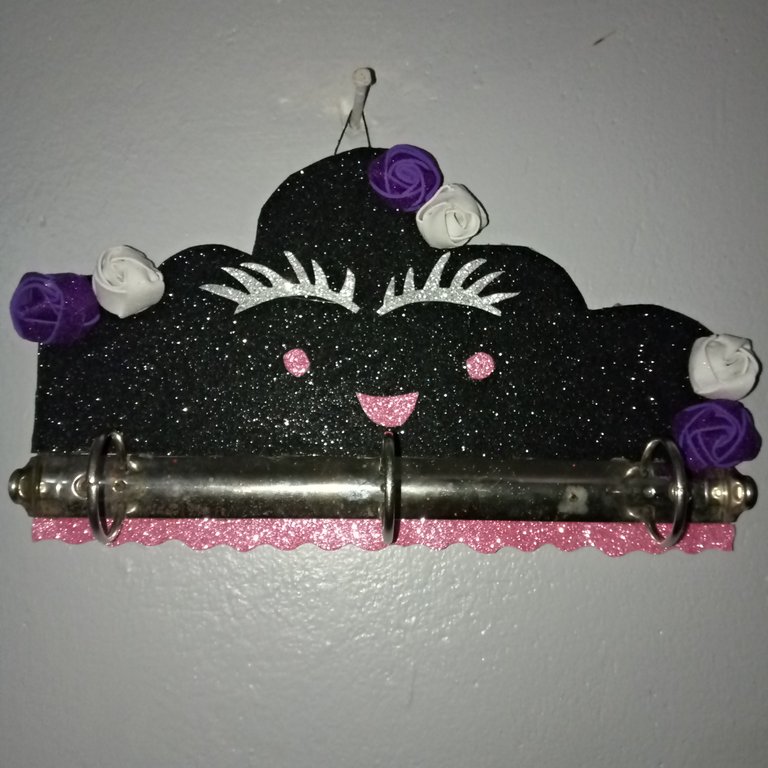
Asi quedara nuestro porta bolsos y carteras lista para lucir en nuestras habitaciones y asi poder tener nuestras cosas de una manera mas organizada.

Hasta la Próxima!!!
Las imágenes son tomadas por mi teléfono tecno.
Traductor utilizado:https://www.deepl.com
La imagen fue editada mediante la aplicación de polish.

Hello dear friends of this community a pleasure to greet you again wishing you a new beginning of the week full of blessings joy prosperity and many creative ideas for our lives.
Today I want to show you how to make a wallet and purse holder ideal to have everything well organized and is a way to develop crafts that we like and thus make our time something productive.
The materials used in the elaboration of the wallet and purse holder were the following:
- Foami frosted black, pink, purple and white.
- A board with hooks
- Scissors
- Silicone
- Black pencil
-Thread

The first thing we are going to do is the drawing in the shape of a cloud with black color on the hook board like this, then we are going to delicately cut the rest of the cardboard so that it looks like this.


Once we have done the first step we will focus on selecting the black foami and from this we will make the same model of the cloud marking it with a color and then cutting it in this way after having it ready we will take care of gluing it with enough silicone and it will be stable in this way.


Then with the foamis of different colors we are going to make small squares and cut them into three strips and in this way with this we will make small flowers in the shape of a rose model and this will be one of those that will decorate our cloud these will be like roses.


Now ready we will take care of structuring the face making the eyes: which will be the cheeks flush and creating and cutting out the mouth in pink and silver foami, and finally we will structure it.

Once it is done, we will glue some pink foamy cords on the lower part like this.

Then we just put the purple and white roses on the sides and on the side of the cloud face.

Then we just glue a thread on the back to hold it to the bag, adding enough silicone to make it stable.

This way our bag and purse holder will be ready to show off in our rooms and have our things in a more organized way.


See you next time!!!
Images are taken by my techno phone.
Translator used:https://www.deepl.com
The image was edited using the polis application.
Wow you have managed to make it beautiful and scary at the same time hahaha, what great creativity my friend, I wonder how that frosted glow will look like with some small light at night 😱 Thanks for sharing your work on DIYHub, it's a pleasure to read your content...
Thank you very much my friend I really loved the way it was tender and scary at the same time thanks for your support.
It is so cute and beautiful. The wallet holder is very useful and when it is made with a Halloween theme, that looks amazing. Thank you for sharing this in our community. Keep up the good work!
Thank you so much, for your support 😊 may it always be like this giving the best for everyone.I love Halloween!!!! Success
Wow it looks great, I really liked this decoration for Halloween.🙃
Te quedó muy bonito linda ❤️
Muchas gracias amiga me alegro que te haya gustado.
esta genial., yo necesito uno para las llaves jeje, buen trabajo!
I need one for the keys hehe, good job!