
How are my creative and artisan friends? Have you had the opportunity to recycle bottles many times? If that is the case, you will love this tutorial...❤️❤️❤️
Today I wanted to make this beautiful recycled arrangement with a plastic bottle to give it to a very special friend. I am going to visit her soon and I wanted to make something unique and beautiful as a surprise. Inside, I will put some things that I know she loves so much, like a chain game. and sweet earrings and lipsticks, every girl loves to be given these beautiful details so I know that she will really like this gift so here I show you the step by step and the materials that I have used.
.jpg)
Materiales que usé :
Materials i used :
- Tijeras
- Silicón
- Base redonda de cartón y una tira de al menos 20 cm de largo
- Tela de raso chifón o seda
- Trozo de tela para forrar la base del cartón
- Trozo de botella de plástico
- Encaje, accesorios para decorar en mi caso usé una mariposa de fomi
- Palillos de dientes
- Trozo pequeño de espuma de floristeria
*Hilo y aguja
- Scissors
- Silicone
- Round cardboard base and a strip at least 20 cm long
- Chiffon or silk satin fabric
- Piece of fabric to cover the cardboard base
- Piece of plastic bottle
- Lace, accessories to decorate in my case I used a fomi butterfly
- Toothpicks
- Small piece of florist foam
- Thread and needle
Pasos a seguir:
Steps to follow:
Paso 01
Step 01
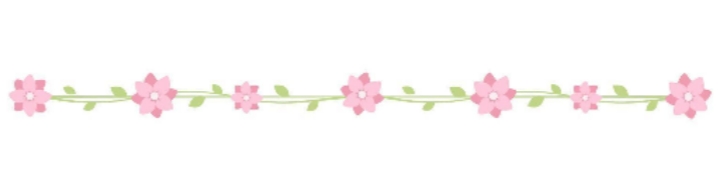
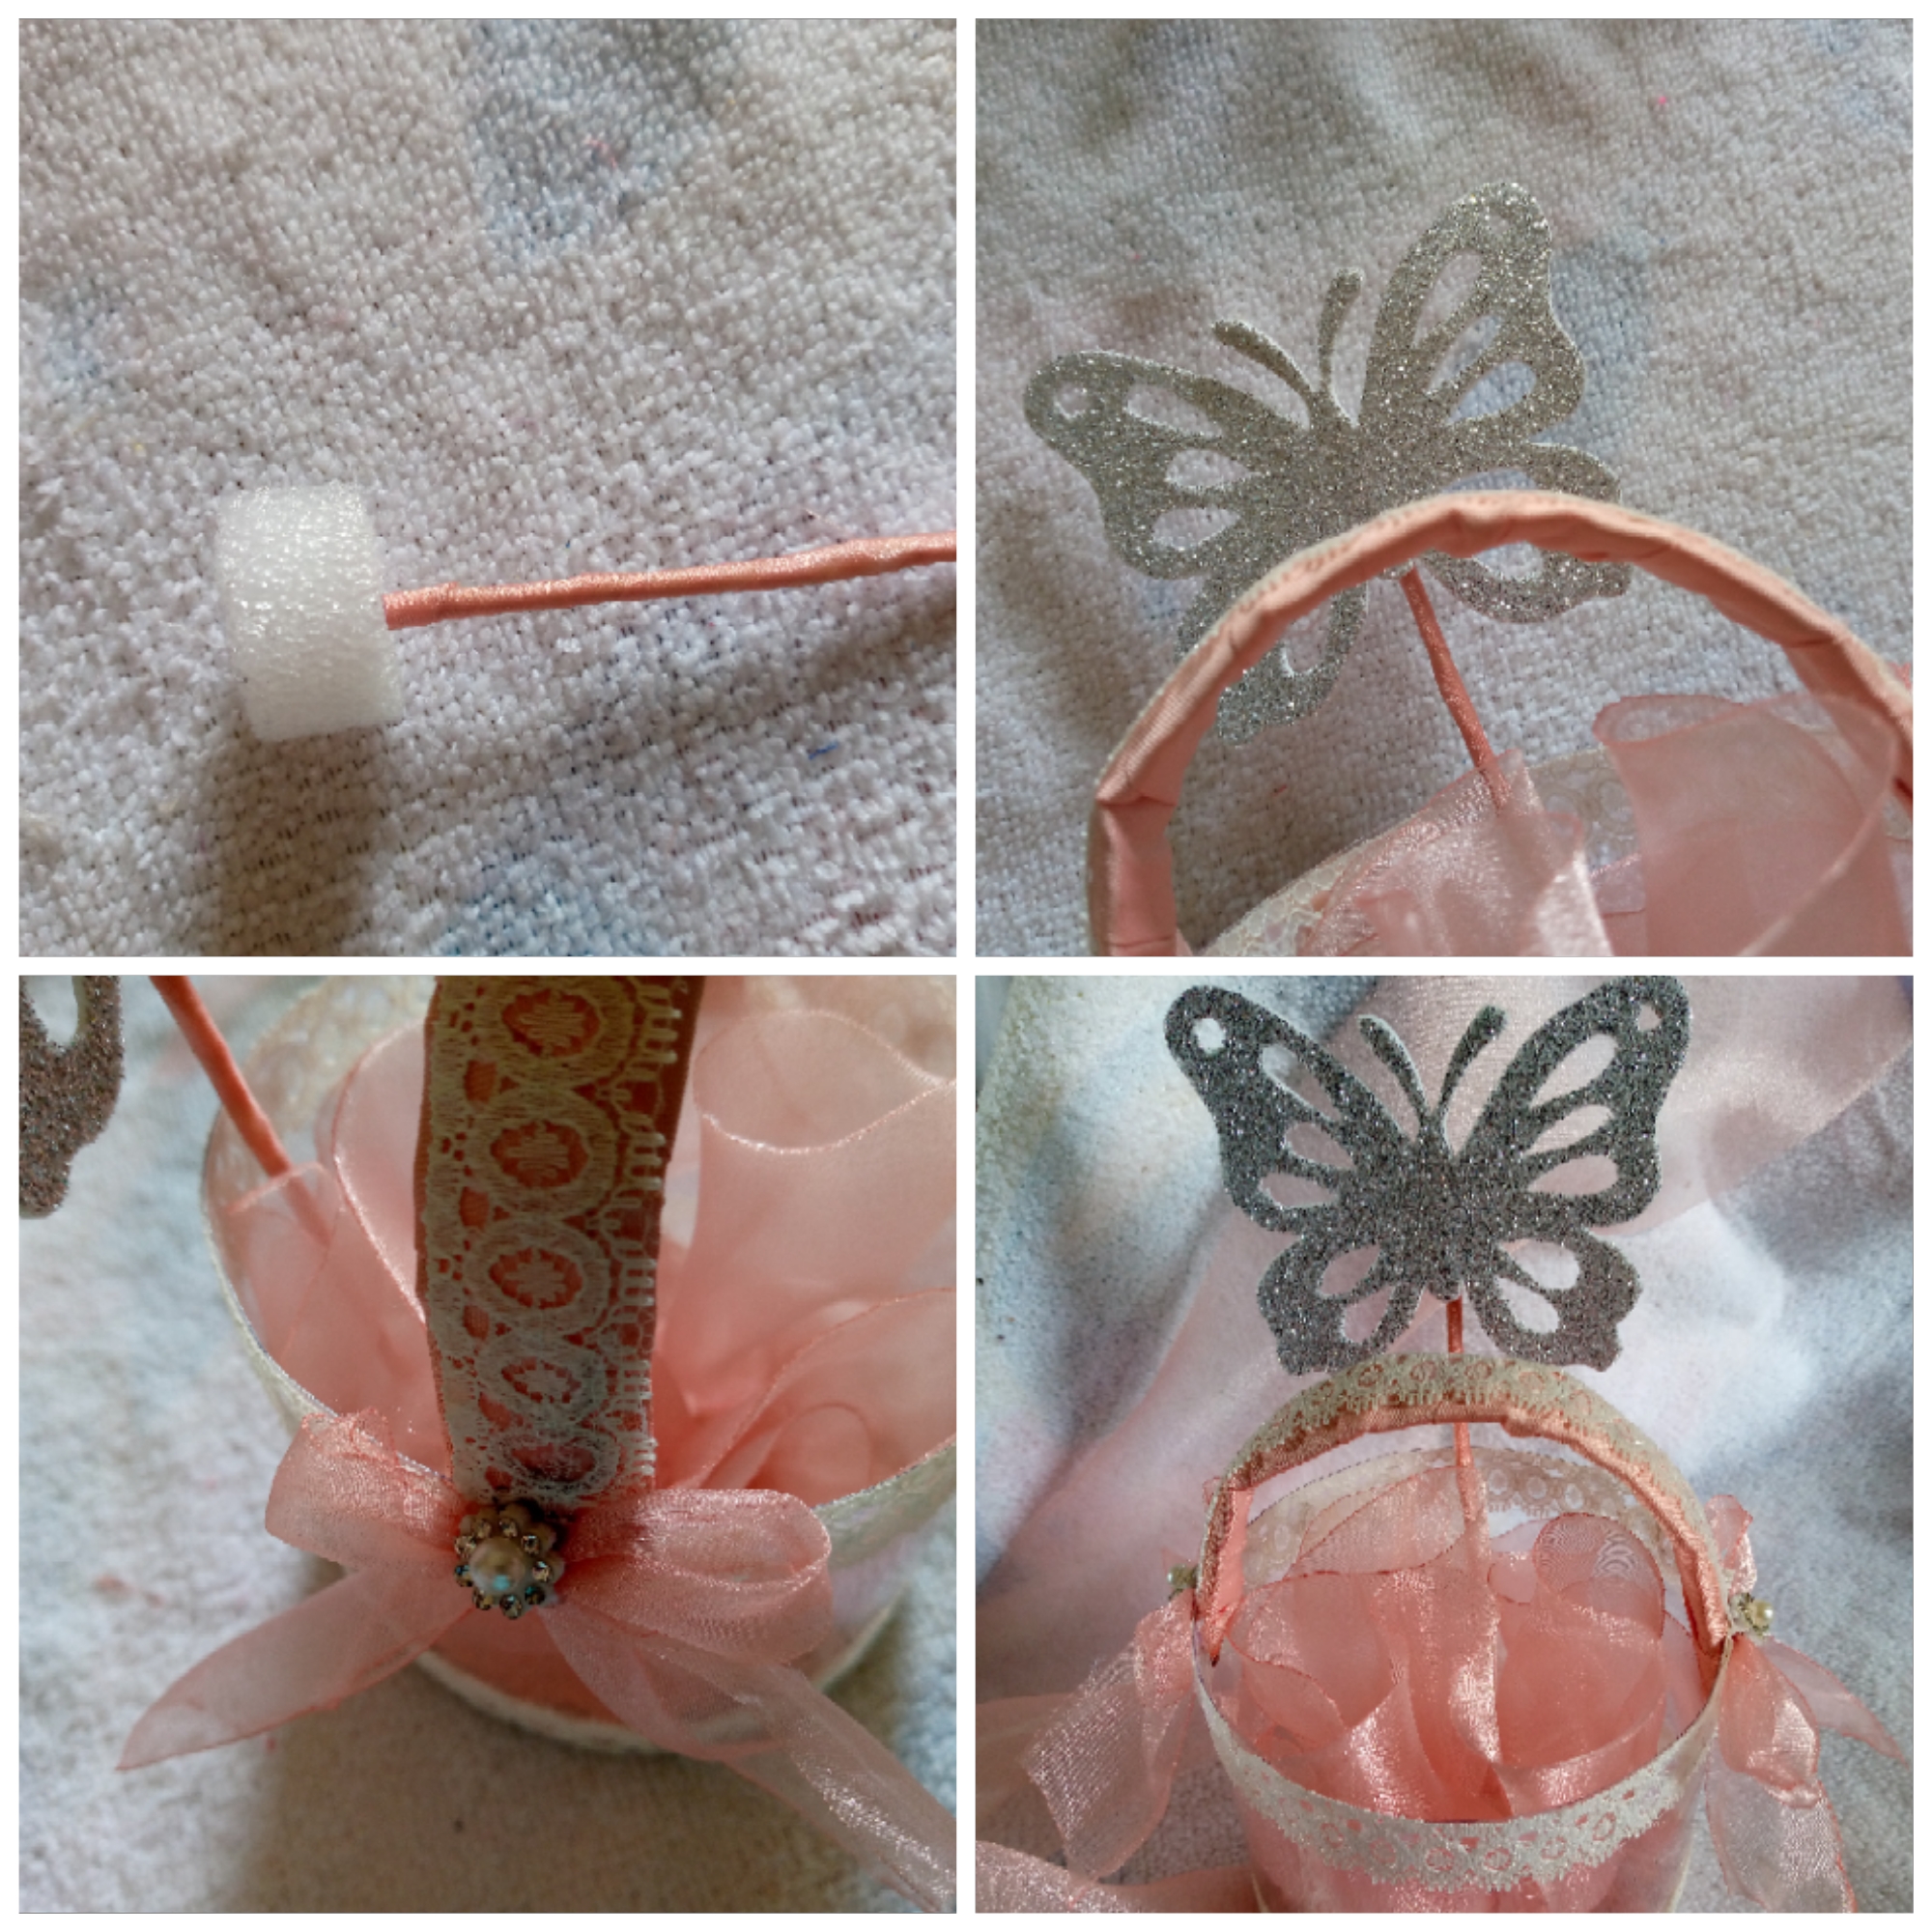
We begin to line our round cardboard base with fabric and silicone. Remember to add glue, joining the fabric and stretching a little to apply pressure and make it smooth. We are also going to line it at the bottom, we add silicone to the edges of the base and we are going to glue it to the cylinder of our plastic bottle, we glue it quickly before the silicone dries.
Paso 02
Step 02
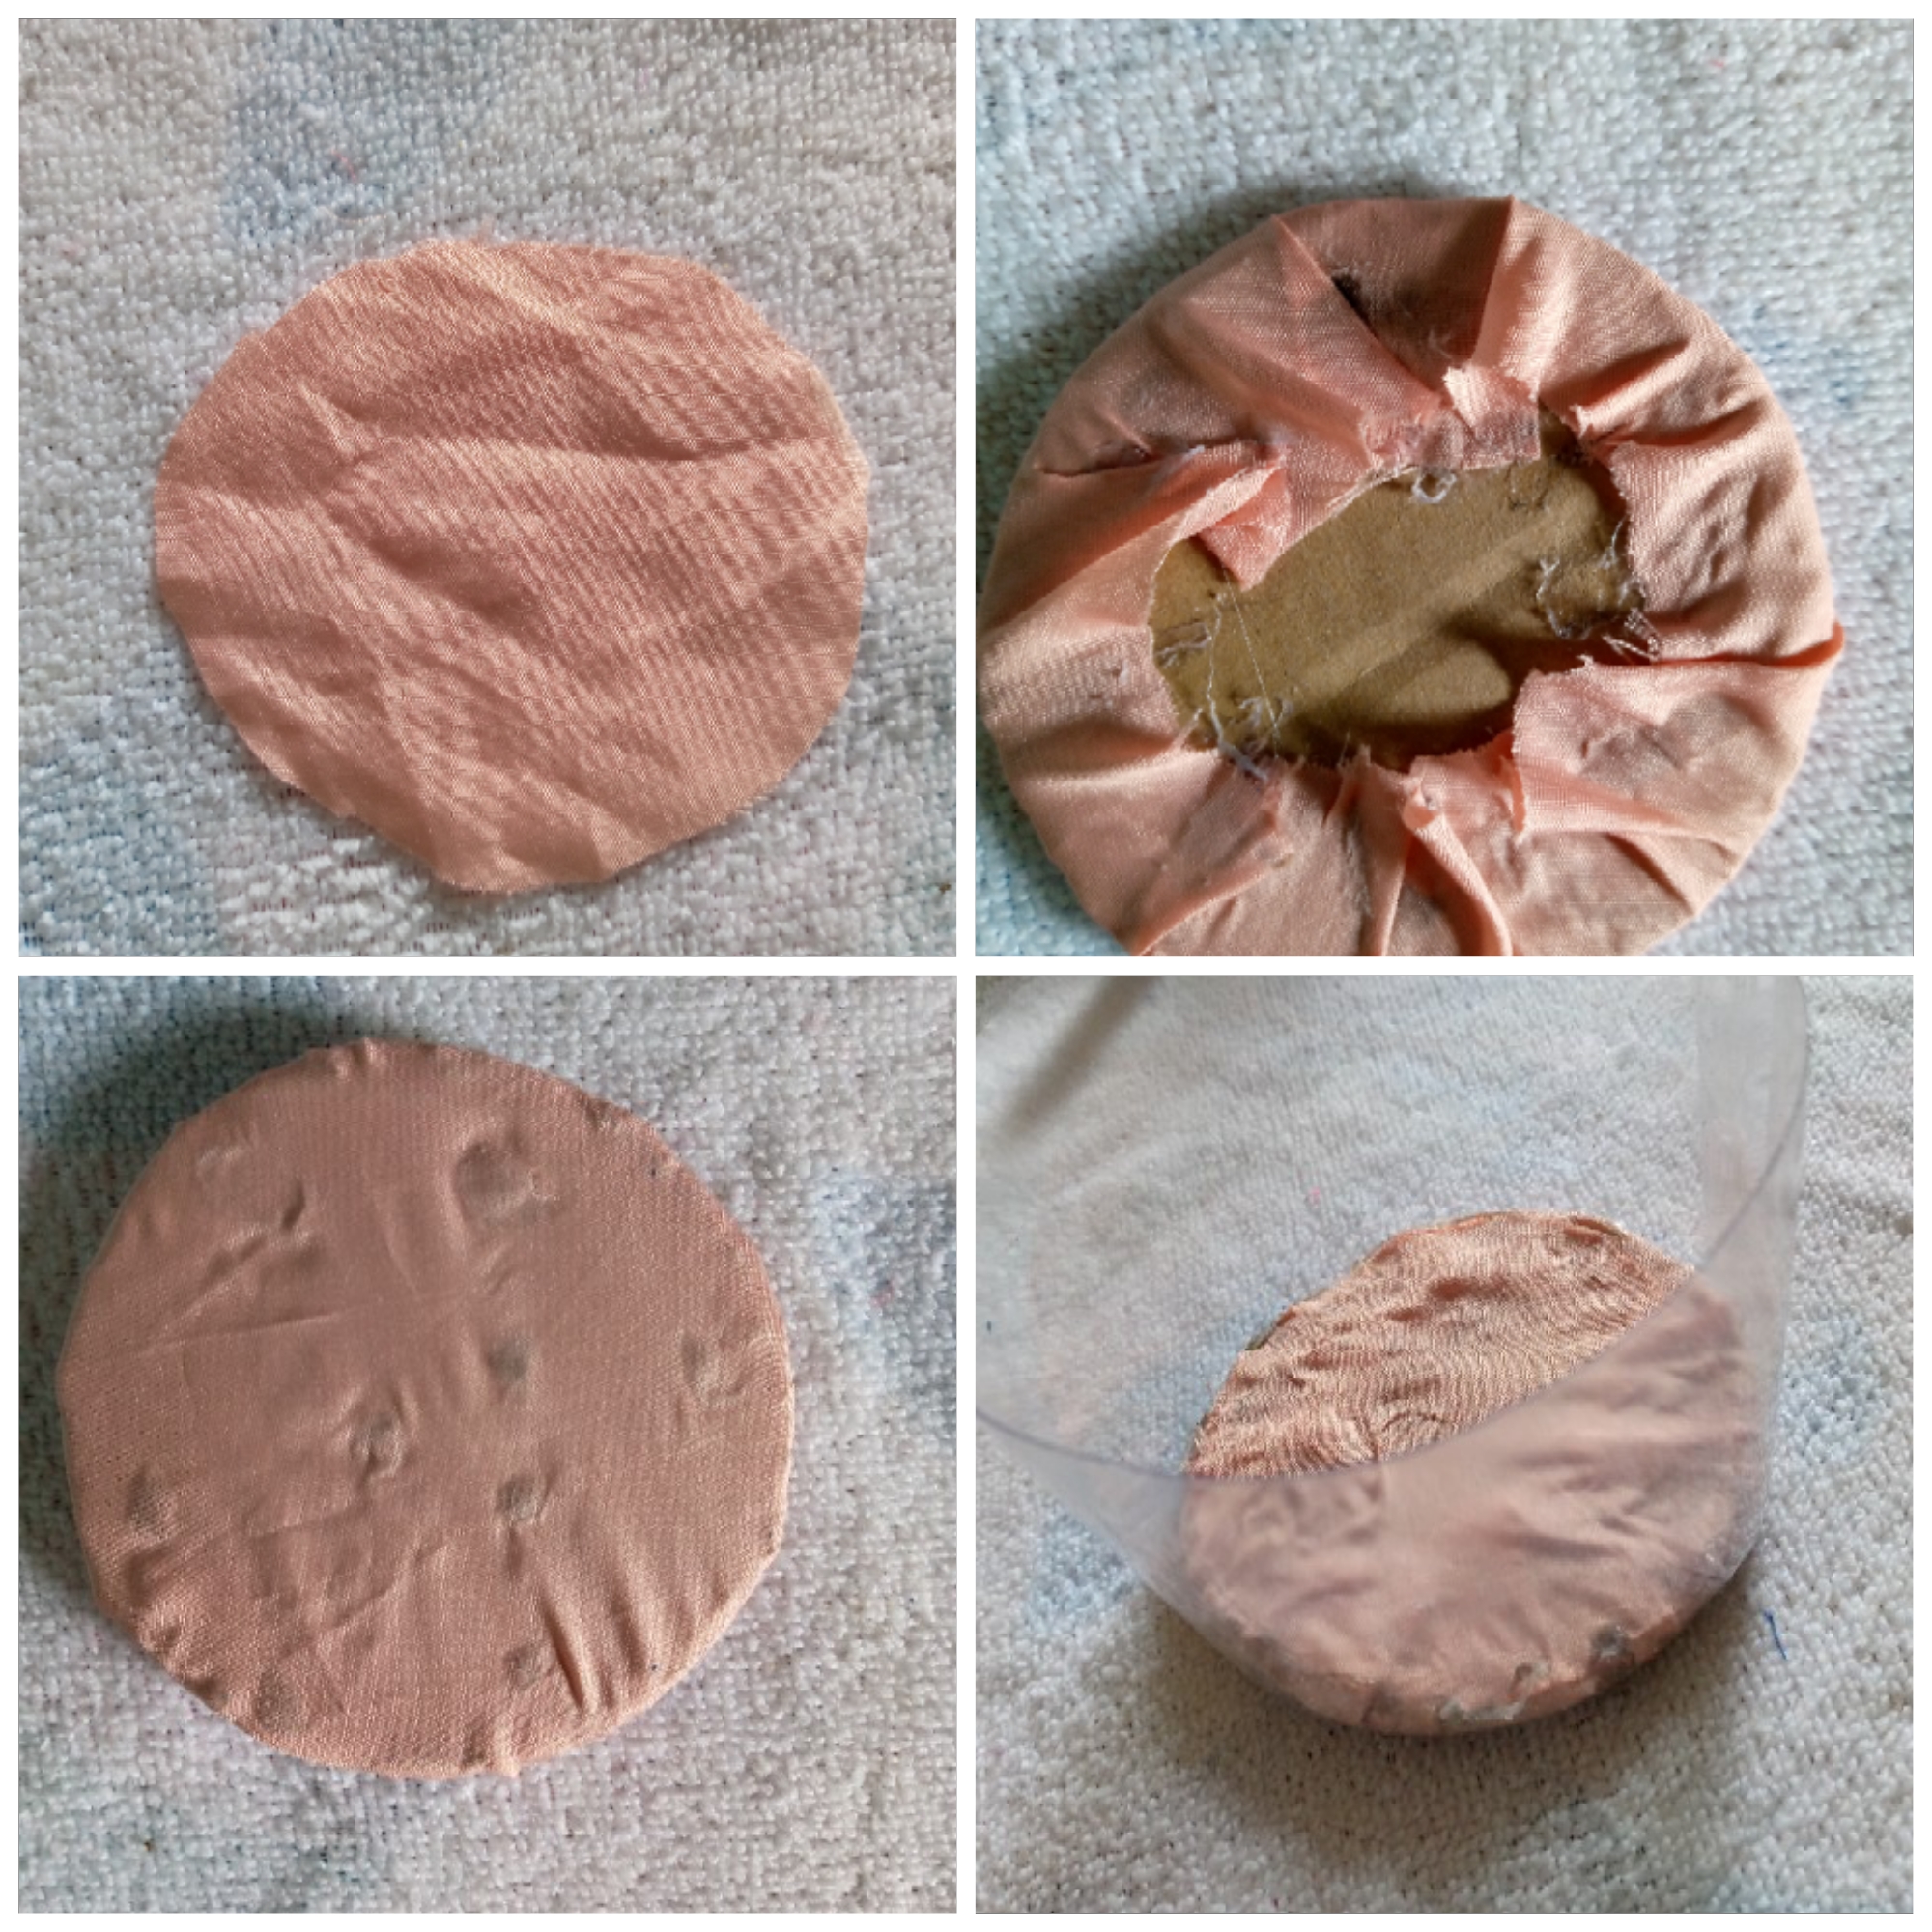
I proceed to glue the lace on the outside edge of the bottom of our bottle base, we place this so that the stains that remain under the silicone are not noticeable, I proceed to cover the handle of my arrangement with the strip From cardboard I cut a strip of fabric and at the tip I secured it with silicone so that it would not come loose and I covered it by turning the fabric tape between the cardboard. Once ready, I added it to one end of the bottle and to the other.
Paso 03
Step 03
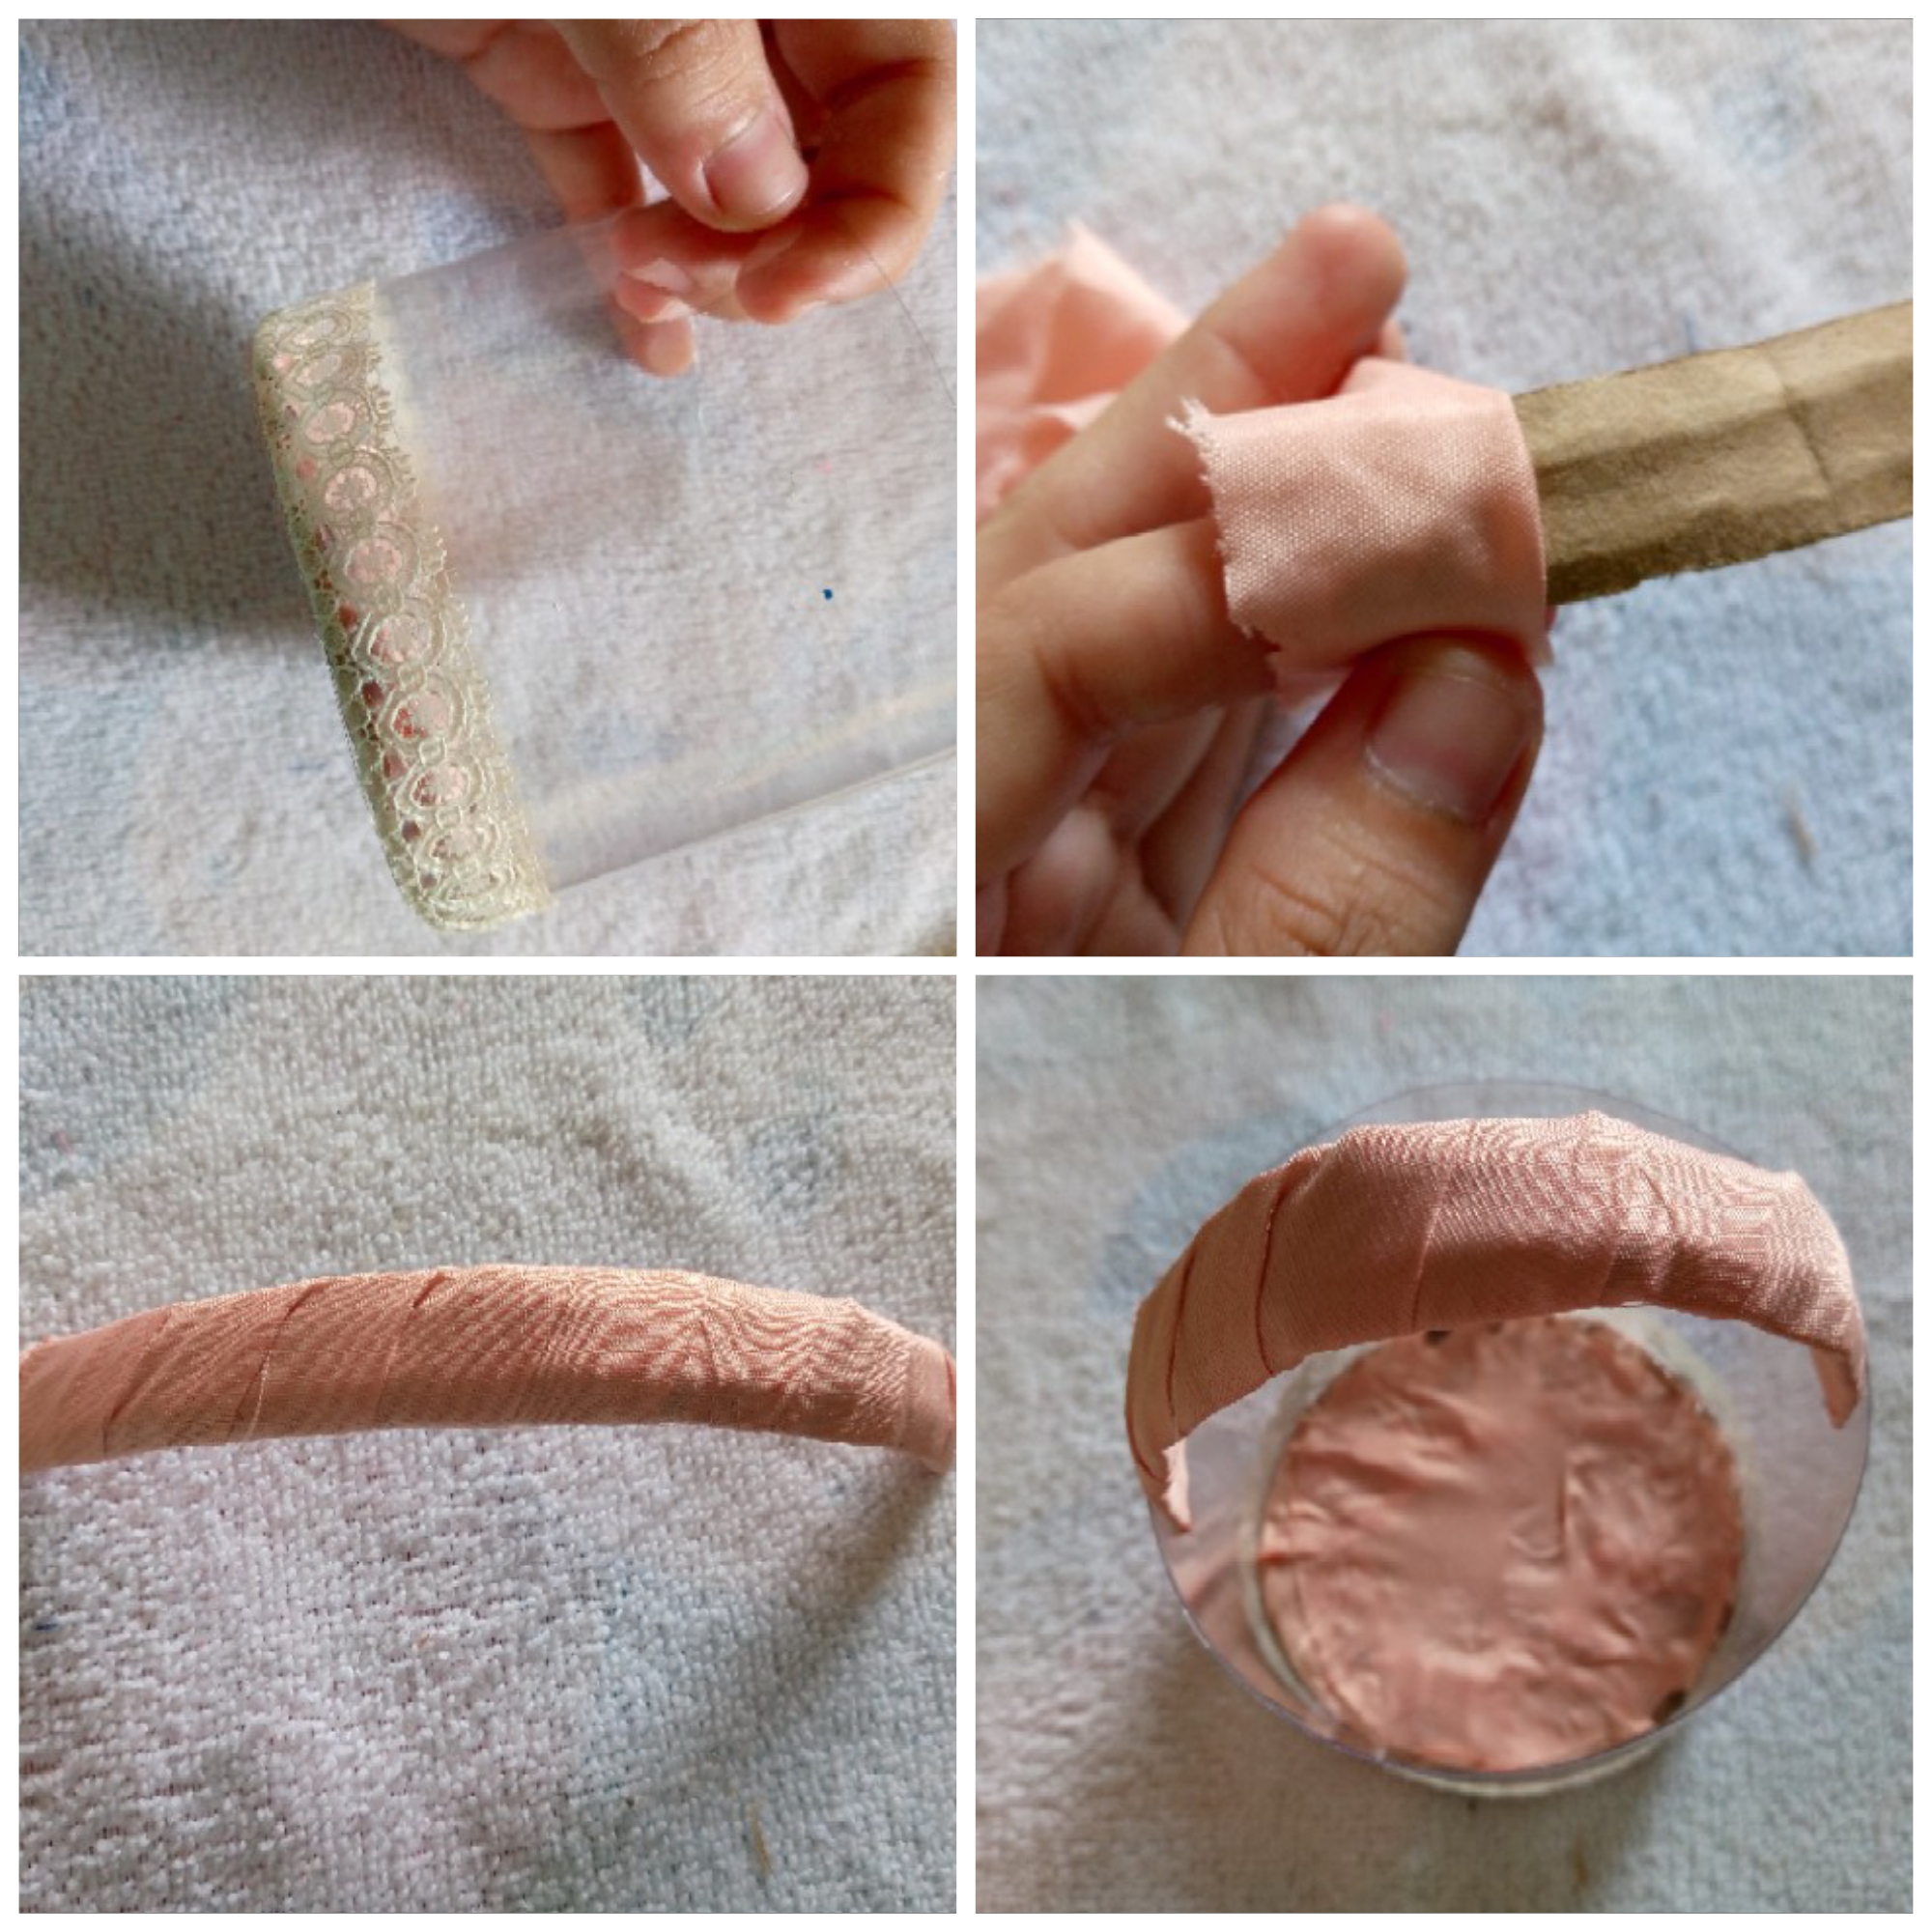
I also proceed to glue another piece of lace to the top edge of my arrangement to decorate, with a long satin fabric ribbon I am going to gather it with thread and needle forming a kind of flower. I am not going to tighten it too much but I will leave it somewhat loose to place it inside the arrangement forming a kind of decoration inside and protect the little things that you are going to put inside, I then glue it with silicone once it is inside so that it does not come out.

Paso 04
Step 04
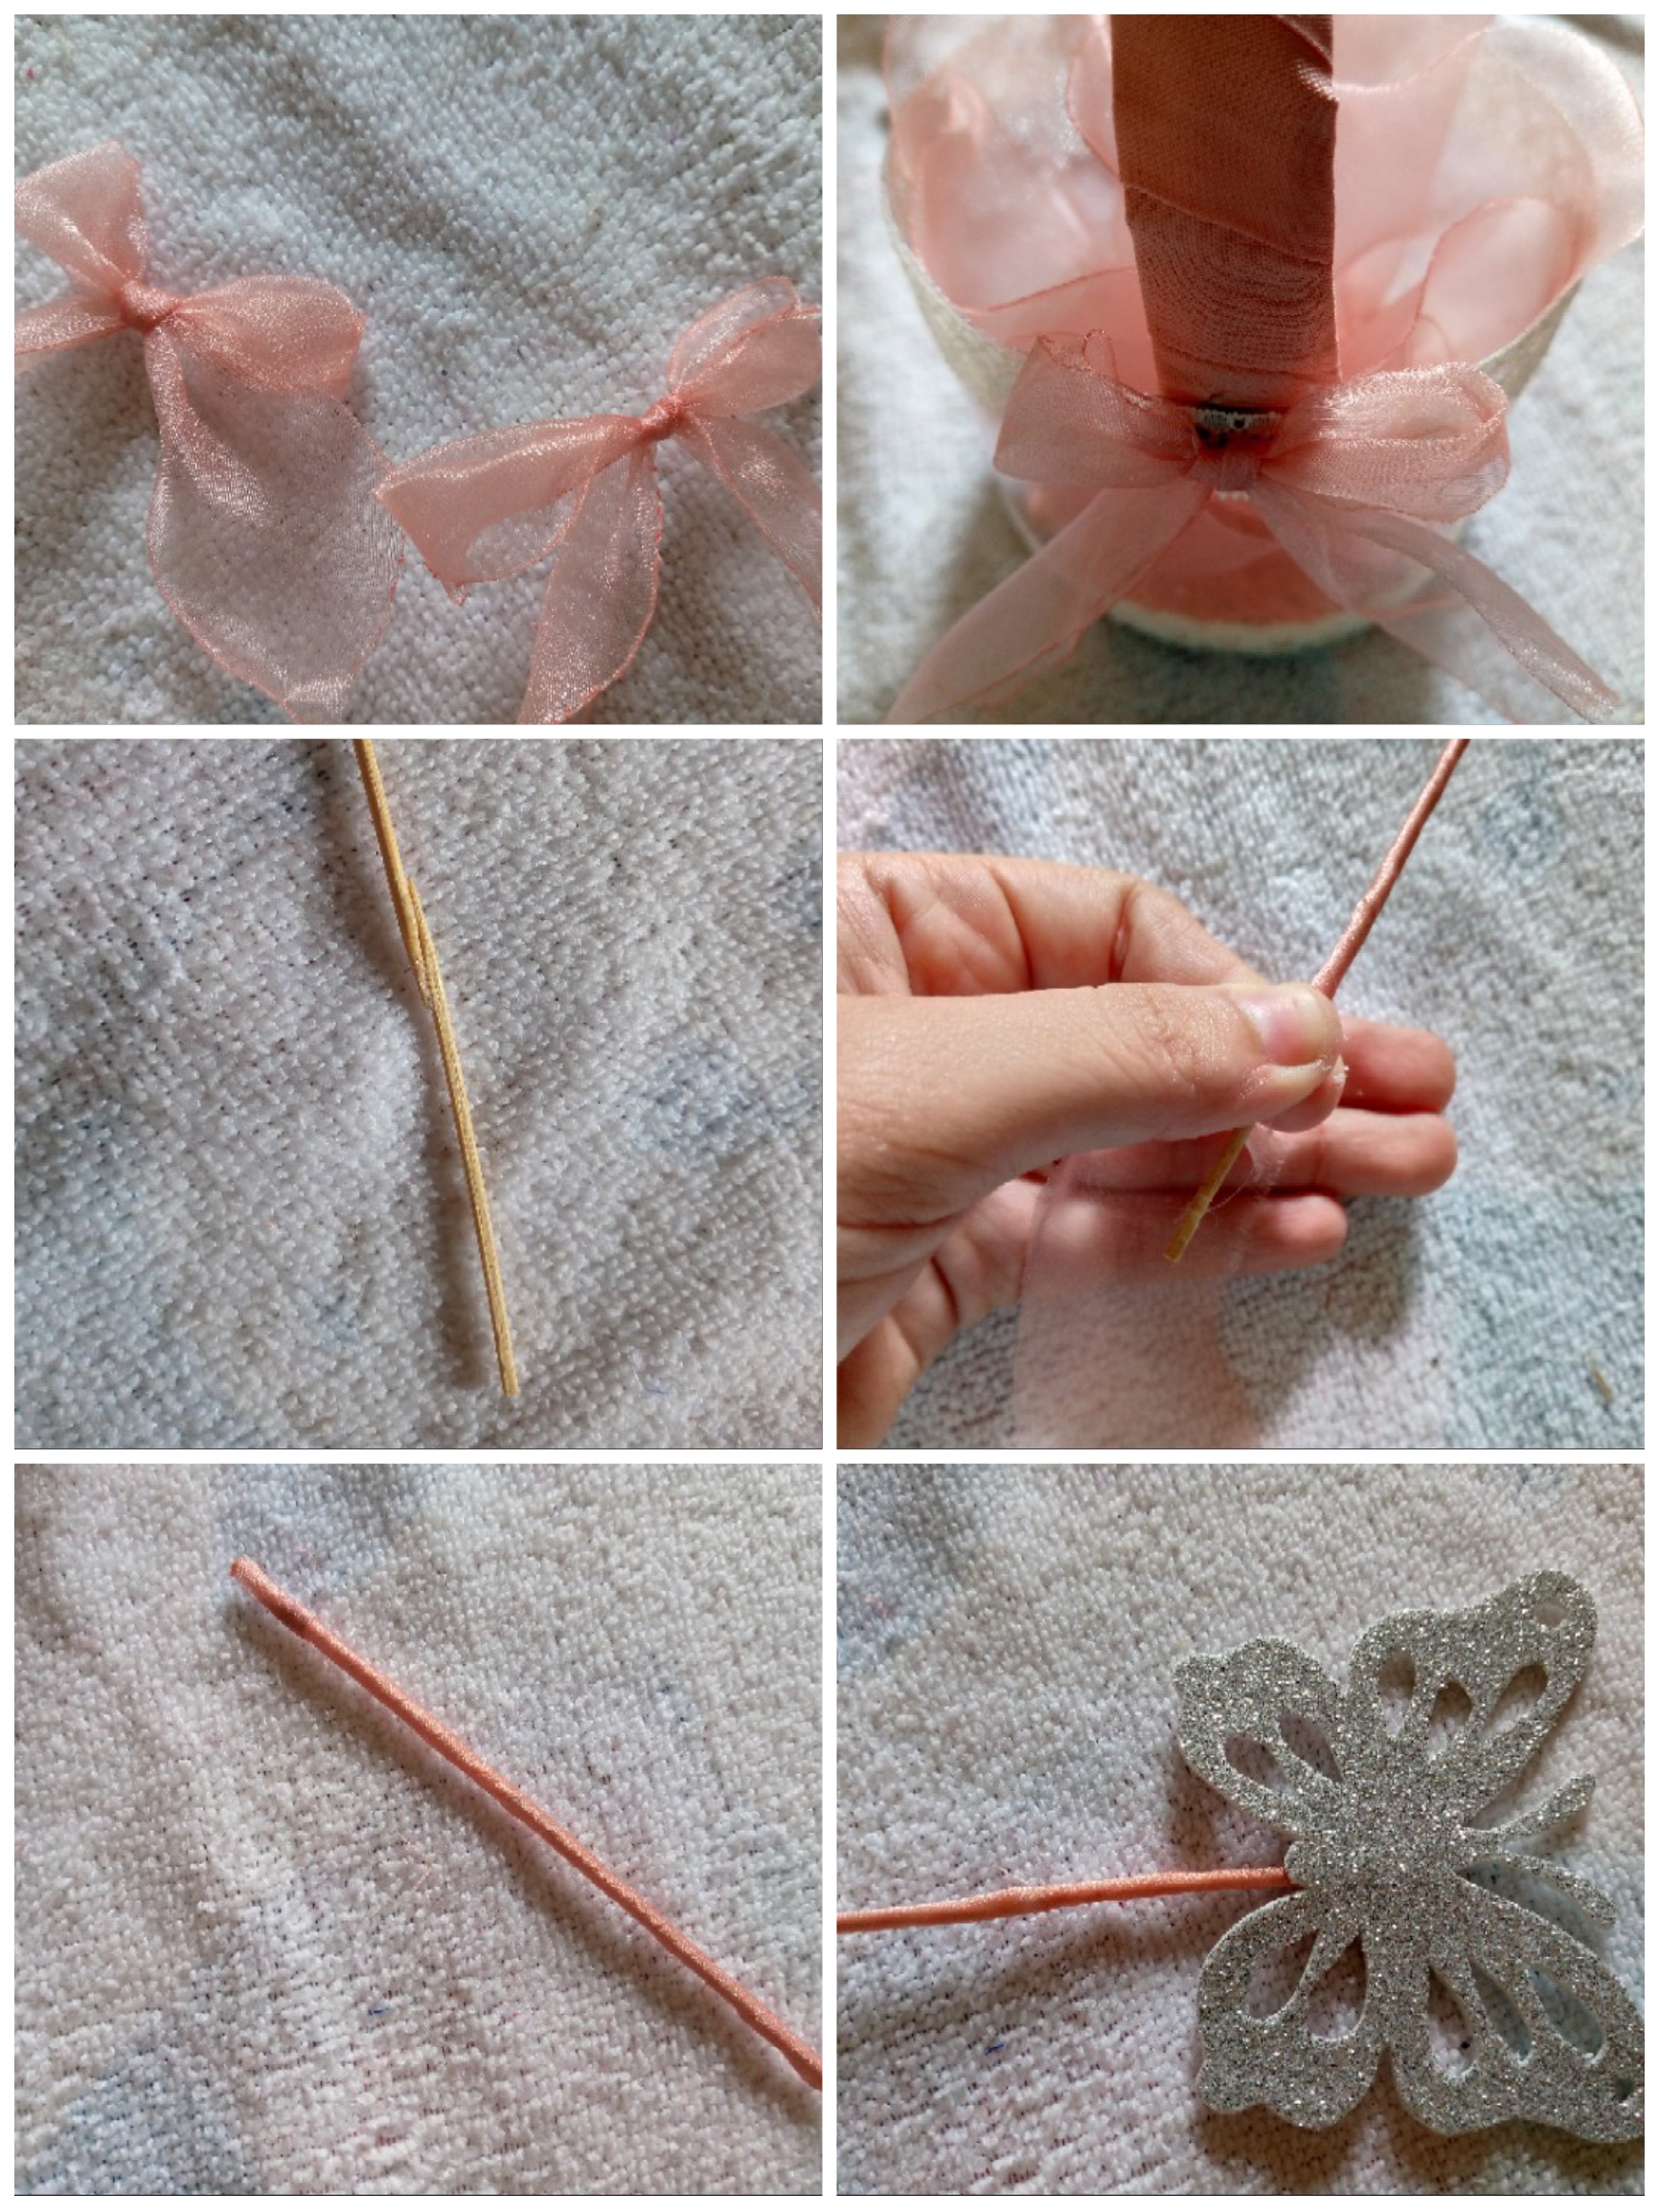
With pieces of the same fabric that we used to make the flower we are going to make some small bows to place on both sides of the handle of the arrangement, then with two toothpicks I am going to join them with silicone in the middle of both to form a medium one With a strip of fabric I'm going to cover them to give it a more beautiful finish and I seal it at the end with silicone so that it doesn't come loose. I'm going to glue the silver Fomi butterfly to the toothpick.
Paso 05
Step 05
To finish the toothpick, I will add the small piece of florist foam at the bottom to hold it to the arrangement, I then glue it inside with our silicone, I decorate the bows on both sides with some small details and that's it, this beautiful arrangement is finished for my friend.
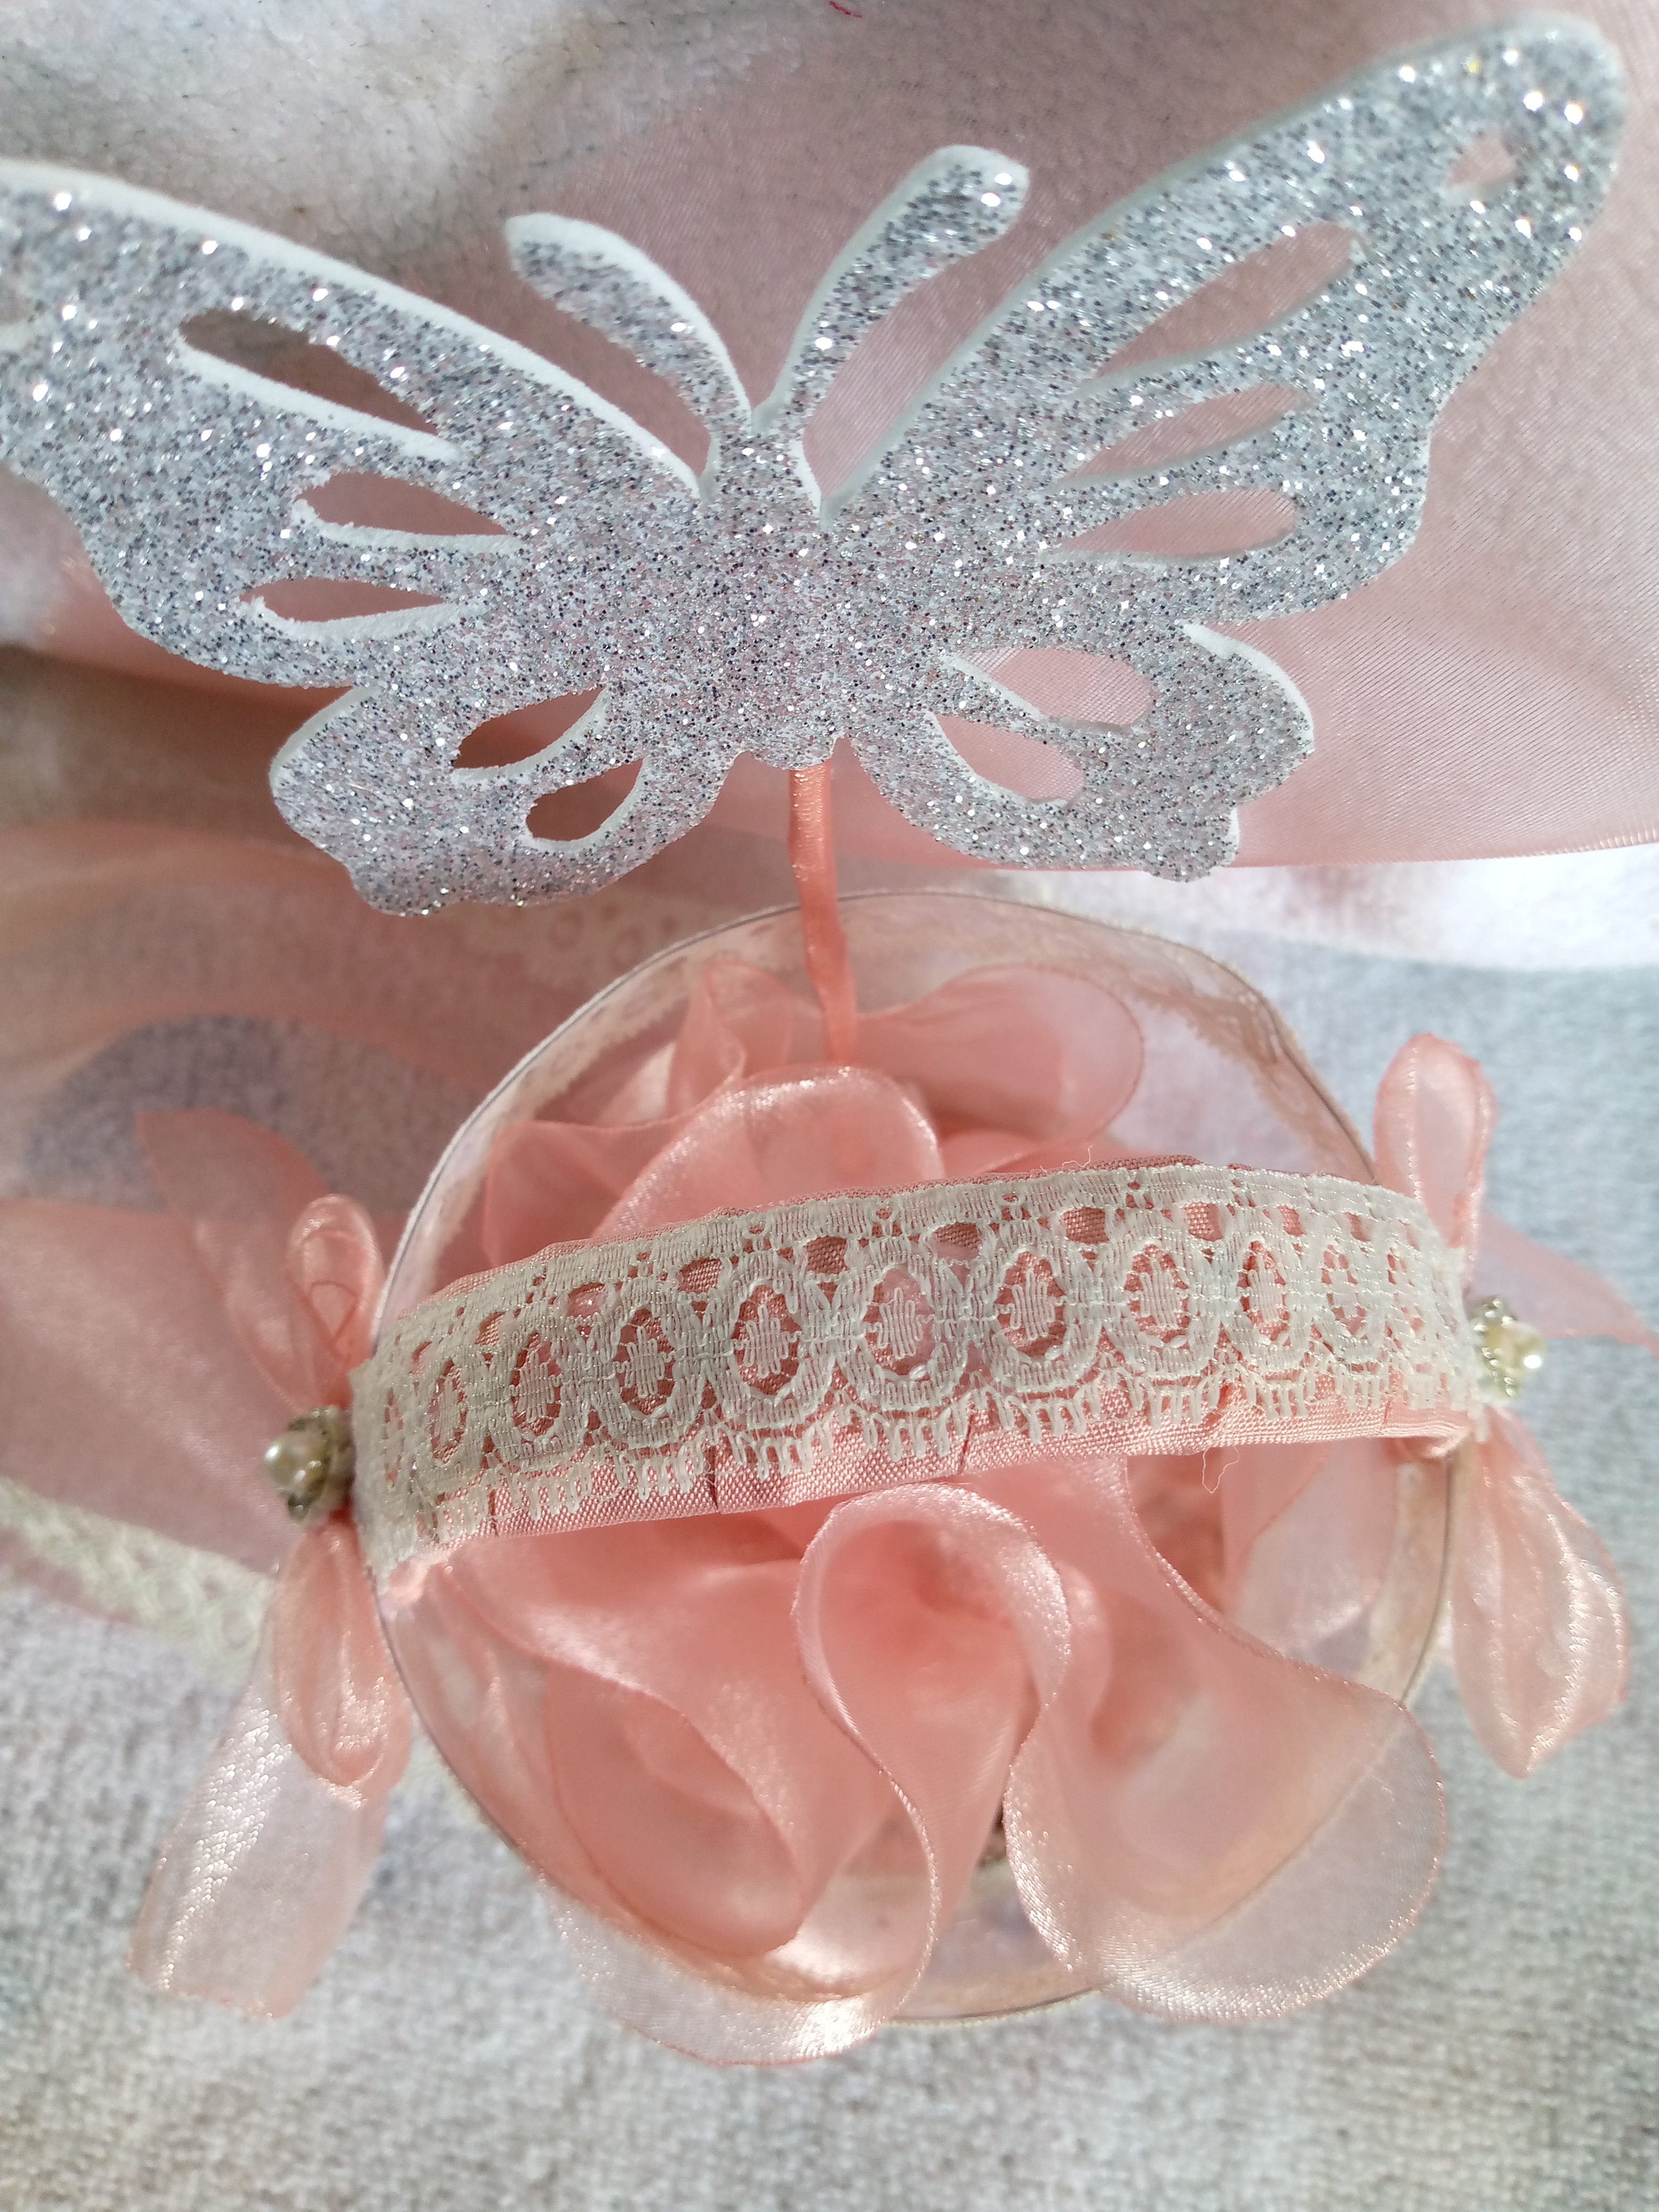
Resultado:
Result:
I am sure that my friend will like this beautiful craft, very flirty style...Thank you for reaching the end of this blog by recycling bottles and any other type of reusable material, I wish you a happy and beautiful day, I send you Many greetings friends and may God bless each of you, success!!! See you in another next blog.
.jpg)

Your friend will definitely appreciate your new gesture. Really thoughtful of you
Grateful for the appreciation of this blog, thank you team @diyhub 😍🥰
Whaooo this is so beautiful your friend will really appreciate it
Thank you very much for appreciating this blog, very grateful.
Such a beautiful gift, nice job 👍
Thanks 😊👍
How beautiful! It looks very delicate and beautiful
Thanks friend 😍✨