The biggest flex about knowing how to crochet is the ability to recreate any outfit of your choice using just a crocheting pin and wool.
I love mini skirts and I figured I didn’t have any in crochet, and I decided why not make one.
It took me about 2hours approximately to create. Involved a lot of repetitive patterns and stitches which made creating less tasking.
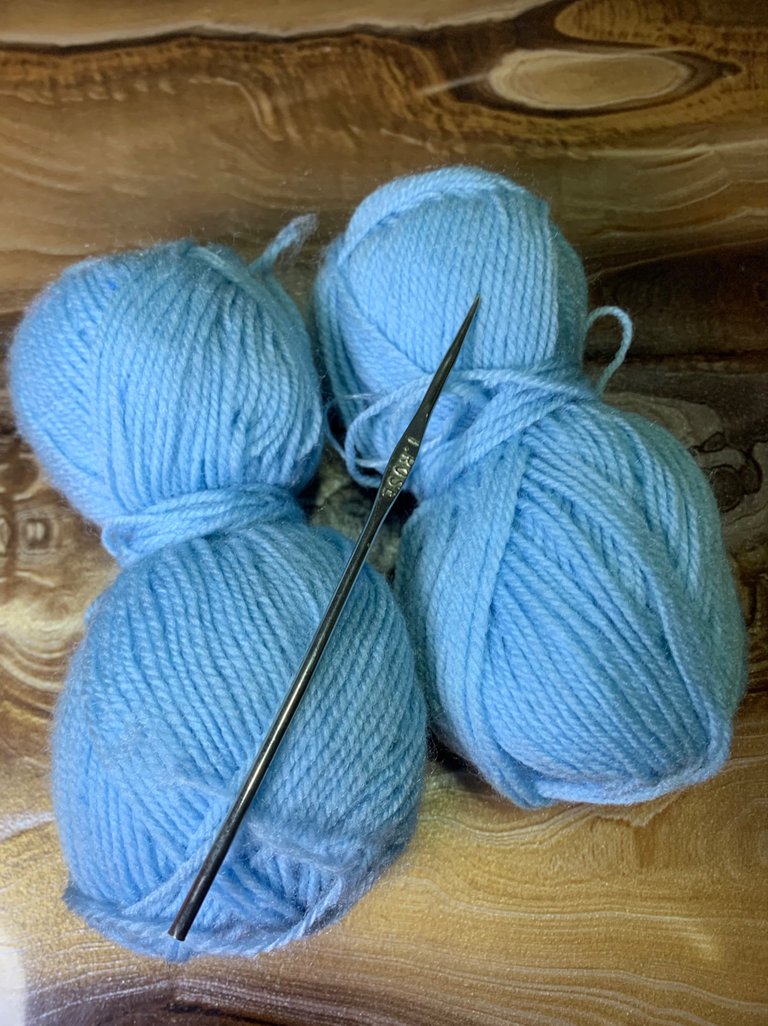
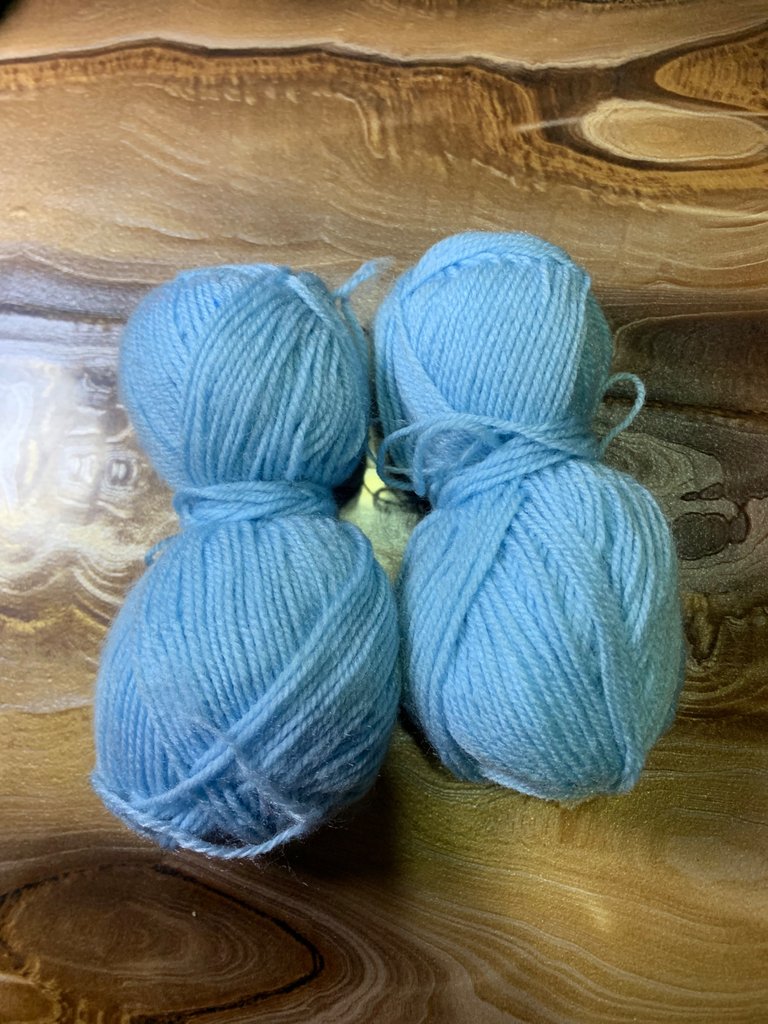
Materials Used;
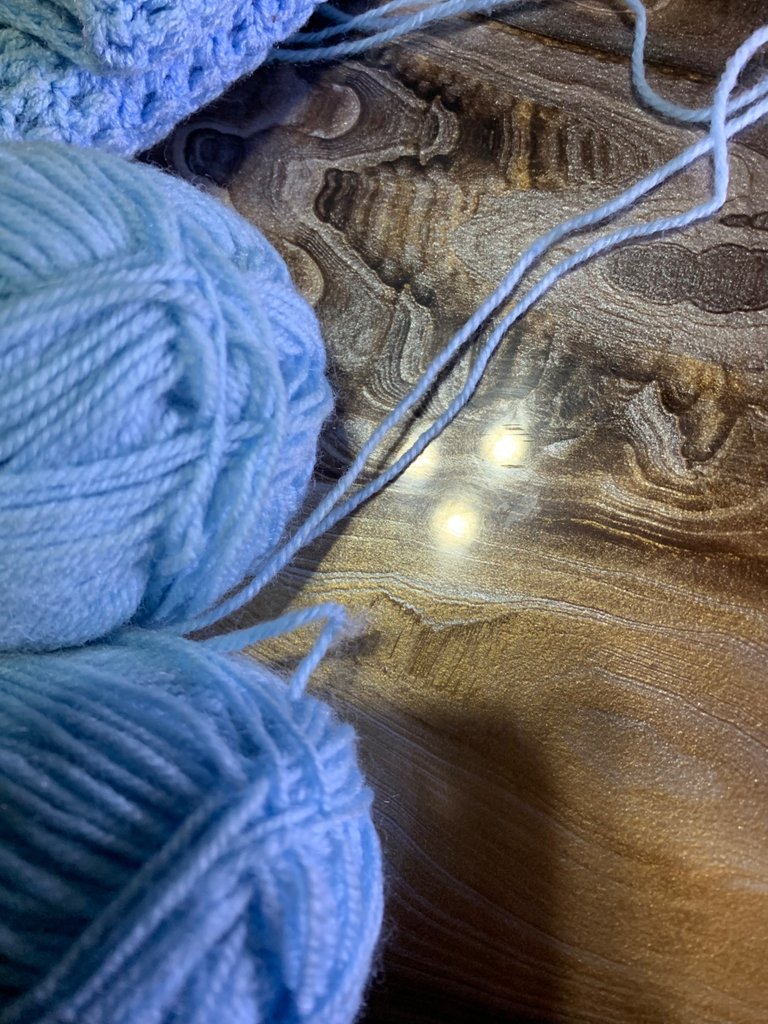
||Balls of yarns in sky blue color || A 5mm hook ||Measuring tape ||Scissors
Process:
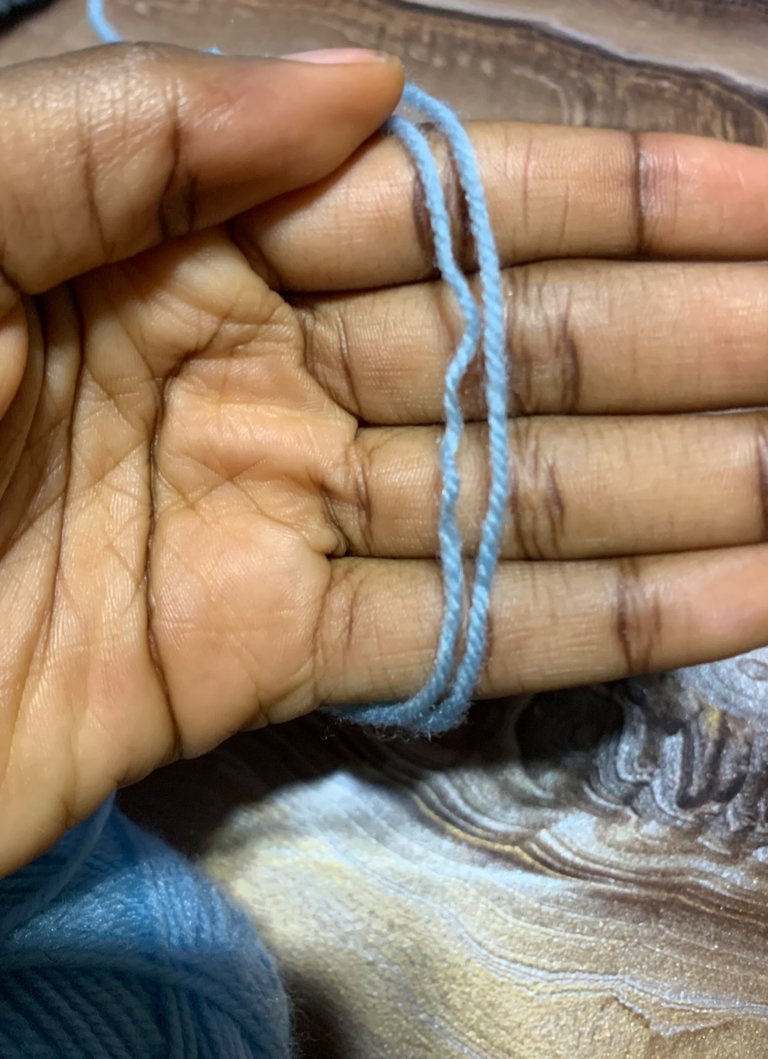
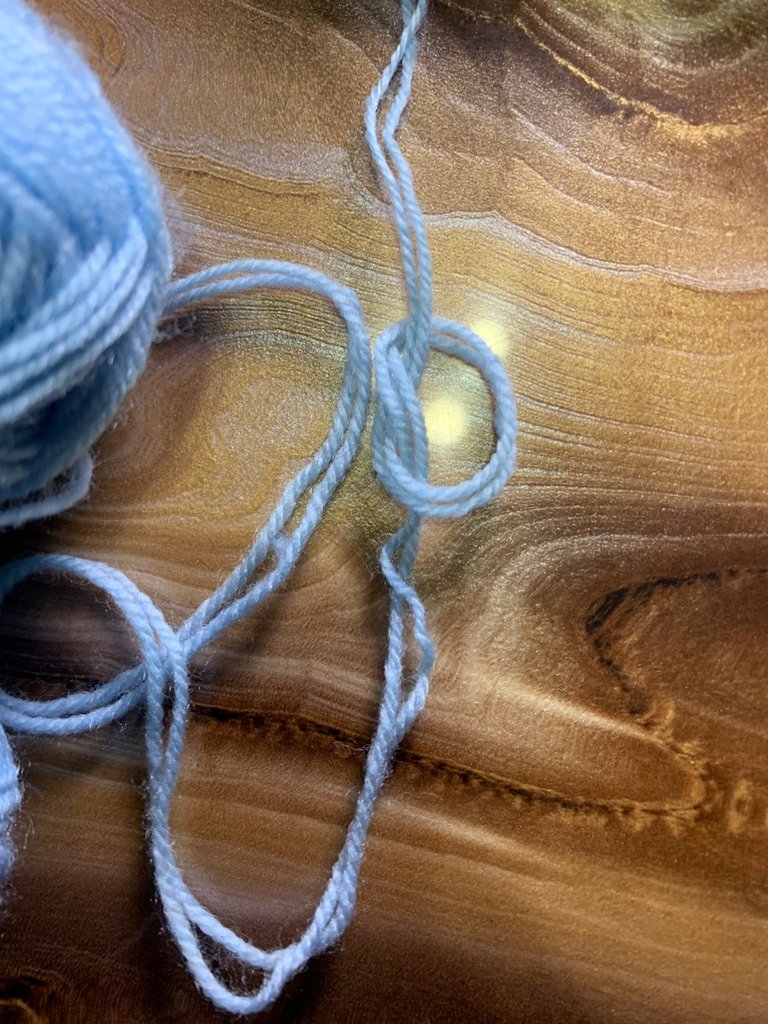
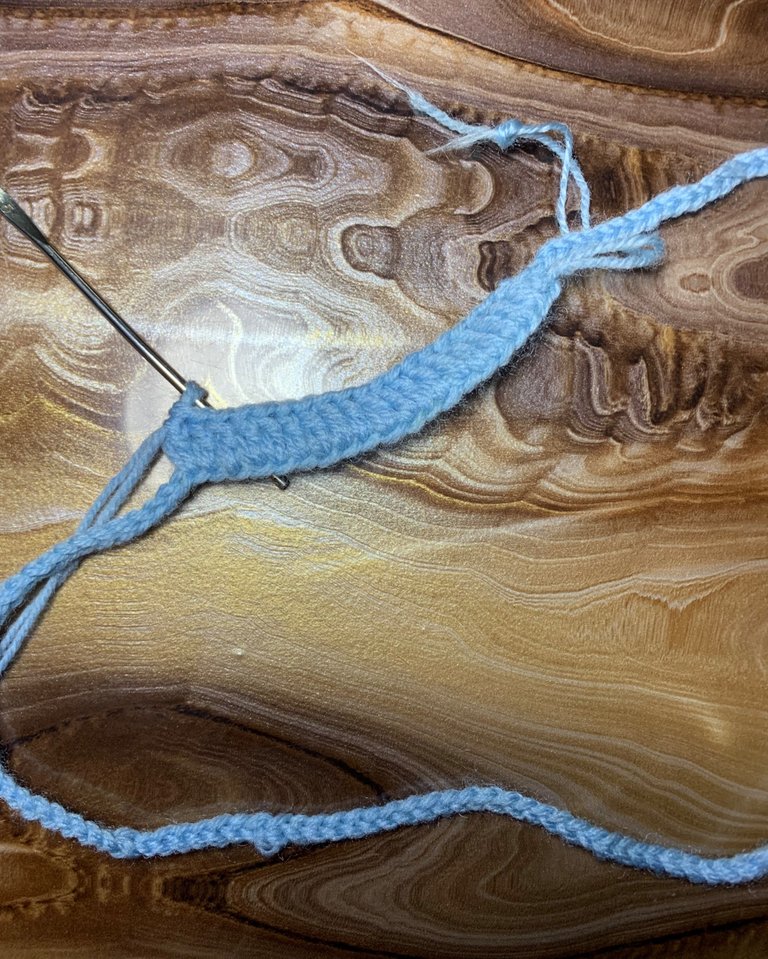
•Make a slip knot, doubling up the yarns for skirt thickness and less see through holes.
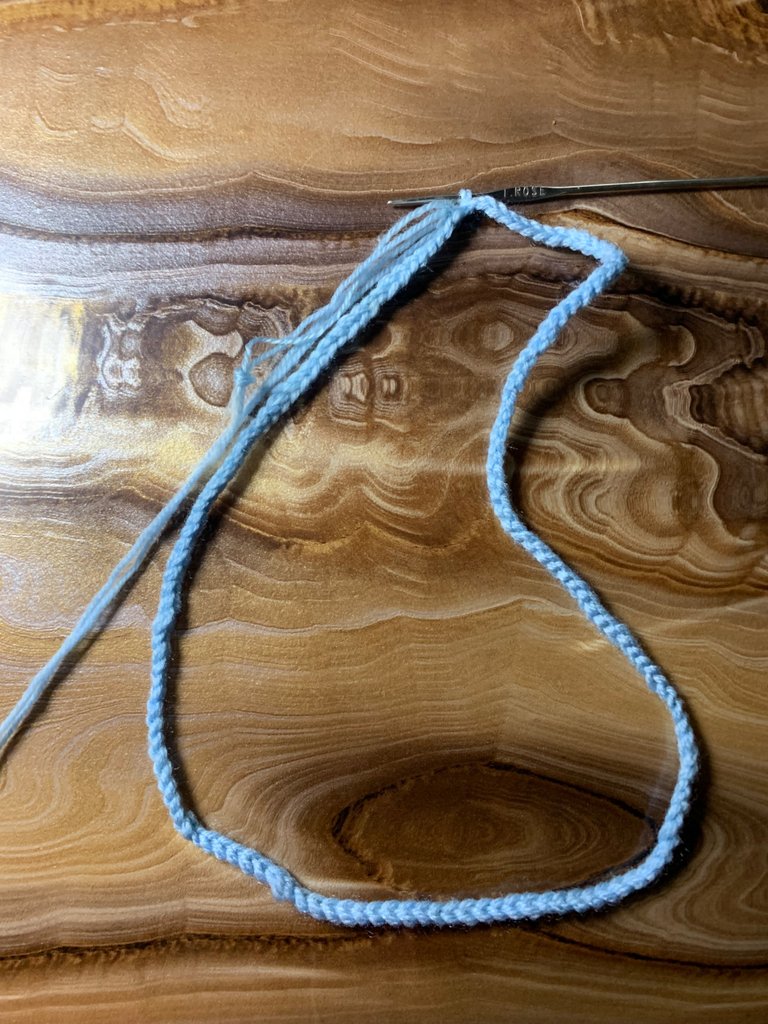
•Starting with the waist. Chain up 70, preparing for a double crochet. Measure with a tape across your waist to make sure it goes round.
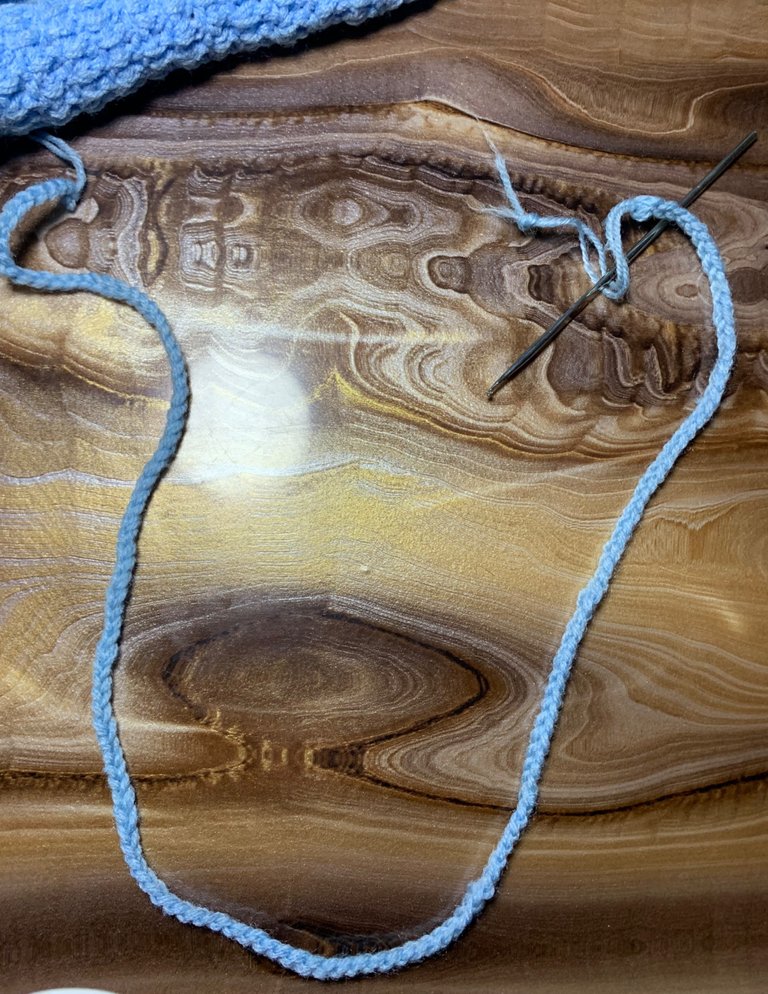
•In the absence of a measuring tape, make chains long enough to go round the waist and measure across accordingly. Close up chains with a slip stitch.
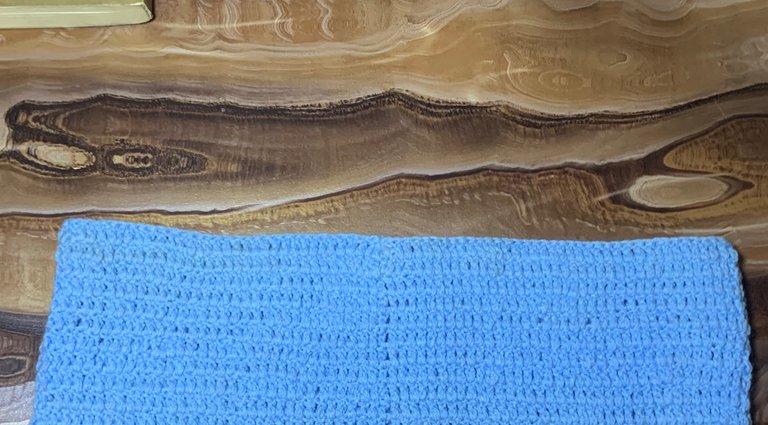
•Chain up 3, double crochet into every stitch across and close up with a slip stitch as done earlier.
•Repeat same pattern for a total of 10 rows before increase.
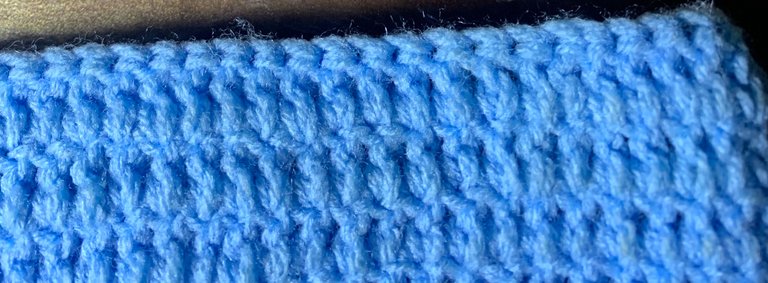
•For increase, chain up 3, place 2 double crochets in the very first and last stitches, and then place one double crochet each in the middle stitches and close with a slip stitch at the end of every row. This enables increase for the hip area.
•Increase for about 20 more rows. Use a measuring tape /measure across your body to check for desired skirt length.
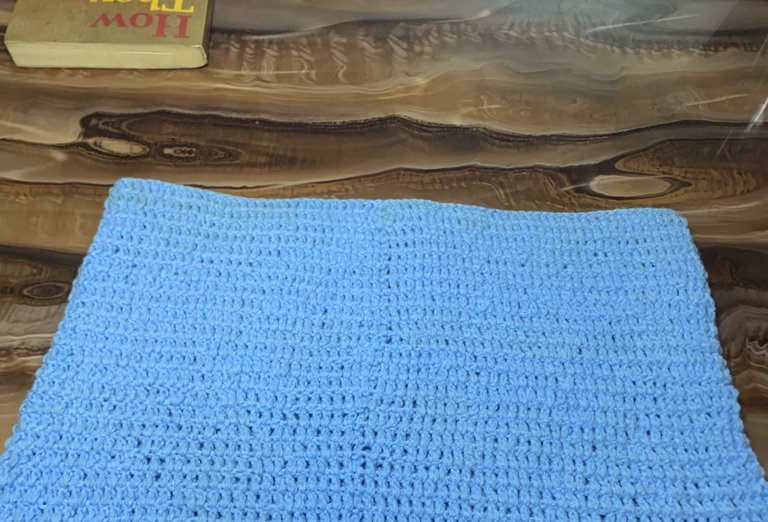
•Stop increasing and repeat the first pattern until the length of your choice. That is, chain up 3, place one double crochet in each stitch without increasing, and then close up with a slip knot at the end of every row. I did this for a total of 10 more stitches as I wanted mine really mini.
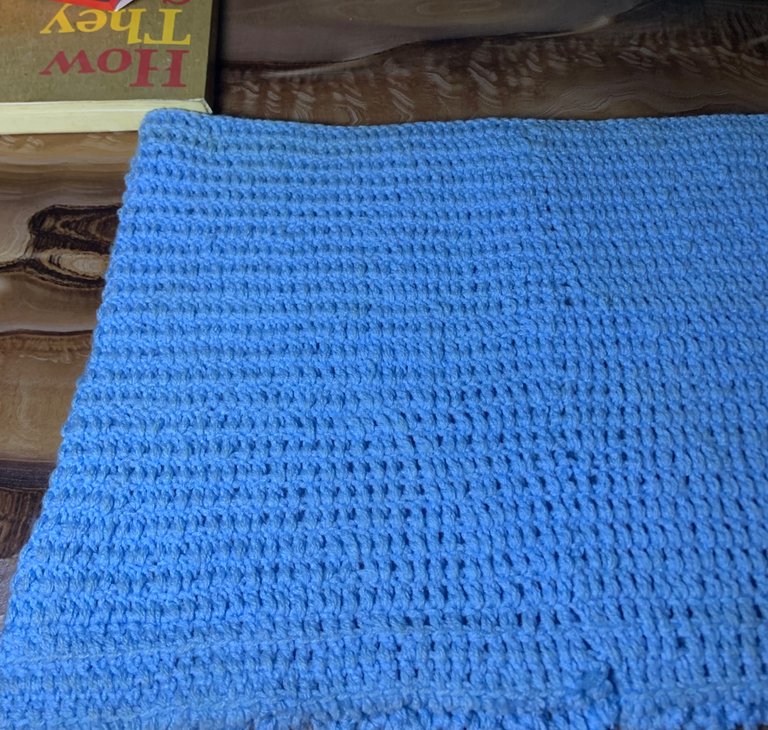
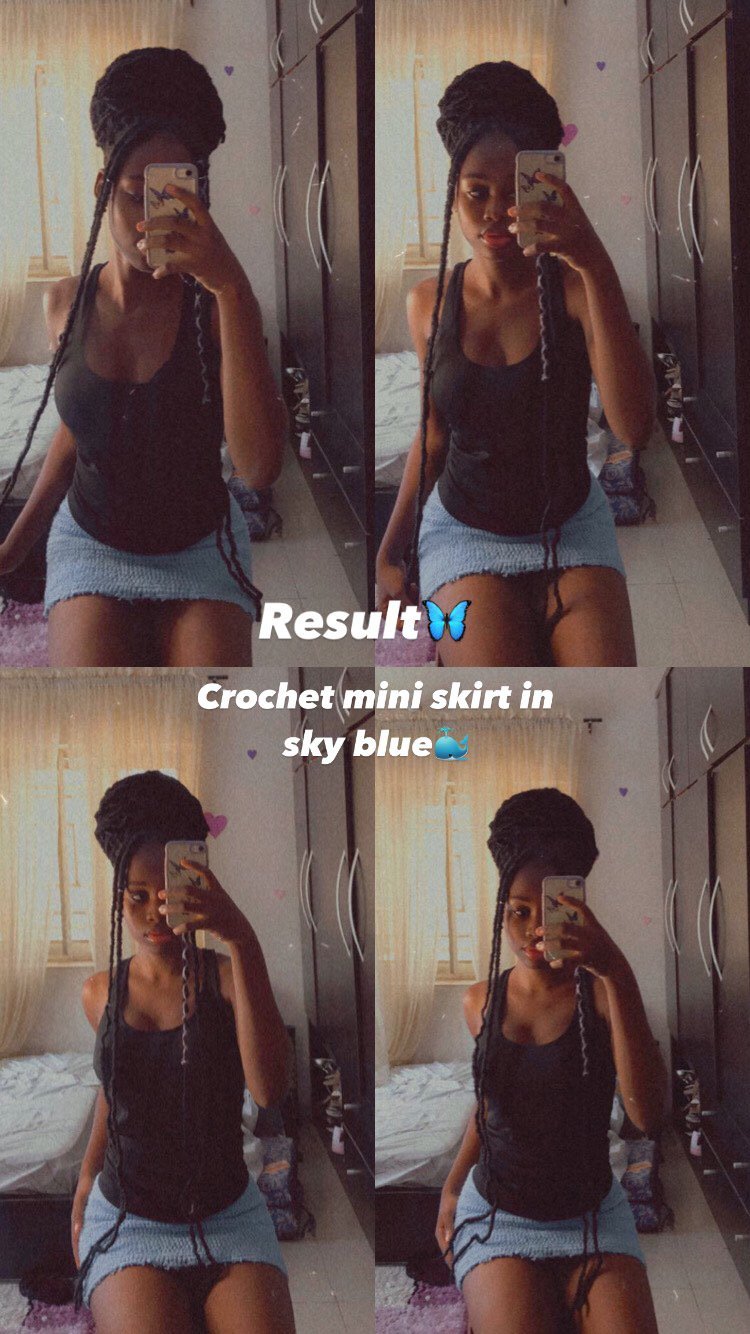
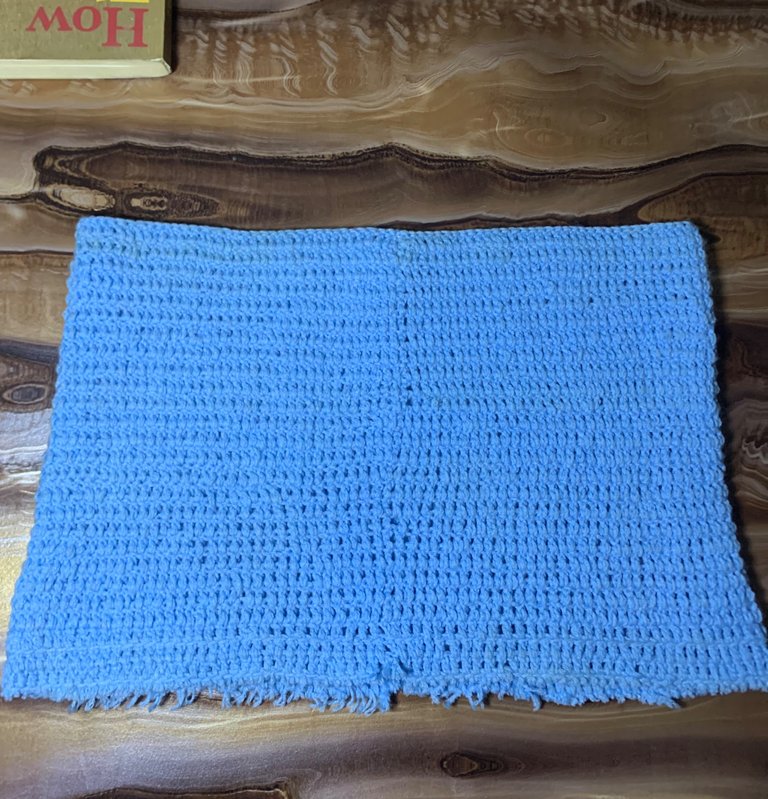
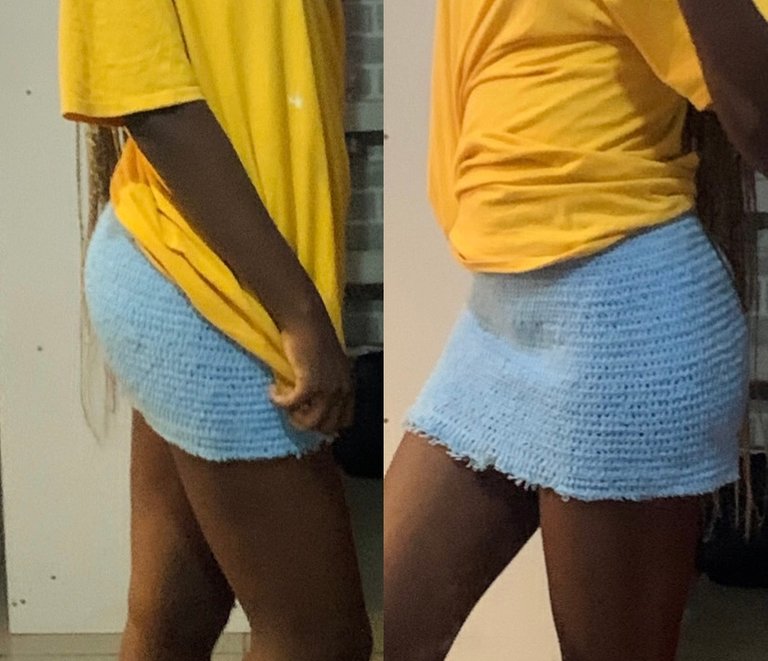
Result:
I was going for a 90’s look, something different from the regular.
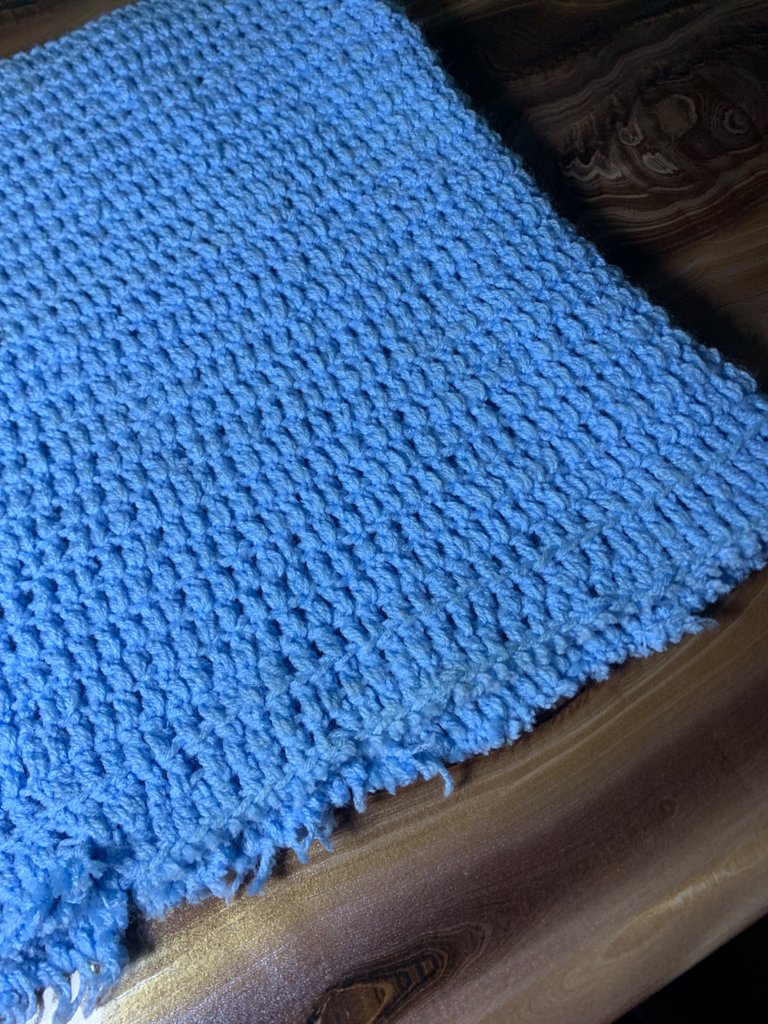
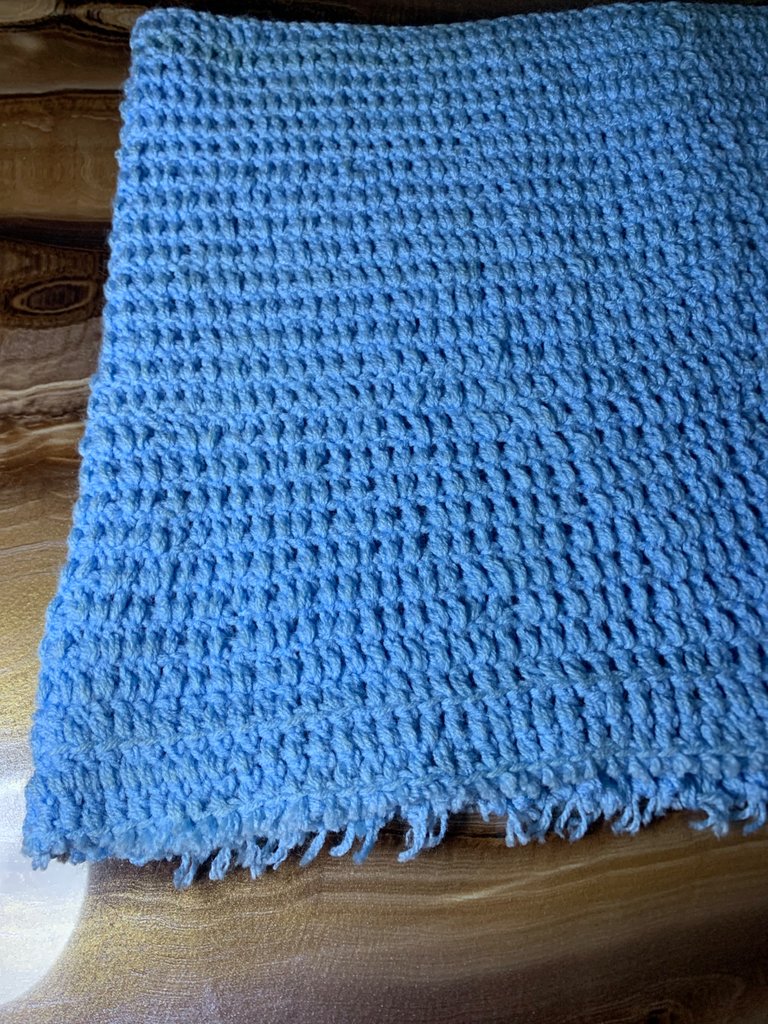
For the ends I used a small sharp scissors to cut in between each stitch of the last row of the skirt gently. This gave it the rough look that I wanted.
For the finishing, I trimmed and cut every excess wool hanging out for a neat look.
PS: making a skirt rope/belt is optional and I didn’t make one because it was my correct waist size. In cases of more fitting or loose waist measurement, a rope is needed.
I hope you enjoy reading this🤗
This isn't quite easy, I learnt knitting as a 9 year old, but I could only make a cap. I didn't take interest in learning other things as the patterns can be confusing
This took away that sharpness and gave it a different design.
Your content has been voted as a part of Encouragement program. Keep up the good work!
Use Ecency daily to boost your growth on platform!
Support Ecency
Vote for new Proposal
Delegate HP and earn more
🔥🔥🔥🔥🔥 soo cool. Great post, this is a skill I’ve been wanting to learn for a long time I just need to actually START! I bought bamboo crochet needles and I’ve got a roll of wool to start, I’m thinking I’ll try a hat first. Obviously when guys do it’s called BROchet though. 🤨 Obviously.
Thank you for sharing this post in the DIYHub Community!
Your content got selected by our fellow curator stevenson7 & you just received a little thank you upvote from our non-profit curation initiative. Your post will be featured in one of our recurring curation compilations which are aiming to offer you a stage to widen your audience within the DIY scene of Hive.
Stay creative & hive on!
This is really pretty, you are talented; always wanted to learn how to knit
Thank you🤗
It’s easy to learn when you get the basics
That's interesting
Congratulations @ajumaa! You have completed the following achievement on the Hive blockchain and have been rewarded with new badge(s):
<table><tr><td><img src="https://images.hive.blog/60x70/http://hivebuzz.me/@ajumaa/upvoted.png?202210131454" /><td>You received more than 2000 upvotes.<br />Your next target is to reach 2250 upvotes. <p dir="auto"><sub><em>You can view your badges on <a href="https://hivebuzz.me/@ajumaa" target="_blank" rel="noreferrer noopener" title="This link will take you away from hive.blog" class="external_link">your board and compare yourself to others in the <a href="https://hivebuzz.me/ranking" target="_blank" rel="noreferrer noopener" title="This link will take you away from hive.blog" class="external_link">Ranking<br /> <sub><em>If you no longer want to receive notifications, reply to this comment with the word <code>STOP <h6>Support the HiveBuzz project. <a href="https://hivesigner.com/sign/update_proposal_votes?proposal_ids=%5B%22199%22%5D&approve=true" target="_blank" rel="noreferrer noopener" title="This link will take you away from hive.blog" class="external_link">Vote for <a href="https://peakd.com/me/proposals/199" target="_blank" rel="noreferrer noopener" title="This link will take you away from hive.blog" class="external_link">our proposal!