Hola muy buenas tardes tengan todos mis amigos, Dios les bendiga espero que hayan recibido un excelente año nuevo , declaró primeramente que está comunidad siga creciendo y que todos los que formamos parte de ella nos vaya bonito en este nuevo comienzo, les quiero compartir mis últimos accesorios de diciembre, no los había compartido por falta de tiempo y internet (unos mini pinos de arbolitos) es un proceso sumamente sencillo
Hello very good afternoon to all my friends, God bless you, I hope you have received an excellent new year, first declared that this community continues to grow and that all of us who are part of it go beautifully in this new beginning, I want to share my latest accessories of December, I had not shared for lack of time and internet (a mini pine trees) is an extremely simple process.
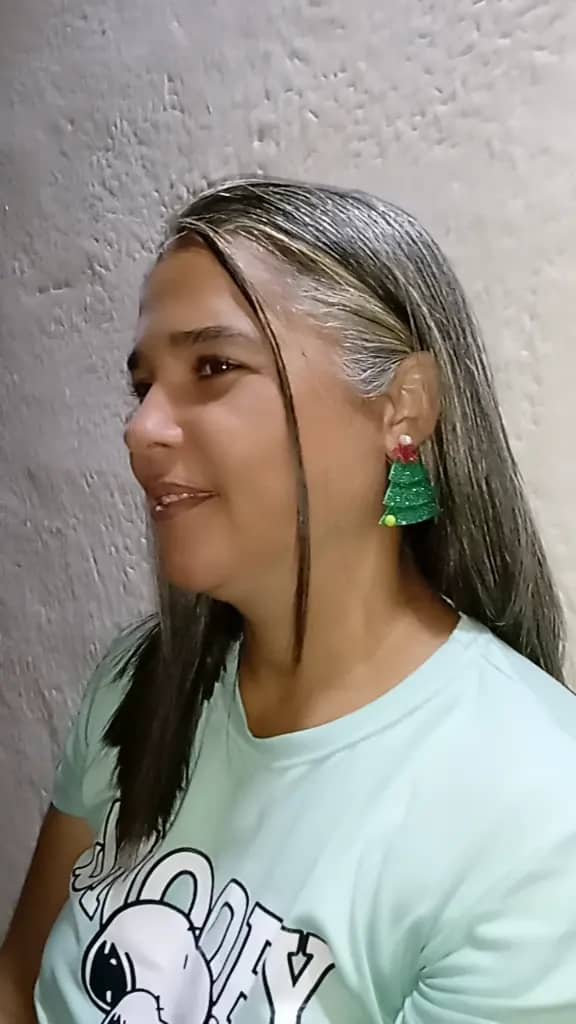
Materiales para realizar unos accesorios de mini pinos :
-Foamis
-Piedras plásticas
-Tijera
-Silicon
-Zarcillos
Materials to make some mini pine tree accessories:
-Foamis
-Plastic stones
-Scissors
-Silicon
-Twigs
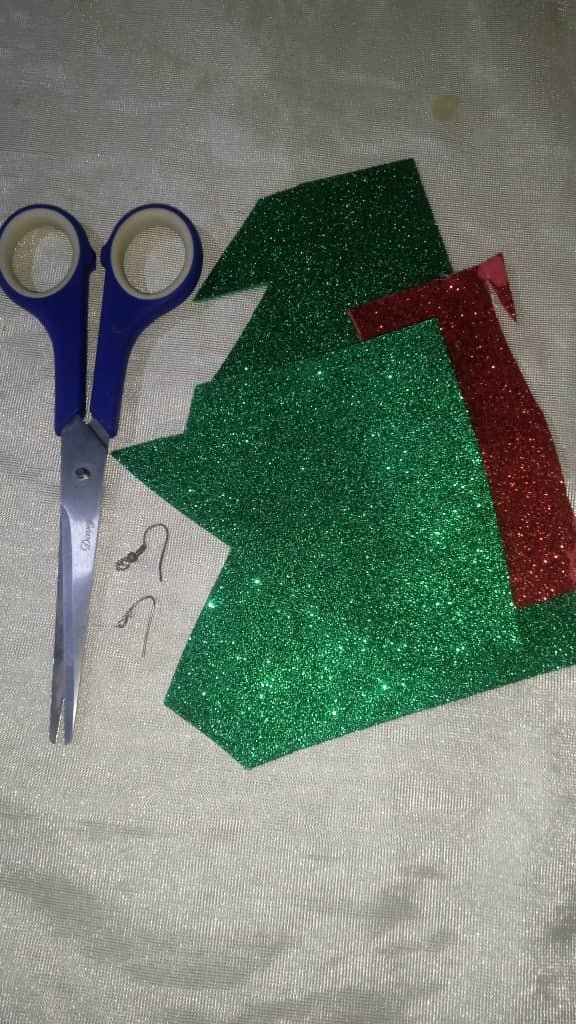
Pasos para realizar nuestros accesorios:
Paso número 1: comenzaremos marcando en la parte de atrás del foamis escarchado unos triángulos , en total marcaremos 6 triángulos , 3 para cada zarcillo
Steps to make our accessories:
Step number 1: we will start by marking on the back of the frosted foamis some triangles , in total we will mark 6 triangles , 3 for each tendril.
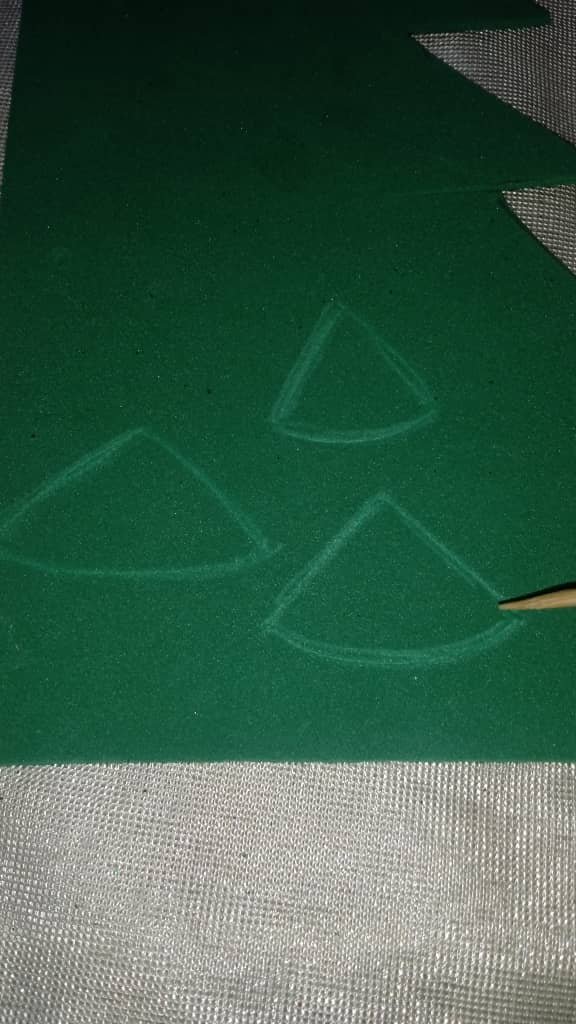
Paso número 2: luego que tengamos nuestros triángulos marcados,vamos a proceder recortando los con la ayuda de la tijera
Step number 2: after we have our triangles marked, we will proceed to cut them out with the help of the scissors.
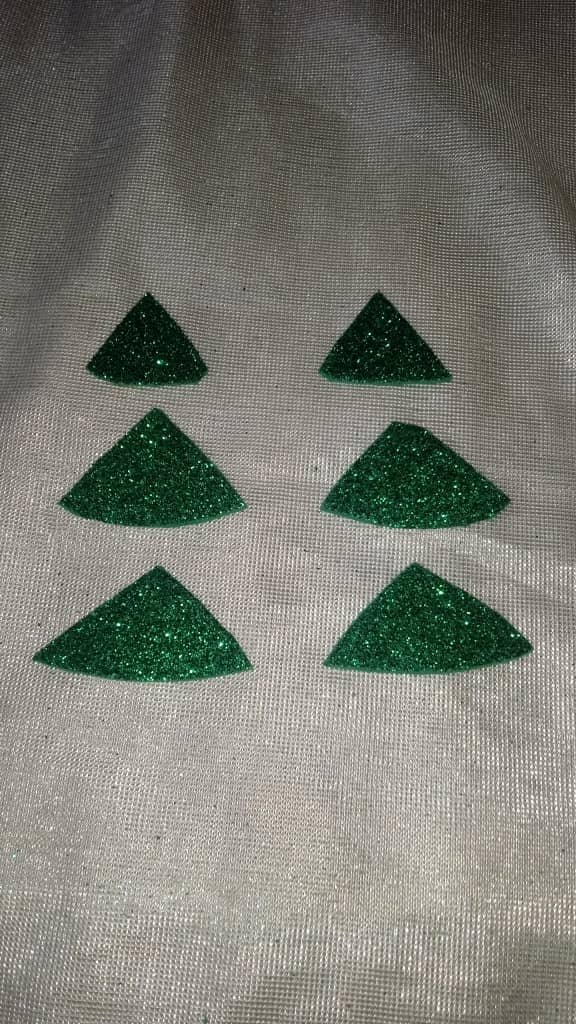
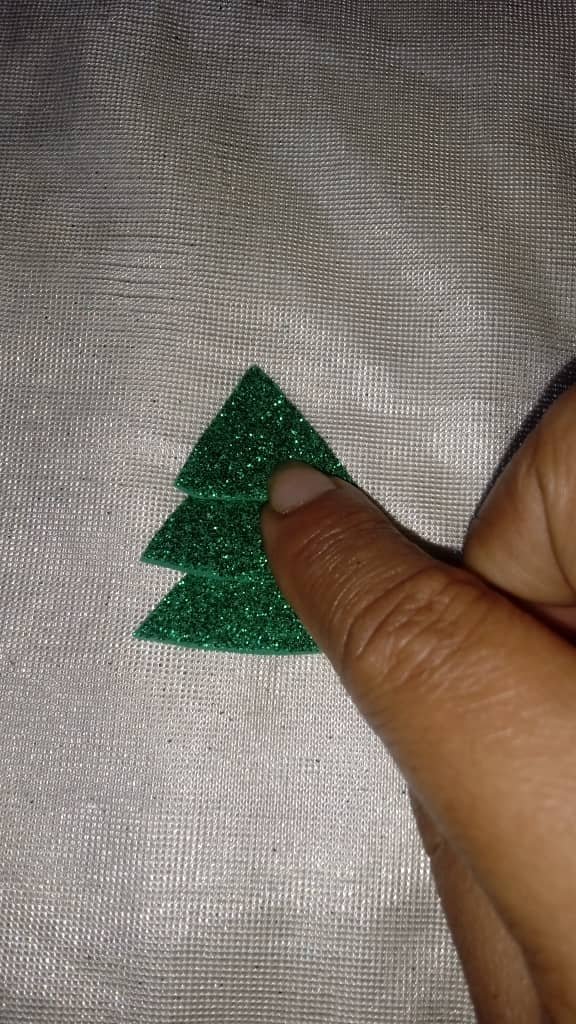
Paso número 3: en este tercer paso vamos a tomar los triángulos y los pegaremos uno arriba de el otro , pegaremos medio separados es decir en cada punta uno arriba del otro
Step number 3: in this third step we are going to take the triangles and glue them one on top of the other, we will glue them half separated, that is to say in each end one on top of the other.
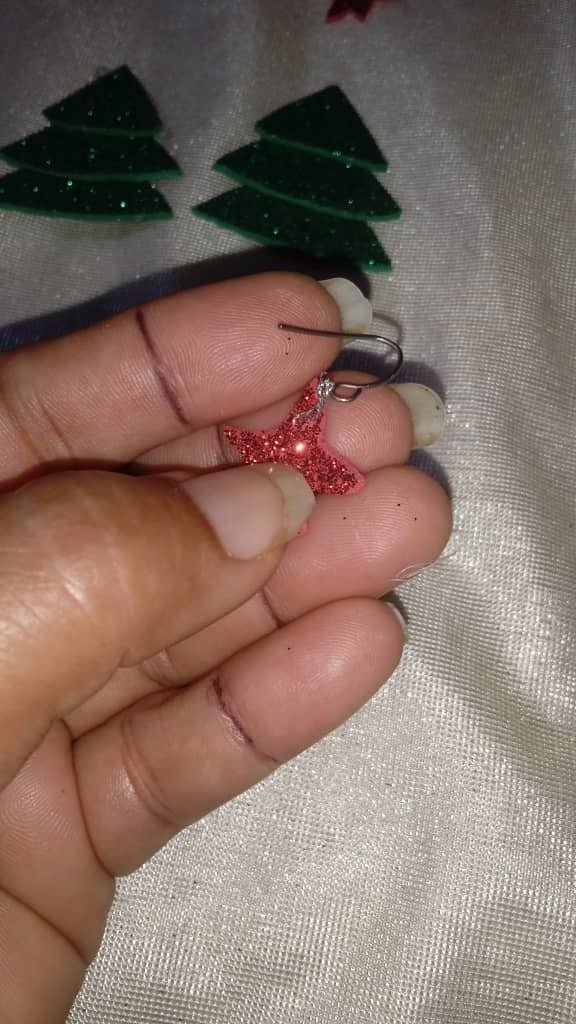
Paso número 4: Luego vamos a continuar tomando el foamis y recortaremos dos estrellas escarchadas , al mismo tiempo la adaptamos a el zarcillo en la punta de la estrella ,más adelante en la parte de arriba pegaremos una piedra plástica blanca
Step number 4: Then we will continue taking the foamis and we will cut out two frosted stars, at the same time we will adapt it to the tendril at the tip of the star, later on the top we will glue a white plastic stone.
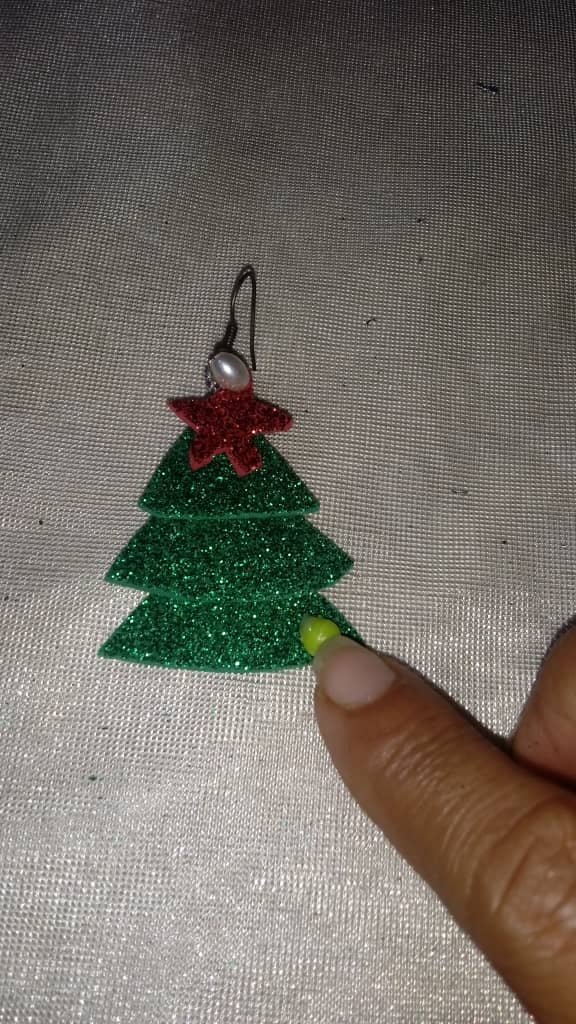
Paso número 5: por último mis queridos amigos vamos a tomar la estrella y la pegaremos en la punta del arbolito , así mismo pegaremos una piedra plástica en una esquina , finalizando así nuestros lindos accesorios
Step number 5: finally my dear friends, we will take the star and glue it on the tip of the tree, we will also glue a plastic stone in one corner, finishing our beautiful accessories.
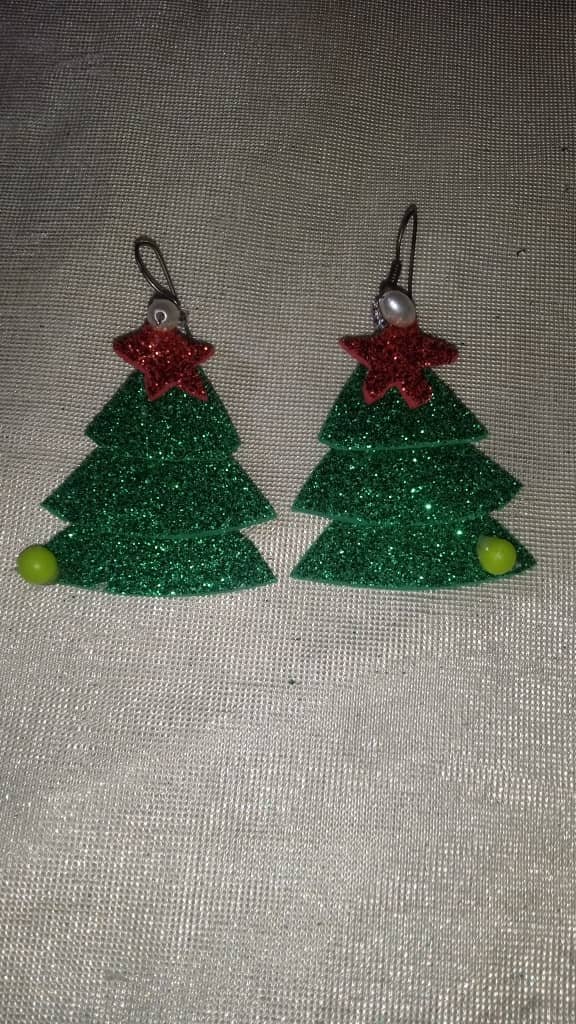
Así fue como elaboré estos accesorios del mes de diciembre , espero les sea de utilidad, gracias por su atención brindada ,hasta la próxima amigos
This is how I made these accessories for the month of December, I hope you find it useful, thank you for your attention, see you next time friends.
It is stylish, attractive, and beautiful. Its design and color stands out. Love it. Thank you for sharing this.
This is very nice.