Saluditos Artistas Creadores de las manualidades y la joyería, espero que hayan disfrutado en grande de las festividades carnestolendas, ese día maravilloso muy especial como lo es el Día de la Juventud y que el cierre con broche de oro haya sido el romántico Día del Amor y la Amistad y es que no pueden quejarse esas festividades juntas llenaron de alegría y entusiasmo a la mayoría de la población ; en mi caso no tuve casi tiempo de la pachanga pero si me divertí viendo como el disfrute en general hacia gala por calles y avenidas.
Les comento que para el día de San Valentín la tendencia 'coquette' prácticamente se hizo viral, la mayoría de los encargos tenían que ver con la moda del momento que aún persiste en vestidos, lazos para el pelo, bolsos, bisutería, toda una gama de accesorios en colores pasteles y con lazos grandes y pequeños para presumir de la Estética Coquette.
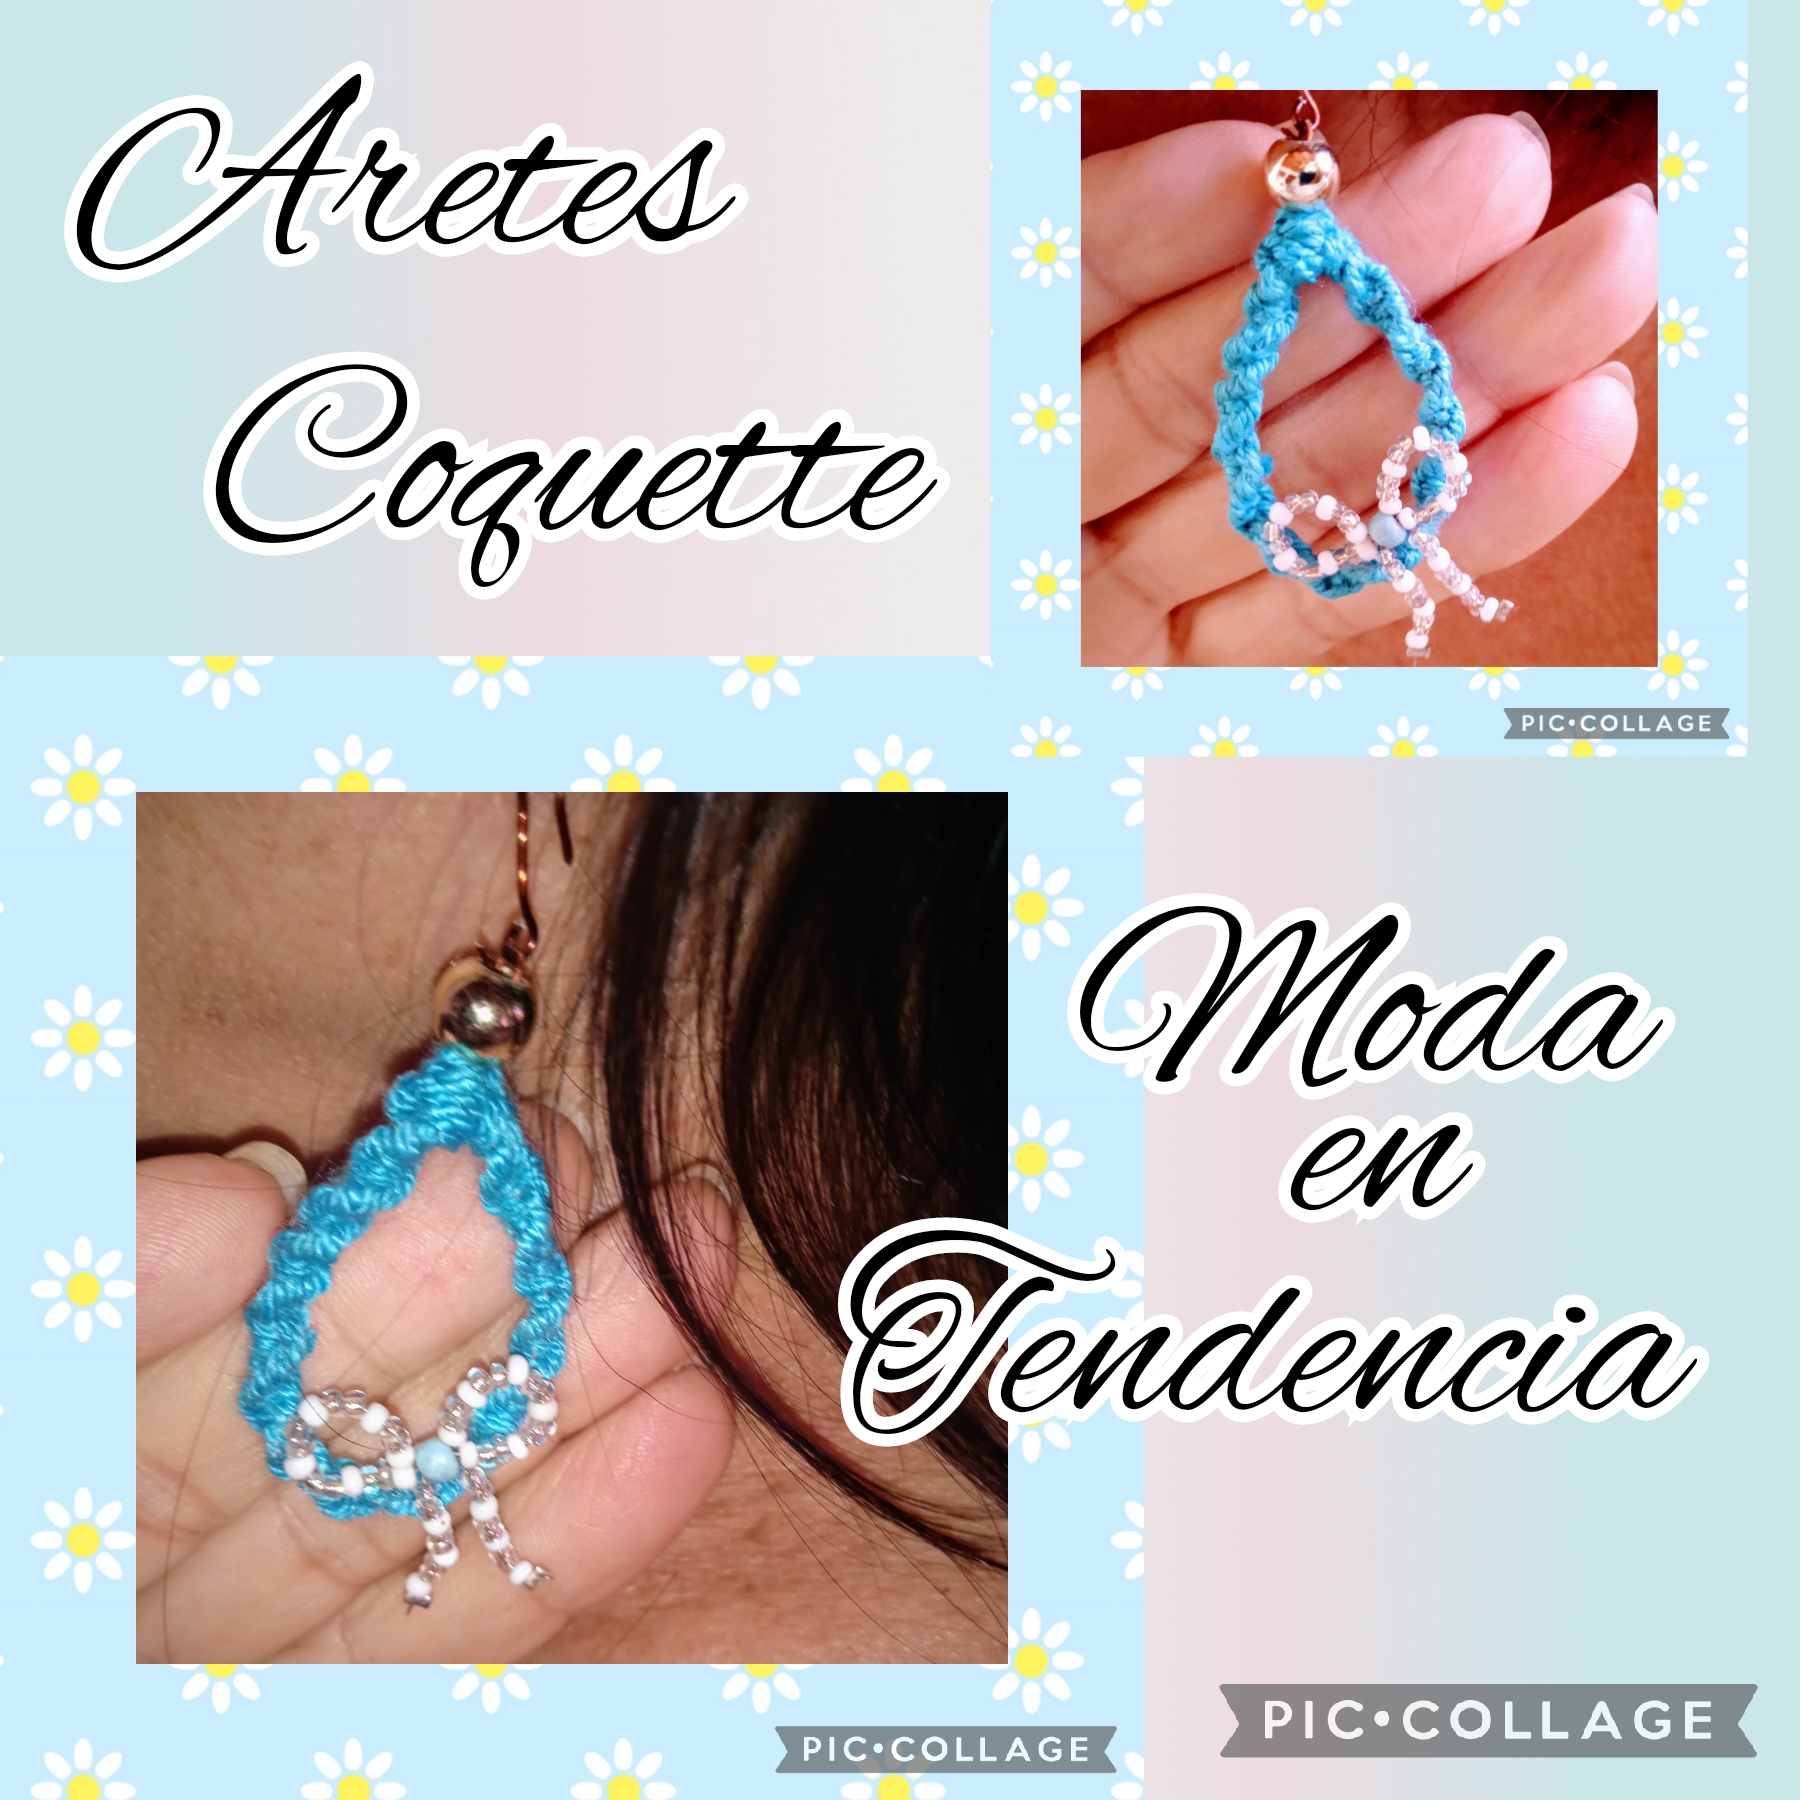
Entre las variadas prendas que hice en este estilo, voy a compartir con ustedes un sencillo par de Aretes que hice en nudo plano retorcido de la técnica del macramé y un coqueto lazo 🎀 en mostacillas.
Sigan leyendo y vean el paso a paso de como fue su elaboración:
Greetings Artists Creators of crafts and jewelry, I hope you have greatly enjoyed the Carnival festivities, that wonderful, very special day such as Youth Day and that the closing with a flourish was the romantic Day of Love and Friendship and they cannot complain, those festivities together filled the majority of the population with joy and enthusiasm; In my case I didn't have almost time for the party but I did have fun watching how the general enjoyment was parading through the streets and avenues.
I tell you that for Valentine's Day the 'coquette' trend practically went viral, most of the orders had to do with the fashion of the moment that still persists in dresses, hair bows, bags, jewelry, a whole range of accessories in pastel colors and with large and small bows to show off the Coquette Aesthetic.
Among the various garments that I made in this style, I am going to share with you a simple pair of earrings that I made in a flat twisted knot using the macramé technique and a flirty bow 🎀 in beads.
Keep reading and see the step by step of how it was made:
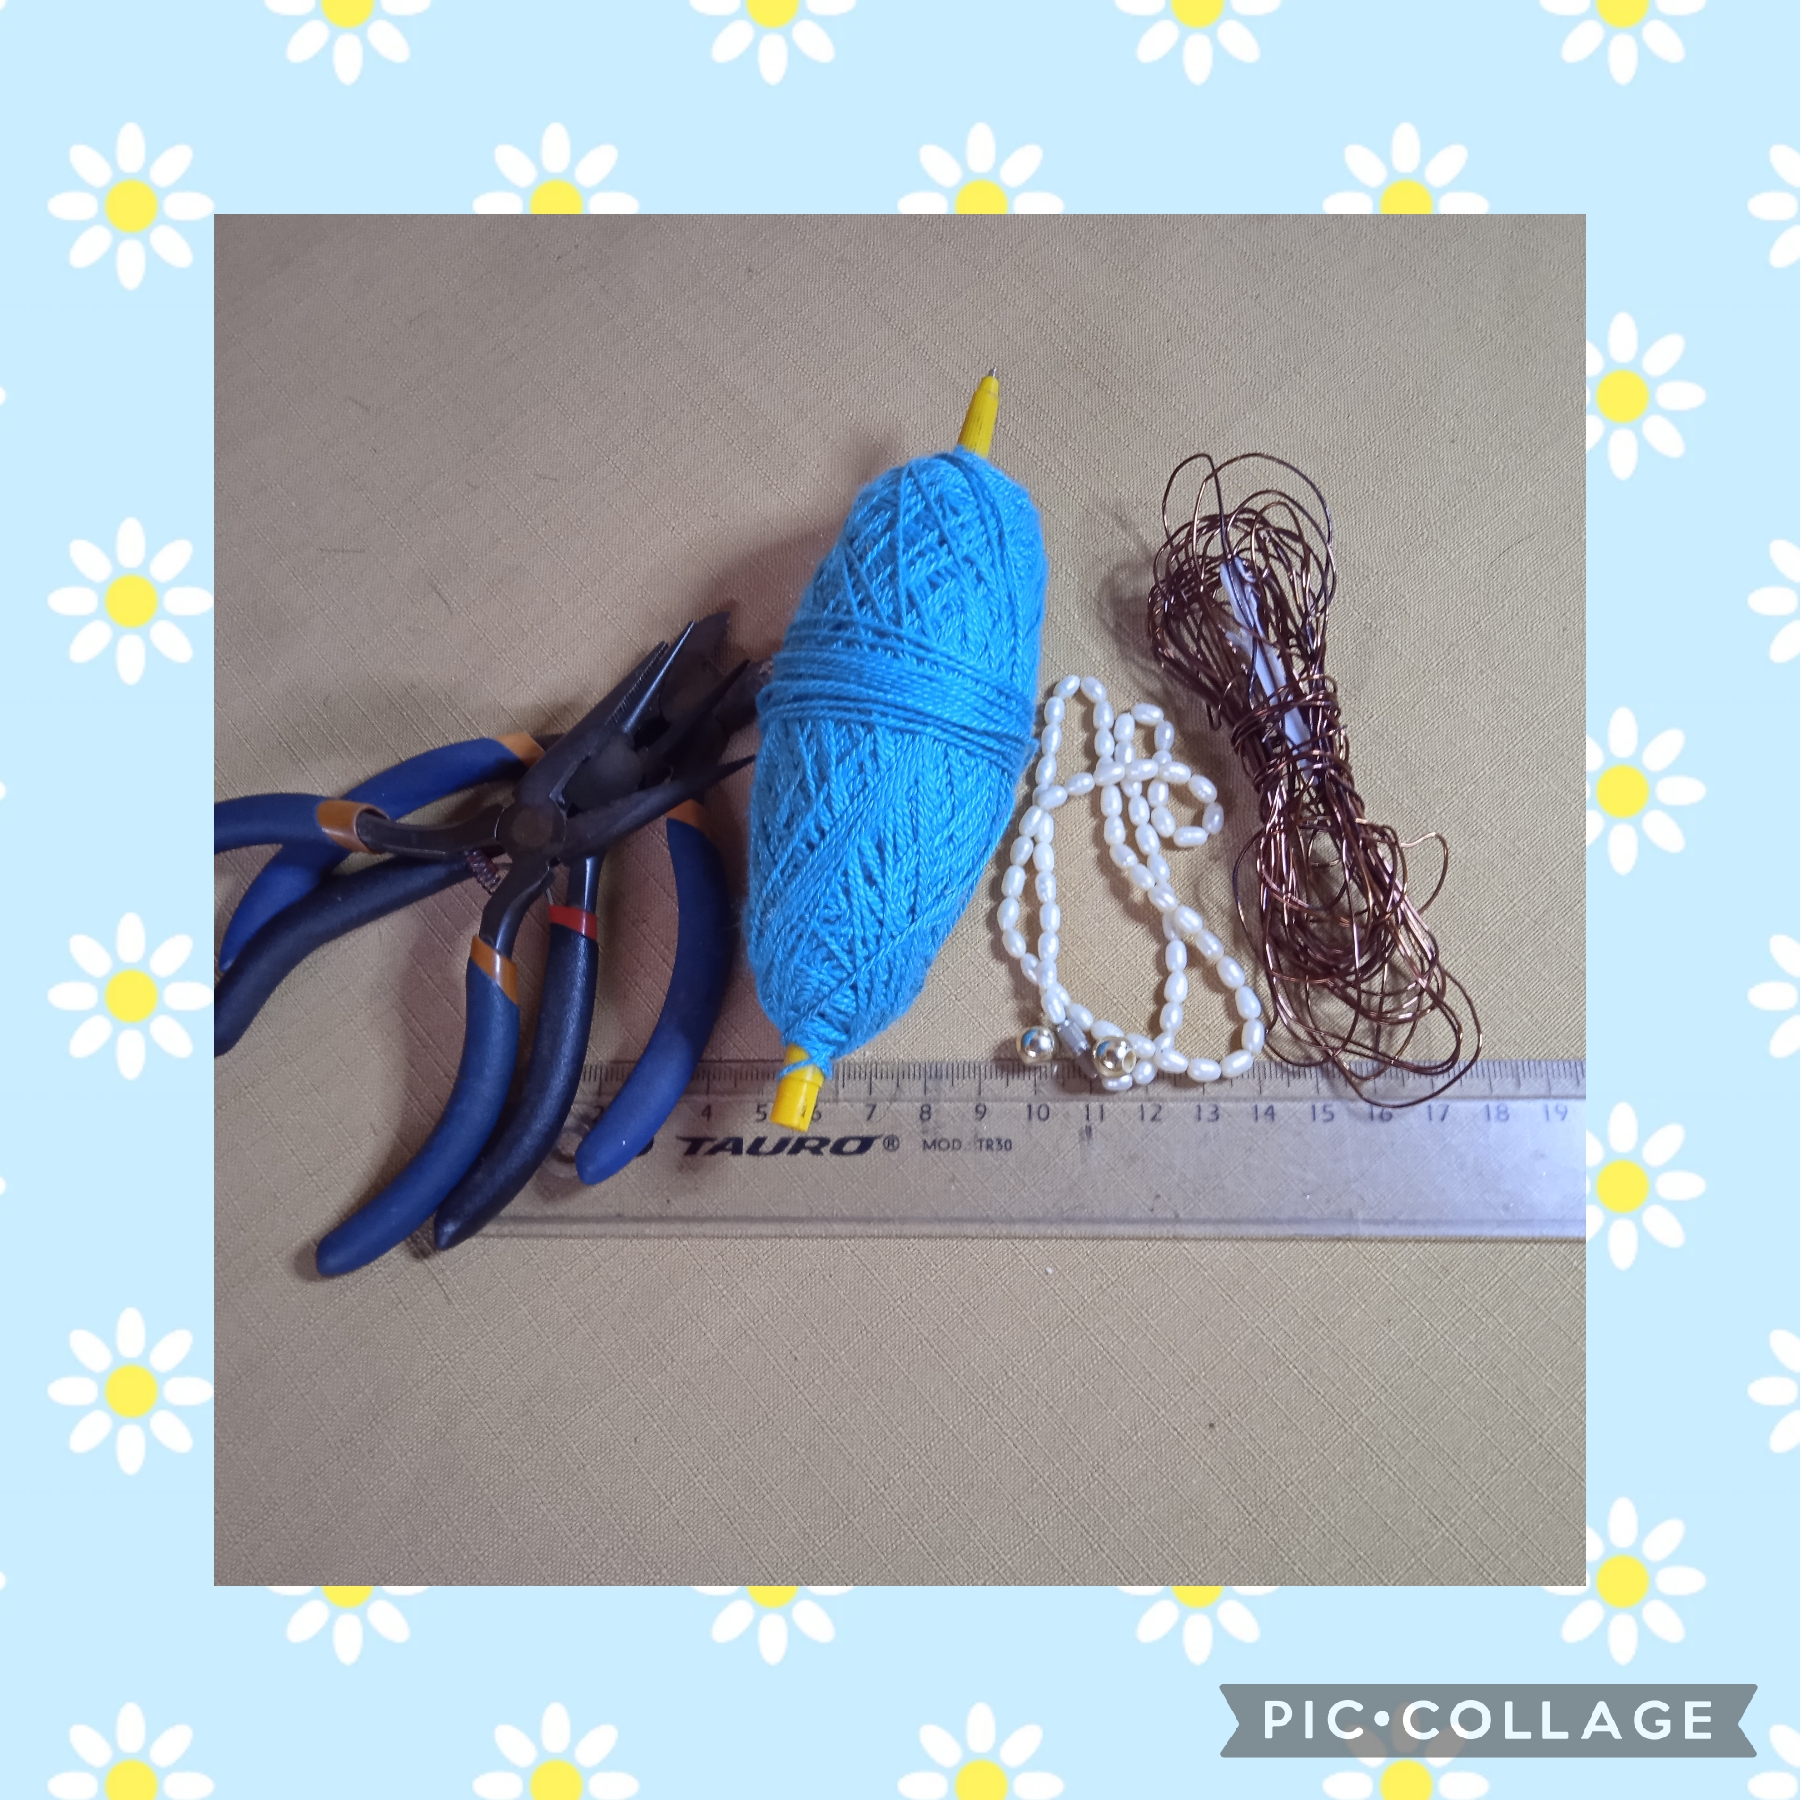
MATERIALES USADOS EN LA ELABORACIÓN DE ESTOS SENCILLOS ARETES:
✓ Hilo chino color azul dos metros.
✓ Alambre calibre 26"
✓ Dos balines dorados número cuatro.
✓ Mostacillas blancas.
✓ Mostacillas transparentes.
✓ Pinza punta redonda.
✓ Pinza plana.
✓ Pinza de corte.
✓ Silicón líquido.
✓ Regla.
✓MATERIALS USED IN THE PREPARATION OF THESE SIMPLE EARRINGS:
✓ Blue Chinese thread two meters.
✓ 26" gauge wire
✓ Two golden number four pellets.
✓ White beads.
✓ Transparent beads.
✓ Round tip tweezers.
✓ Flat clamp.
✓ Cutting clamp.
✓ Liquid silicone.
✓ Rule.
PASOS QUE USE PARA REALIZAR ESTE SENCILLO PROYECTO.
PRIMER PASO:
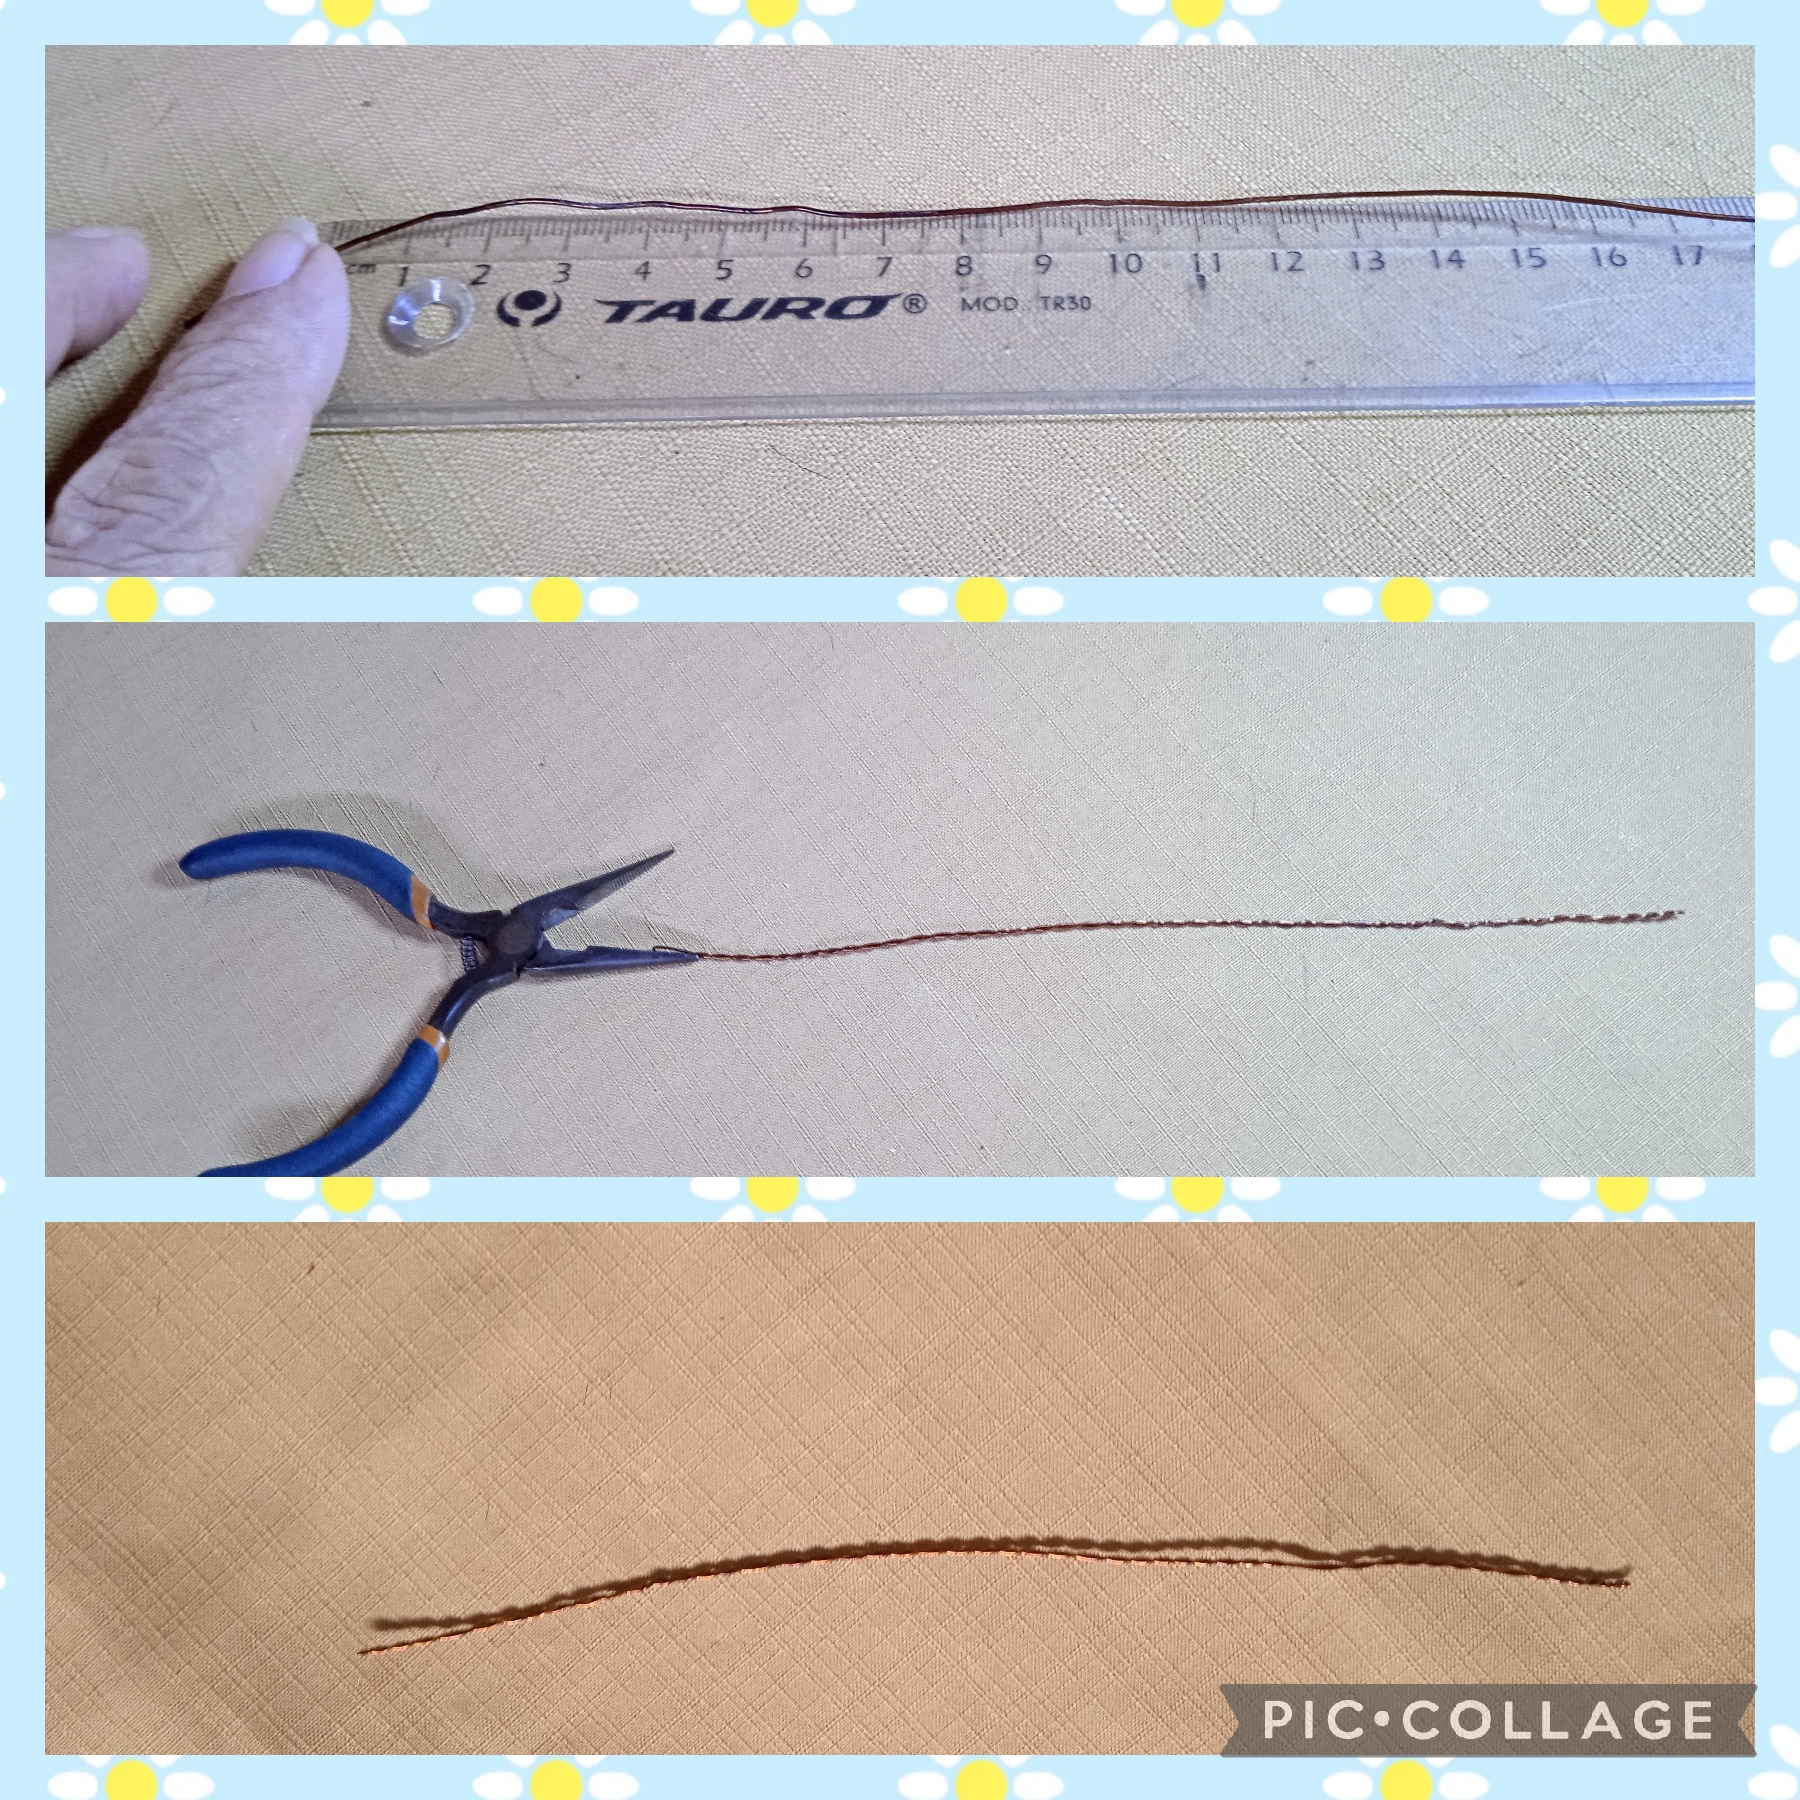
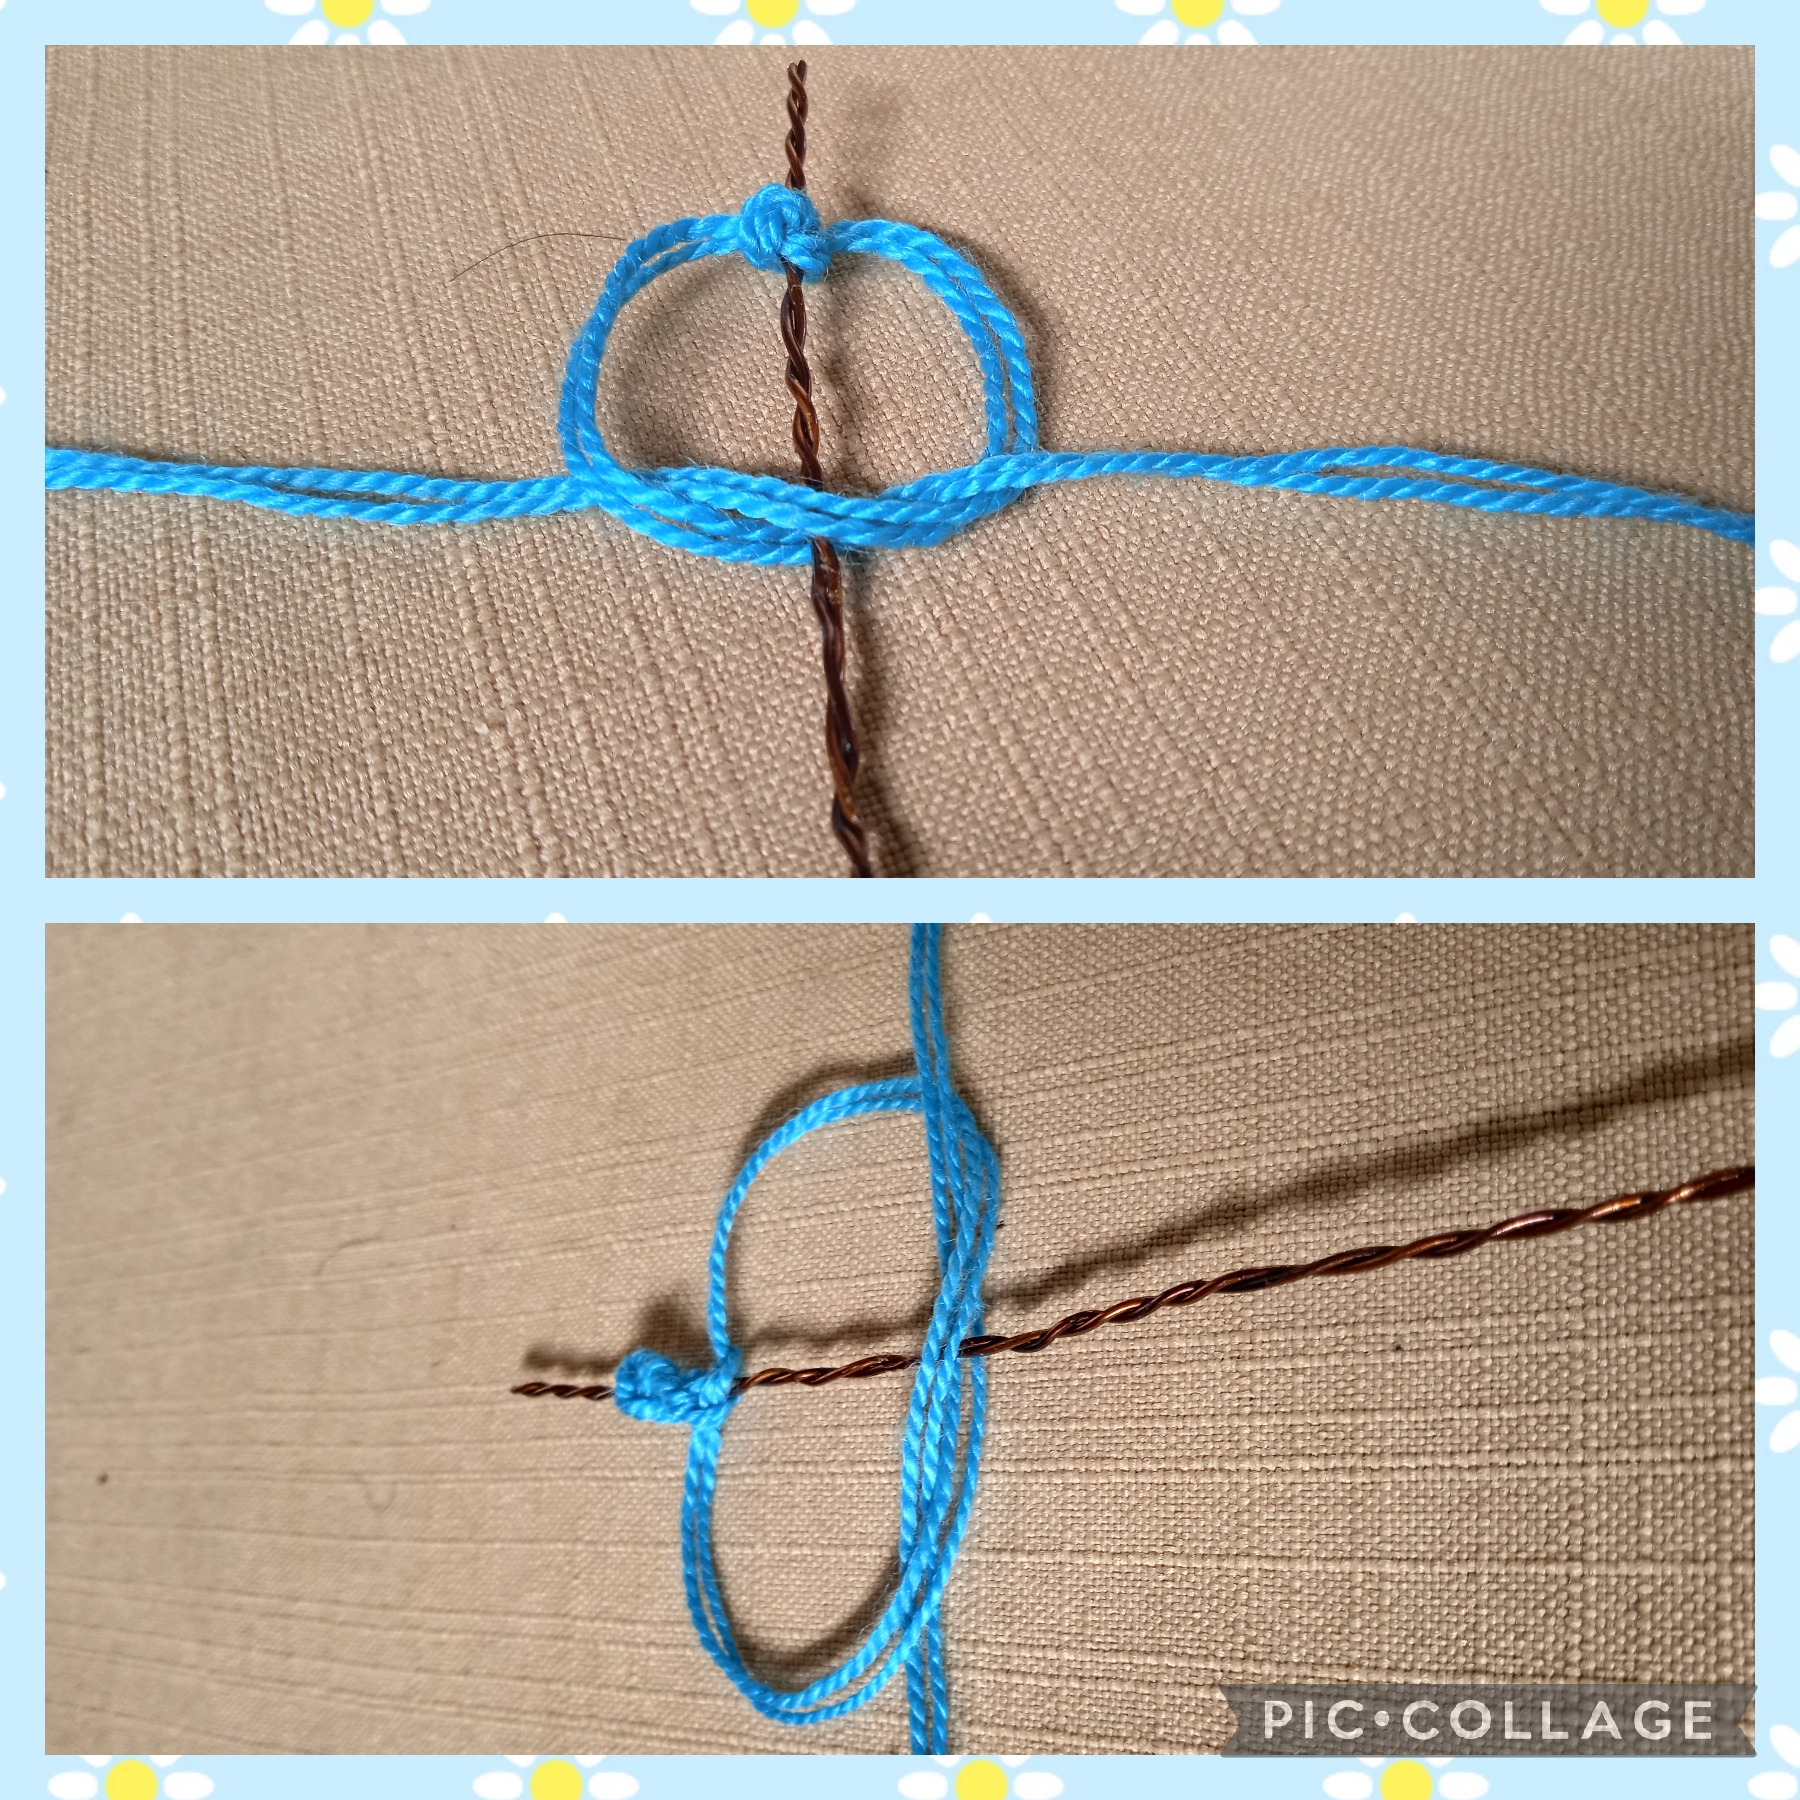
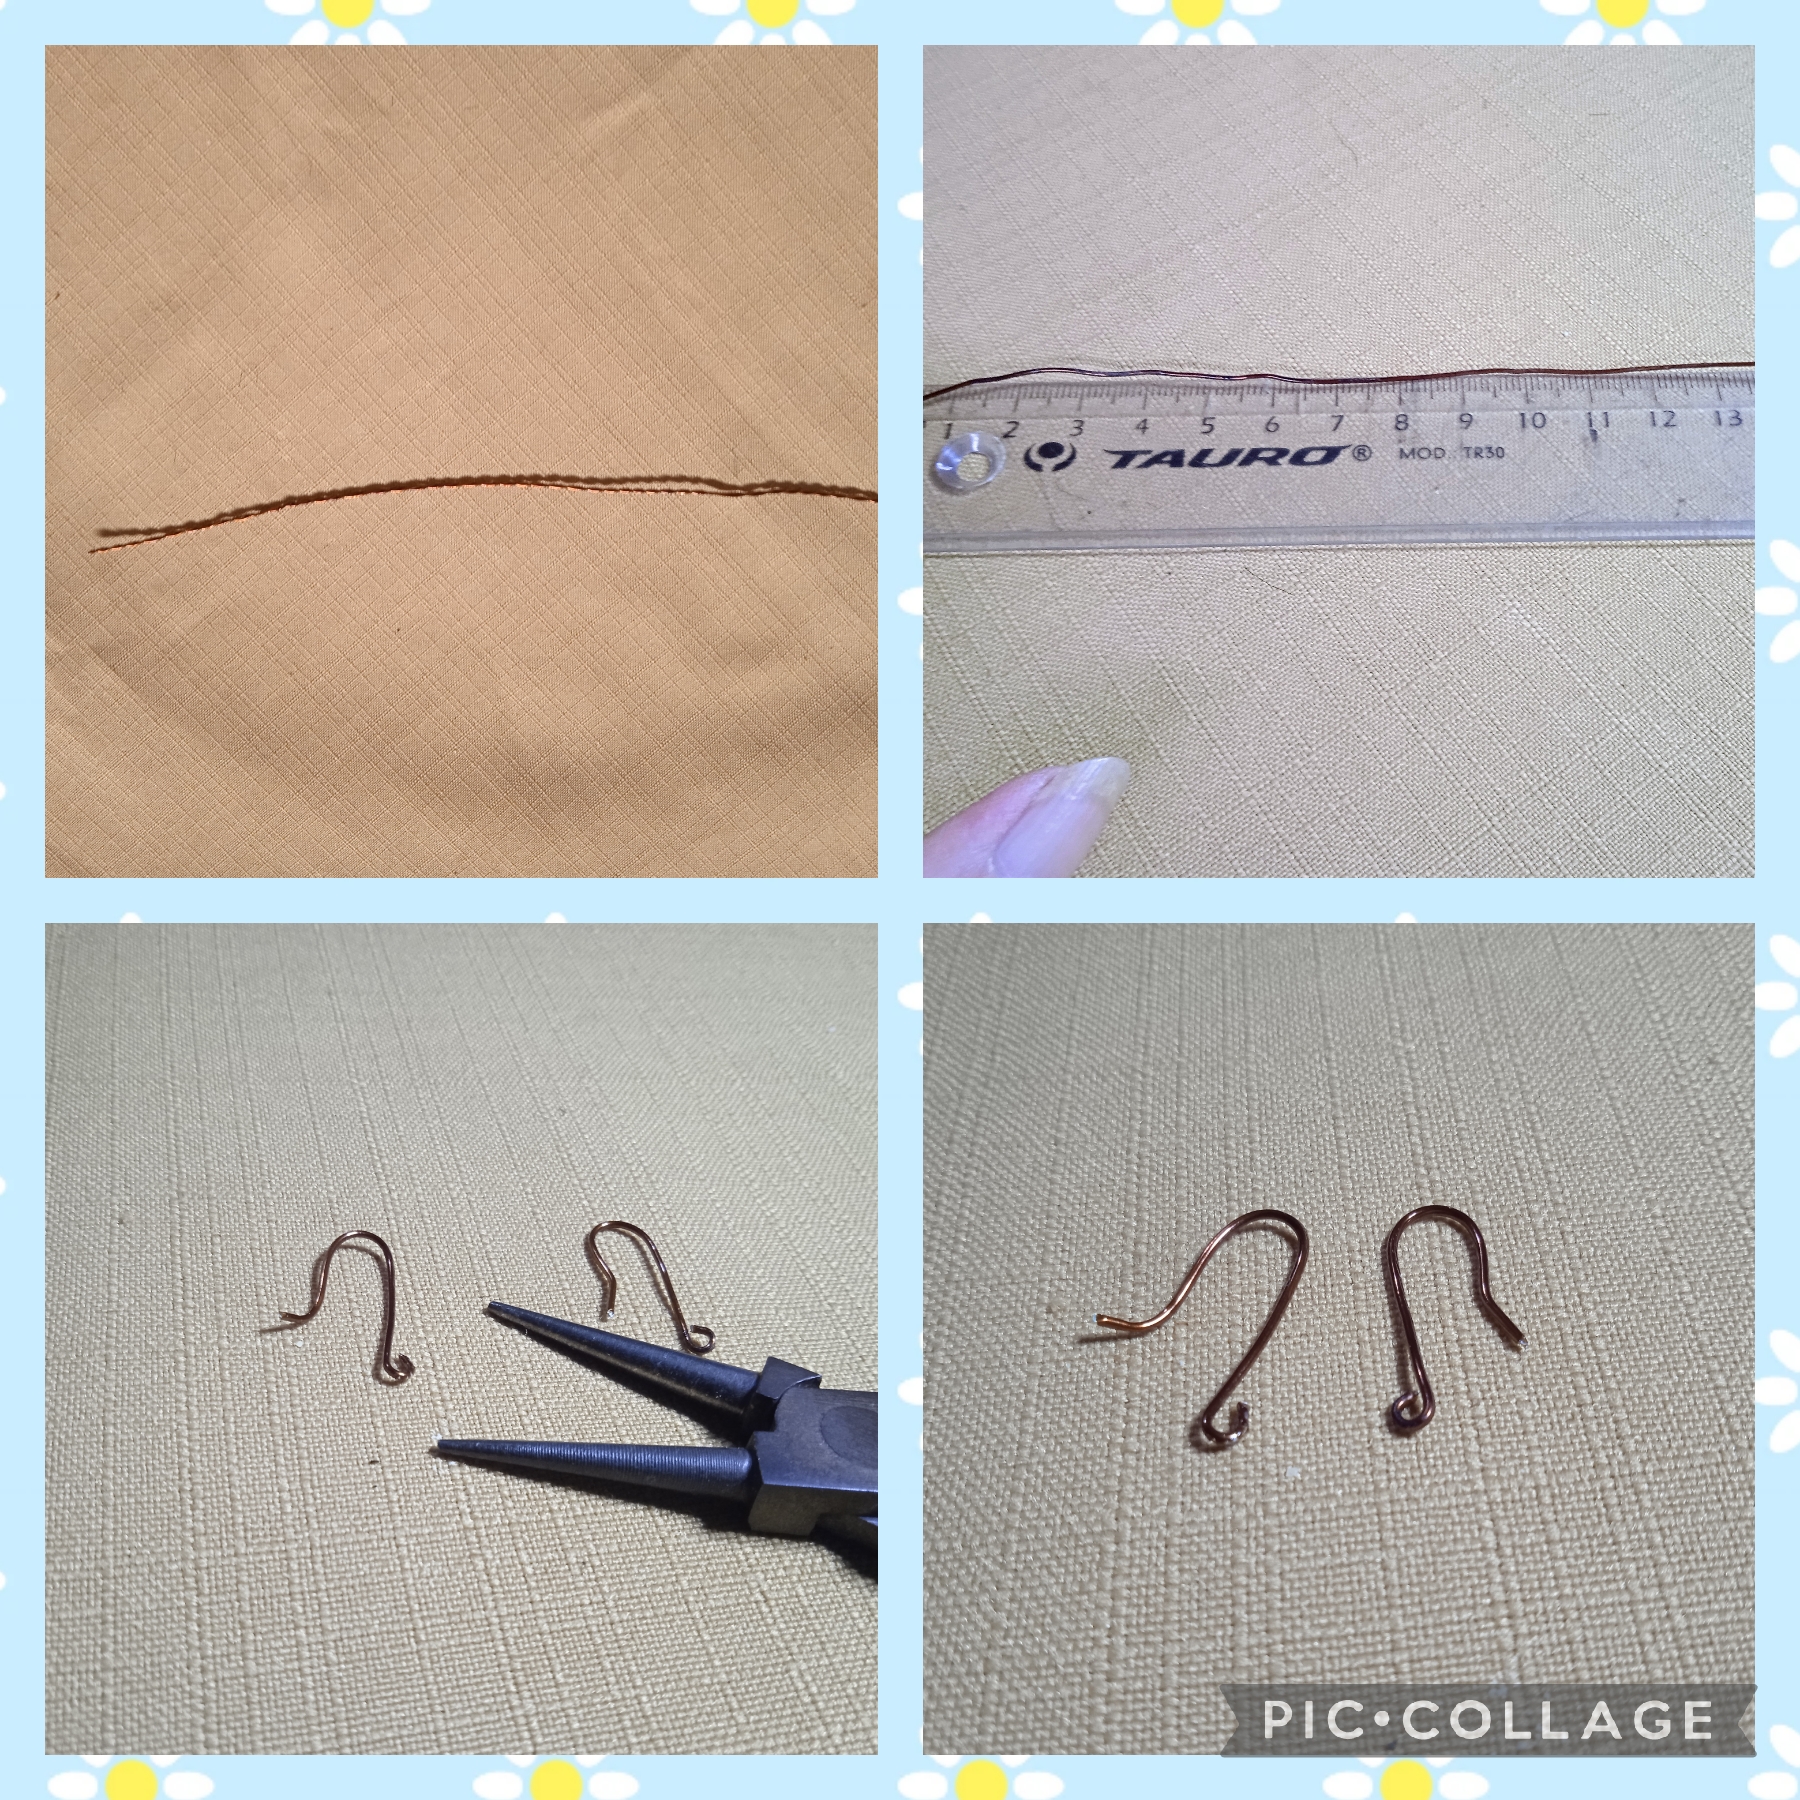
Para comenzar con la elaboración de estos Aretes, voy a ocupar una medida de alambre calibre 26 " de dieciséis centímetros, ahora lo doblo a la mitad; para darle mayor consistencia lo entorcho, así como muestro en las imágenes. Ahora del hilo chino color azul, corto una porción de un metro lo doblo a la mitad y lo coloco en el alambre para realizar el nudo plano retorcido de la manera siguiente: coloco el hilo debajo del alambre y comparo las puntas para verificar que sean iguales las dos partes; ahora coloco el hilo del lado derecho encima del alambre y formo una especie de 'P' con el hilo de la otra punta lo paso por encima y lo paso por debajo sacándolo por el orificio de la P , este nudo para hacerlo retorcido se teje de un solo lado o sea lo hacemos del lado derecho o del lado izquierdo, así:
STEPS I USED TO DO THIS SIMPLE PROJECT.
FIRST STEP:
To begin with the making of these Earrings, I am going to use a 26" gauge wire measuring sixteen centimeters, now I fold it in half; to give it greater consistency I twist it, as shown in the images. Now of the blue Chinese thread , I cut a portion of one meter, fold it in half and place it on the wire to make the twisted flat knot in the following way: I place the thread under the wire and compare the ends to verify that the two parts are equal; now I place the thread from the right side on top of the wire and form a kind of 'P' with the thread from the other end, I pass it over and pass it under, taking it out through the hole of the P, this knot to make it twisted is woven in one that is, we do it on the right side or on the left side, like this:
SEGUNDO PASO:
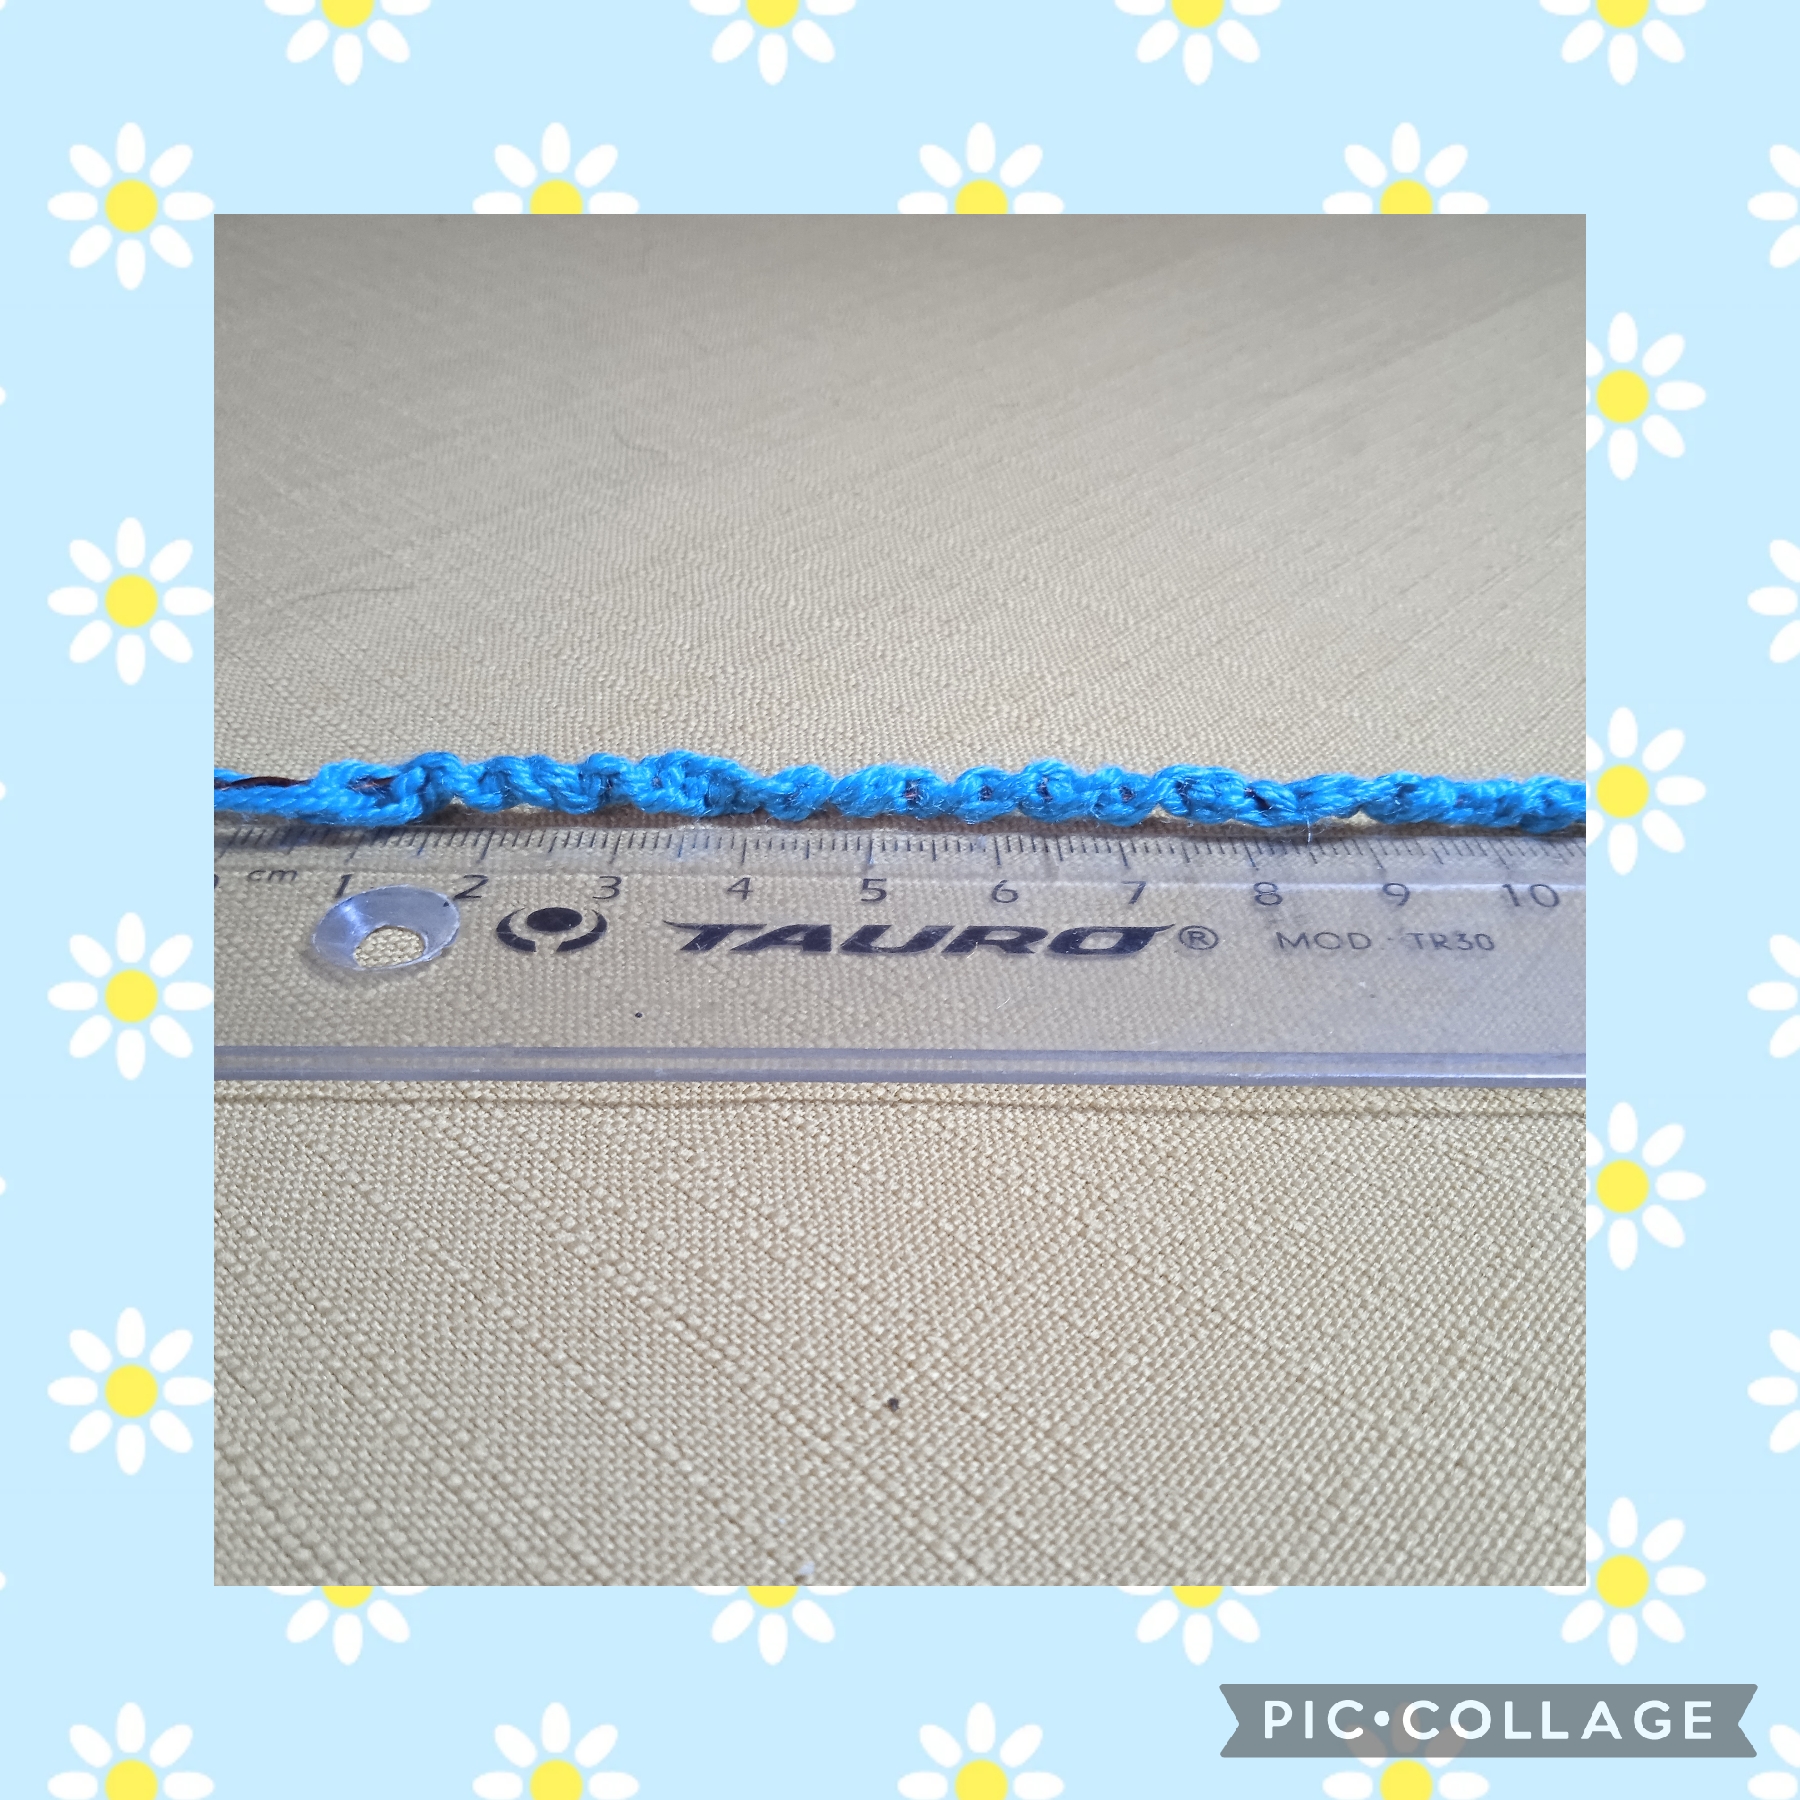
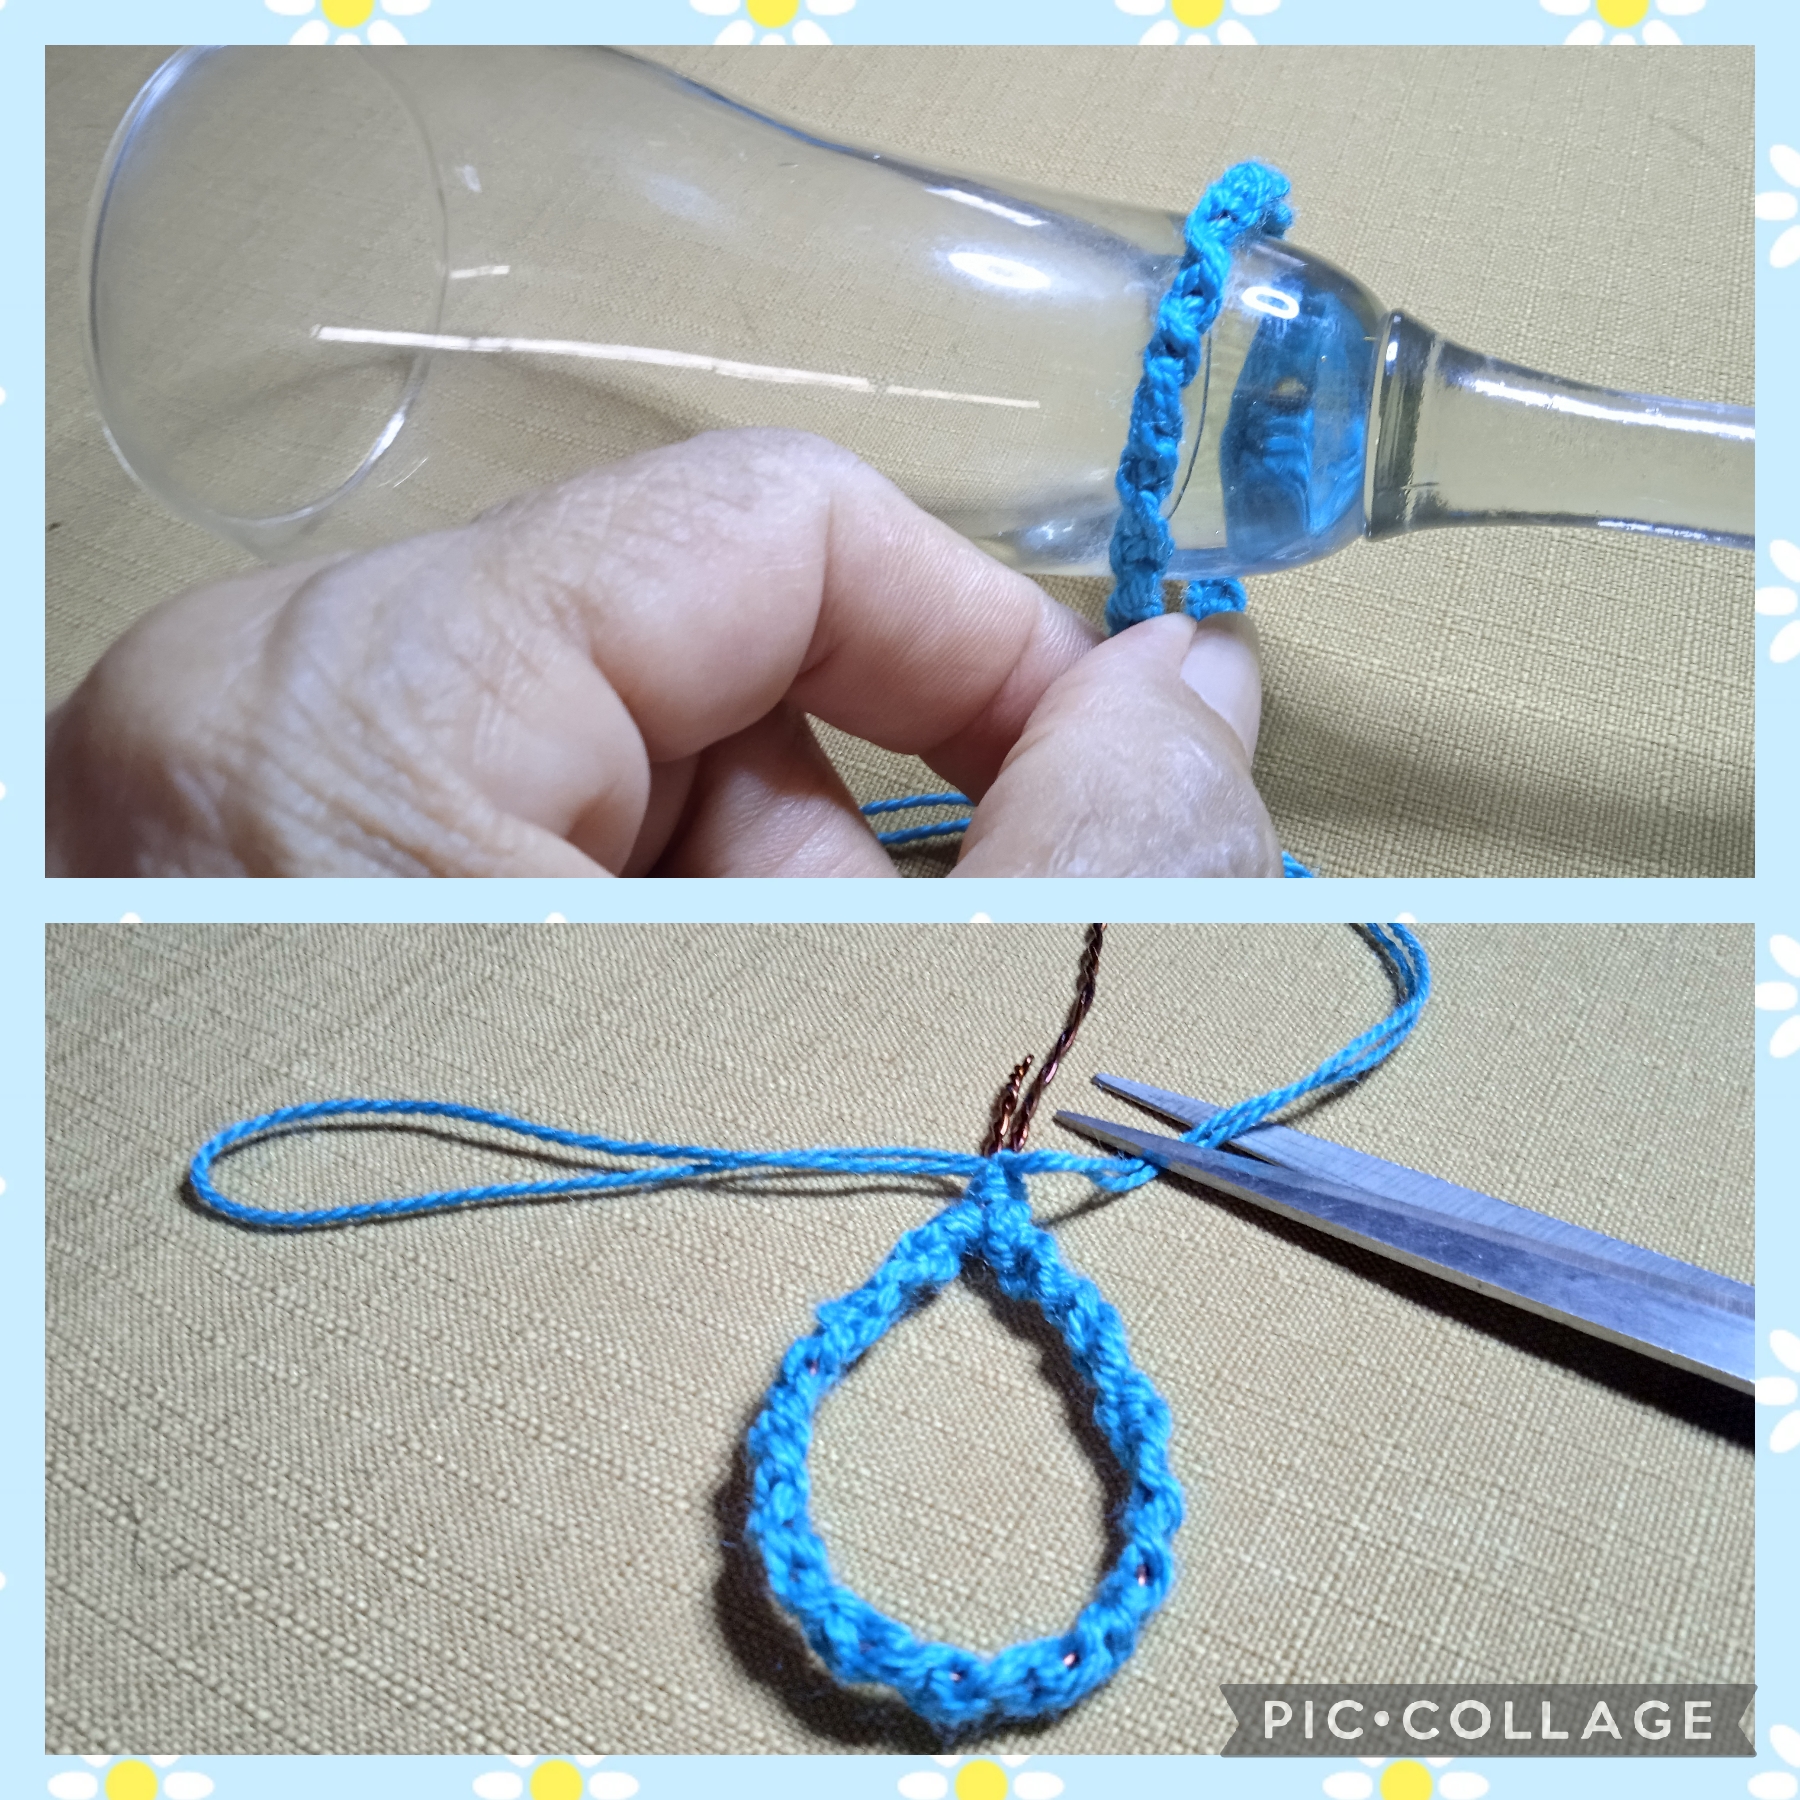
Ahora en este paso una vez que cubrí casi todo el contorno del alambre con el nudo retorcido , con la regla rectifico la medida de ocho centímetros , para moldear el Arete con la ayuda de una copa le doy forma de gota así como en la imagen,
SECOND STEP:
Now in this step, once I covered almost the entire contour of the wire with the twisted knot, with the ruler I rectify the measurement of eight centimeters, to shape the Earring with the help of a glass I give it a drop shape as in the image,
TERCER PASO:
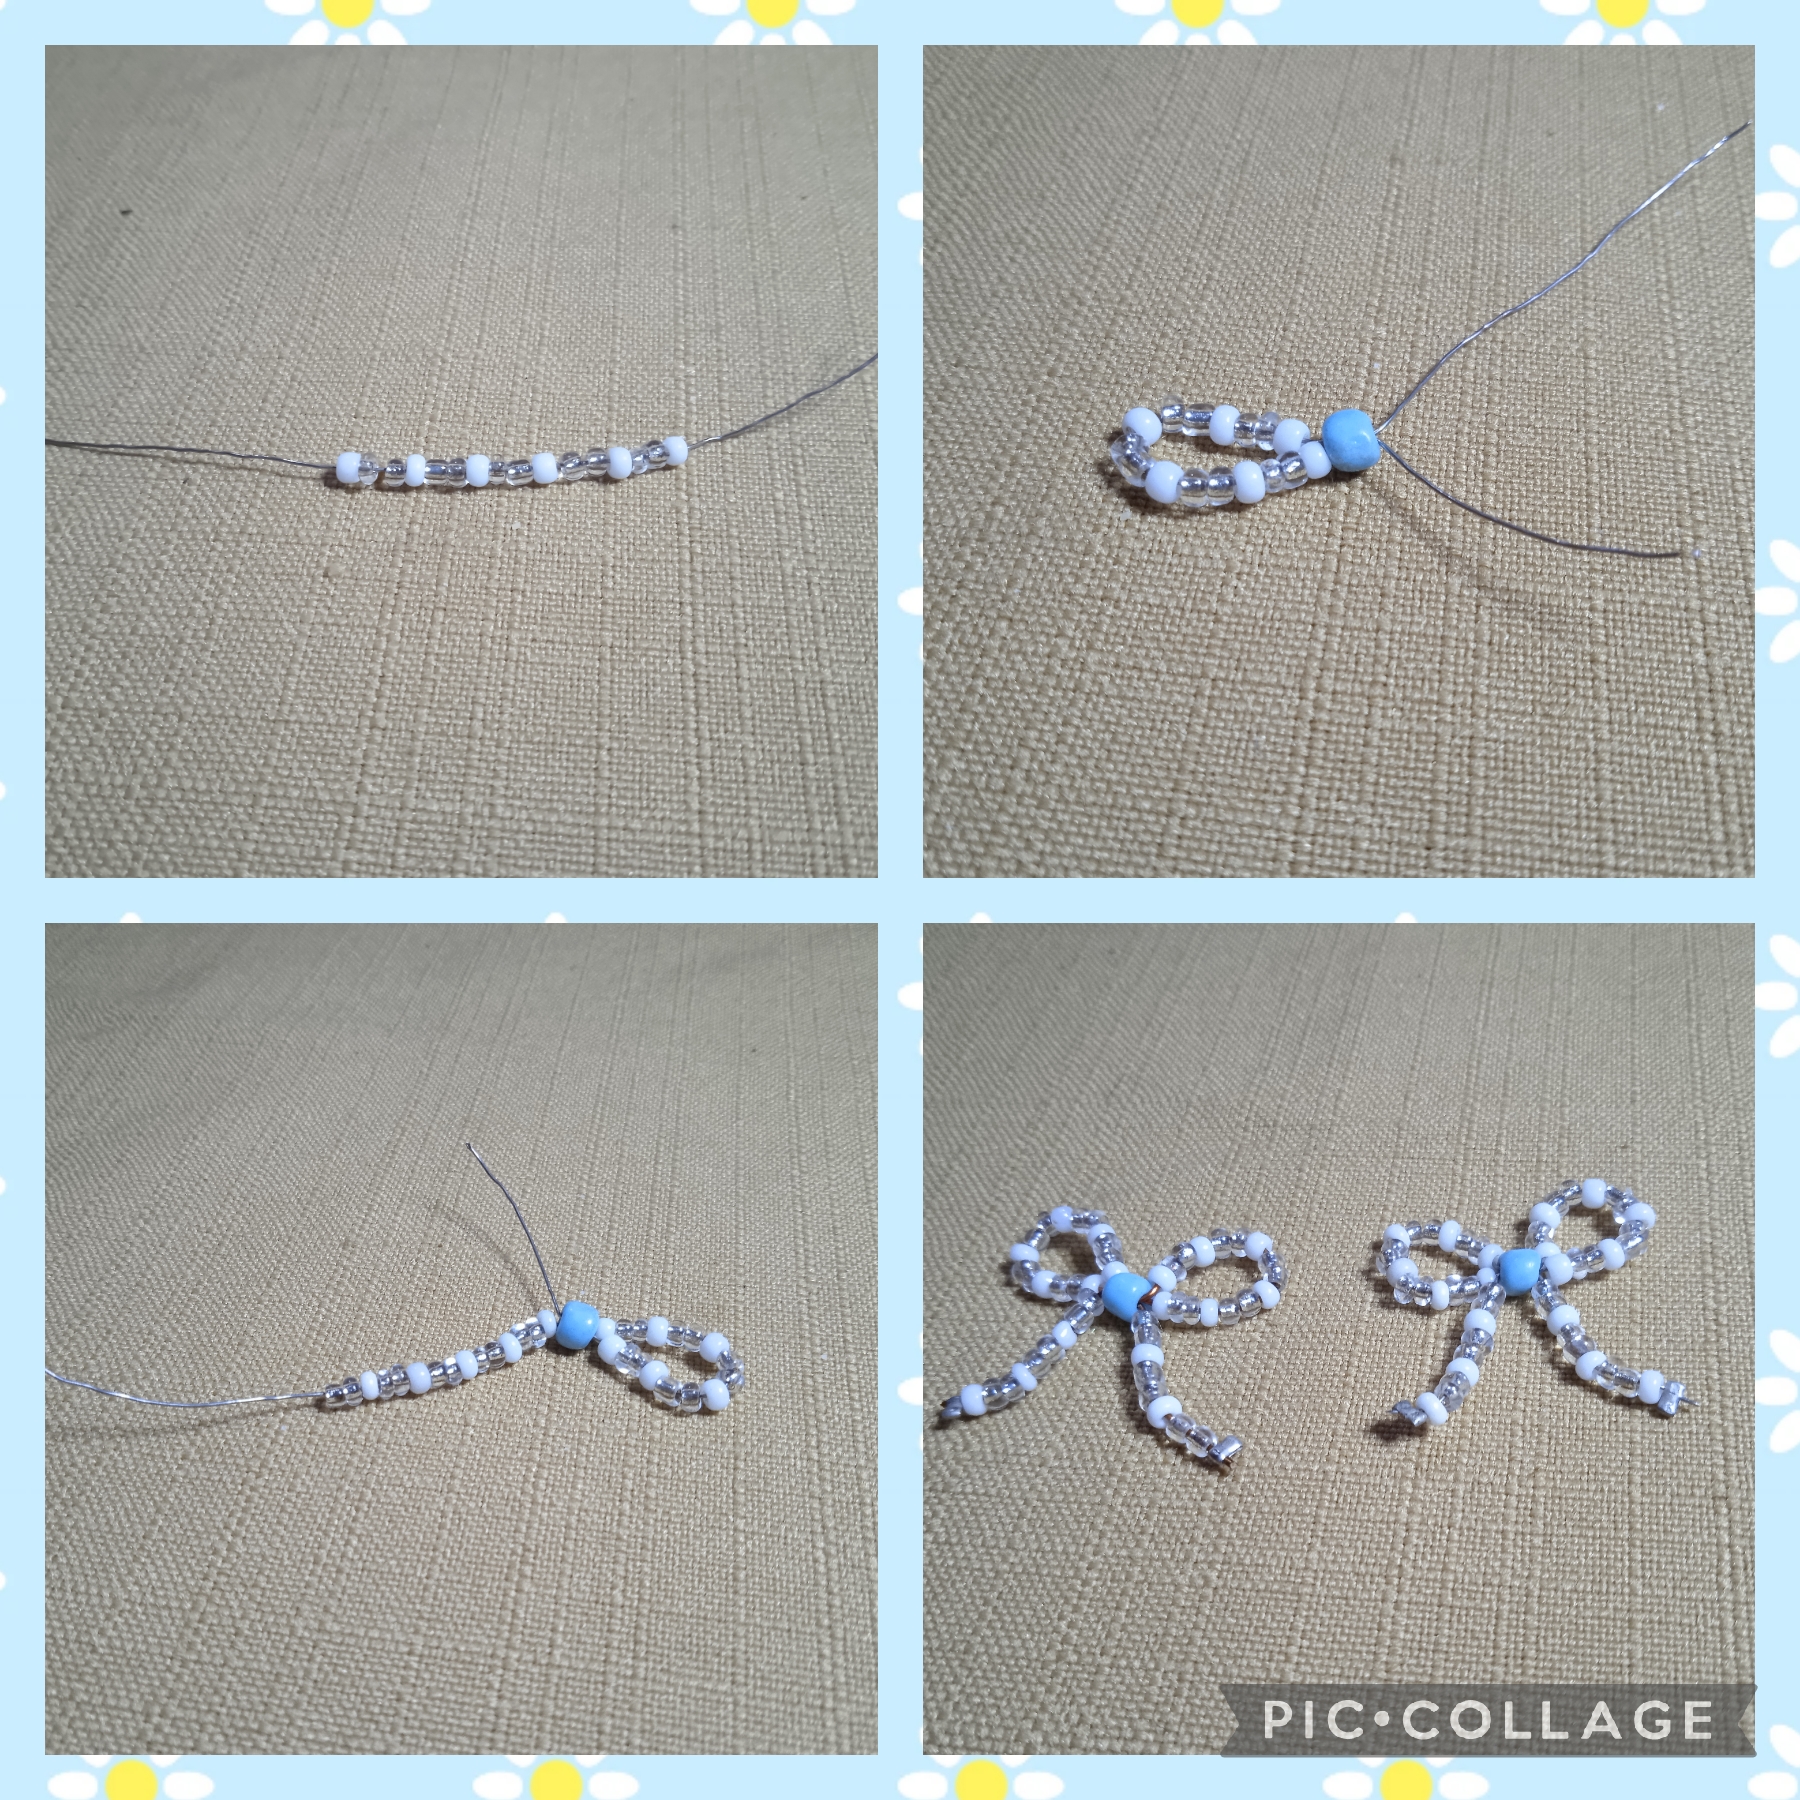
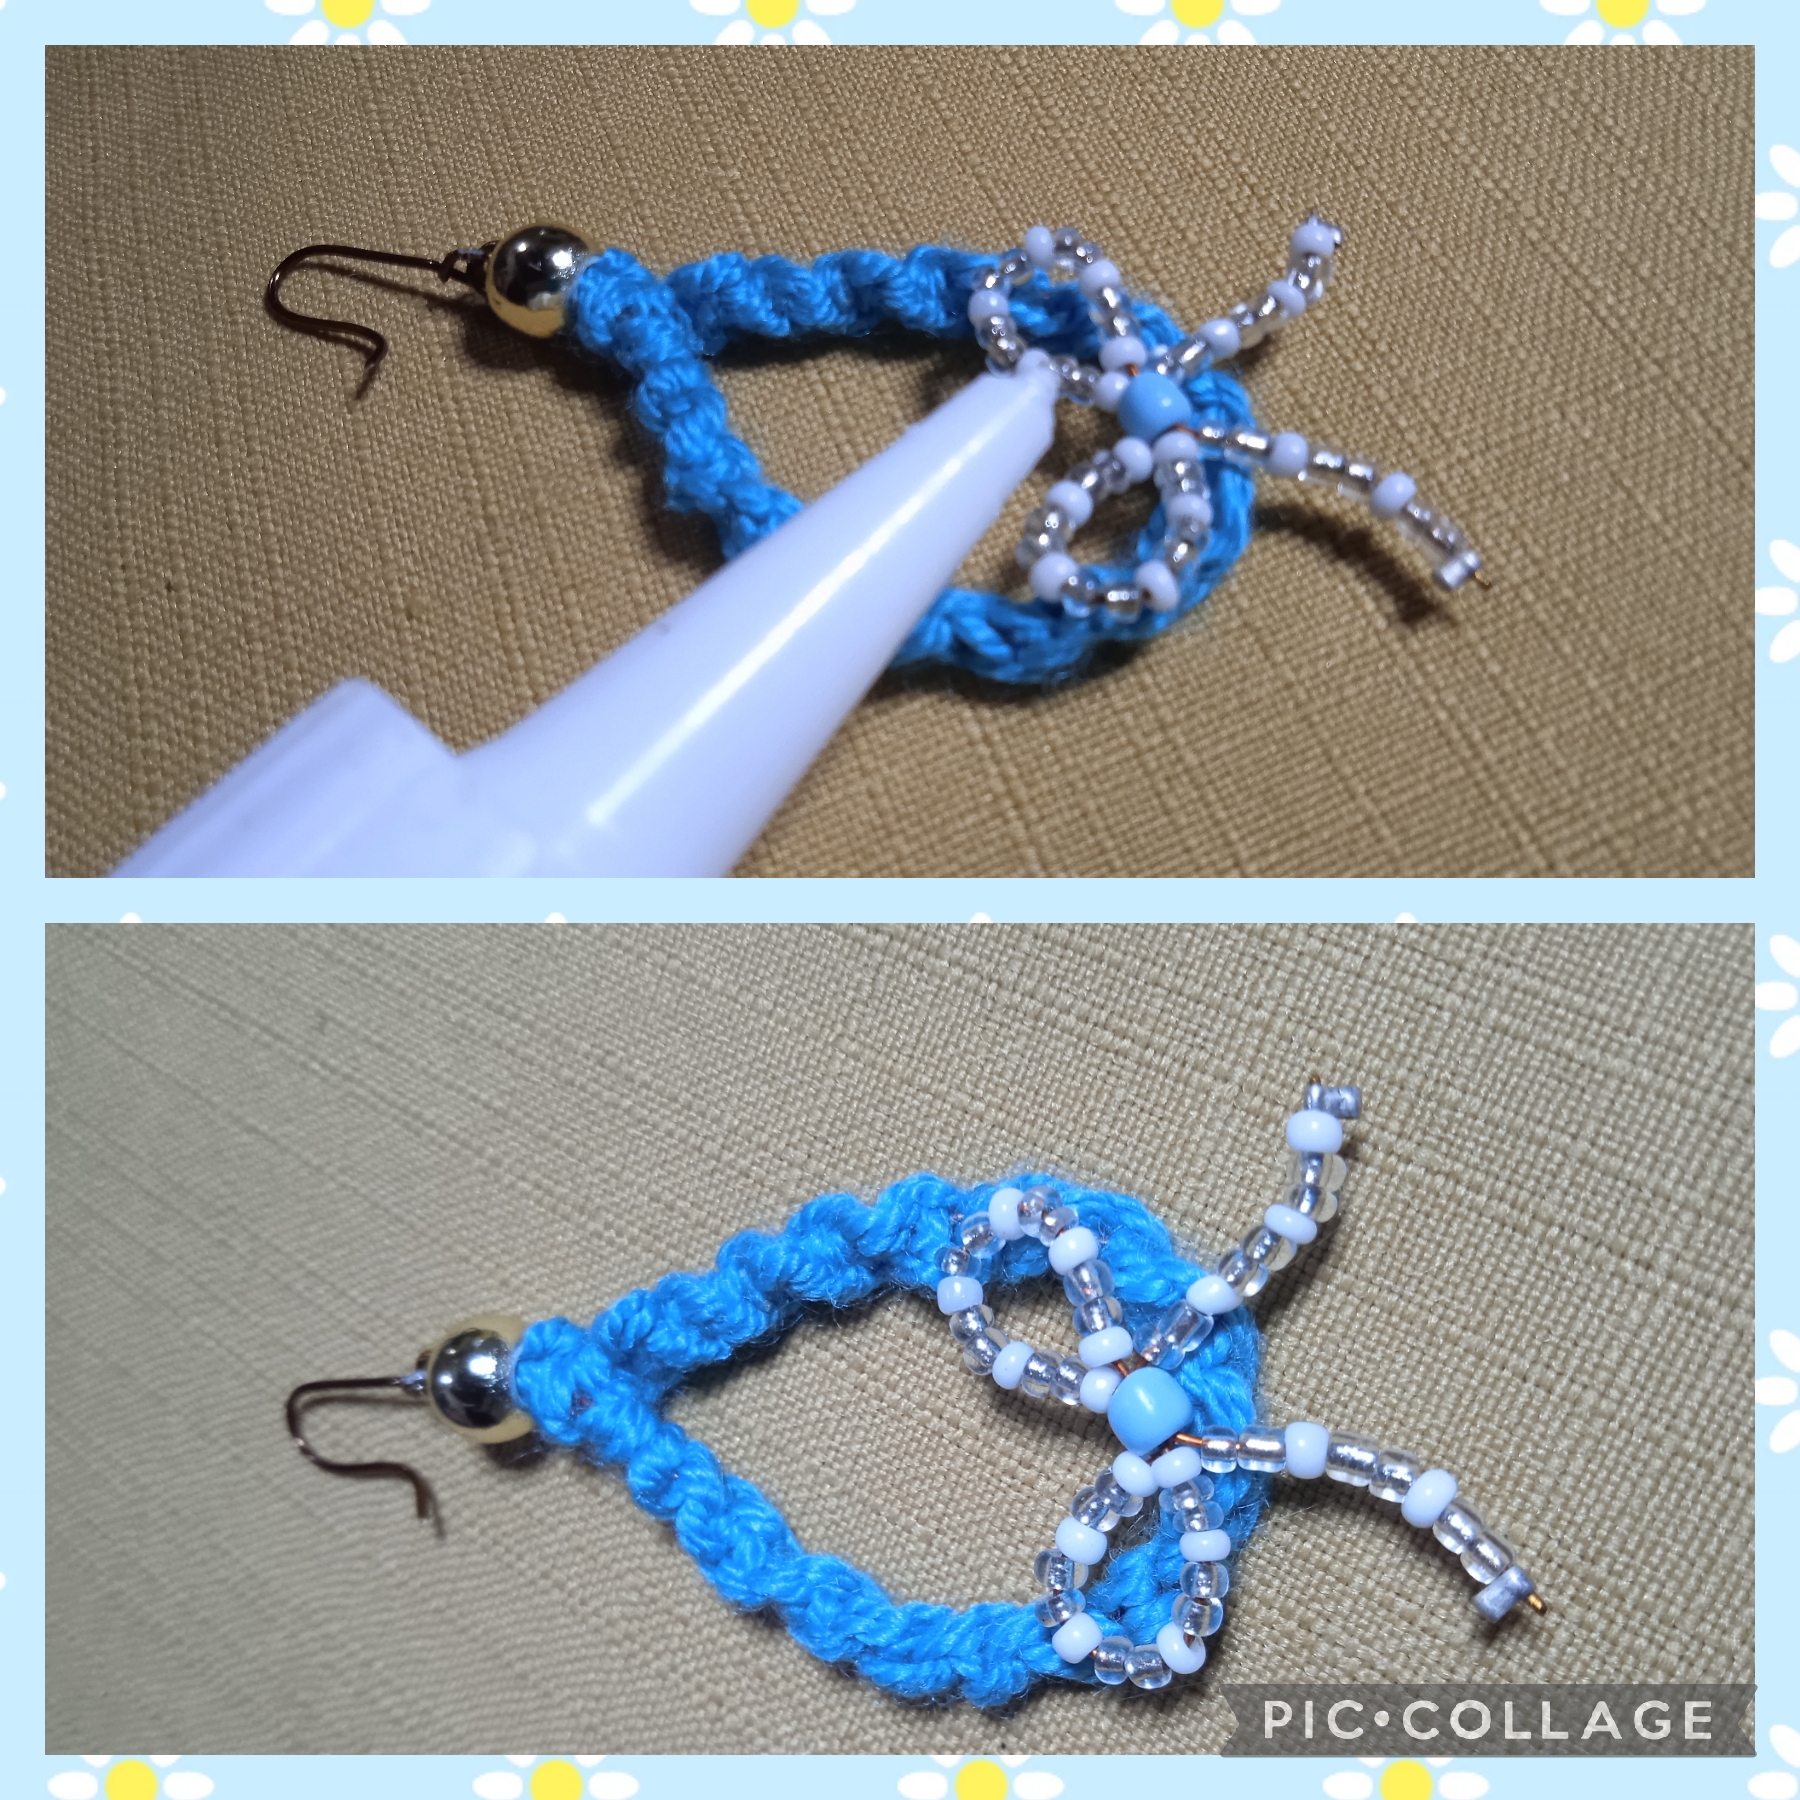
En este paso voy a formar dos lazos para darle la forma Coquette a los Aretes, corto un trozo de alambre de doce centímetros inserto por una punta una mostacilla blanca, dos mostacillas transparentes, hasta insertar seis blancas y diez transparentes, uno las puntas e inserto un mostacillón azul, por una de las puntas inserto seis mostacillas transparentes y tres mostacillas blancas aquí coloco una grapa y fijo; halo la otra punta del alambre y coloco diez mostacillas transparentes y seis blancas, inserto el alambre por el mostacillón azul y halo para formar el otro lado del lazo 🎀 inserto las tres mostacillas blancas y las seis transparentes para formar la otra punta del lazo fijando con una grapa y así queda.
De nuevo corto dos trozos de alambre de tres centímetros cada uno y con la ayuda de la pinza punta redonda hago dos anzuelos para Aretes, así:
THIRD STEP:
In this step I am going to form two loops to give the Coquette shape to the Earrings, I cut a twelve-centimeter piece of wire, insert a white bead at one end, two transparent beads, until I insert six white and ten transparent beads, join the ends and insert a blue bead, through one of the tips I insert six transparent beads and three white beads, here I place a staple and fix it; I pull the other end of the wire and place ten transparent beads and six white ones, I insert the wire through the blue bead and pull it to form the other side of the bow 🎀 I insert the three white beads and the six transparent ones to form the other end of the bow, fixing with a staple and that's how it is.
Again I cut two pieces of wire of three centimeters each and with the help of the round nose pliers I make two hooks for earrings, like this:
PASO CUATRO:
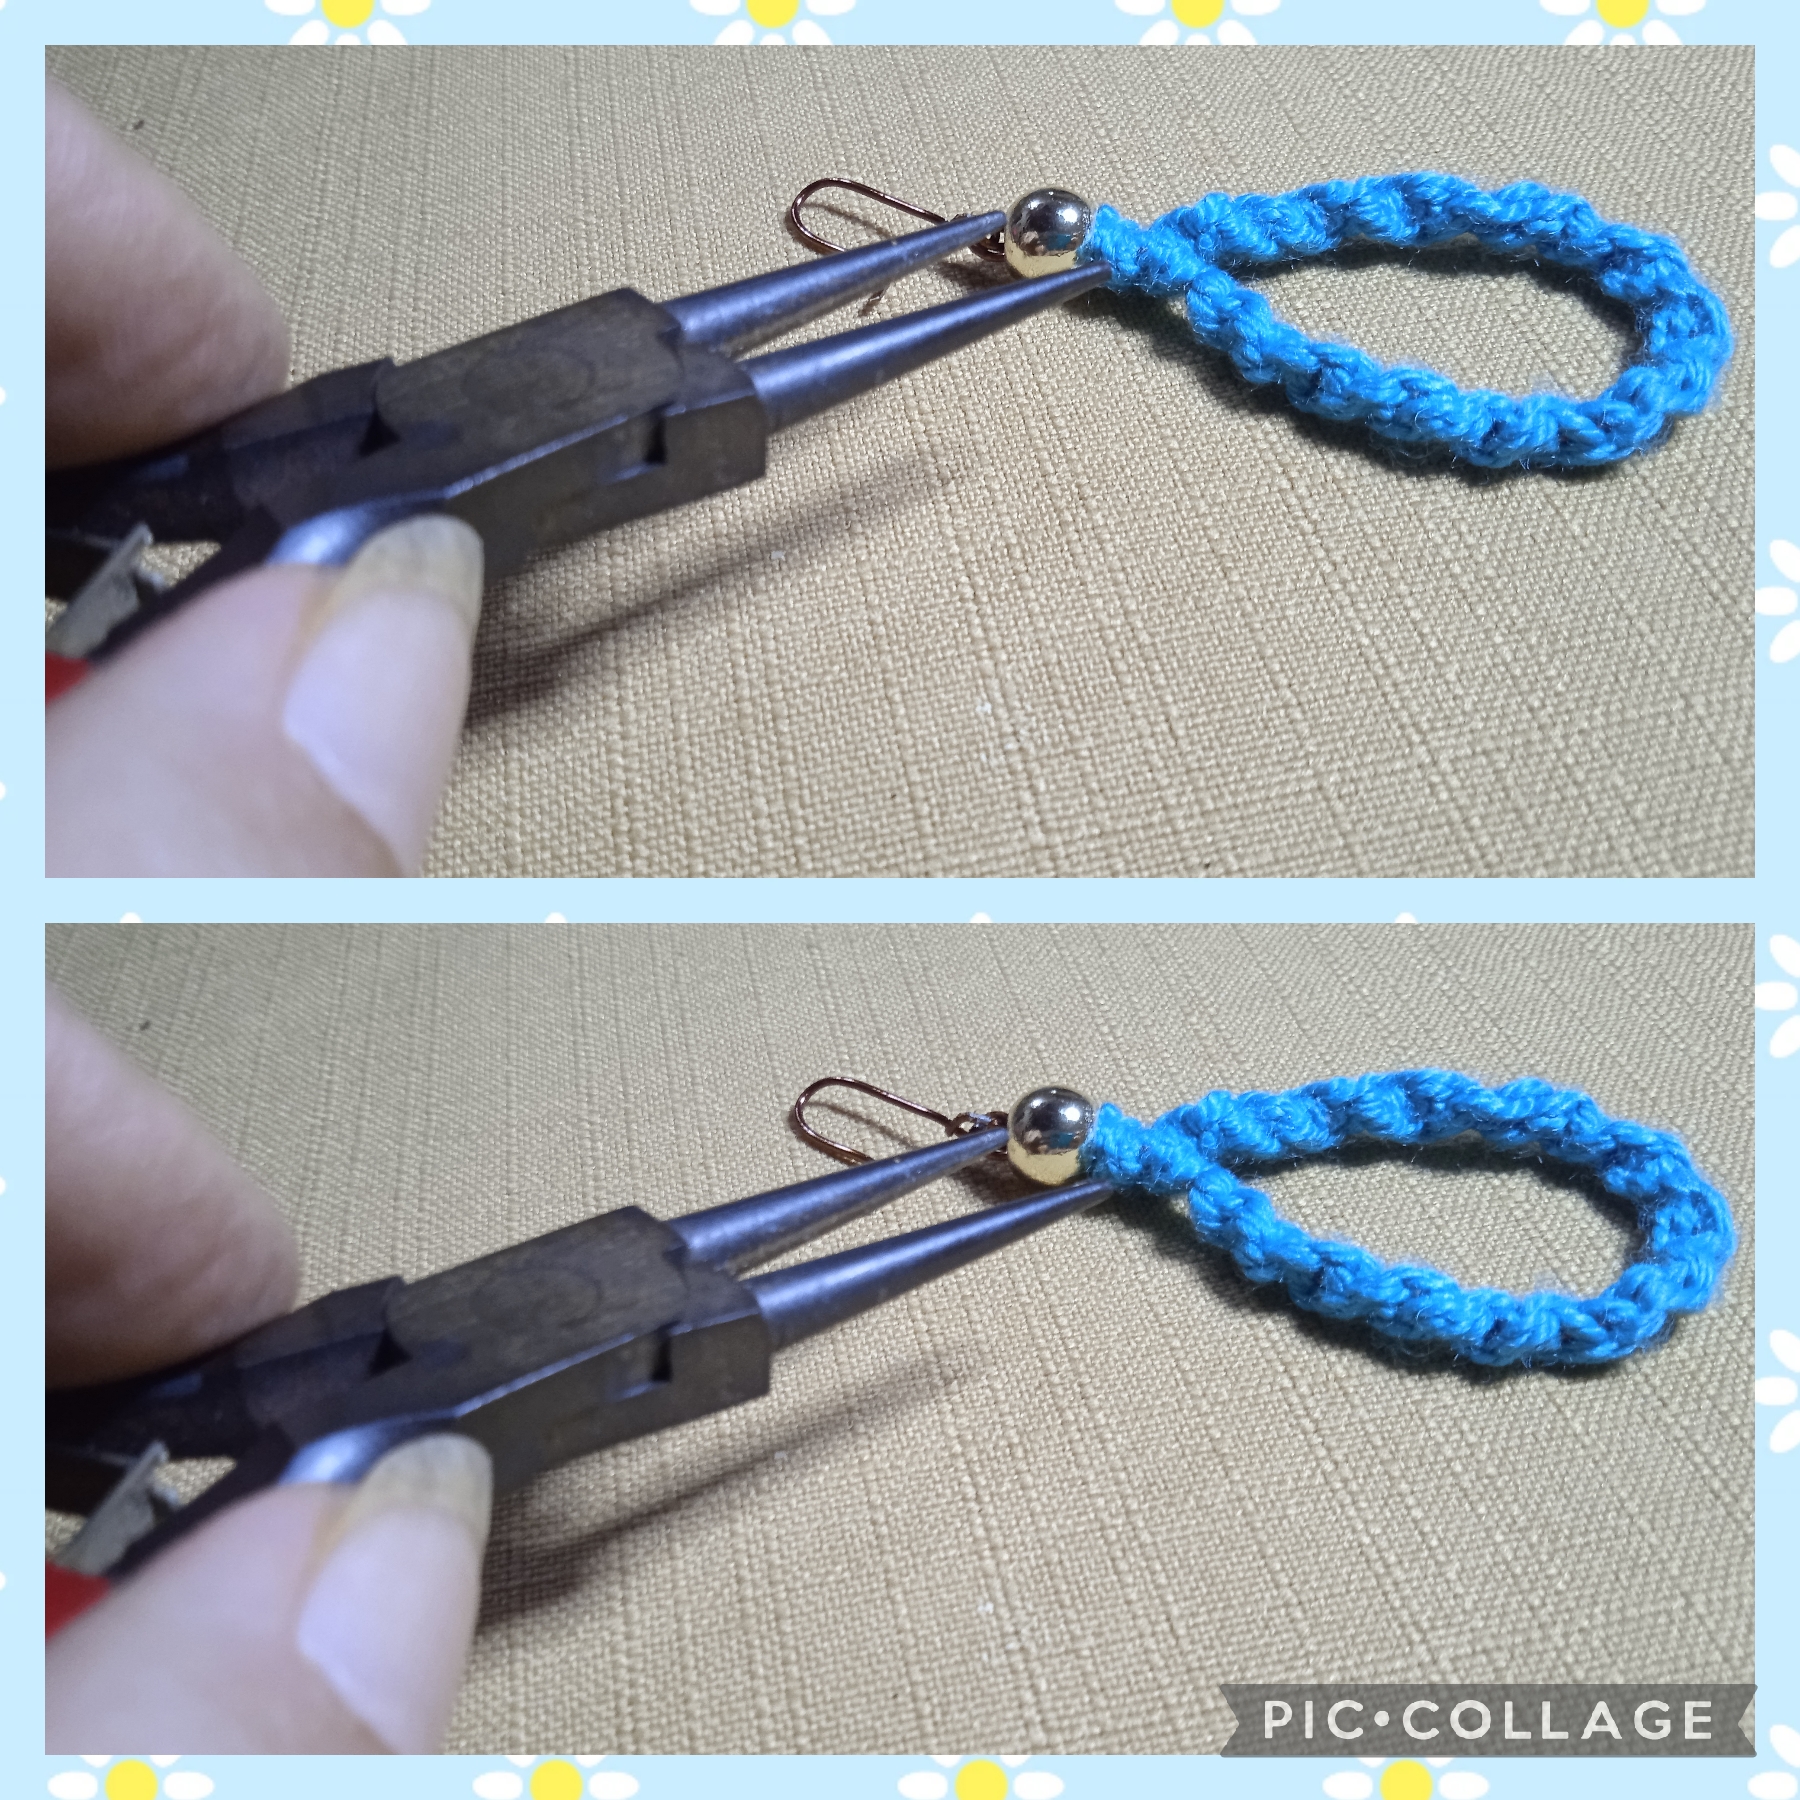
Voy a formar el Arete; dejo un centímetro del alambre sin hilo y uno dando dos vueltas del hilo en un amarre para asegurar, corto el excedente, en el alambre sobrante inserto un balín dorado y bajo hasta la unión, ahora con la pinza punta redonda realizó una argolla donde coloco el anzuelo.
Usando el silicón frío coloco unas gotas en el lazo 🎀 que hice con anticipación y lo pego en la forma de gota y así queda.
STEP FOUR:
I am going to form the Arete; I leave a centimeter of the wire without thread and one giving two turns of the thread in a tie to secure, I cut the excess, in the excess wire I insert a gold ball and go down to the union, now with the round tip pliers I made a ring where I placed the fish hook.
Using the cold silicone, I place a few drops on the bow 🎀 that I made in advance and stick it in the drop shape and that's how it looks.
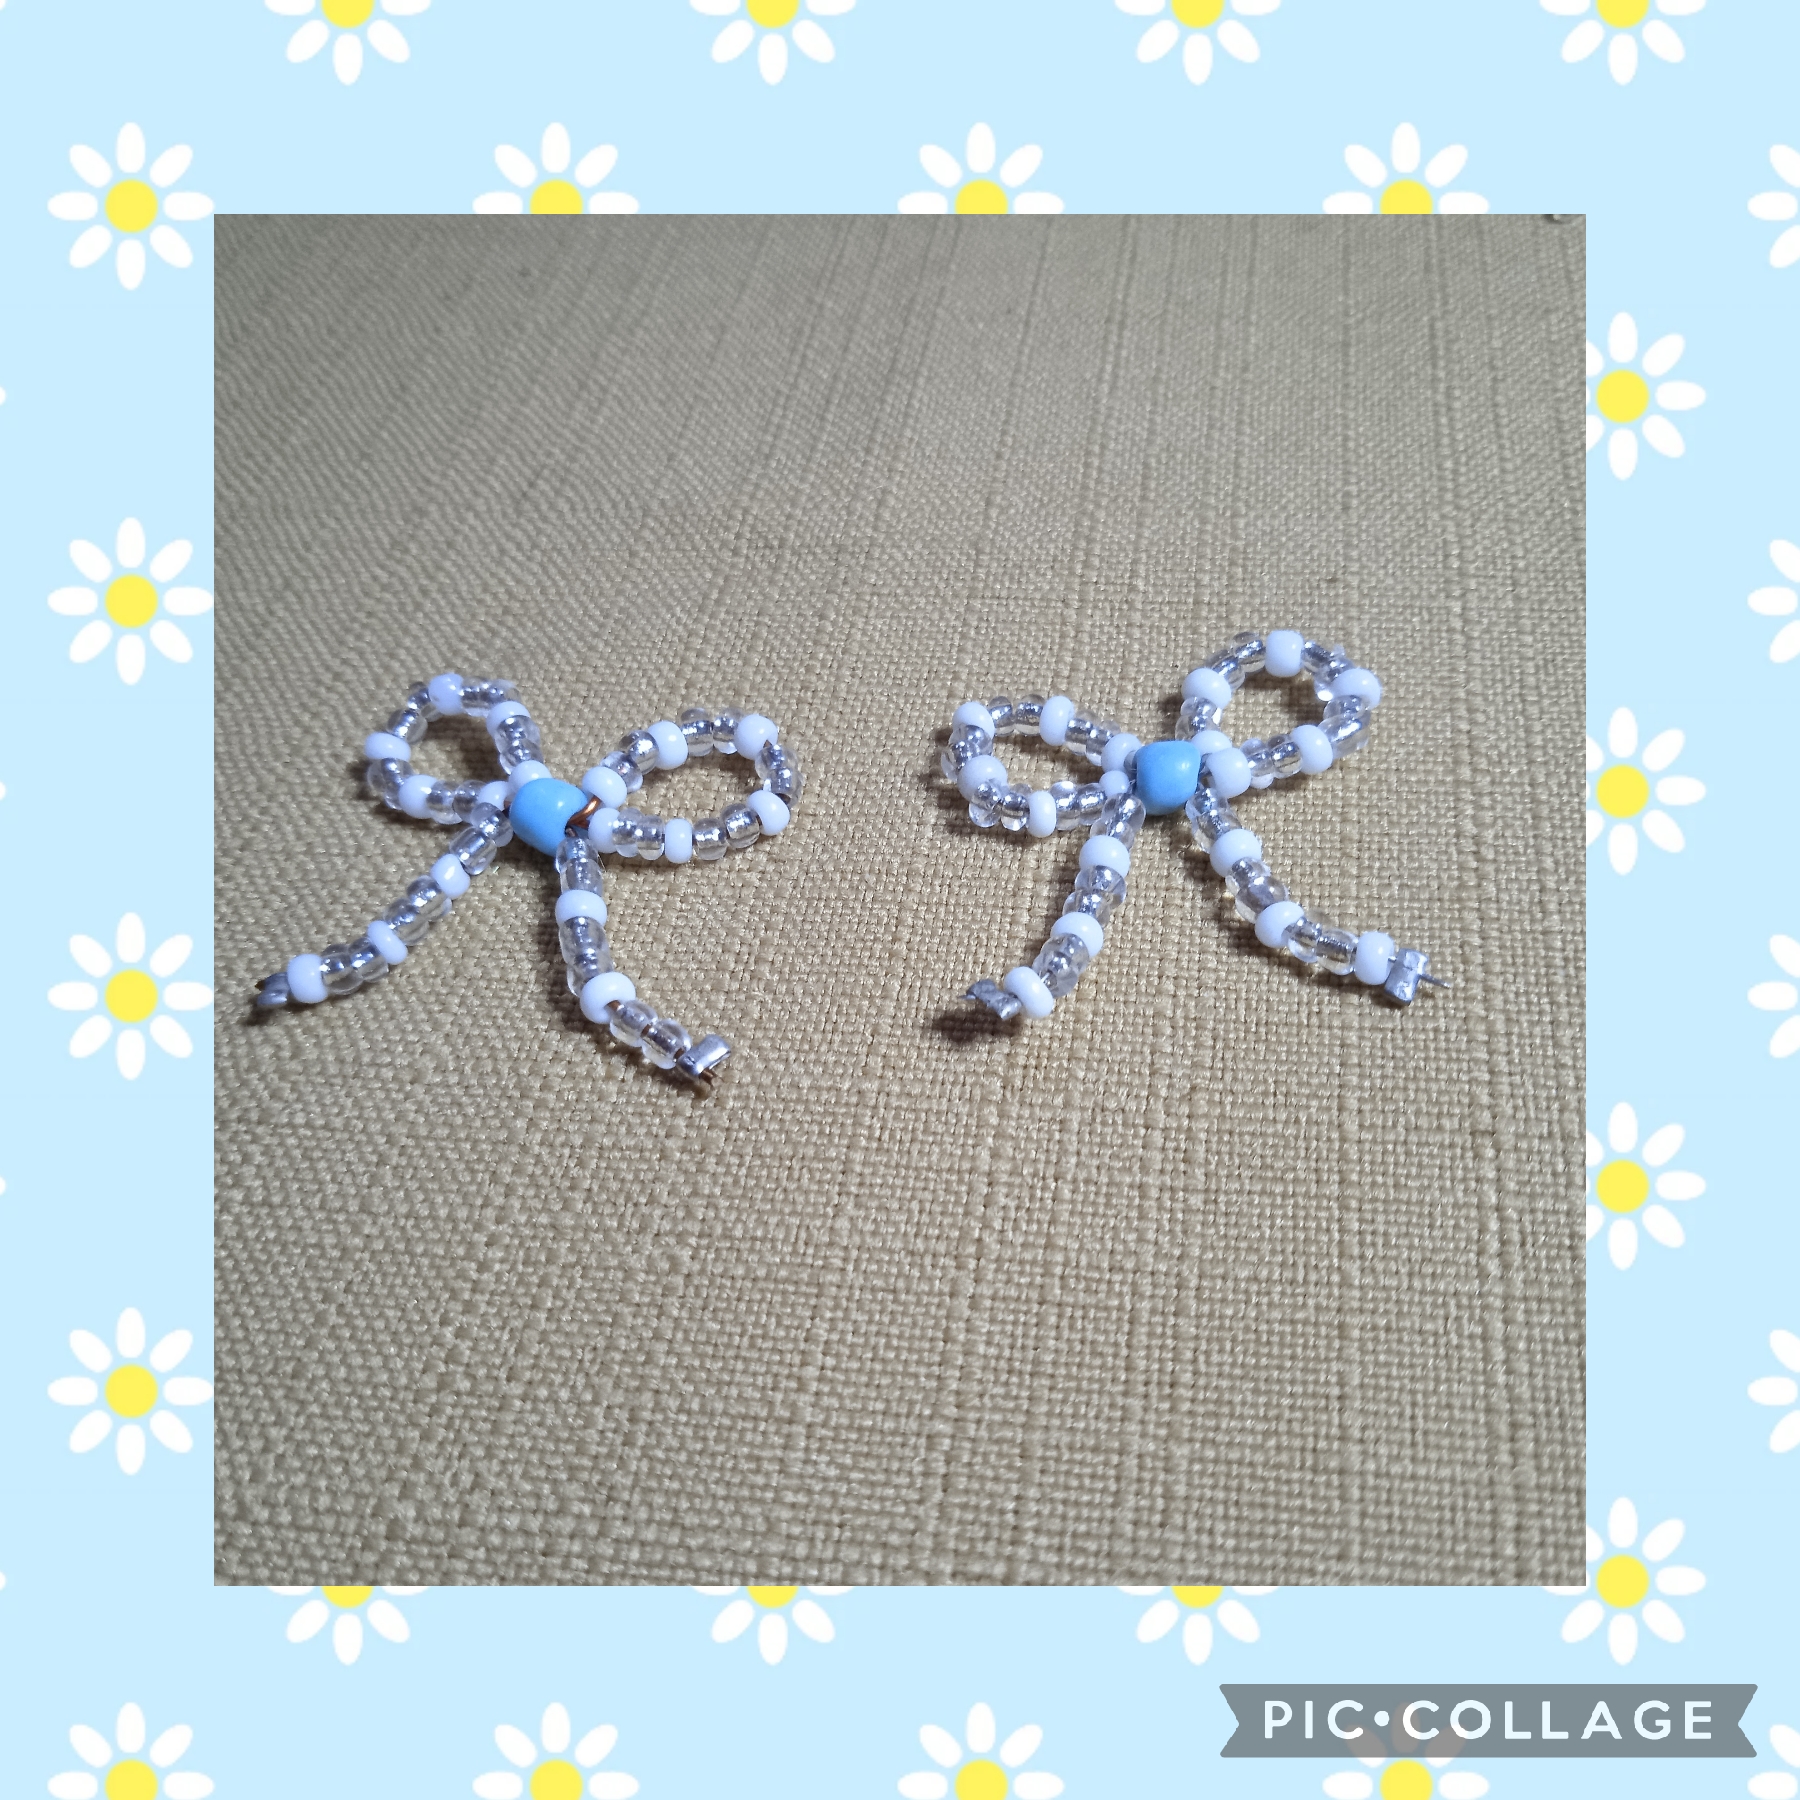
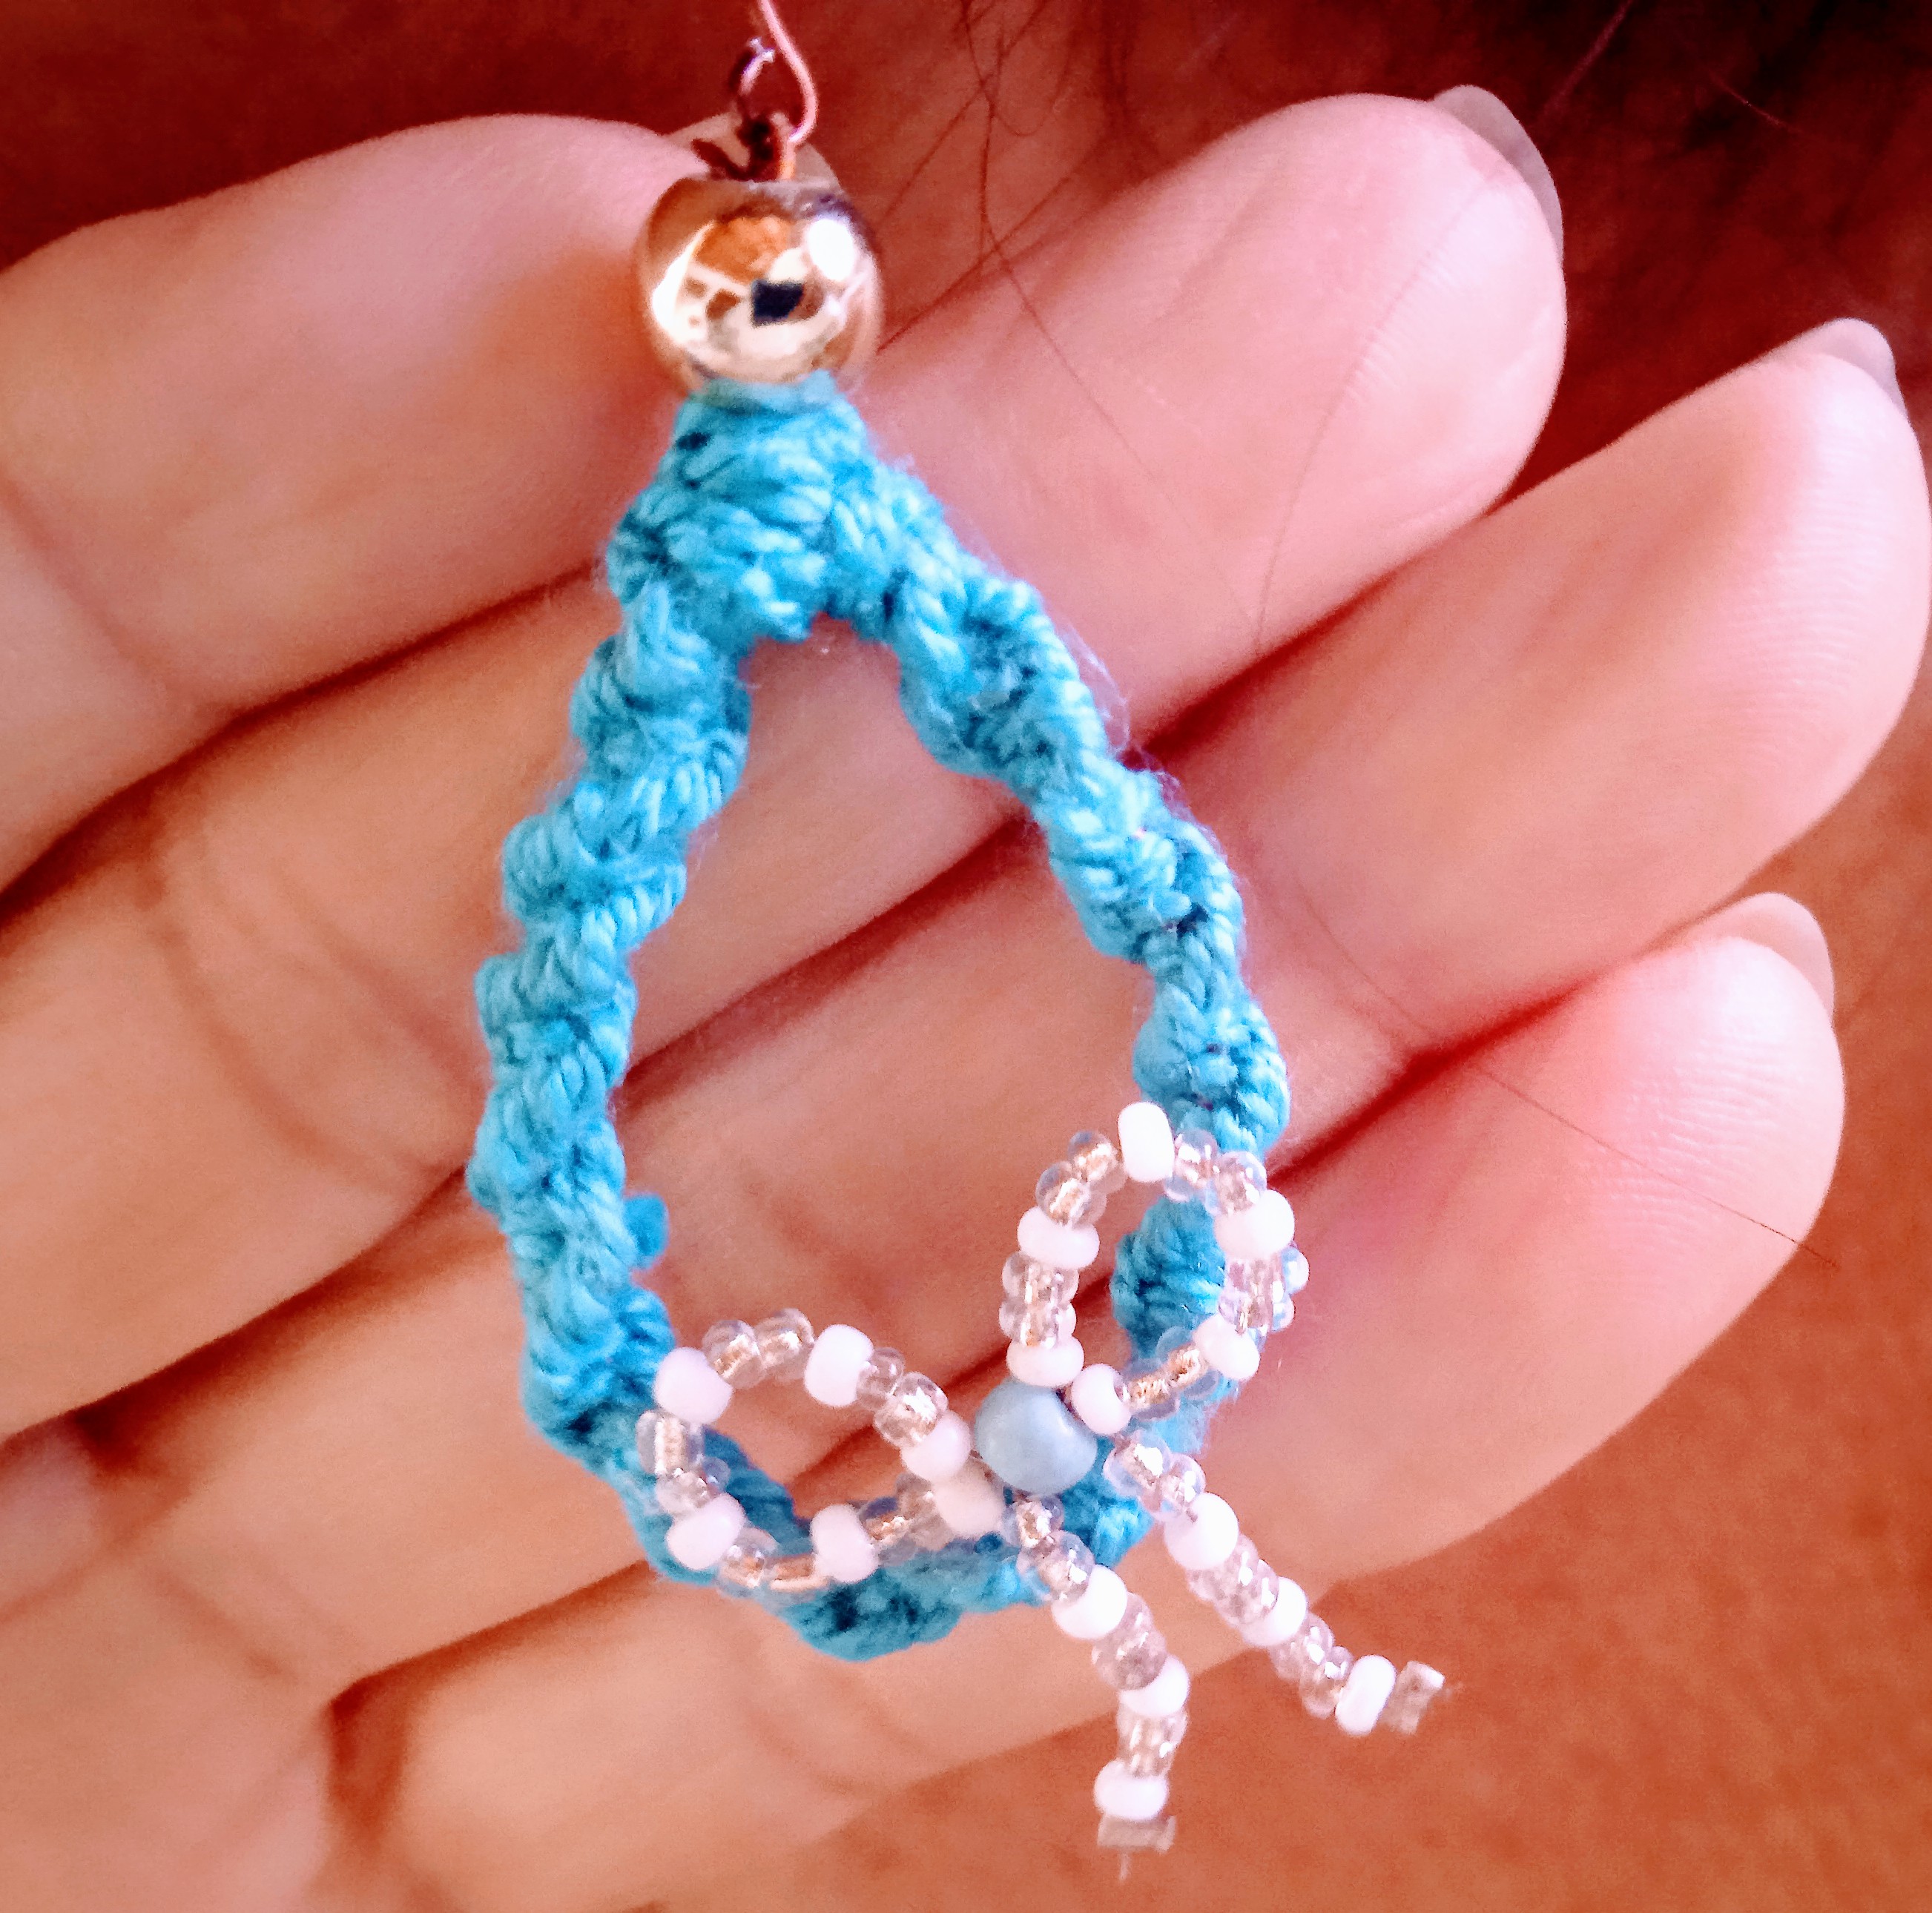
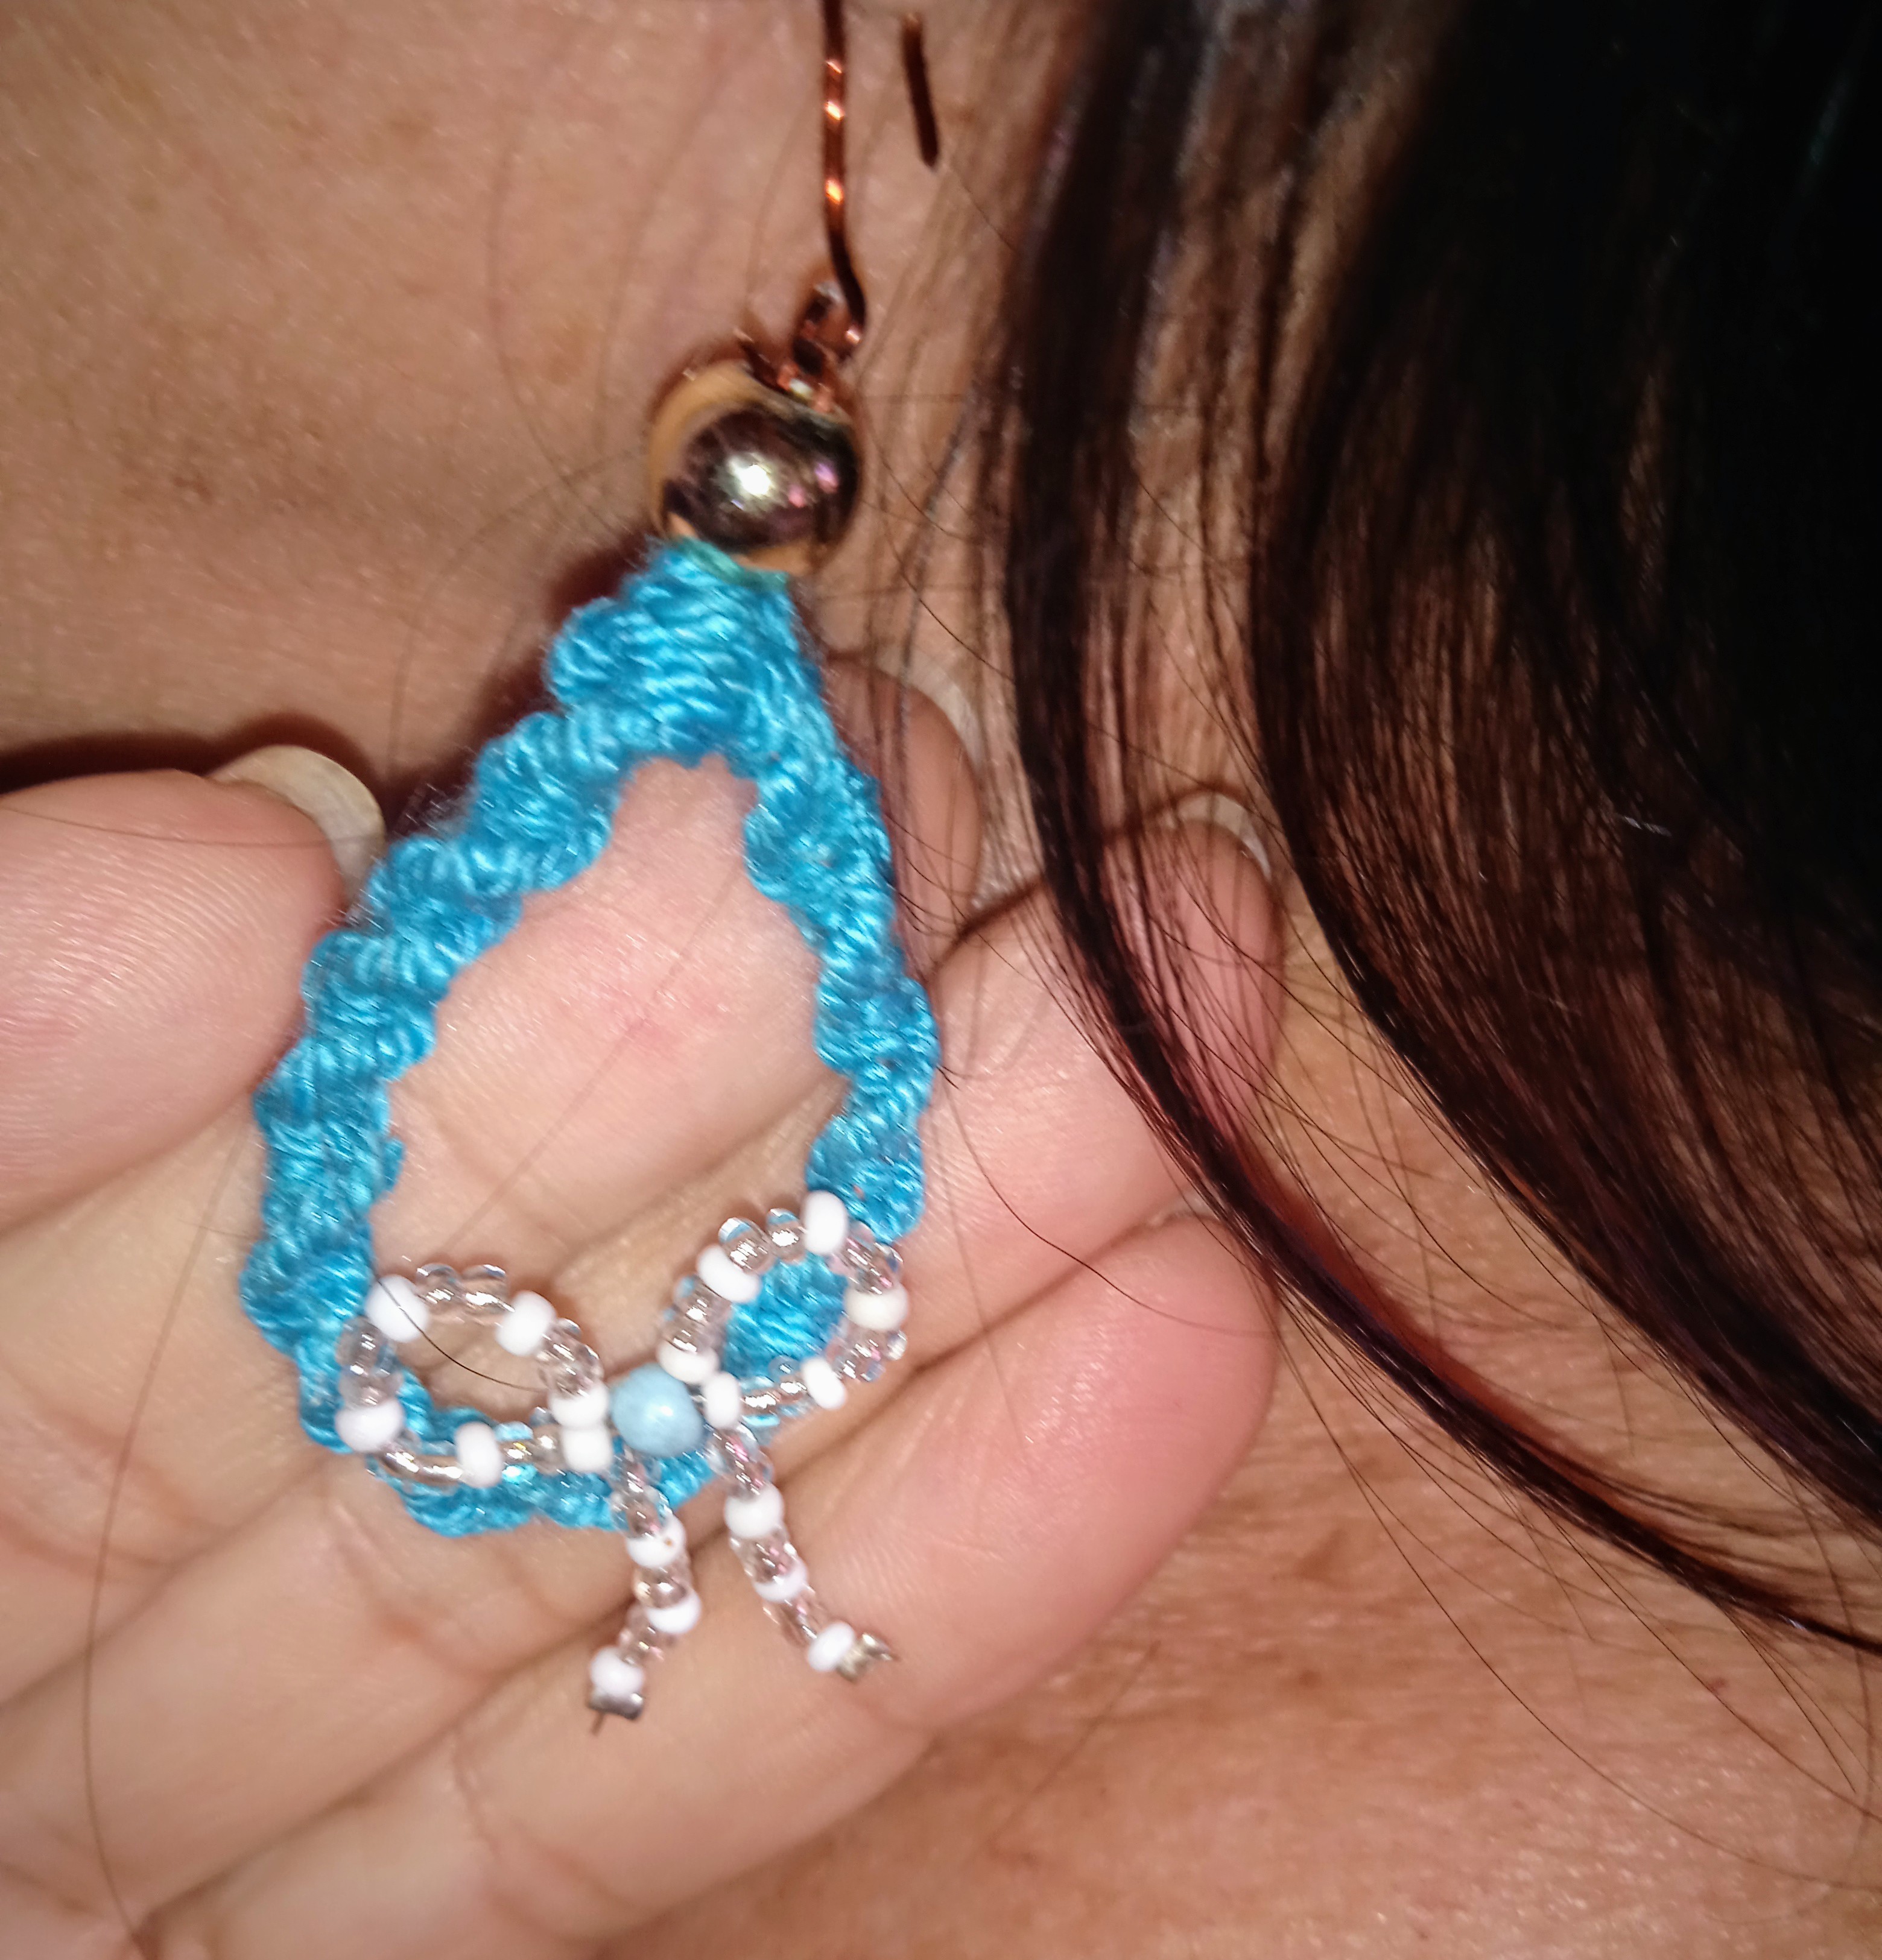
Artistas Creativos de las manualidades y la Joyería este es el resultado final de este bonito proyecto, usando la misma técnica realicé otro Arete para así formar el par.
Me encantó como me quedaron estos pendientes, porque me da gusto cuando los clientes se van satisfechos, espero como siempre sus maravillosos comentarios y agradezco mucho su tiempo para ver y leer mis publicaciones, que pasen una noche feliz y nos vemos en la próxima manualidad, bye bye.
Creative artists of crafts and jewelry, this is the final result of this beautiful project, using the same technique I made another earring to form the pair.
I loved how these earrings turned out on me, because I am happy when clients leave satisfied, I hope as always for your wonderful comments and I really appreciate your time to see and read my publications, have a happy night and see you in the next craft, bye bye.

Las imágenes y redacción de este tutorial son de mi propiedad, las fotos fueron tomadas con mi teléfono celular redmi 9 y las edité con una aplicación gratis del mismo.
Para traducir texto use Google traductor.
The images and writing in this tutorial are my property, the photos were taken with my Redmi 9 cell phone and I edited them with a free application.
To translate text use Google translator

wow that looks so beautiful, you are so creative. Thanks a lot for sharing. keep up the good work.
!giphy wow
@sagarkothari88 vote 25%
!PIZZA
Via Tenor
$PIZZA slices delivered:
(1/10) @bhattg tipped @nhaydu
Thanks you.
Muy lindo mi querida amiga @nhaydu y un color que le gusta a un conocida por ahí. Gracias por compartir.
Gracias por tan gentil comentario querida @katiuskamata, que gusto saludarte , un abrazo 🤗