Un saludo a todos. Hoy vengo con un nuevo dibujo súper tierno y alegre, se trata de una hermosa chica usando un disfraz de abejita, se me ocurrió porque vi una abeja mientras miraba una serie y luego recordé la escena de una película en la que había medias de abejita involucradas (risas), así que acompáñame en este post para que puedas ver todo el proceso.
English Version
Greetings to all. Today I come with a new super cute and cheerful drawing, it's about a beautiful girl wearing a bee costume, I came up with it because I saw a bee while watching a series and then I remembered the scene of a movie where there were bee socks involved (laughs), so join me in this post so you can see the whole process.
Imagen creada por mí en Canva / Image created by me in Canva
Comienzo como es costumbre con mi boceto a lápiz en mi confiable cuaderno a rayas, en ese cuaderno estudio, escribo cosas importantes y hago dibujos, se ha vuelto un amigo fiel (risas). Para lo que sería la base del boceto, donde establezco la posición del cuerpo y la cabeza, uso mi lápiz de grafito con el tono más claro. Al comienzo tuve algunas dudas sobre cómo posicionar sus piernas, pero luego pude verlo claramente. Una vez definido esto, procedí con un lápiz de grafito más oscuro y con el mismo, tracé las líneas definitivas de mi dibujo, con todos los detalles de la ropa, el cabello, accesorios, facciones, entre otras cositas.
English Version
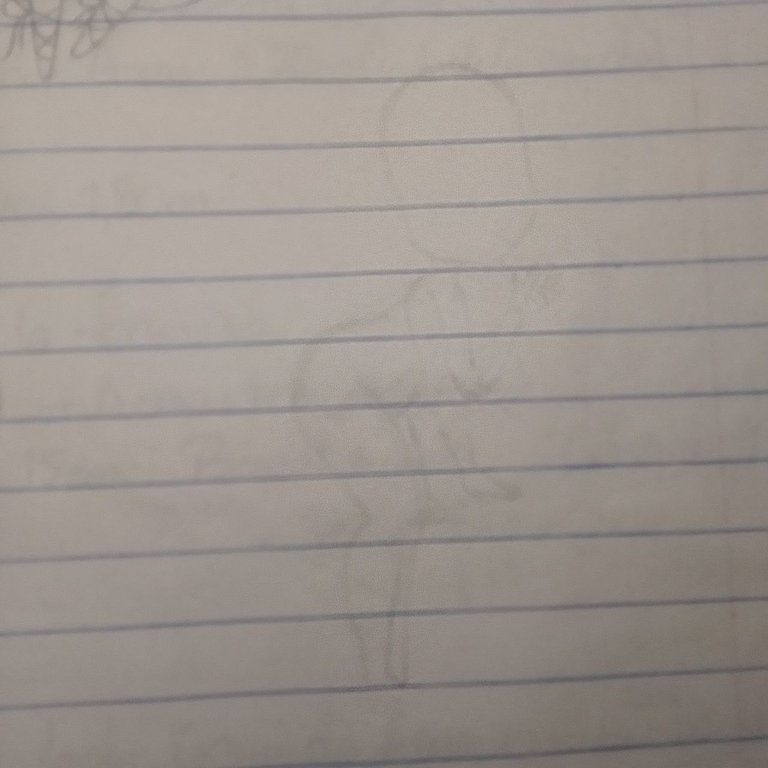
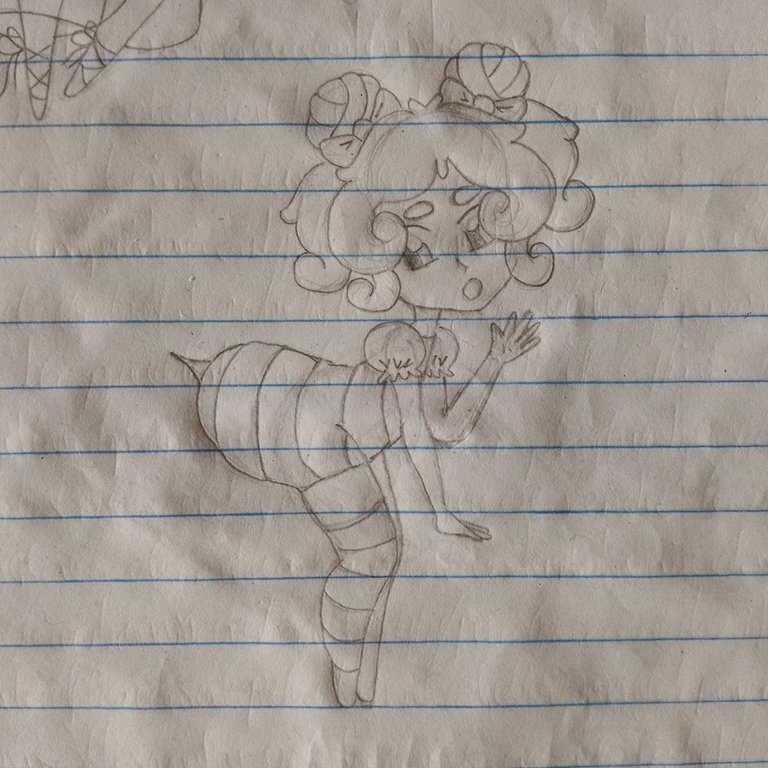
I start as usual with my pencil sketch in my trusty lined notebook, in that notebook I study, write important things and make drawings, it has become a faithful friend (laughs). For what would be the base of the sketch, where I establish the position of the body and the head, I use my graphite pencil with the lightest tone. At the beginning I had some doubts about how to position his legs, but then I could see it clearly. Once this was defined, I proceeded with a darker graphite pencil and with it, I drew the definitive lines of my drawing, with all the details of the clothes, hair, accessories, features, among other little things.
 |  |
|---|
Estando listo mi boceto, le hago una foto lo mejor posible e importo este archivo a la aplicación Ibis Paint X en mi teléfono, ajusto su tamaño sobre el lienzo, creo una nueva capa y con un pincel tipo pluma fuerte en color negro, hago todo lo que corresponde al line art. Usé un grosor de 5.5 para la mayoría de las líneas, pero para los detalles más pequeños empleé 3.5.
English Version
Once my sketch is ready, I take a picture of it as best as I can and import this file to the Ibis Paint X application on my phone, adjust its size on the canvas, create a new layer and with a strong pen brush in black, I do everything that corresponds to the line art. I used a thickness of 5.5 for most of the lines, but for the smaller details I used 3.5.
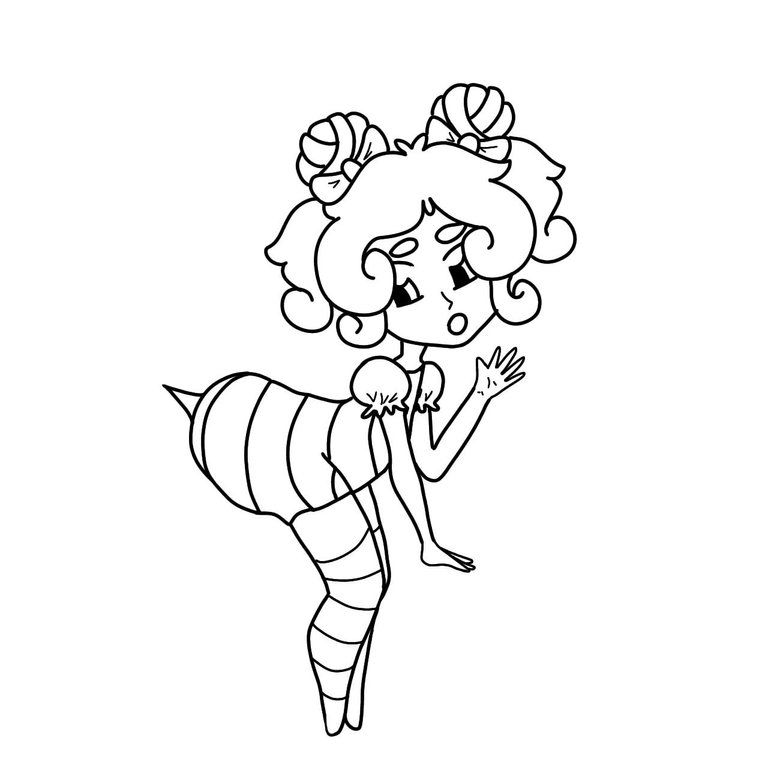
Line art
Con mi line art terminado, creo otra capa sobre la anterior, pero esta, estará en modo multiplicar, ya que será la de los colores base, así, los colores no le restarán espacio a las líneas negras de la capa del line art y todo que dará más prolijo. Por supuesto, en esta capa colocaremos los colores que nos gustan para esta chica y como es una linda abejita, el amarillo será el color predominante, estos colores los colocaremos con la herramienta de relleno.
English Version
With my line art finished, I create another layer over the previous one, but this one will be in multiply mode, since it will be the one with the base colors, so the colors will not subtract space to the black lines of the line art layer and everything will be neater. Of course, in this layer we will place the colors that we like for this girl and as she is a cute little bee, yellow will be the predominant color, we will place these colors with the fill tool.
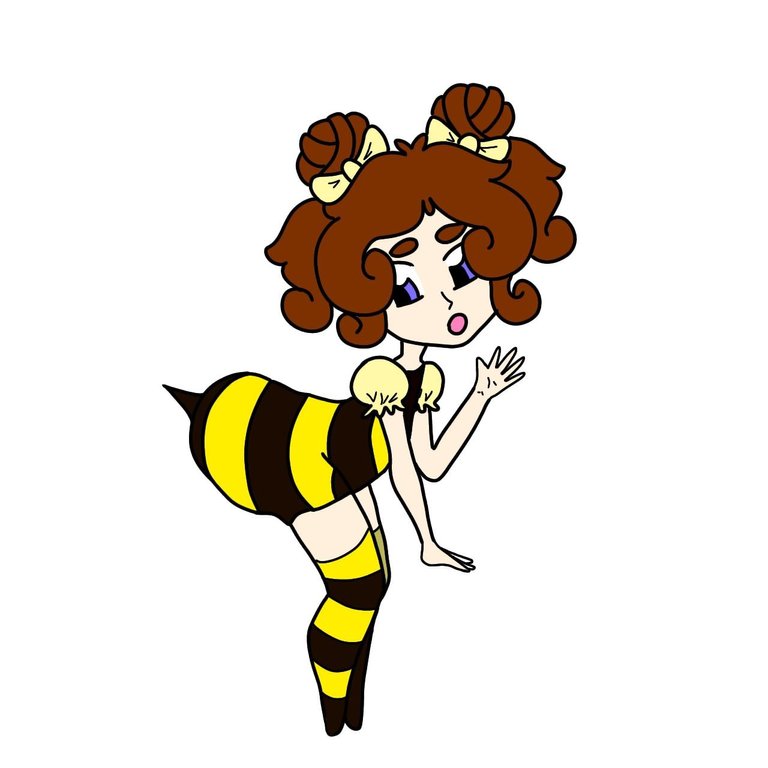
Colores base / Flat colors
Para el sombreado se trabaja en otra capa más, también en modo multiplicar y el pincel tipo aerógrafo, que da ese efecto tan bonito en el que el borde del trazo ya se ve difuminado e integrado al color de base. Los colores a utilizar serán los mismos de la base, ya que el modo multiplicar hará que queden más oscuros automáticamente, sin embargo, a mí me gusta tomar tonos un poquito más oscuro para los colores más claros para que se noten más las sombras, como en el caso de la piel, por ejemplo.
English Version
For the shading we work on another layer, also in multiply mode and the airbrush, which gives that nice effect in which the edge of the stroke is already blurred and integrated to the base color. The colors to be used will be the same as the base, since the multiply mode will automatically make them darker, however, I like to use a little darker tones for the lighter colors so that the shadows are more noticeable, as in the case of the skin, for example.
Sombras / Shades
En la siguiente capa, que estará en modo normal, haremos las luces y para ello usaremos el pincel aerógrafo y aplicaremos colores más claros que los de la base en las zonas que nos parezca conveniente.
English Version
In the next layer, which will be in normal mode, we will make the lights and for this we will use the airbrush and apply lighter colors than those of the base in the areas we find convenient.

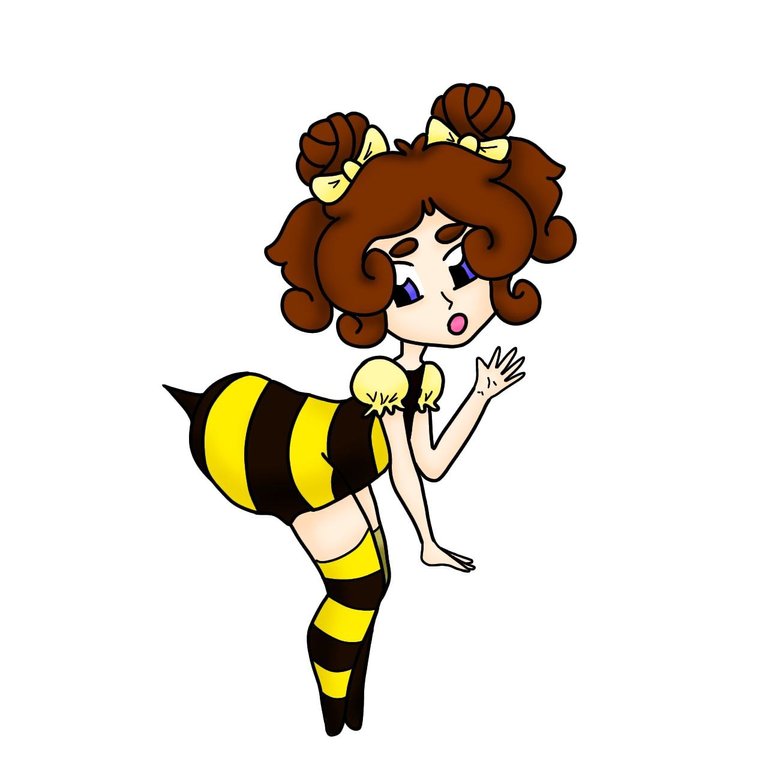
Luces / Lights
Por supuesto no puede faltar el rubor, que también lo hago con el pincel tipo aerógrafo en un tono rosadito/narajita para este caso. Yo lo coloco no solo en las mejillas sino también en los codos, manos y piernas. En otra capa agrego el blanco mágico con el pincel tipo rotulador y por último, en una capa más, que moveremos hasta debajo de la del line art, añadiremos un fondo bonito, para este dibujo agregué un color morado para que hubiera contraste y con un pincel de línea segmentada tracé una línea que asemejaba la trayectoria de una abeja, además de algunos detalles en blanco con el pincel tipo rotulador.
English Version
Of course you can't miss the blush, which I also do with the airbrush in a pinkish/blushy tone for this case. I apply it not only on the cheeks but also on the elbows, hands and legs. In another layer I add the magic white with the marker brush and finally, in another layer, which we will move to below the line art, we will add a nice background, for this drawing I added a purple color for contrast and with a segmented line brush I drew a line that resembled the trajectory of a bee, plus some details in white with the marker brush.
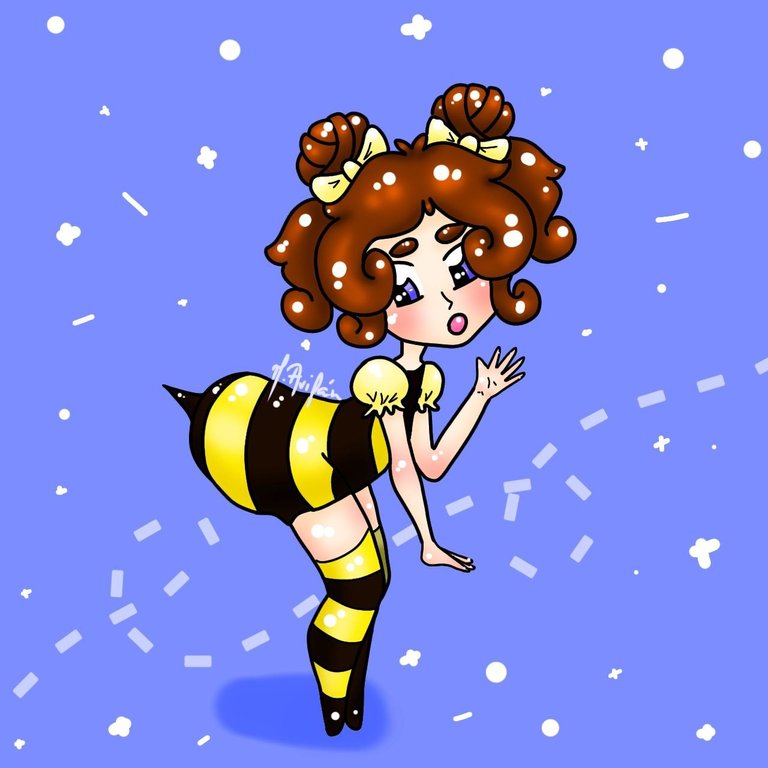
Rubor, blanco mágico y fondo / Blush, magic White and background
¡Muchas gracias por leerme!
Thank you so much for reading me!
Fotografías propias, tomadas con mi Tecno Spark 10C.
Dibujo creado por mí en Ibis Paint X.
Traducido al inglés con DeepL.
English Version
Own photographs, taken with my Tecno Spark 10C.
Drawing created by me in Ibis Paint X.
Translated to English with DeepL.

Banner creado por mí en Canva / Banner made by me in Canva
que cute!!
Muchas gracias☺️
Que trabajo tan tierno un disfraz de abejita bien llamativa y cuchi. Buen proceso creativo.
!discovery 40
¡Muchísimas gracias por tu apoyo y tú bonito comentario! Me contenta mucho que te guste mi trabajo☺️✨
What a cute little bee. Very nice work in digital. Thanks for giving us this good creative process
Thank you very much for your support!🤗✨
This post was shared and voted inside the discord by the curators team of discovery-it
Join our Community and follow our Curation Trail
Discovery-it is also a Witness, vote for us here
Delegate to us for passive income. Check our 80% fee-back Program
Thank you very much for your support✨
Congratulations @mavilan30! You have completed the following achievement on the Hive blockchain And have been rewarded with New badge(s)
<table><tr><td><img src="https://images.hive.blog/60x70/https://hivebuzz.me/@mavilan30/upvoted.png?202406020220" /><td>You received more than 1250 upvotes.<br />Your next target is to reach 1500 upvotes. <tr><td><img src="https://images.hive.blog/60x70/https://hivebuzz.me/@mavilan30/comments.png?202406020220" /><td>You made more than 50 comments.<br />Your next target is to reach 100 comments. <p dir="auto"><sub><em>You can view your badges on <a href="https://hivebuzz.me/@mavilan30" target="_blank" rel="noreferrer noopener" title="This link will take you away from hive.blog" class="external_link">your board and compare yourself to others in the <a href="https://hivebuzz.me/ranking" target="_blank" rel="noreferrer noopener" title="This link will take you away from hive.blog" class="external_link">Ranking<br /> <sub><em>If you no longer want to receive notifications, reply to this comment with the word <code>STOP <p dir="auto"><strong>Check out our last posts: <table><tr><td><a href="/hive-122221/@hivebuzz/pum-202405-result"><img src="https://images.hive.blog/64x128/https://i.imgur.com/mzwqdSL.png" /><td><a href="/hive-122221/@hivebuzz/pum-202405-result">Hive Power Up Month Challenge - May 2024 Winners List<tr><td><a href="/hive-122221/@hivebuzz/pum-202406"><img src="https://images.hive.blog/64x128/https://i.imgur.com/M9RD8KS.png" /><td><a href="/hive-122221/@hivebuzz/pum-202406">Be ready for the June edition of the Hive Power Up Month!<tr><td><a href="/hive-122221/@hivebuzz/pud-202406"><img src="https://images.hive.blog/64x128/https://i.imgur.com/805FIIt.jpg" /><td><a href="/hive-122221/@hivebuzz/pud-202406">Hive Power Up Day - June 1st 2024a community encouraging first-hand content, and each individual living their best life.