Un saludo a todos. Estaba pensando en alguna idea para dibujar algo mágico y tierno y de repente lo vi, un lindo gatito lleno de magia, así que quiero compartir con ustedes el paso a paso para dibujarlo en Ibis Paint X desde el celular. Sigue leyendo y no te pierdas nada del proceso.
English Version
Greetings to all. I was thinking about some idea to draw something magical and tender and suddenly I saw it, a cute kitten full of magic, so I want to share with you the step by step to draw it in Ibis Paint X from the cell phone. Keep reading and don't miss anything of the process.
Imagen creada por mí en Canva / Image created by me in Canva
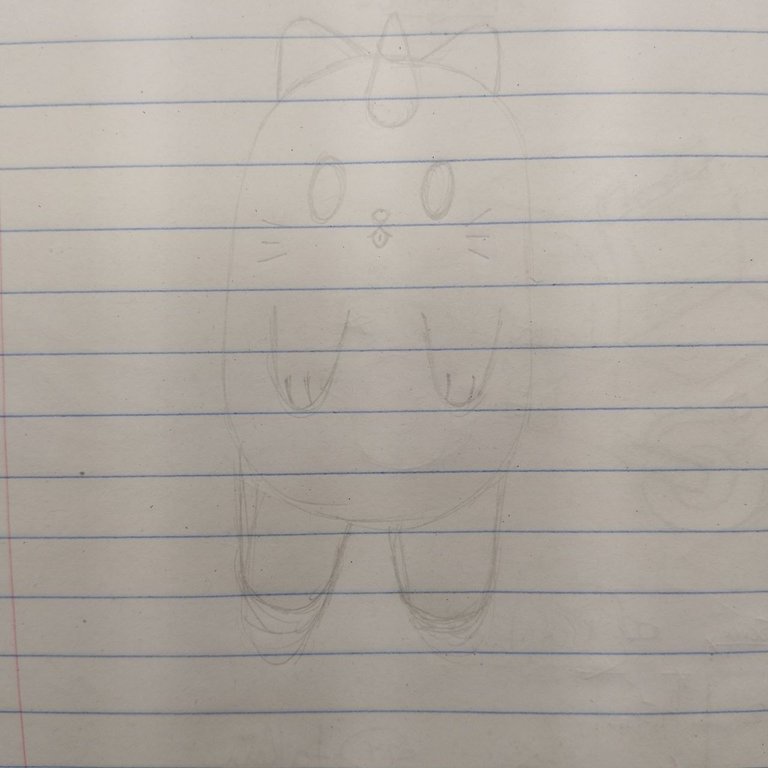
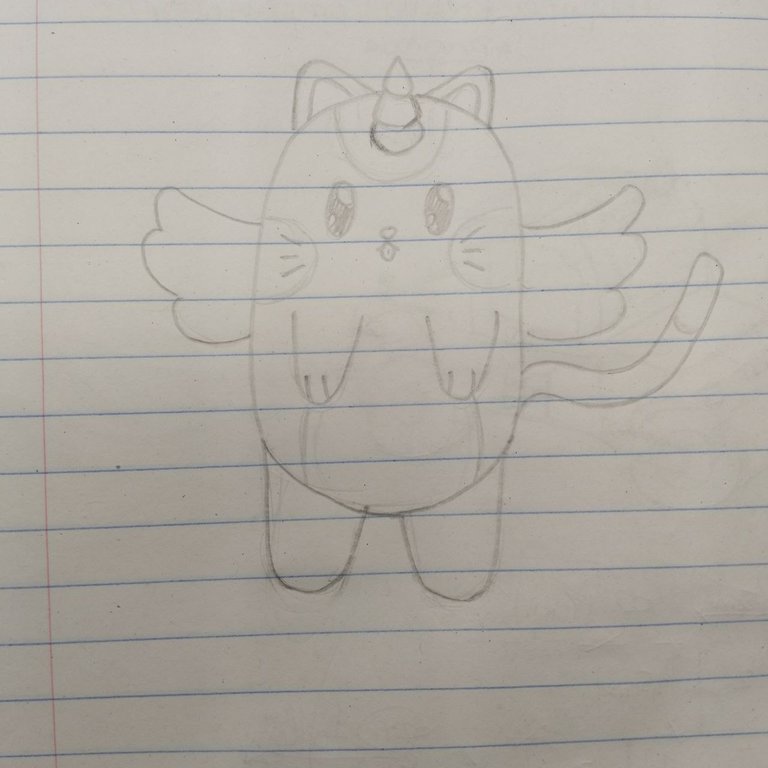
Inicio haciendo el boceto en mi confiable cuaderno de hojas de rayas, para ello, usé un par de lápices de grafito, uno más claro y otro un poco más oscuro, con el primero, hice todas las figuras con las que me guiaría para distribuir el espacio y determinar las proporciones, como por ejemplo el enorme óvalo que conforma el cuerpo del gatito y el segundo, fue ya para remarcar las líneas que definirían al personaje finalmente.
English Version
I start making the sketch in my trusty lined notebook, for this, I used a pair of graphite pencils, one lighter and the other a little darker, with the first one, I made all the figures with which I would guide me to distribute the space and determine the proportions, such as the huge oval that makes up the body of the kitten and the second, was already to highlight the lines that would define the character finally.
 |  |
|---|
Le he tomado una foto al boceto terminado y la he importado a la aplicación Ibis Paint X en mi celular, allí he creado una nueva capa en modo normal y con el pincel tipo pluma en color negro he trazado todo el line art. En este punto ya se puede apagar la capa de la foto.
English Version
I have taken a photo of the finished sketch and imported it to the Ibis Paint X application on my cell phone, there I have created a new layer in normal mode and with the pen brush in black color I have traced all the line art. At this point you can turn off the photo layer.
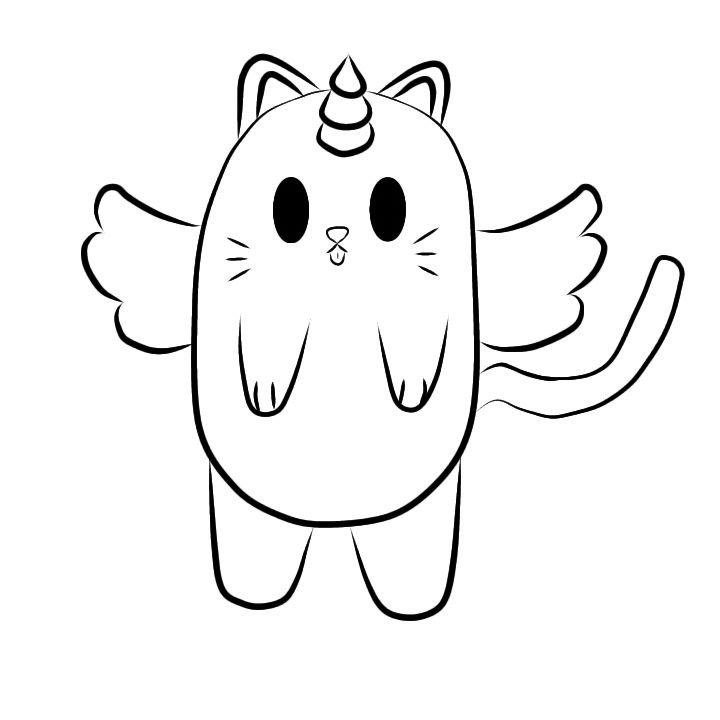
Line art
En la siguiente capa, que debe estar en modo multiplicar, agregamos los colores base, yo lo he hecho con la herramienta de relleno, que es la que se ve como un botecito de pintura. He usado colores bastante pasteles, para este dibujo predomina el amarillo un poco naranja.
English Version
In the next layer, which must be in multiply mode, we add the base colors, I have done it with the fill tool, which is the one that looks like a little pot of paint. I have used quite pastel colors, for this drawing predominates the yellow and a little orange.
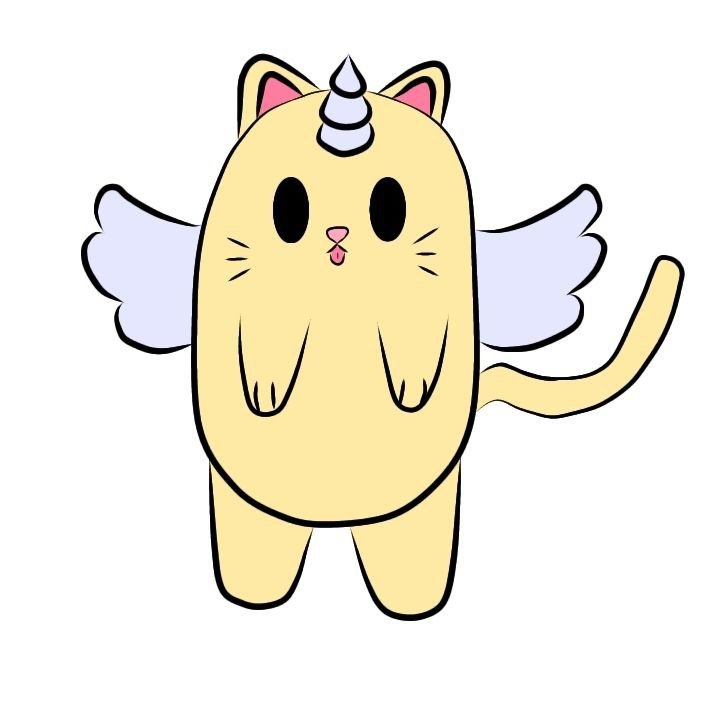
Colores base / Flat colors
Creamos una nueva capa y con un pincel tipo acuarela, agregamos detalles del pelaje del gato, un tono más naranja en su carita y un tono casi blanco en su pancita.
English Version
We create a new layer and with a watercolor brush, we add details of the cat's fur, a more orange tone on its face and an almost white tone on its belly.
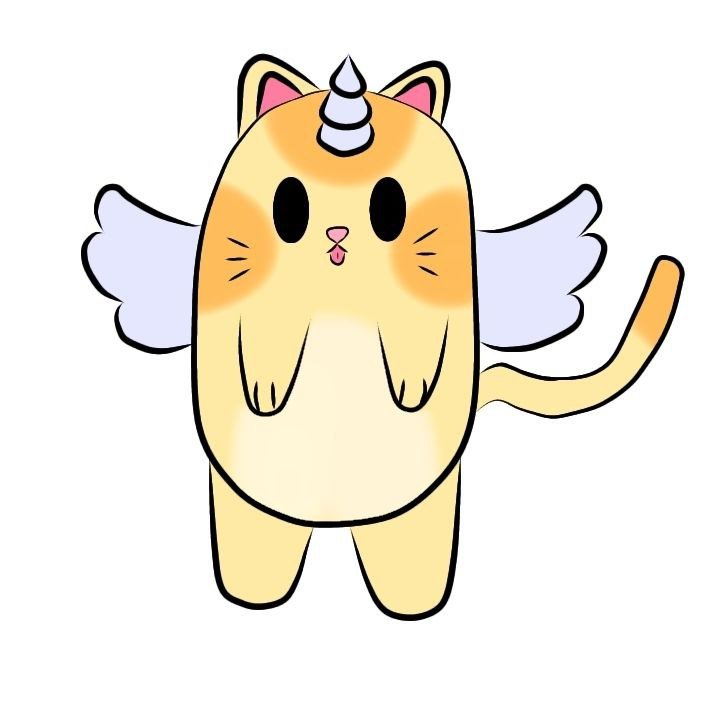
Detalles / Details
La siguiente capa debe estar en modo multiplicar, en esta haremos los sombreados con el pincel tipo aerógrafo en colores apenas más oscuros que los de la base. También añadiremos algo de rubor en lugares estratégicos con el mismo pincel.
English Version
The next layer should be in multiply mode, in this one we will do the shading with the airbrush in colors just darker than the base. We will also add some blush in strategic places with the same brush.
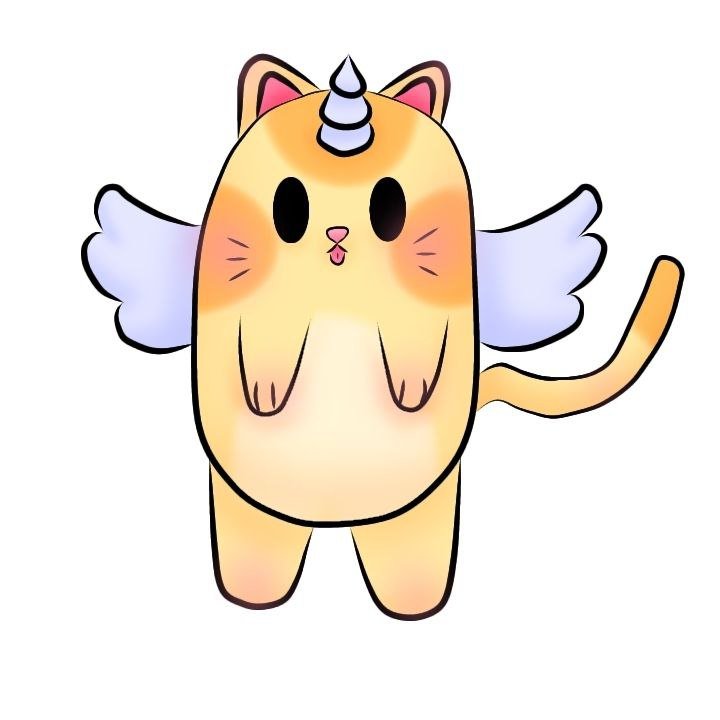
Sombras / Shades
Para las luces, las haremos en una capa en modo normal, con el pincel tipo aerógrafo en los lugares opuestos a aquellos donde hemos colocado las sombras.
English Version
For the highlights, we will do them in a layer in normal mode, with the airbrush in the opposite places to those where we have placed the shadows.
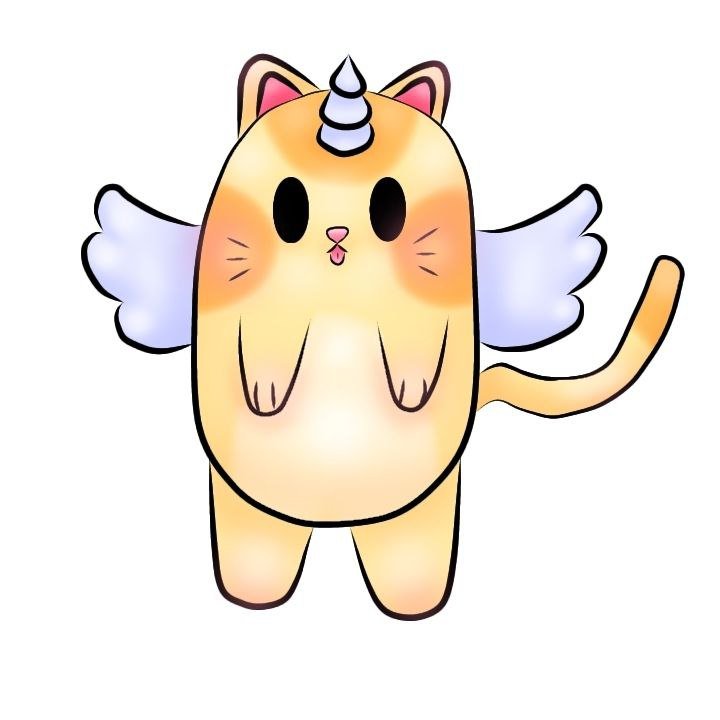
Luces / Lights
En otra capa que posicionaremos debajo de la del line art haremos el fondo, yo he elegido un color verde muy claro y añadí detalles en un color verde un poco más oscuro con el pincel tipo acuarela. Y crearemos un par de capas más, estas irán por encima de todas las ya creadas- En la primera haremos todos los detalles en color blanco con el pincel tipo rotulador. Diría que los toques de blanco en los ojos son realmente importantes para que se vea lleno de vida. Y en la última capa, implementaremos el pincel de destellos para agregar ese brillo mágico proveniente de sus alas y su cuernito. También agregué mi firma y este es el resultado final:
English Version
In another layer that we will position below the line art we will make the background, I have chosen a very light green color and added details in a slightly darker green color with the watercolor brush. And we will create a couple of more layers, these will go on top of all the ones already created- In the first one we will make all the details in white with the marker brush. I would say that the touches of white in the eyes are really important to make it look full of life. And on the last layer, we will implement the sparkle brush to add that magical glow coming from his wings and his little horn. I also added my signature and this is the final result:
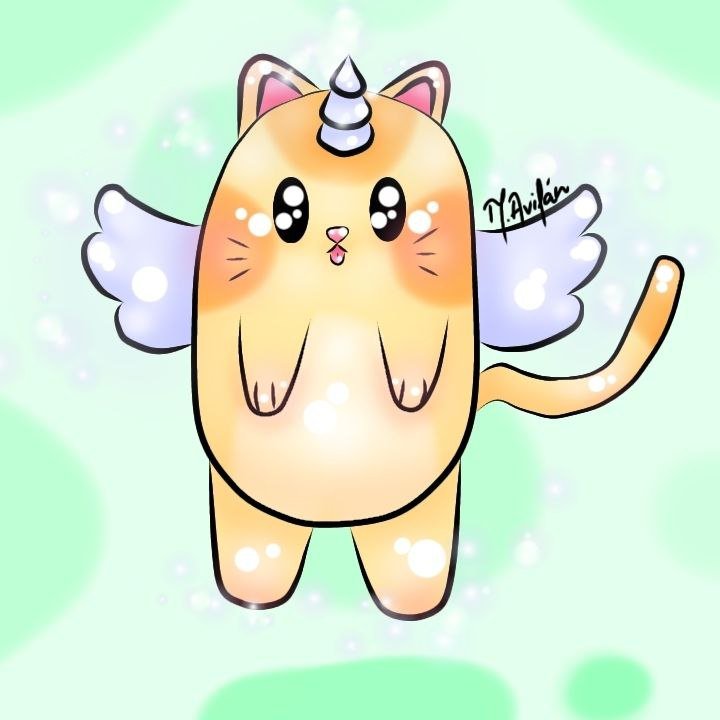
Resultado final / Final result
¡Muchas gracias por leerme!
Thank you so much for reading me!
Fotografías propias, tomadas con mi Tecno Spark 10C.
Dibujo creado por mí en Ibis Paint X.
Traducido al inglés con DeepL.
English Version
Own photographs, taken with my Tecno Spark 10C.
Drawing created by me in Ibis Paint X.
Translated to English with DeepL.

Banner creado por mí en Canva / Banner made by me in Canva
Quedó muy lindo!
Muchas gracias amiga🤗✨
Es un gatito todo kawaii😺, todo bonito😸 ,e iluminado 😻💜 que lindo quedó !
Muchas gracias querida Mily💖 tenía muchas ganas de dibujar algo kawaii🥰
Qué gatito más lindo, me encantó que usarás colores pastel se ve muy bonito 😍
Muchas gracias linda Sarang🤗✨
Congratulations @mavilan30! You have completed the following achievement on the Hive blockchain And have been rewarded with New badge(s)
<table><tr><td><img src="https://images.hive.blog/60x70/https://hivebuzz.me/@mavilan30/upvotes.png?202410150704" /><td>You distributed more than 300 upvotes.<br />Your next target is to reach 400 upvotes. <p dir="auto"><sub><em>You can view your badges on <a href="https://hivebuzz.me/@mavilan30" target="_blank" rel="noreferrer noopener" title="This link will take you away from hive.blog" class="external_link">your board and compare yourself to others in the <a href="https://hivebuzz.me/ranking" target="_blank" rel="noreferrer noopener" title="This link will take you away from hive.blog" class="external_link">Ranking<br /> <sub><em>If you no longer want to receive notifications, reply to this comment with the word <code>STOP <p dir="auto"><strong>Check out our last posts: <table><tr><td><a href="/hive-122221/@hivebuzz/lpud-202410"><img src="https://images.hive.blog/64x128/https://i.imgur.com/pVZi2Md.png" /><td><a href="/hive-122221/@hivebuzz/lpud-202410">LEO Power Up Day - October 15, 2024