[ESP]
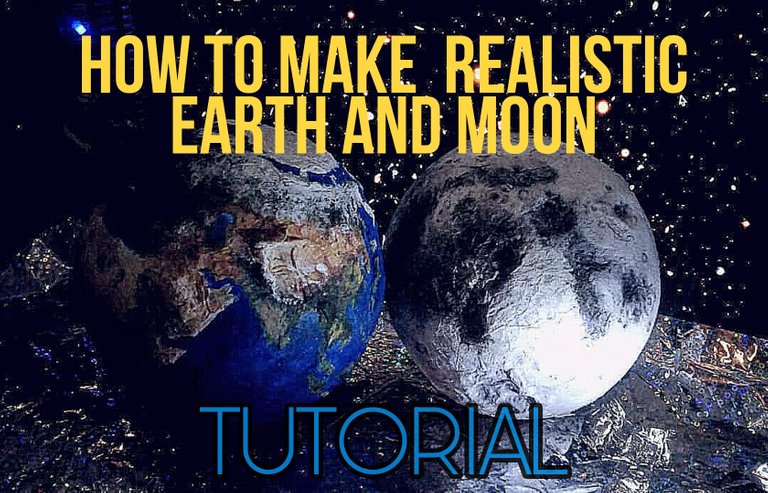
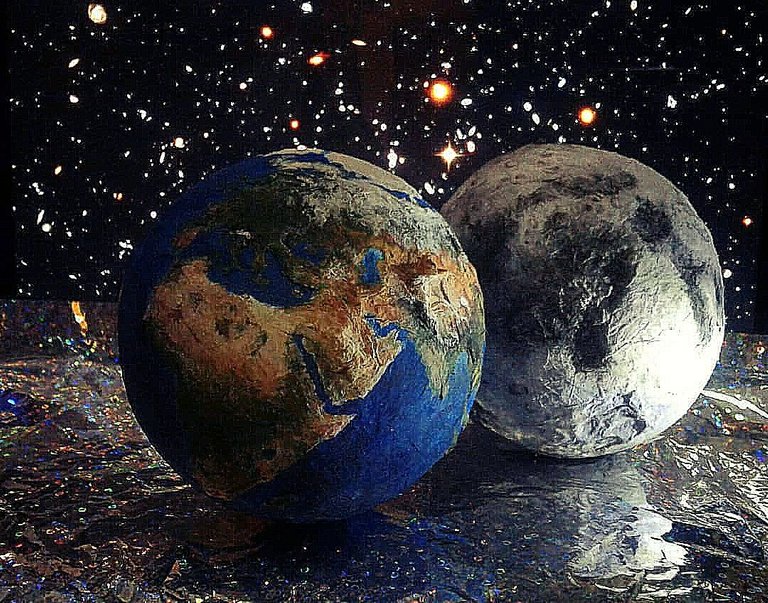
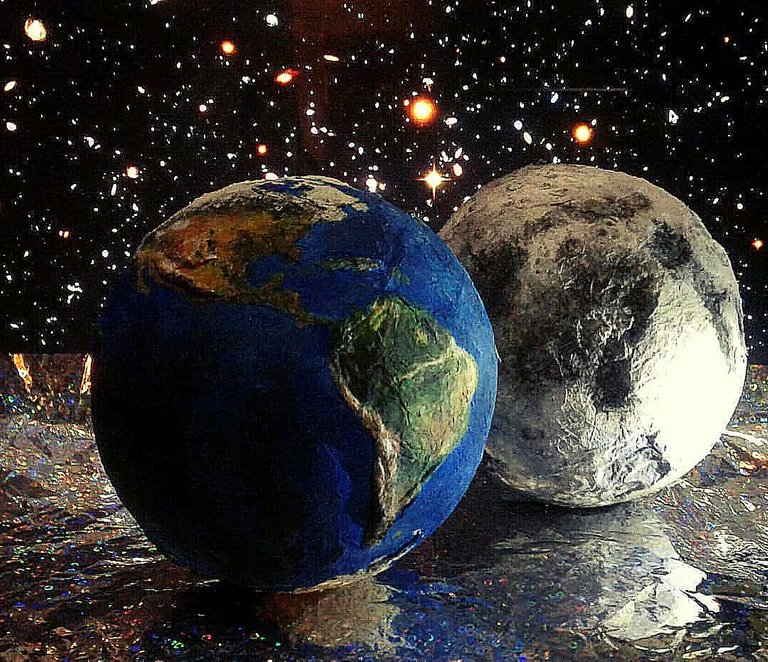
Los que me conocen, saben que soy muy fan del espacio y cosas relacionadas a la astronomía. Por eso quise que esto fuese reflejado en la decoración de mi cuarto. En mi tiempo libre he decidido hacer algo divertido y resultó ser mucho mas fácil de lo que pensé! Pero es un poco más elaborado que las exposiciónes que solía hacer en la escuela cuando era chiquita 😂 Usando el ejemplo de la tierra y la luna podrán crear todo el sistema solar.
[ENG]
Those who know me well, know that I am very fond of space and stuff related to astronomy. That's why I wanted my passion to be reflected in my room's decoration. In my free time, I've decided to create something interesting and fun. And indeed it was a lot easier than I thought. But it is a little bit more elaborate than school expositions I used to do when I was a child 😂 Using this post as an example you could make an entire solar system.
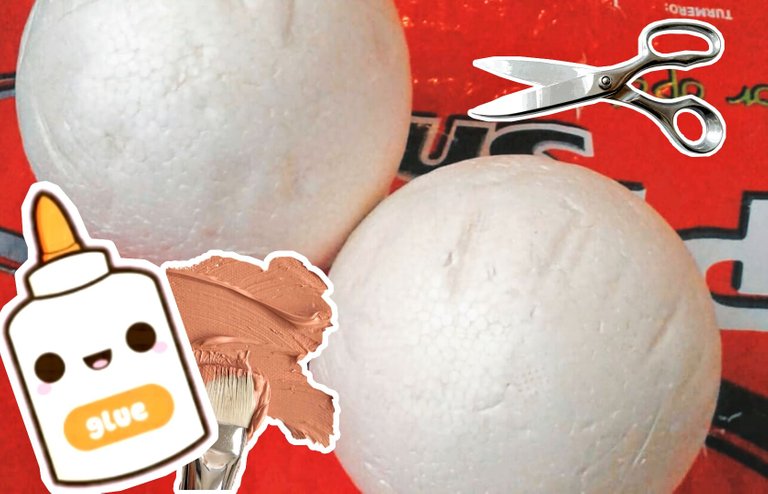
[ESP] Para realizar estas decoraciones necesitaremos:
- bola de unicel (de cualquier tamaño que quiera)
- marcador negro
- servilletas de papel o papel higiénico
- pega blanca
- tijeras
- vaso con agua
- cualquier pintura y pinceles
[ENG]To make those decorations you may need:
- styrofoam ball (any size you want)
- black marker
- paper napkins or even toilet paper
- white glue
- scissors
- a glass of water
- any kind of paint and a brush
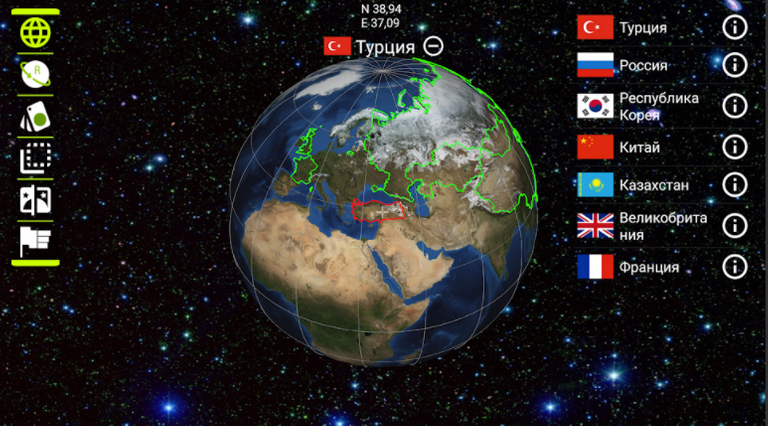
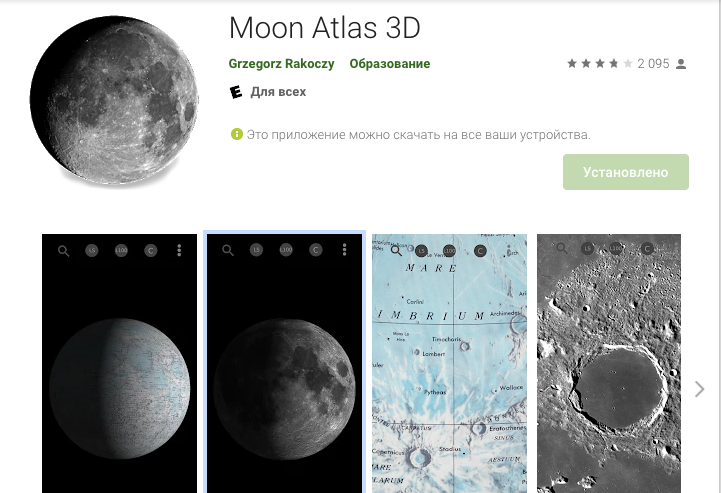
También necesitaremos imagen de referencia pero es mejor si la referencia este en 3D (porque la tierra no es plana xD) para esto descargamos las siguientes apps del google play:
We also may need a reference image, but it is better if the reference is in 3D (because the earth isn't flat xD) in order to do that, you can download the following apps from google play:
Earth 3D
Moon Atlas 3D
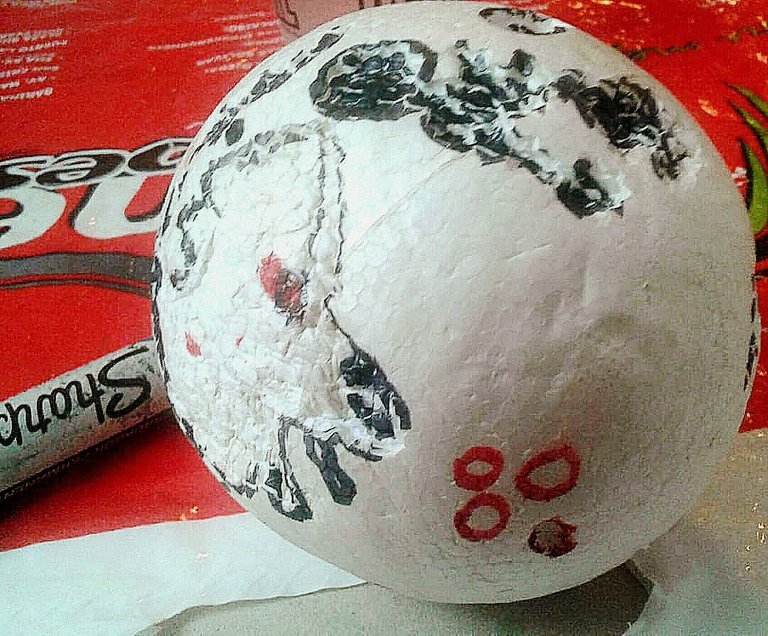
[ESP]Primero, usando las referencias, dibujarémos con el marcador negro las líneas de los paralelos y meridianos, y las líneas de los bordes de los continentes de la tierra. Para la luna sería dibujar los bordes aproximados de los craters y usar las tijeras para "recortar" los craters marcados.
[ENG]
First, we will use our references to draw the borderline of the meridian, parallel arcs of the earth, and the continent's borderline too. As for the moon, draw the crater's borderline and use scissors to "cut out" the craters.
[ESP]
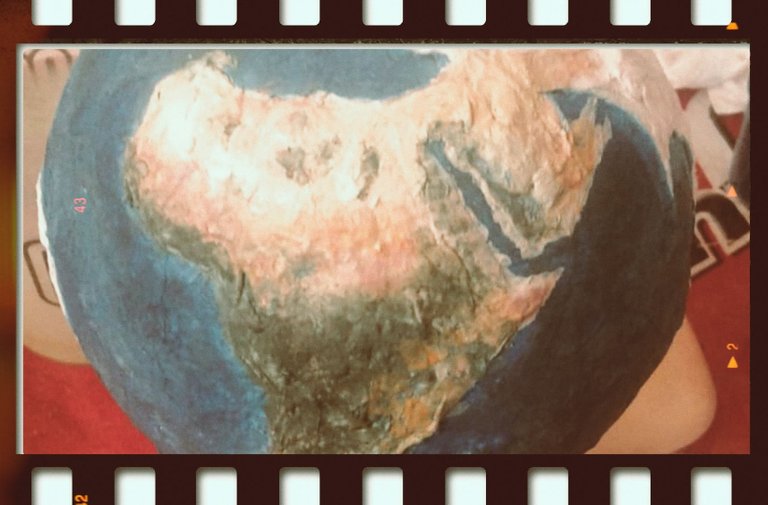
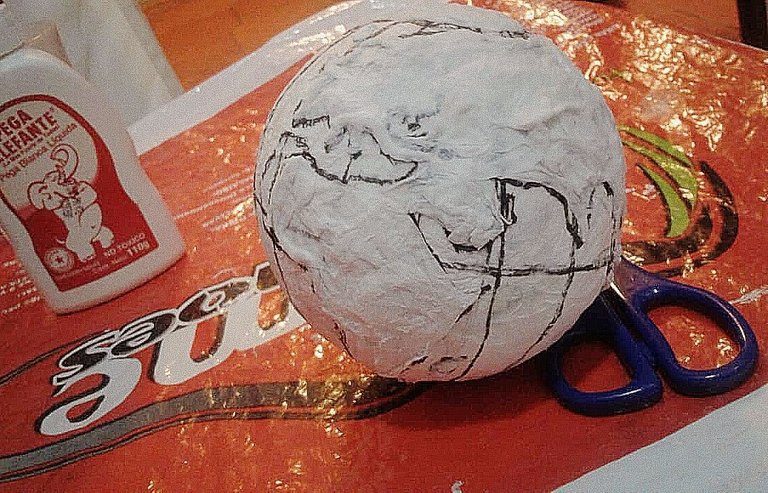
Ahora podemos usar las servilletas o el papel higiénico para esculpir los continentes de la tierra y montañas de la luna. Para hacerlo, hechamos un poco de agua en un vaso y le agregamos y lo mezclamos pegamento (tiene que haber mas cantidad de pega que agua). Usamos el pincel para hecharla a toda la superficie del globo tanto para la tierra como la luna. Luego pegamos tiras de papel de tal forma que los globos tengan una capa de papel y como el papel es semitransparente, se podrán ver las líneas del marcador por debajo. Esperen que se seque un poco. Después de eso usamos las imágenes de referencia y líneas marcadas para esculpir los continentes y montañas. Simplemente agreguen mas capas de papel en estos lugares. Cada vez que van a pegar un pedacito de la servilleta hechen la pega en ese lugar. También al mojarse la servilleta tendrá propiedades parecidas a la plastilina. Esa técnica dará mucho relieve a nuestros cuerpos celestes.
[ENG]
Now we can start using our paper napkins or toilet paper to sculpt the continents of the earth and the mountains of the moon. In order to do that, you should put some water in a glass and mix it with glue (there should be much more glue than water). Use the brush to put this substance on the styrofoam ball equally for the moon and earth. Then stick paper strips the way that both balls will have a thin layer of paper. As the paper is partially transparent, you can still see marked lines below. Wait until it dries a bit. After that, use the reference images and the marked lines to sculpt continents and mountains. Just put a bigger amount of paper in those places. Each time you have to stick a piece of paper put glue into that place. Also, as the paper gets wet, it gets similar to modeling clay properties. This technique will make our celestial bodies have a nice relief.
[ESP]
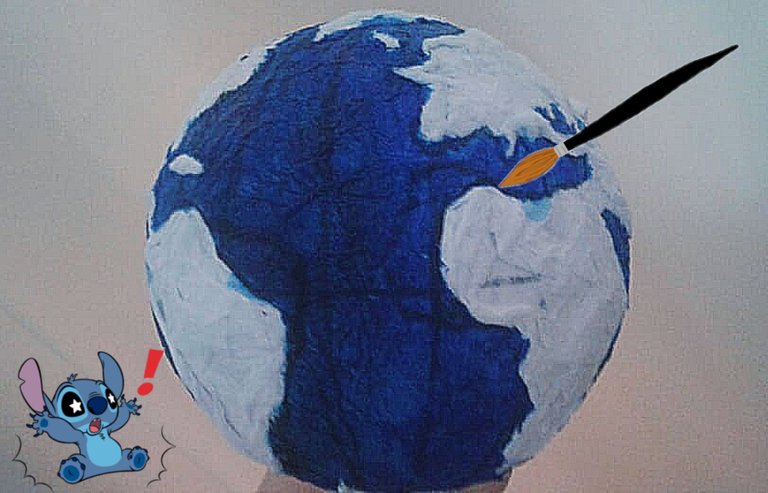
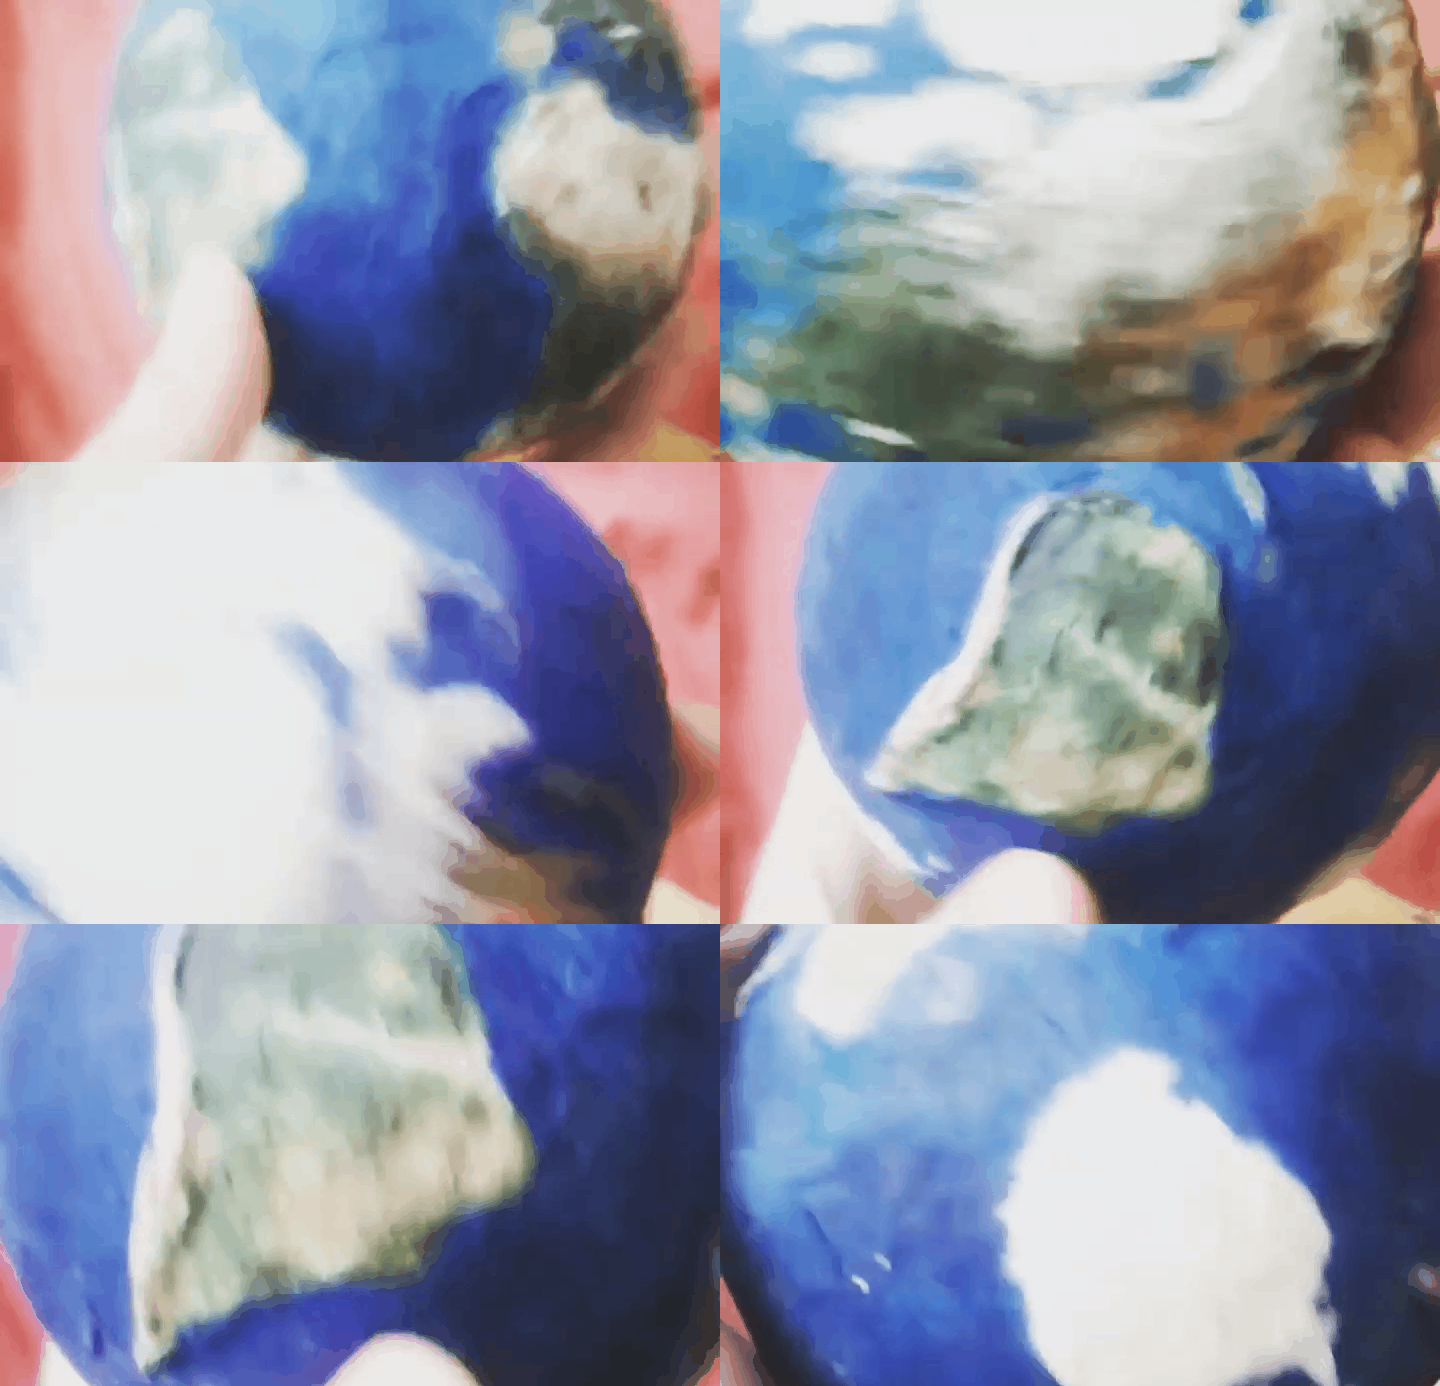
Finalmente, esperemos que todo se seque bien y de nuevo usando las referencias pintamos nuestras creaciónes! Se necesitarán varias capas de pintura para que cubra todo incluyendo las líneas hechas por el marcador. Mientras mas capas de pintura tendrá, mas realista se verá! No usen mucha agua al pintar ya que eso puede deshacer el papel.
[ENG]
Finally, we should wait for the paper to get totally dry. Use the references to paint our creations! Many layers of paint will be needed so it covers everything including the marker lines. More layers mean that the result will look more realistic! But be careful not to use too much water while painting, as it could damage the paper.

Espero que les haya gustado este post! Gracias por la visita!
I hope you have enjoyed this post! Thanks for the visit!


