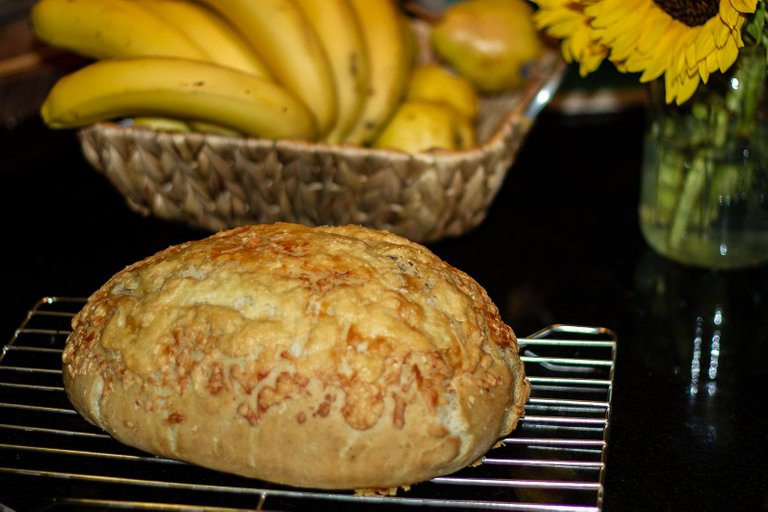
Did your mom ever make you those soggy ass sandwiches with ghetto grocery store Wonder Bread? Do you cringe at the though of scraping compressed, gooey dough off the roof of your mouth? Are you still eating that shit to this day?
Well just cut it out already!
You can have yourself a delicious loaf of white bread. Crunchy on the outside, soft yet firm and moist on the inside. It is so easy to make at home that you will be kicking yourself for all that funky bread that you've been consuming; like forever.
The first time I realized that I've been eating crap was about 13 years ago when I flew to England to visit my wife's family. We went into a Tesco supermarket and picked up a fresh loaf of "Tiger Bread". I stuck a piece in the toaster and buttered it up and was all like:


IT'S SO GOOD.
My British friends right now are likely thinking to themselves, "huh?". Fair enough. You probably haven't spent a lifetime eating grocery store bread here in America. Even the fancy breads in the bakery are usually awful. Too often they are dry, hard as a rock, or overly fluffy and soft. Too many bakers just don't know how to make bread in this country, or are simply unwilling to let the yeast do its thing. Sorry if that triggers some of my overtly patriotic countrymen, but I'm calling it as it is.
When I got home, I spent months trying to bake the perfect loaf that rivals a standard fresh British loaf. After a lot of trial and error, I'm confident that I have nailed it. I've been making them for years now. Even my wife proclaims that it's way better than the Tesco loaf. Anyway let's get down to business.
Here are the ingredients that you will need:
500 Grams Bread Flour
1 Tablespoon Butter
1.5 Teaspoons Sugar
1.5 Teaspoons Salt
1 Teaspoon Black Pepper
1 Packet of Dry Yeast
300 Millileters Warm Water
optional: Shredded Cheese of your choosing
Extremely Important Note: If in England, use Strong Flour. If in Canada, use All Purpose Flour. In America, DO NOT use all purpose flour as it's very different from the Canadian variety. You'll get a brick. Different countries use different amounts of proteins and gluten in their flour. If you don't use the right flour, it will suck. I highly recommend King Arthur Unbleached Bread Flour if in the USA.
I can't speak for the rest of the world, so I would suggest using flour labeled as bread flour to be safe.
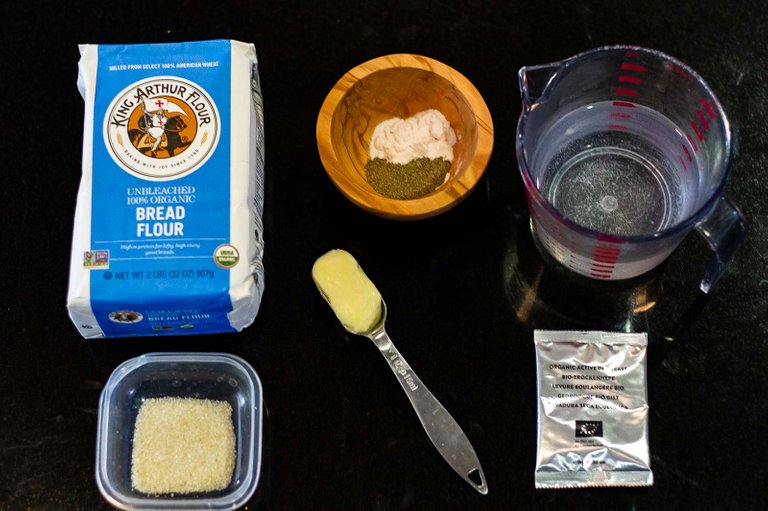
The ingredients in the above image are all you need to make a fantastic loaf. So lets get on with this shit. No excuses, it's too damn easy.
Step 1: Activate Yeast - Mix with Water and Sugar
Make sure that the 300 Ml of water is pretty warm, but not super hot. It shouldn't scald your finger. Empty the yeast packet into the water, add the sugar and stir until well mixed.
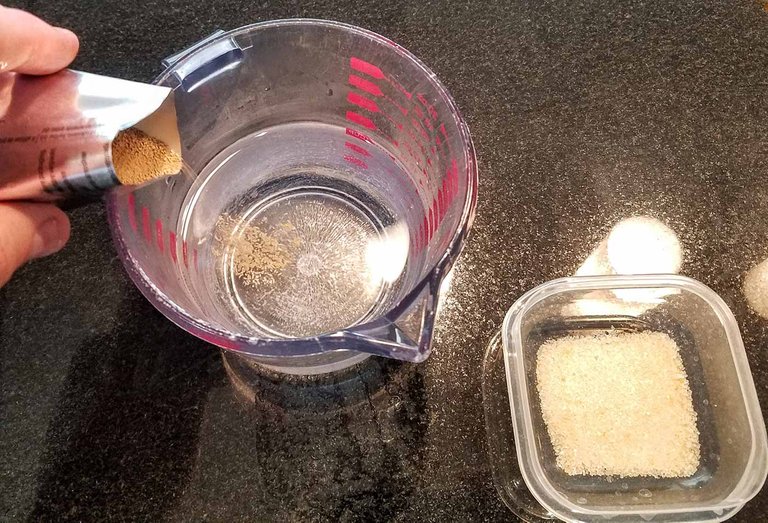
I do this first so that the yeast has time to proof while I'm preparing the dough. Some people throw the yeast right into the flour, but I think it's better to activate it first. This way you can tell if the yeast is no good. It should start to foam and bubble after a few minutes. If it just sits there after a good 10 minutes, then the yeast if probably dead. Grab another pack.
Step 2: Measure out 500 Grams of Flour
The easiest way that I've found is to use a scale like the one in the below image. Put your empty bowl on the scale, turn it on to calibrate to zero grams, the pour the flour until it says 500G. If you don't have a kitchen scale, just get one on Amazon. It's like 10 bucks, fool!
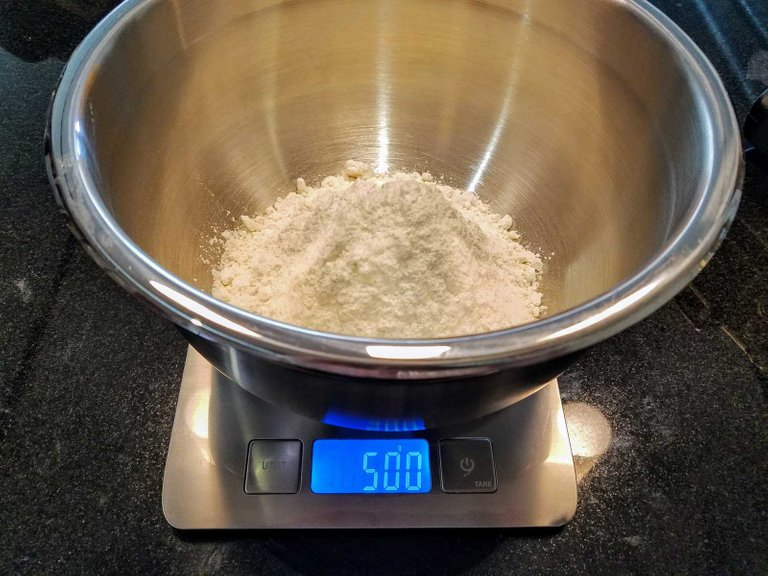
That's it for the scale. You can put it away now.
Step 3: Add Salt, Pepper & Butter to Flour
Using your fingertips, fully integrate the butter, salt and pepper into the flour.
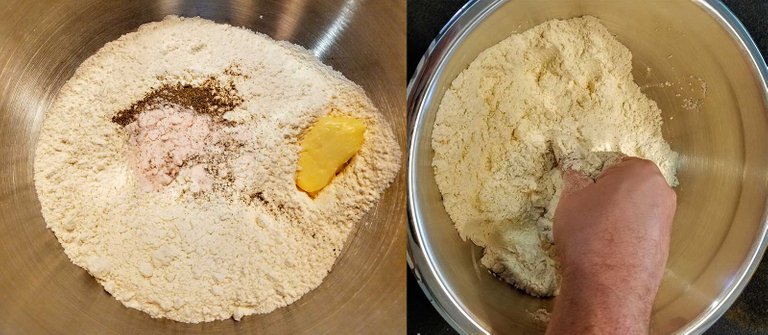
Try to get the butter nicely distributed. It's easier to start off with room temperature butter, but I've used cold butter in a pinch. You just have to work a bit harder. Ain't nobody got time for that.
Step 4: Add Yeasty Water to Flour Mixture and Combine
At this point, the yeast/sugar water mixture should look a bit foamy, something like in the image below. Pour the mixture directly into the flour. Use something like a butter knife or a chopstick to mix it up. It should not be that difficult if you used the correct amount of water. I prefer to use a chopstick because the sound of a metal utensil on the bowl makes me grind my teeth. But I clearly have issues.
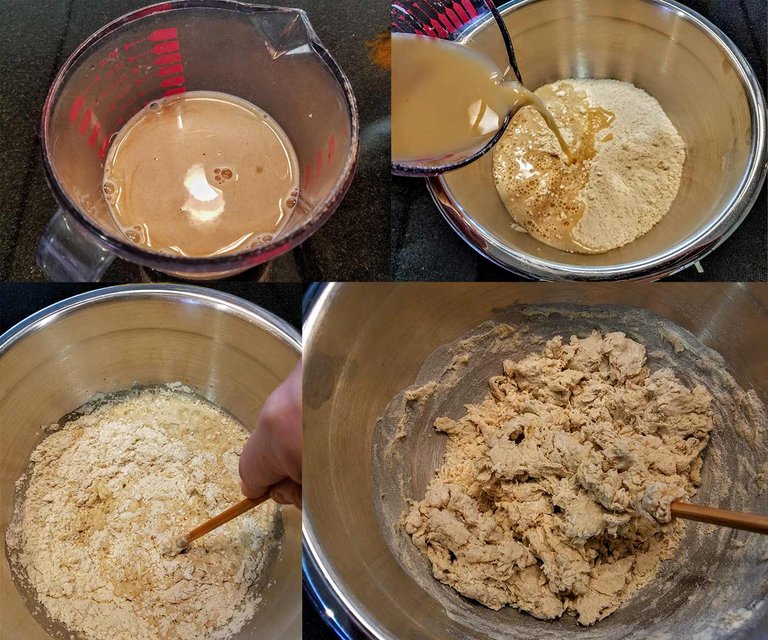
Once the mixture looks similar to the one in the 4th image, you're ready to move on to the next step. It doesn't take long at all.
Step 5: Knead the Dough, Yo!
Wipe off the excess from the chopstick and get your hands in there. Squeeze it all together a bit, then pour everything out onto a clean surface. Start working the dough, folding it into itself until it gets a smooth consistency.
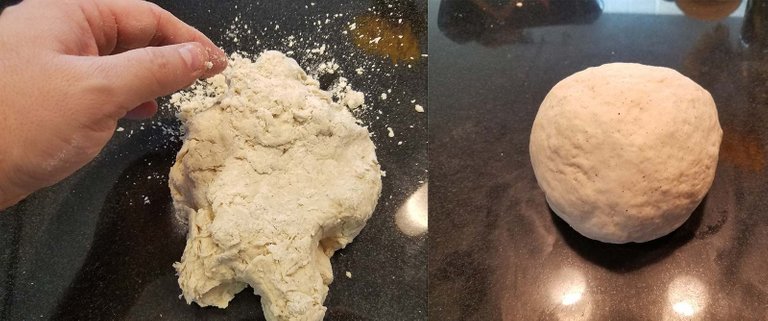
A little bit of advice. You don't have to knead the bread for a specific amount of time, like say 10 minutes. Just knead it until it's smooth and consistent. There is such a thing as over-kneading. The gluten gets overworked and that shit becomes a hard brick. Just do enough to get it smooth and stretchy.
Step 6: Allow Dough to Rise in a Warm Spot - Be Patient!
This is probably the most important step. If you won't allow the yeast to feast, your bread will suck ass. So give it some time to rise! Put the dough ball back into the mixing bowl, cover it, and put it somewhere warm. I like to stick mine out on the balcony under the sun for 2 hours or so.
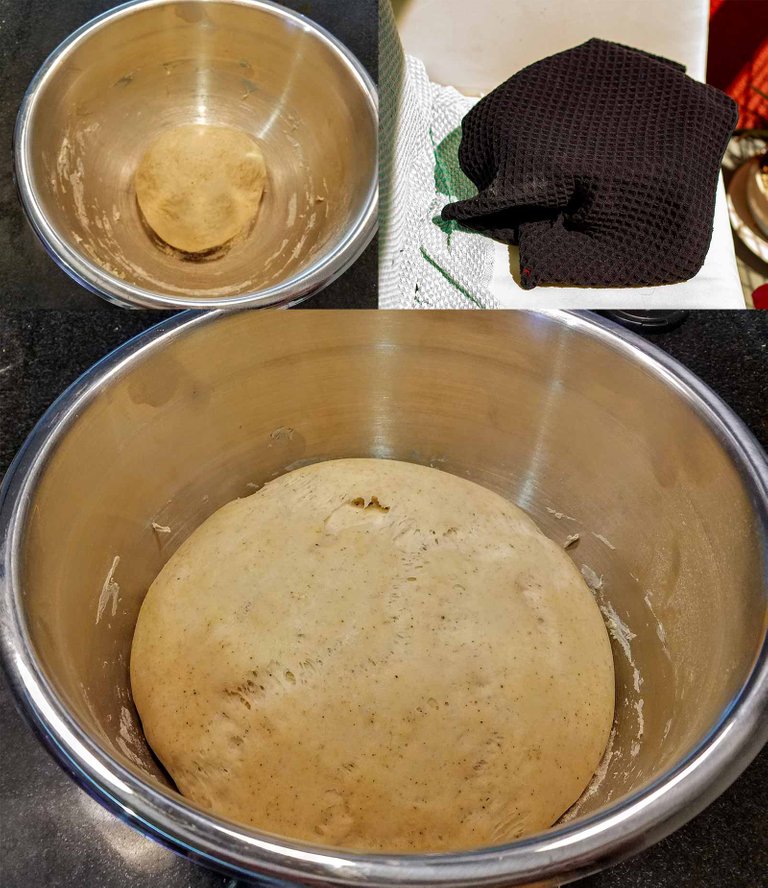
The dough will grow to about double in size after a couple of hours or so. If it's cold, it may take longer. If you accidentally forgot about it for a bit, it will start to form a dry layer on the outside like mine did. Oops! It's not a huge deal, but you can avoid this by rubbing a bit of butter or oil around the outside of the loaf before sitting it out to rise.
Step 7: Proofing Dough and Forming the Loaf
Proofing is just a fancy way to describe the process of allowing the dough to rise a second time after forming the loaf. Pull the risen dough out of the bowl, fold it a few times on a clean surface and form it into the shape of a loaf. Put the dough onto a cooking tray that has been dusted with a bit of flour. I like to use one of those hollow cookie sheets. I tend to get really good results.
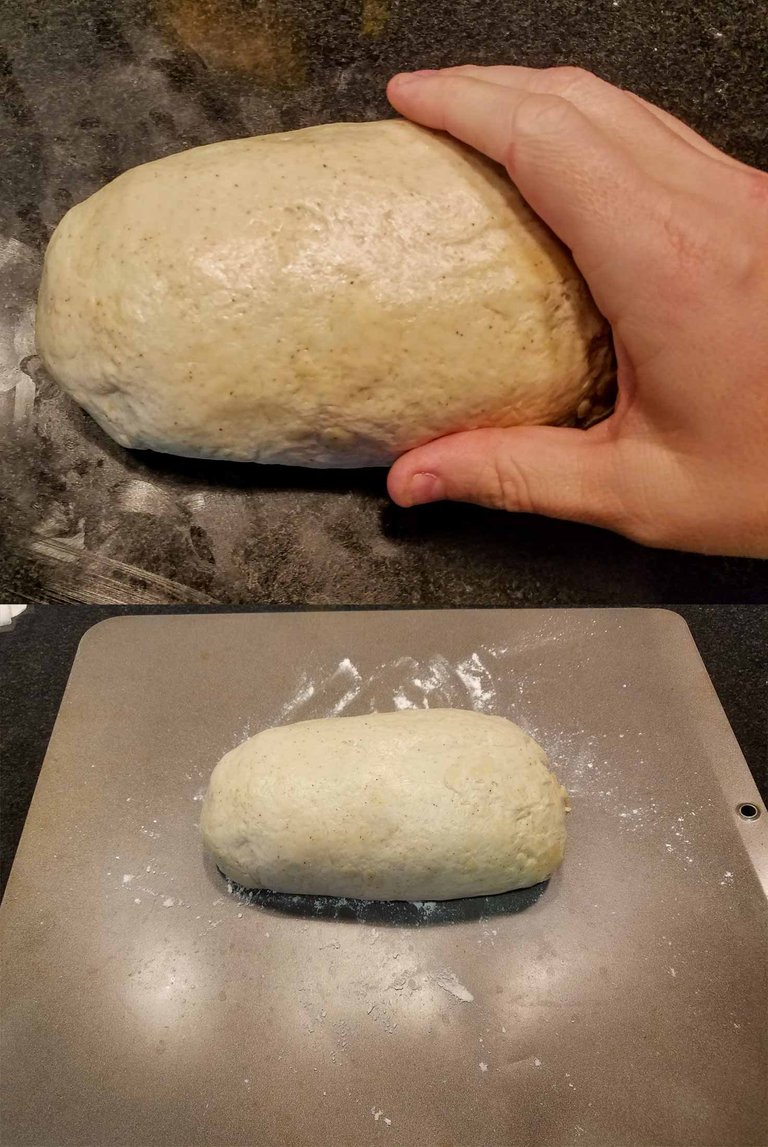
My formed loaf looks a little oily because I rubbed a bit of butter on the outside so that it wouldn't get any drier during the proofing process.
Optional Step - Add Cheese!
At this point, you can optionally sprinkle some shredded cheese on top of the loaf. I like to use a good cheddar with a strong flavor. It's totally up to you, though.
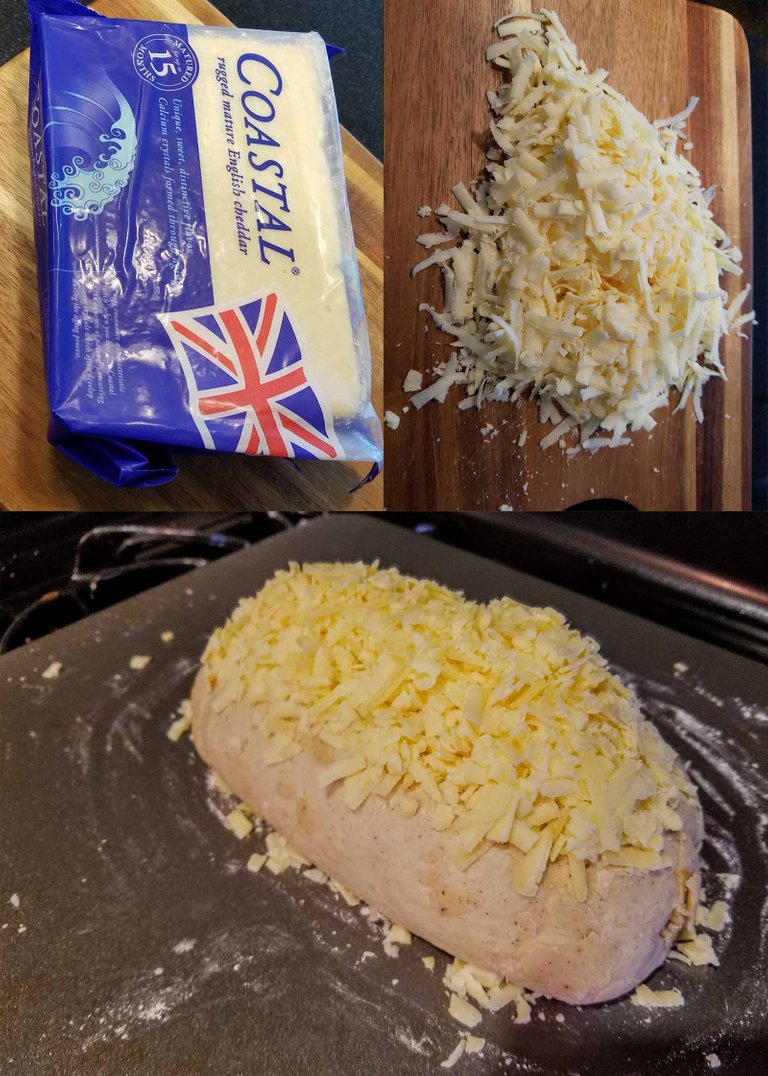
Pile the cheese high right on top of the loaf like a triangle. It will melt nicely into the top of the loaf and spread evenly on its own.
Step 8: Wait 30, Then Bake 30 Minutes @ 385°F
Once you've formed the loaf and optionally added cheese, let the loaf sit in a warm spot for about 30 minutes. You can pre-heat your oven at some point during the wait. I like to get the oven heating up and sit the loaf on top of the stove. The heat from the oven helps to get that second rise.
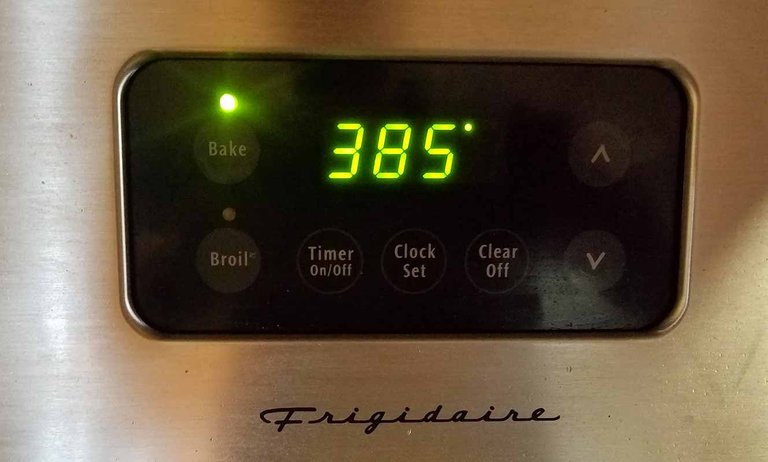
Put the loaf in the oven in the middle rack and let it cook for 30 minutes. You can leave it in for a few more minutes to make it extra crispy, but don't overdo it.
Step 9: Take Out the Loaf and Transfer to a Cooling Rack
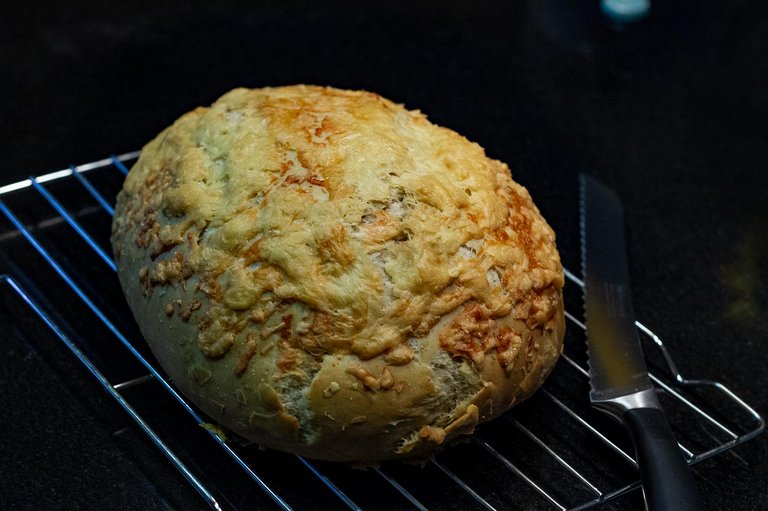
Finally finished! If you followed my instructions you now have yourself an insanely yummy loaf of bread. Take the loaf out of the oven and transfer it to some kind or wire rack. Otherwise it sweats a bit and the bottom can get soggy.
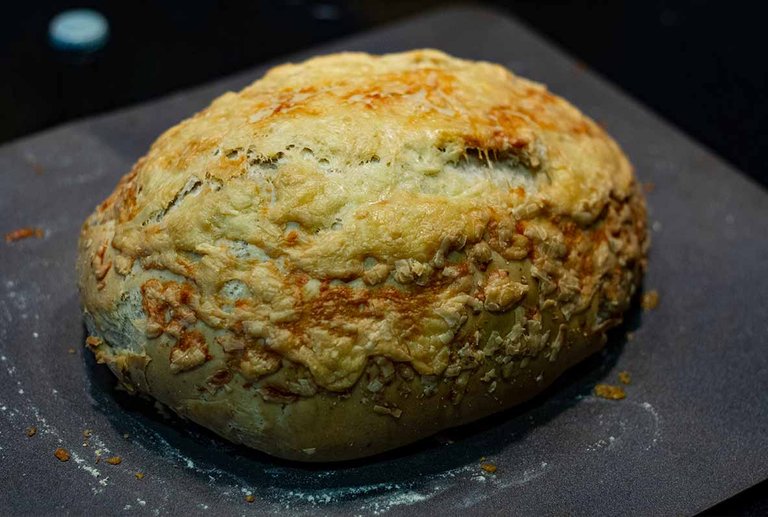
Man, that crust looks delish!! I can't wait to cut into it, but it needs to cool for a bit.
Give it a little time to cool down a bit and have at it!
Step 10: Slice and Enjoy!
That's all there is to it! I realize that this is a really long post, but I wanted it to be exhaustive since a lot of people seem to think that this is a really difficult process. Once you have done it a few times, you'll be wishing that you were making your own bread your whole life. We order cases of flour and store them in the cupboard.
These loaves are great for 2 or 3 days, but start to get hard after that. That's what you get with fresh bread without all those nasty preservatives.
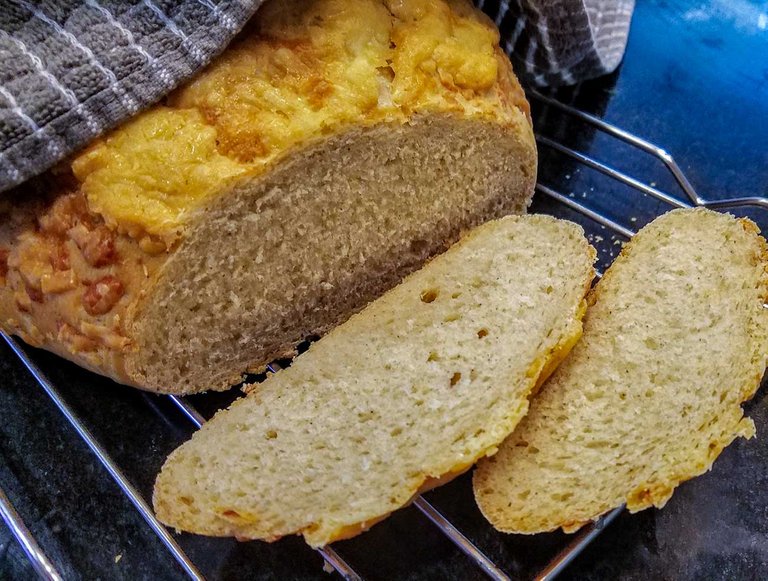
One option to make it last longer is to slice it right after baking and stick it in a large zip-lock bag and toss it in the freezer. Then you can get slices out when you want them and stick them right in the toaster. They are fantastic!
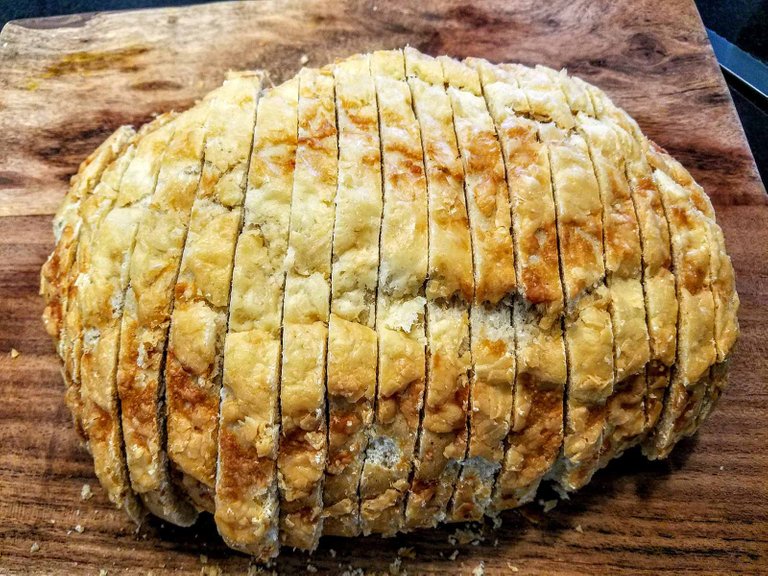
Doesn't that look tasty?
About half of the images were taken with a Canon 7D and 50mm lens while the rest were taken with a Samsung Galaxy S7 Edge smart phone. Can you spot which are taken with which camera?
I hope you enjoyed this post, written in my someone obnoxious style. I had fun taking the photos and sharing it with you all. If you decide to try out this recipe, please take some pictures and post them here in the comments section. I'd love to see your results!
Note: This is pretty much a re-post from a couple years back. I went looking for this because I have a couple of friends who I like to bake a loaf or two for as a Christmas gift... Along with some cookies and a bottle of wine! They are always quite pleased!
That is pretty cool. It looks really similar to the recipe that I use for bread. I think mine has some milk in it too though. I always have a hard time with the yeast rising properly. I don't know if my house is just too cold or what, but it always takes forever. Like hours for it to rise properly. That is probably the main reason I don't make bread as often as I should.
A lot of times ovens have a proof setting. You can stick the bowl of dough in there covered with a wet towel. I do it all the time on cold days! Helps a lot.
Ah, that would be awesome. A lot of times what I have been doing lately is heating a mug of water in the microwave then I shut the bowl in there with the mug and let it sit for an hour or so. That has helped.
Hey, whatever works!
you can simply set the bowl on top of the fridge, in the back where the heat vents are. I used to do that with making yoghurt. Idk if available in the US, but in Austria we can also get yeast in a small package that is ready to use - in German it is called Backhefe, but in Vienna we call it Germ:

Ayyyyeeeeeeee....😊
I'm always super excited when I see recipes.
I own a restaurant so I rely on these gems to get inspired every now and then.
Thank you so much for sharing!
Awesome! Give it a try and let me know how it goes. This is definitely my favorite loaf to make. Goes great as toast with bacon and eggs for breakfast.
Ayeeeeeee.
Fantastique 😊
Would do.
This looks amazing, made bread just once in my life and I hated the process but I am tempted to try this.
You should! It's so cheap to make on your own and tastes better than store bread. At least this is true here in the USA!
I will try it, the kneading of the bread is just a bit tiring.
It's not that bad really. You don't have to knead this dough for very long.
I'll try it as soon as I can then.
Great stuff - as for freezing sliced bread: I do that all the time.
You might have fun going on a culinary bread-tasting trip to Europe (not just England) - every country and region has its own specialties.
I agree with you on the Wonder Bread - I lived long enough in Canada where this, and similar brands grossed me out. Fortunately, we had a German baker in our neighborhood. It cost a lot more, but was worth it. I have to admit, while I cook and occasionally bake, I never made bread.
One of my best childhood memories is from when my dad was stationed in Germany and I sunk my teeth into some delicious German bread! I was only around 5 or 6, but that memory has stuck with me my entire life. It has some kind of spice in it. Maybe it was just rye.
Whatever it was, it was perfect! I have not tasted it ever since. Perhaps it was the best bread in the world, or maybe it was my young healthy tastebuds. For whatever reason, that bread was amazing! I imagine Austria has really good bread as well, right?
yes, we have more different types of bread in Austria than I could taste myself through in a month. What you tasted in Germany might have had some caraway seeds in it. Some rye breads have that. Fennel is another spice used sometime.

Some white bread has poppy seeds on it - all year round, but particularly at Christmas:
Do you read German (or maybe use a Translation tool) - here, right from Vienna, to go with the image above:
https://www.gudrunvonmoedling.at/mohnflesserl-mohnweckerl-mohnstriezerl-mohnzopf/
Ryebread with Caraway Seeds:

https://www.backenmitchristina.at/rezepte/roggenbrot-mit-kuemmel-sauerteig/
Ryebread wit Fennel and Nuts
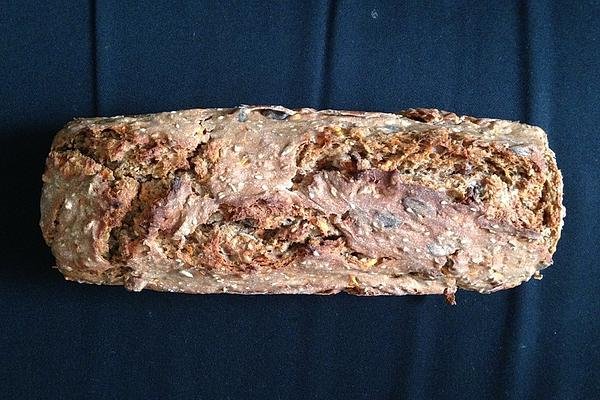
this is a bit more elaborate
As you can see, there are vastly different shapes and looks to rye breads. Just googling Bauernbrot (Farmers Bread) gives you all kinds of images. The task select lets you choose categories - I suggest to go with Brot selber backen Rezept https://www.chefkoch.de/rezepte/3336981495617216/Fenchel-Kuemmel-Nuss-Brot.html
Another way of baking bread is sourdough, which you can make yourself and set some aside for next time.
If your German is so that you can follow this video, OK, if not, the recipe is in the comments when you go to the YT video directly via this link
SAUERTEIG selber machen
Interesting tip about the flour in different countries. We are getting all kinds of products here now and it's a try-and-error process to find the brand that actually does/has what the label says.
Bread looks great. Well-explained process. We don't bake much because domestic gas is an issue, but recipe is worth saving.
Yeah, when I first started trying to make it, I had all kinds of problems until I learned about the flour types. Usually I ended up with bricks. Basically it is the gluten content. It is possible to do with regular flour but I think it is a bit more advanced; and I am not a chef!
If you are having trouble with gas, maybe you can try getting one of those multi functional air fryers. You can actually a LOT with them. They require a bit of practice though because you have to trial and error everything with the time and temperature.
Thanks
Yes, air friers are becoming the new thing here. We recently visited some friends who had just gotten theirs and the chicken wings they prepared had nothing to envy any restaurant.
They are a bit pricy for the average budget but it is definitely an option.
Thanks for sharing the recipe, @nuthman.
Thanks for looking!
If it’s moist, I’m in it. I just had some chocolate chip zucchini loaf today and it was delightful.
This is really nice I love to eat healthy and I love home made pastries, thanks for showing us the steps, it been long I made one but am going to give it a try one of this days to be sure if I can still make one,am sure you will make a good baker @nuthman smile 😊