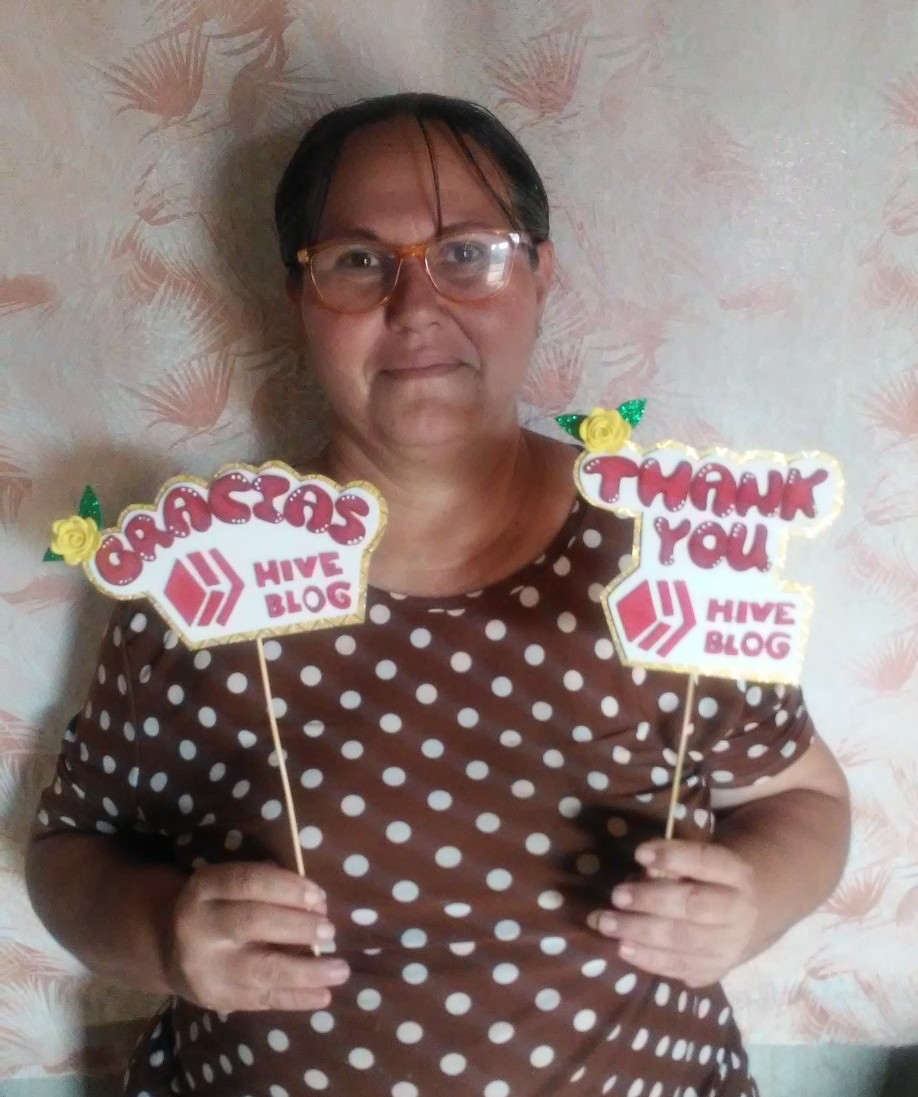
Muy buenos días todos comunidad HIVE, hoy les traigo un topper.
este es un adorno que se usa para diferentes ocasiones y motivos de celebración para pasteles y arreglos...
Good morning everyone HIVE community, today I bring you a topper.
This is an ornament that is used for different occasions and celebratory reasons for cakes and arrangements ...
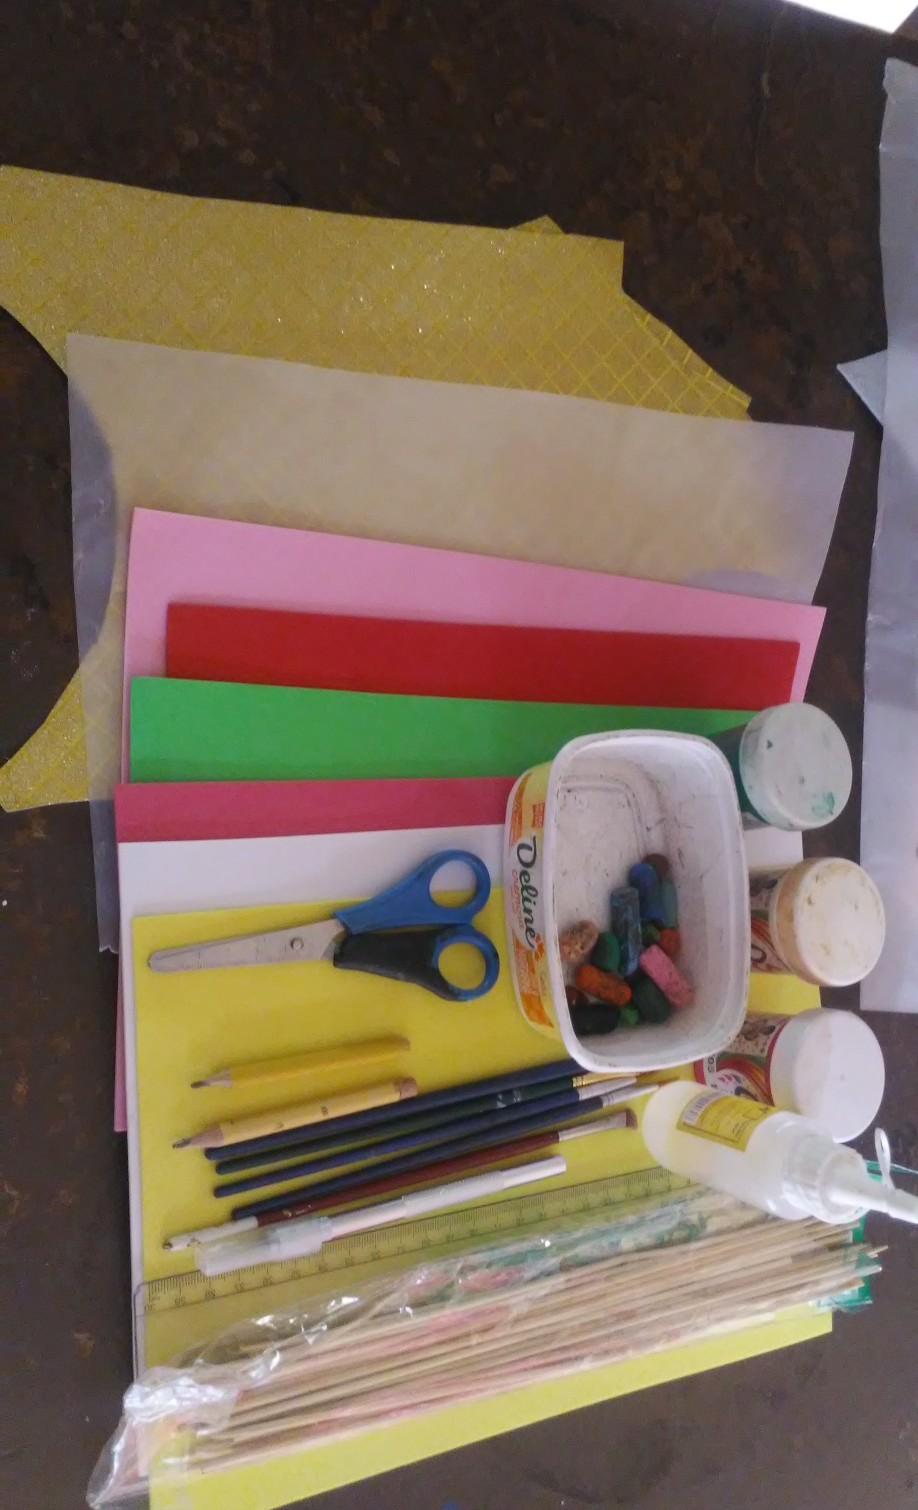
Materiales.
- Tijeras.
- Silicón liquido.
- Pincel.
- Pintura al frio.
- Creyones.
- Cartulina.
- Regla.
- Palillos de altura.
- Laminas de Foami.
- Papel vegetal.
- Lápiz.
Materials.
- Pair of scissors.
- Liquid silicone.
- Brush.
- Cold paint.
- Crayons.
- Cardboard.
- Rule.
- Height chopsticks.
- Foami sheets.
- Vegetable paper.
- Pencil.
Paso 1
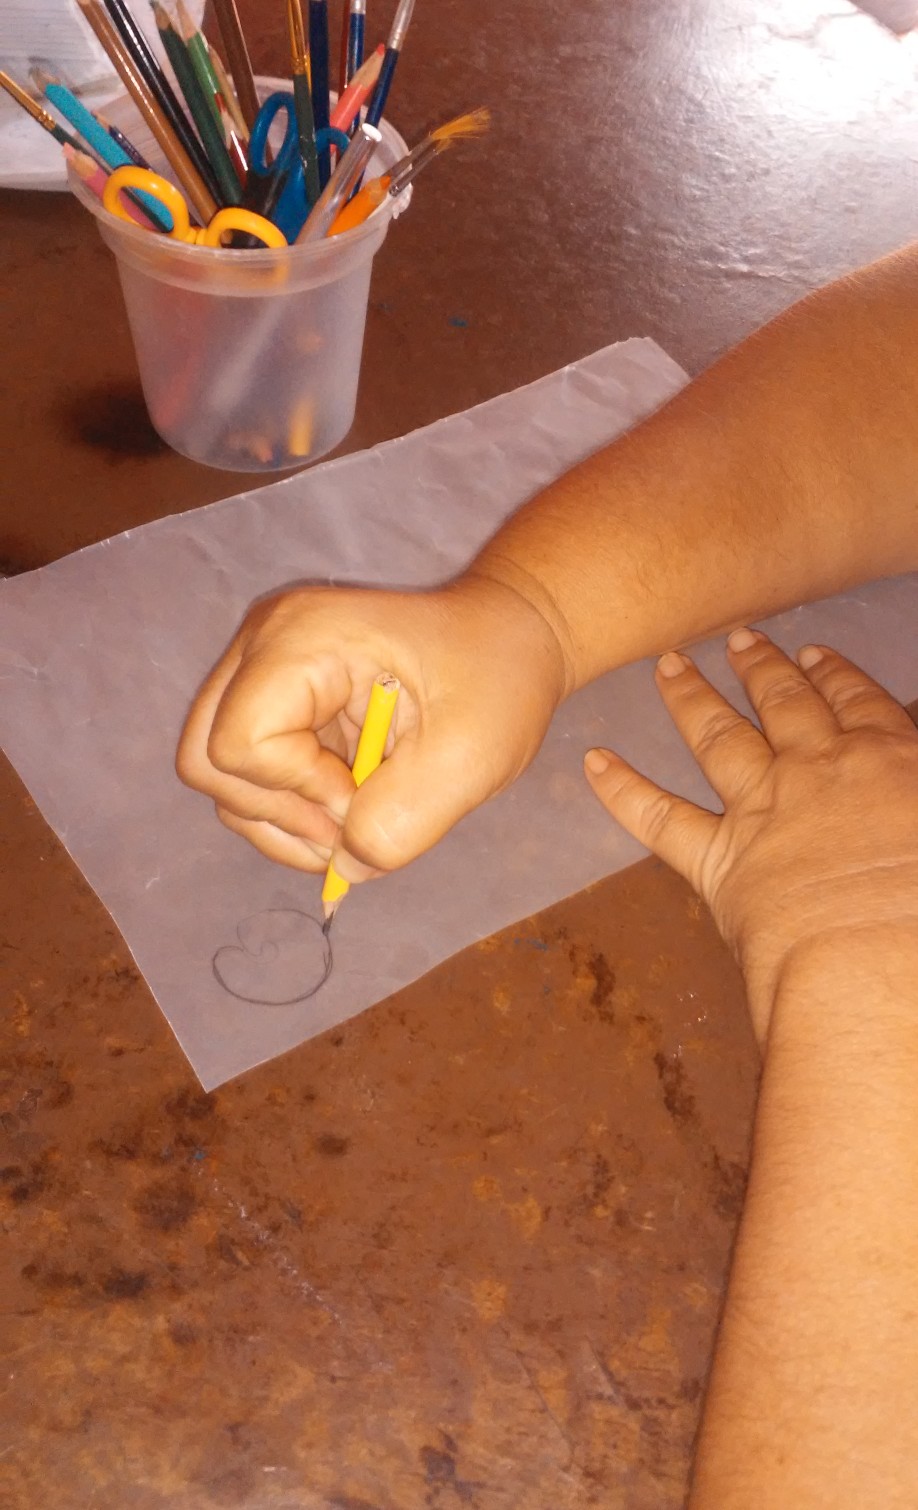
Marco las letras en el papel vegetal.
I mark the letters on the greaseproof paper.
Paso 2
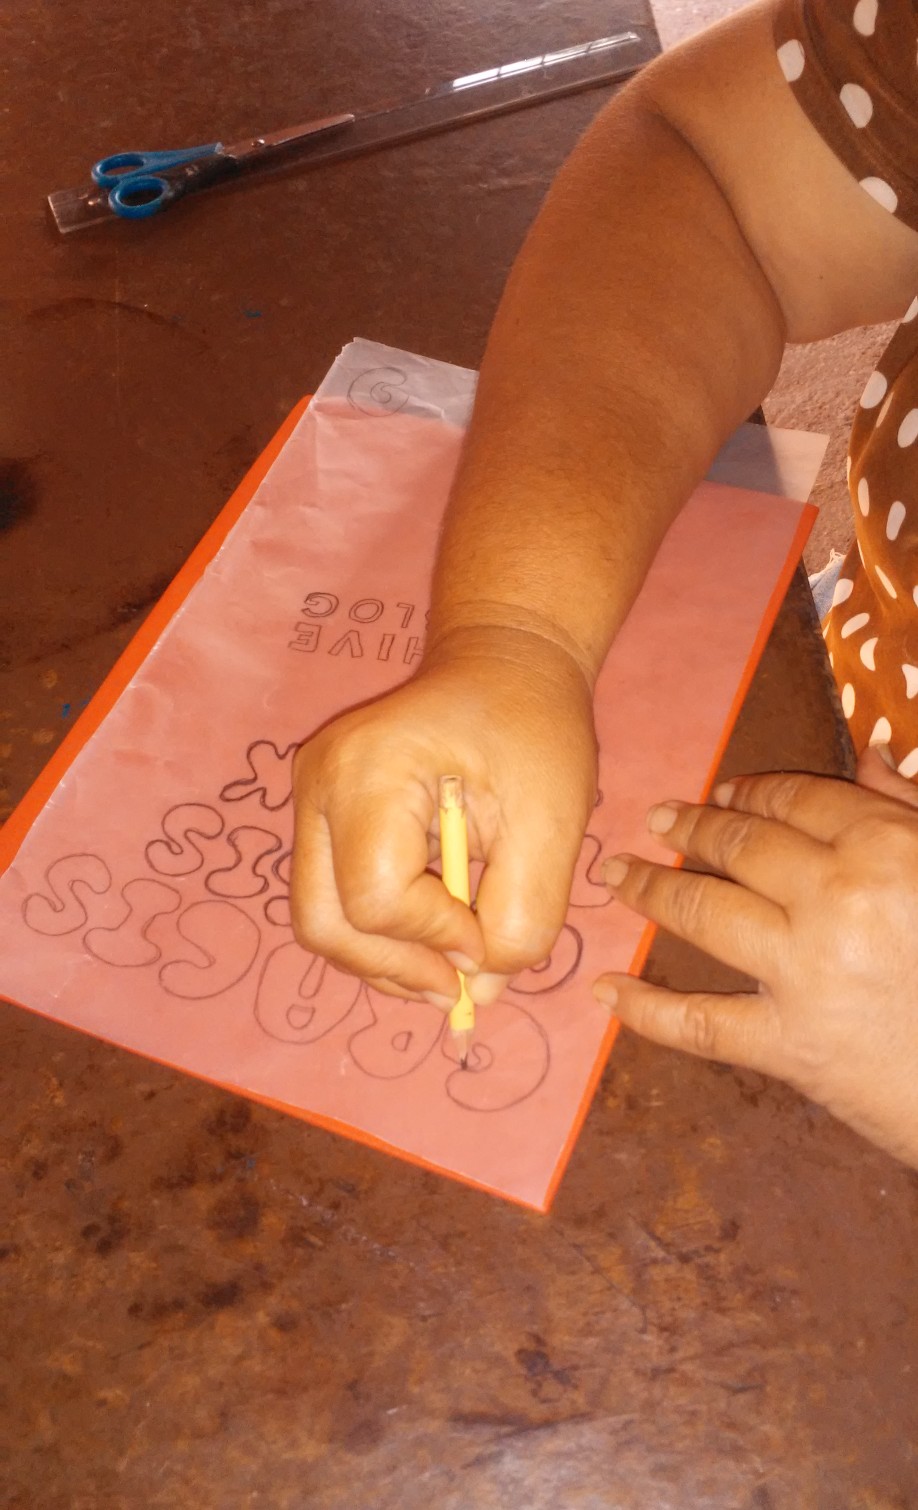
Coloco el papel vegetal sobre el Foami para remarcar las letras.
I place the greaseproof paper on the Foami to highlight the letters.
Paso 3
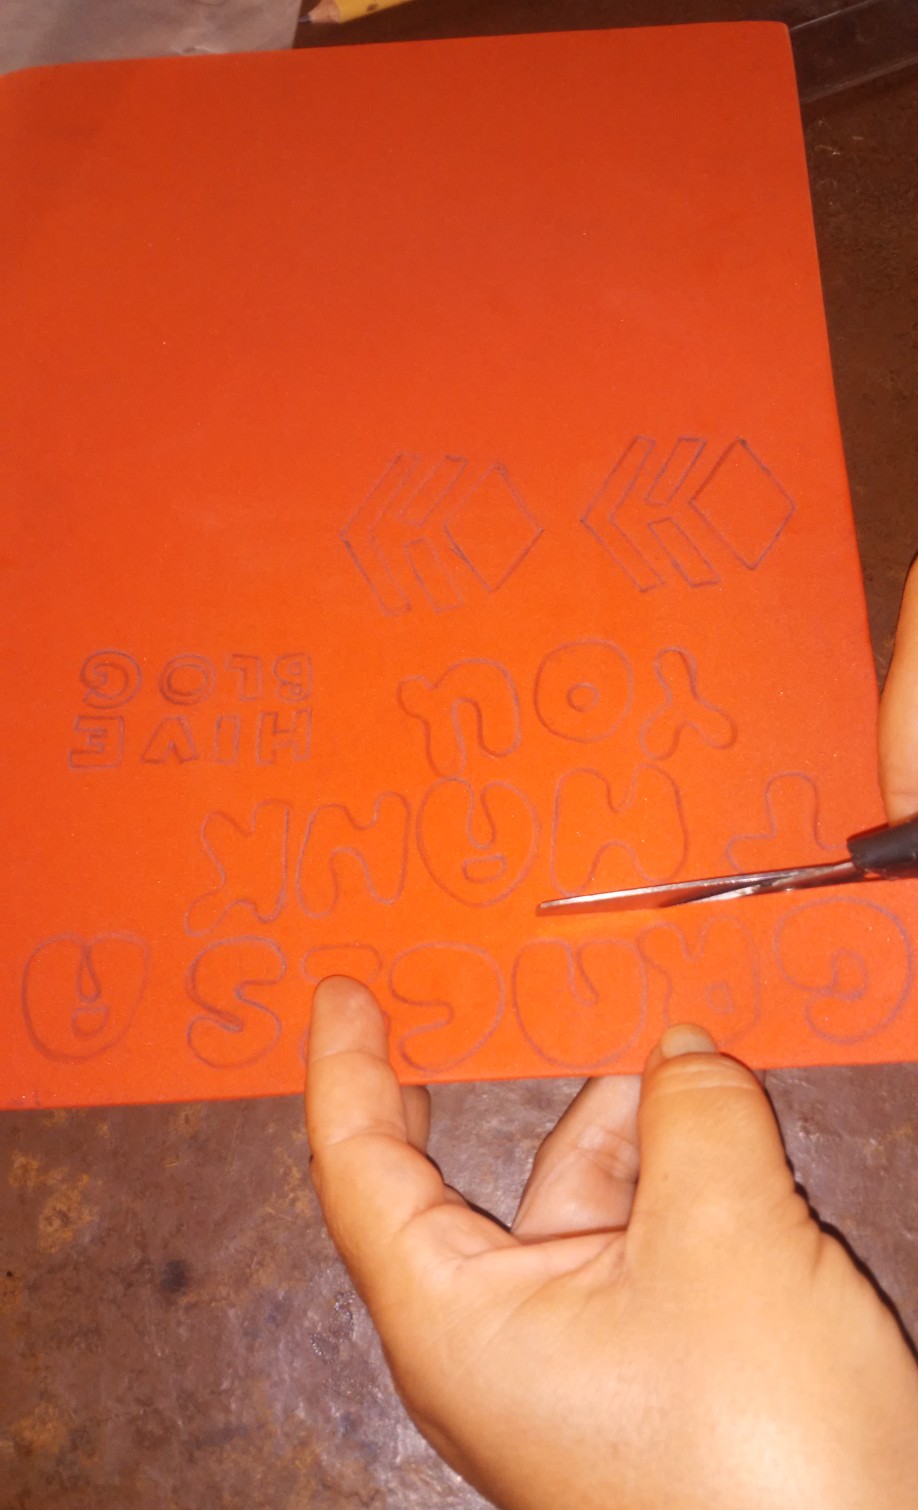
Recorto las letras.
I cut out the letters.
Paso 4
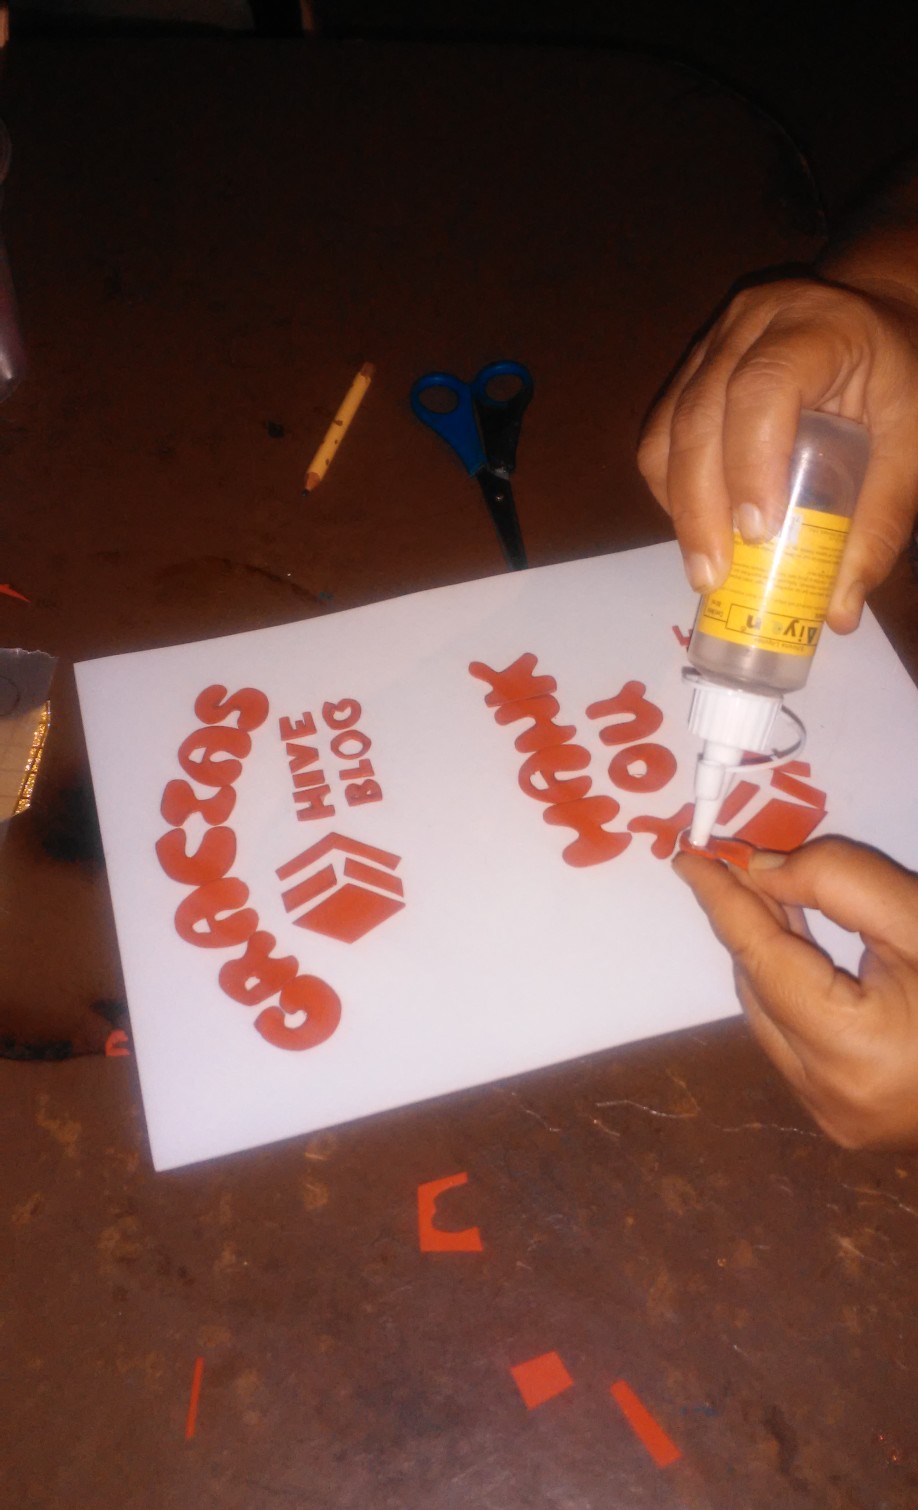
coloco y pego con silicón liquido las letras sobre la lamina de Foami.
I place and stick the letters with liquid silicone on the Foami sheet.
Paso 5
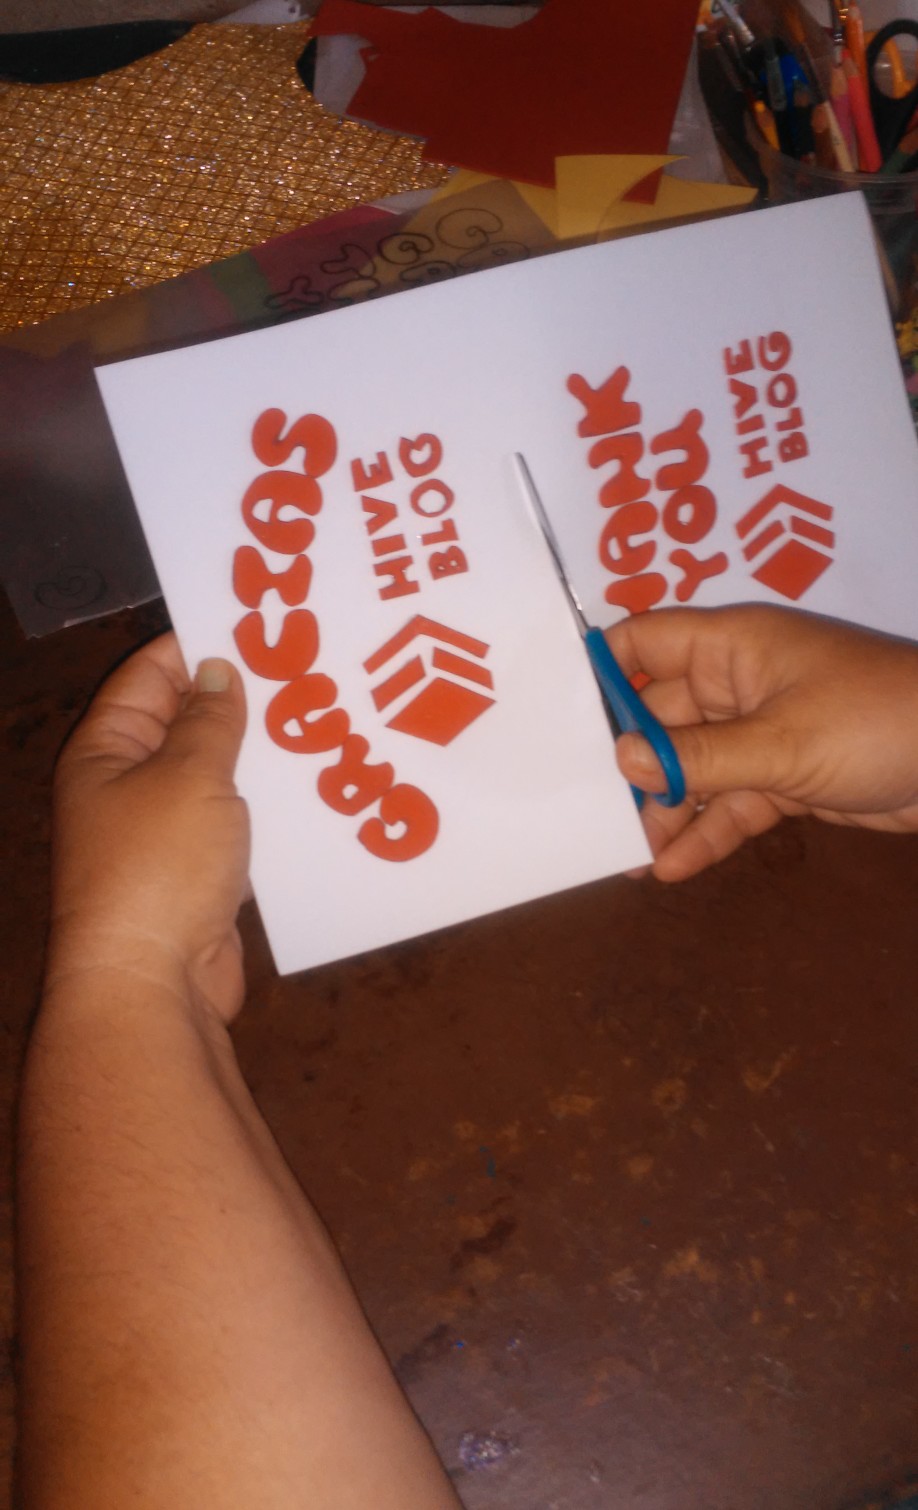
Recorto la lamina de Foami donde pegue las letras.
I cut out the Foami sheet where I paste the letters.
Paso 6
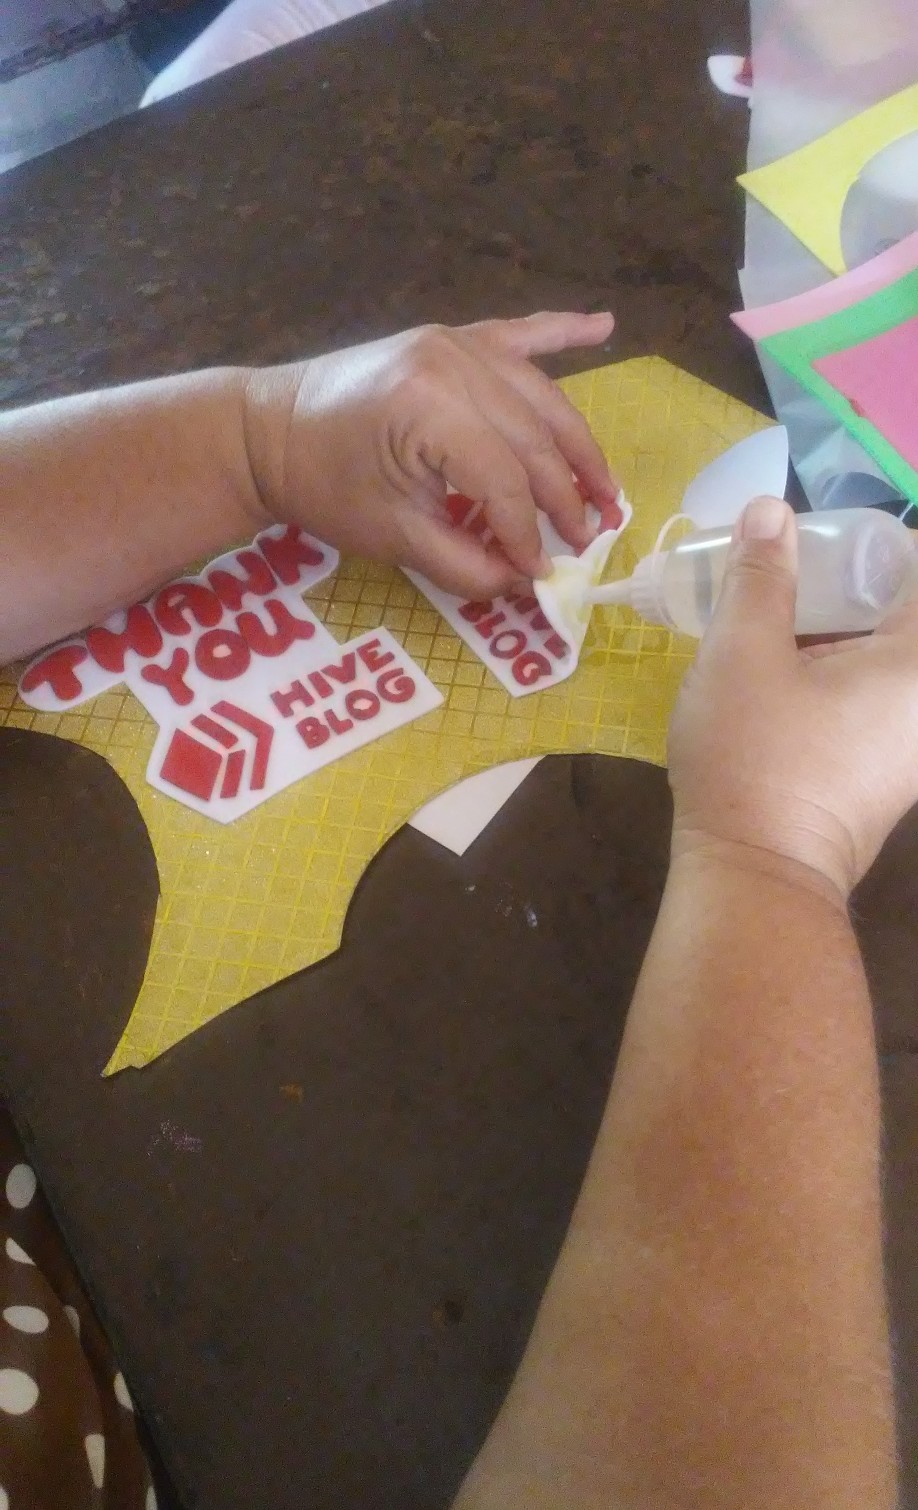
Ya recortado cada adorno lo coloco y pego sobre una cartulina dorada que va a servir de base para la lamina de Foami y a su vez servirá para resaltar el borde de la lamina.
Once I have cut out each ornament, I place it and stick it on a golden card that will serve as the base for the Foami sheet and in turn will serve to highlight the edge of the sheet.
Paso 7
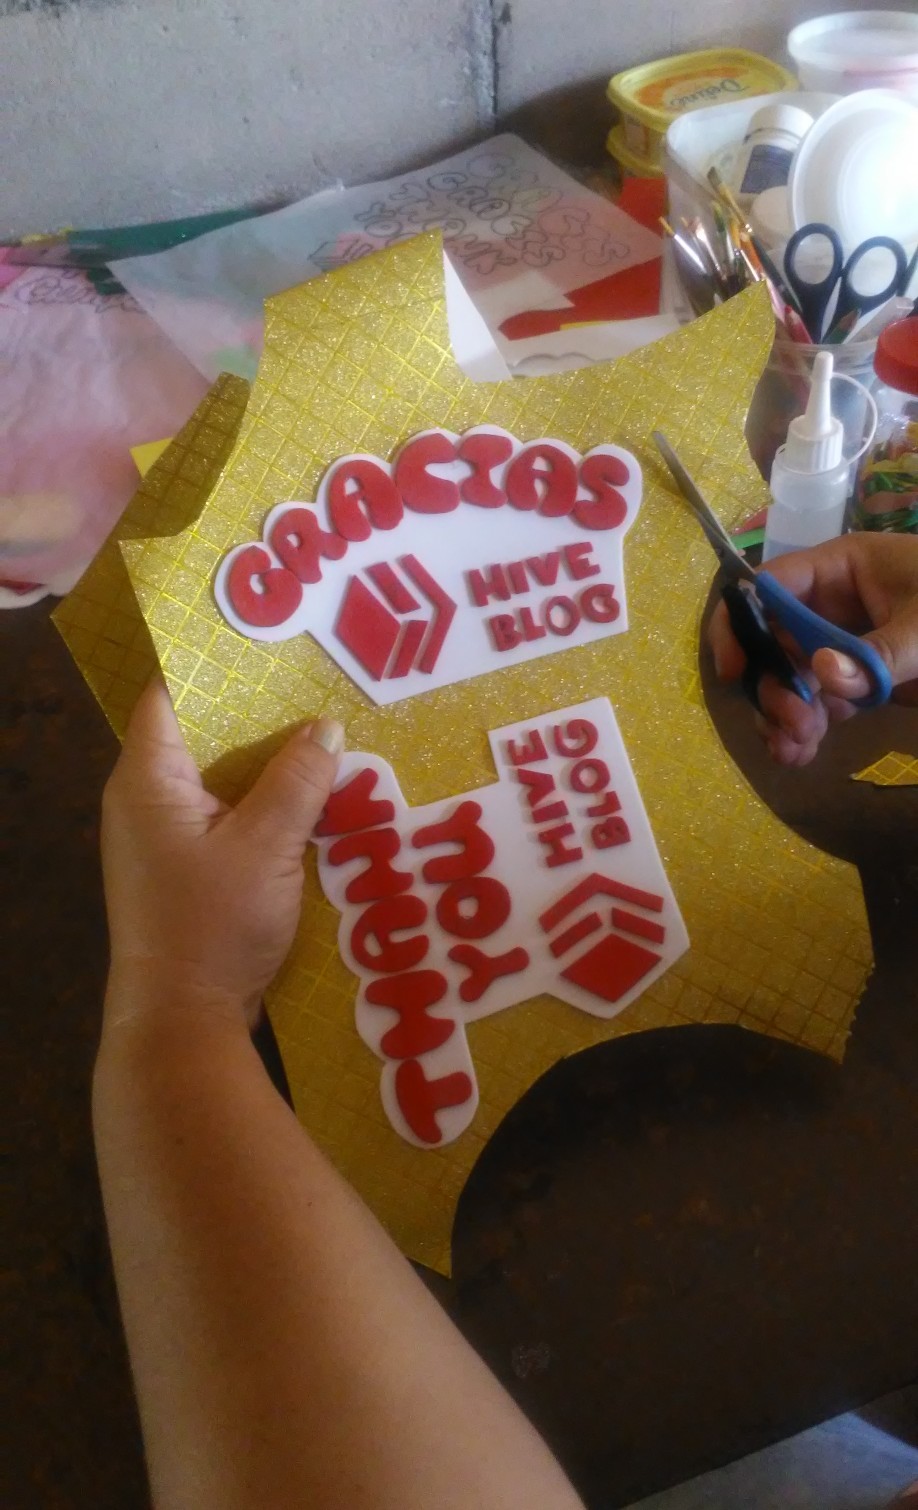
Recorto la base de cartulina dorada.
I cut out the gold card stock base.
Paso 8
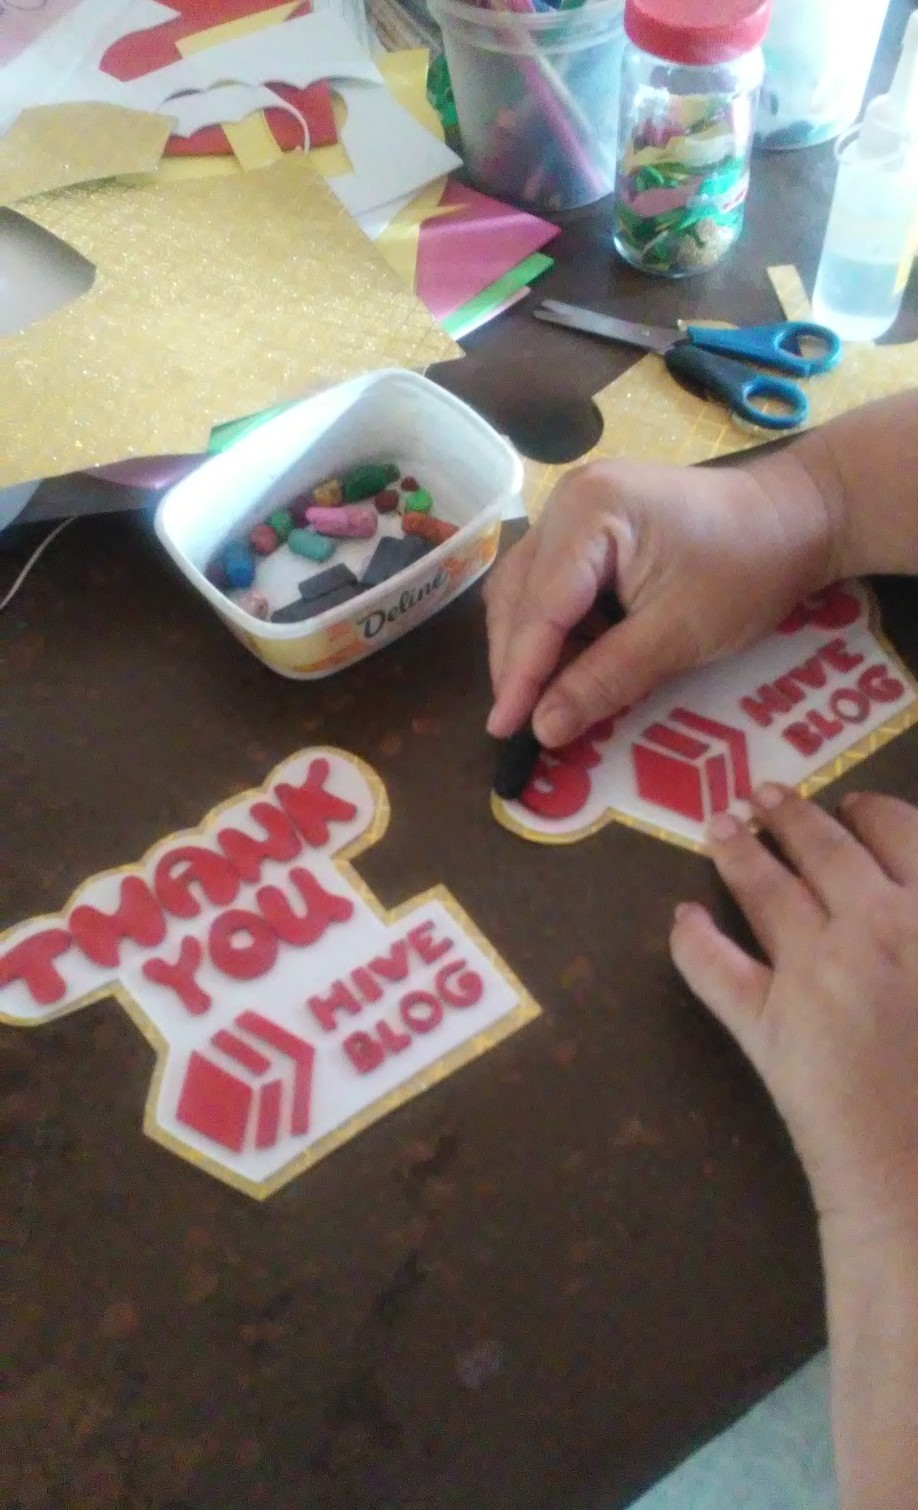
Con un creyón de color negro le doy sombra o oscurezco cada letra.
With a black crayon I shade or darken each letter.
Paso 9
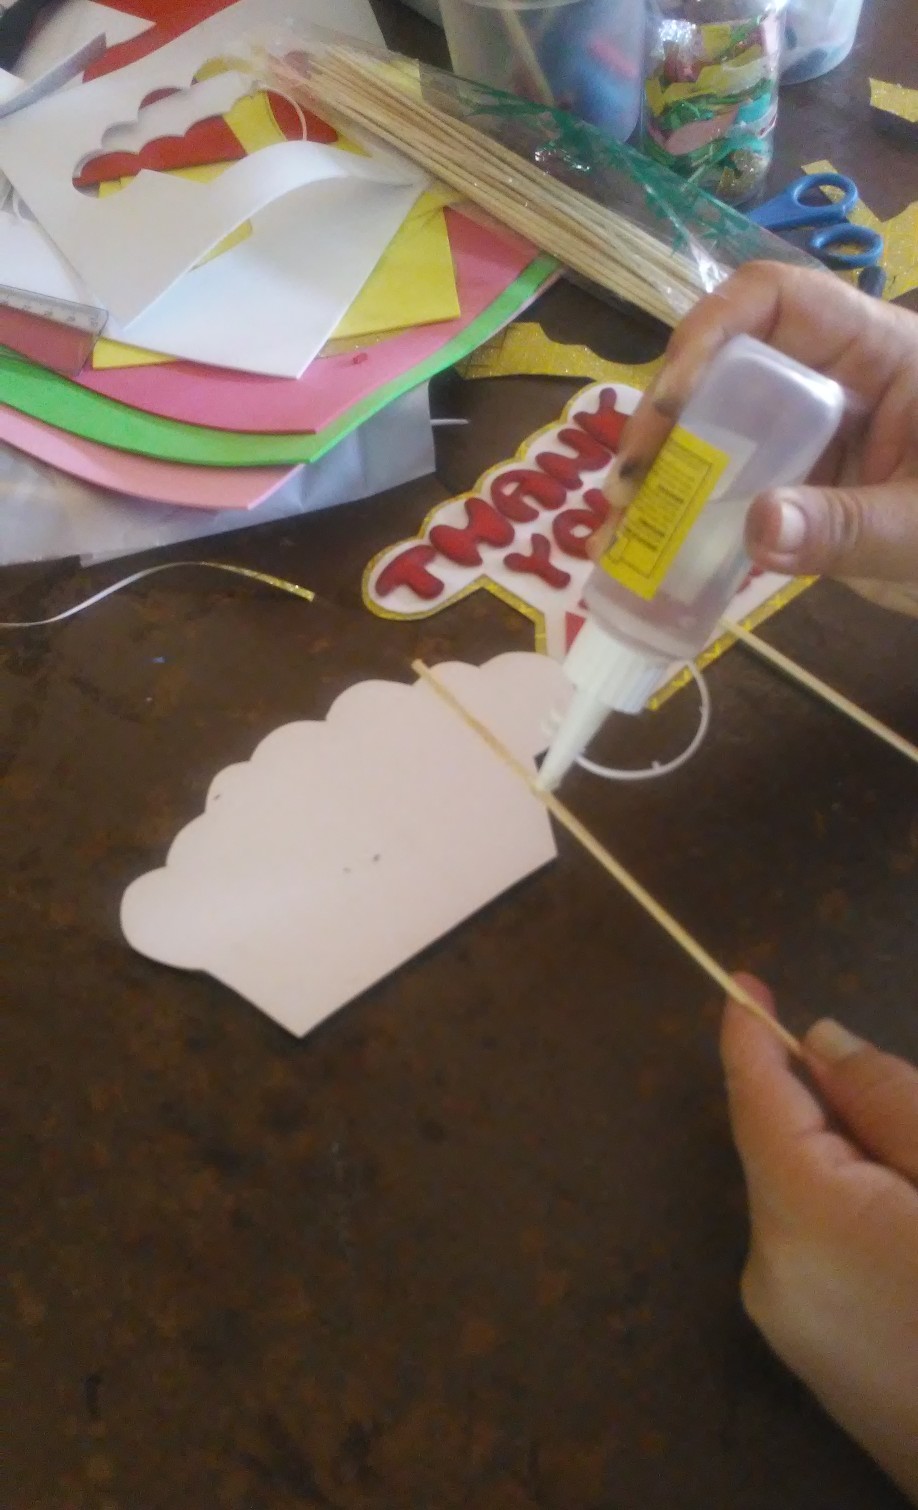
Tomo los palillos de altura les coloco silicón y se los pego a cada adorno en la parte de atrás.
I take the toothpicks in height, I put silicone on them and I glue them to each ornament on the back.
Paso 10
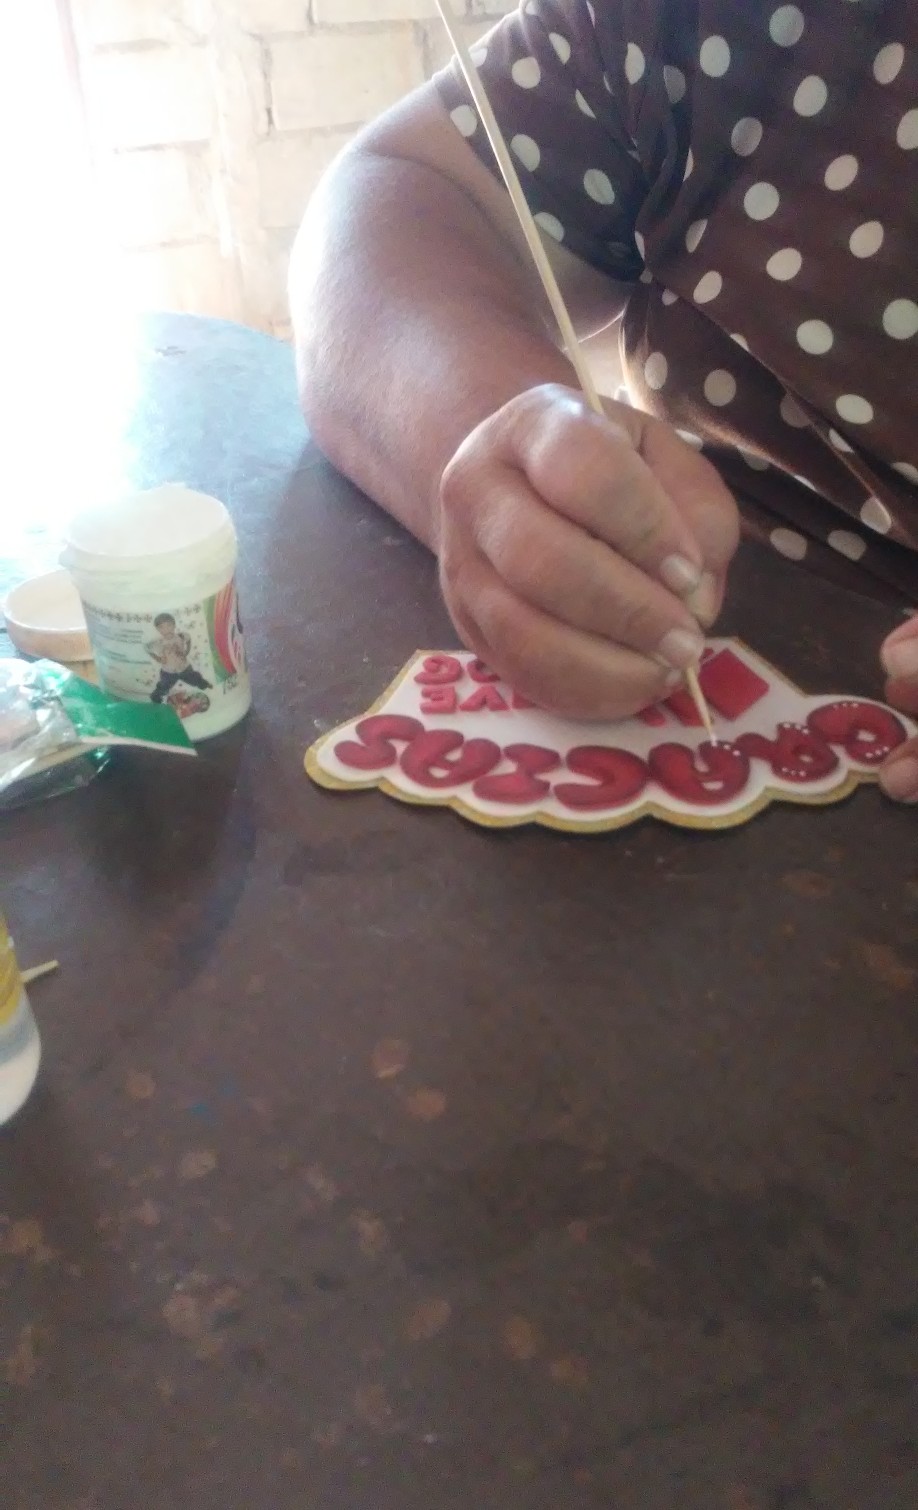
Con un palillo de altura tomo pintura al frio color blanco y dibujo puntos a cada letra para resaltar un poco el adorno.
With a tall toothpick I take cold white paint and draw dots to each letter to highlight the ornament a bit.
Paso 11
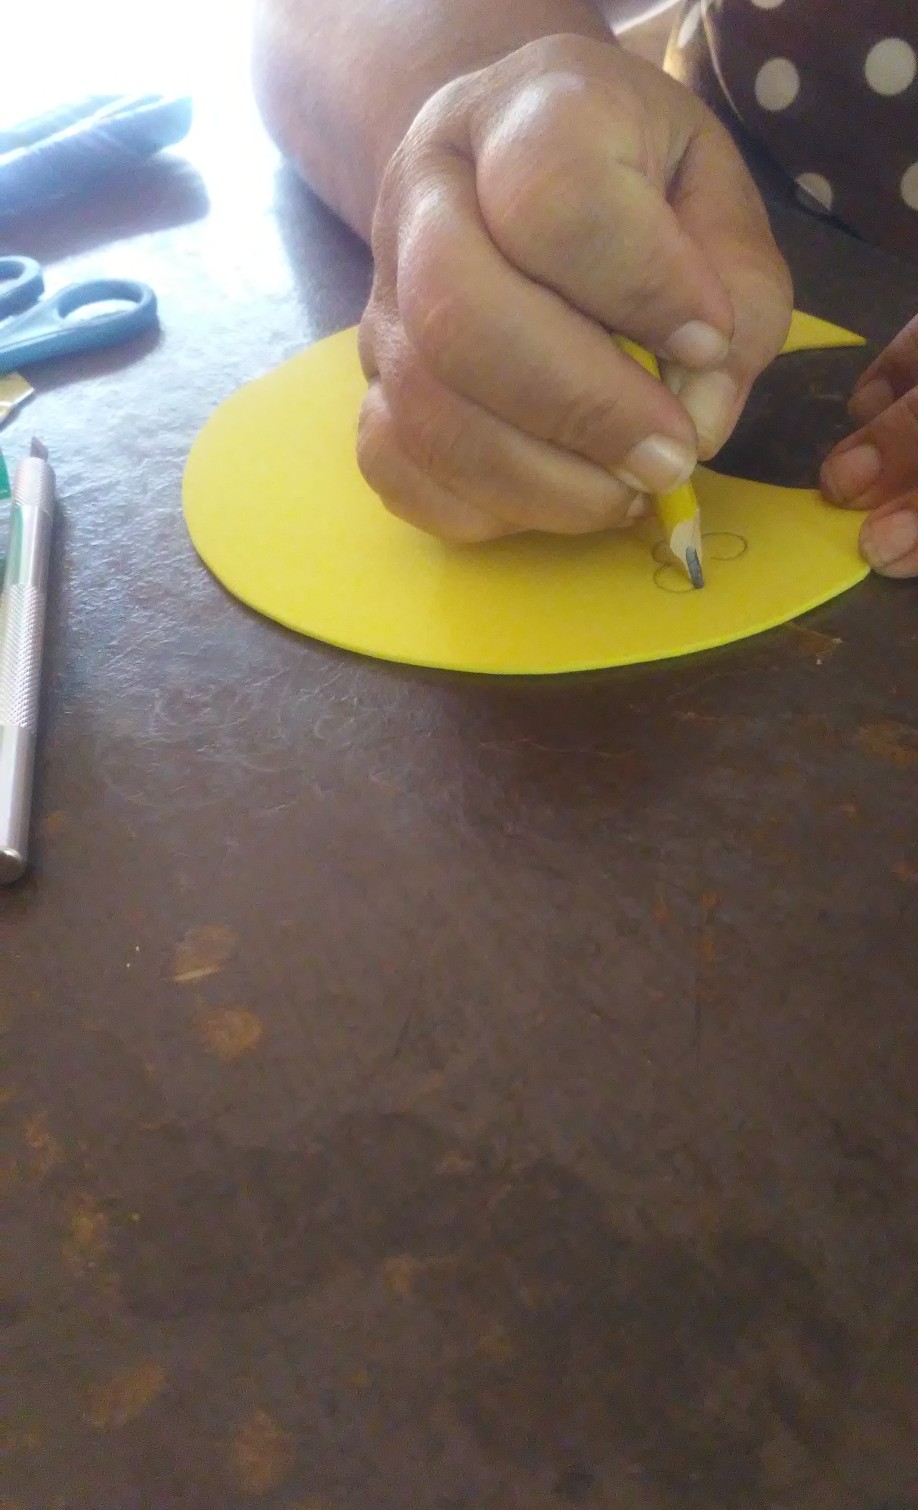
Para decorar voy hacer una flor. Marco la figura de la flor sobre la lamina de Foami color amarilla.
To decorate I am going to make a flower. I mark the figure of the flower on the yellow Foami sheet.
Paso 12
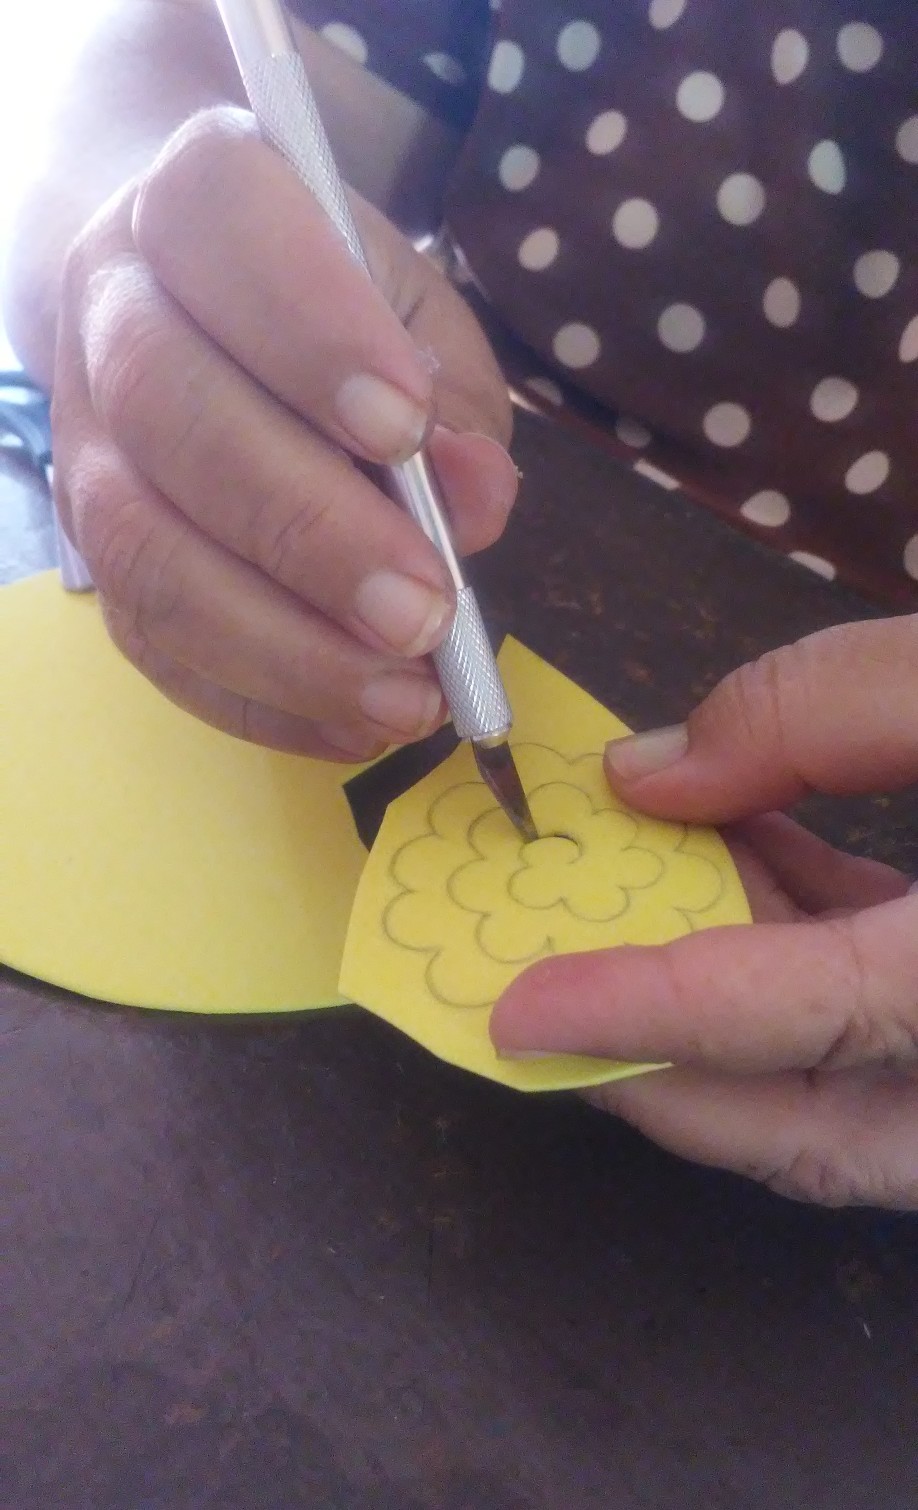
Recorto la flor.
I cut out the flower.
Paso 13
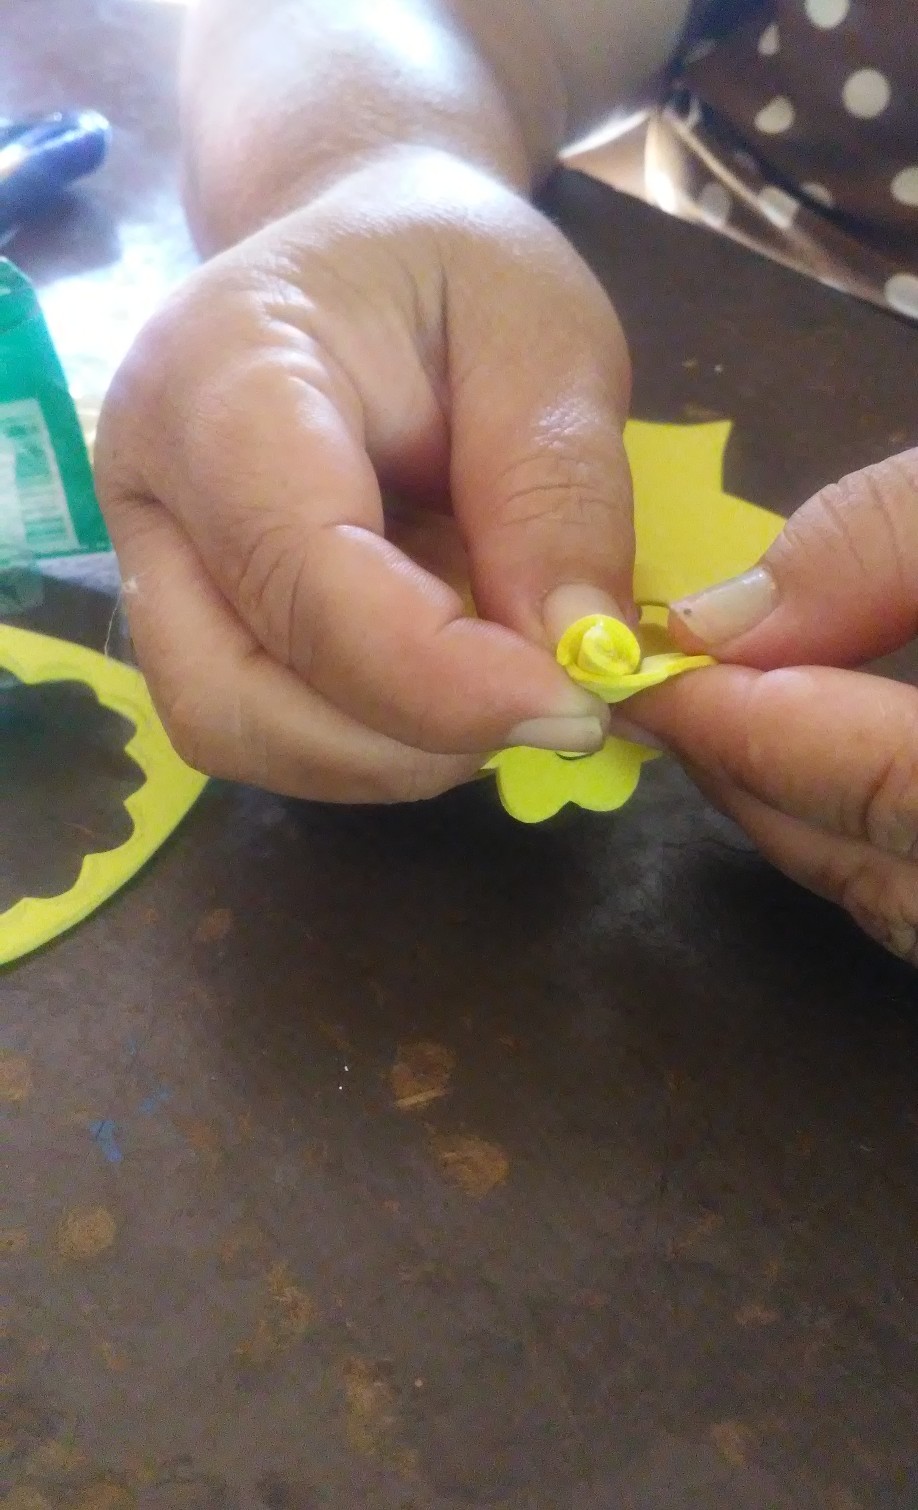
Hago la flor enrollando la figura de afuera hacia adentro.
I make the flower by rolling the figure from the outside to the inside.
Paso 14
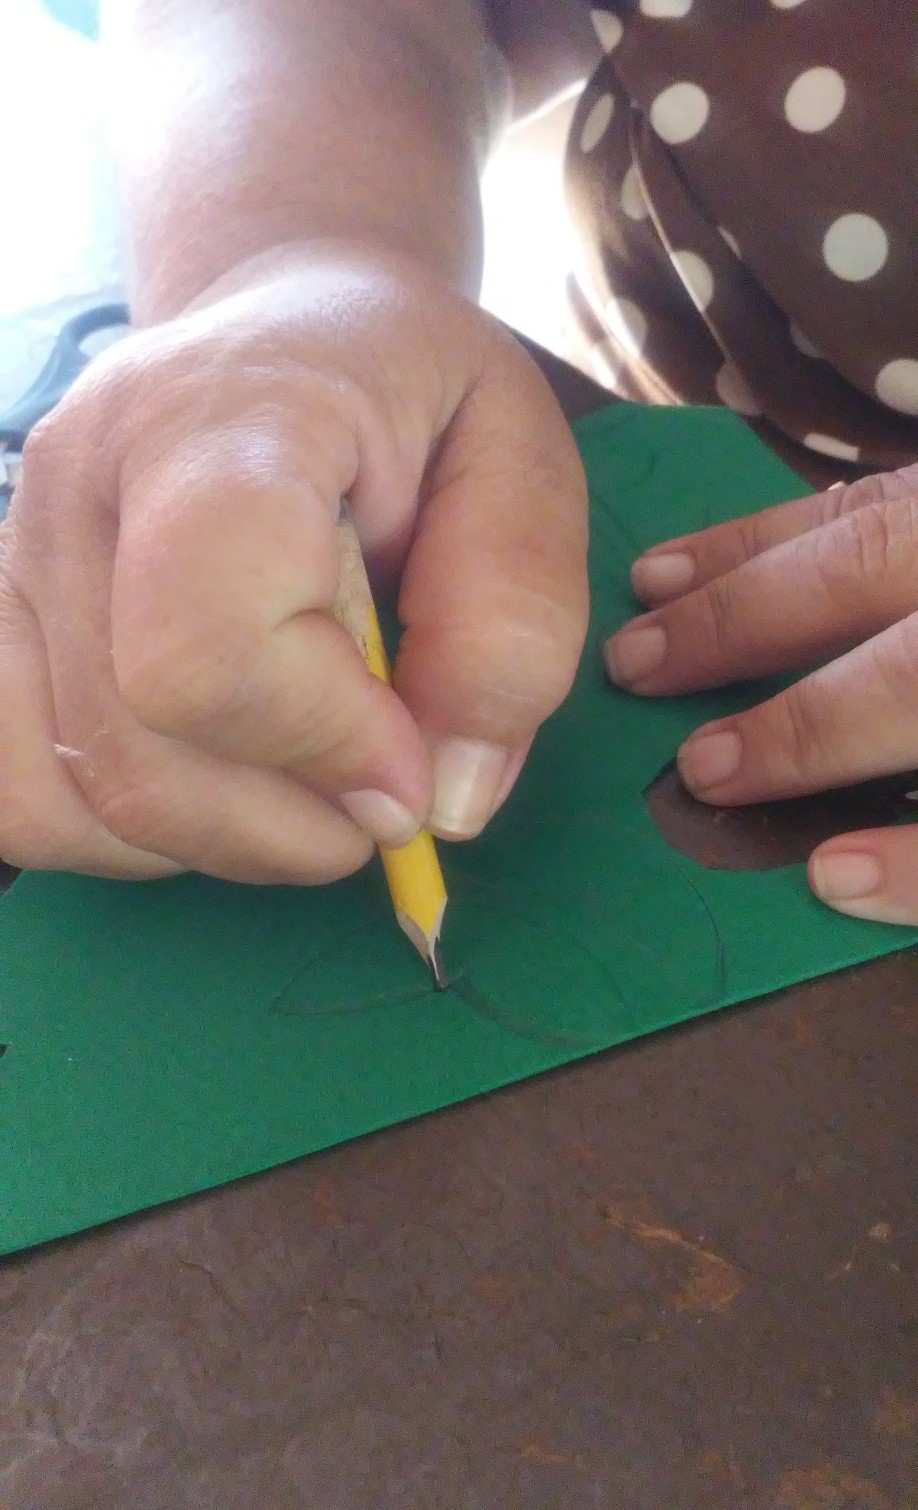
Para las hojas marco la figura sobre la lamina de Foami color verde escarchado.
For the leaves I mark the figure on the frosty green Foami sheet.
Paso 15
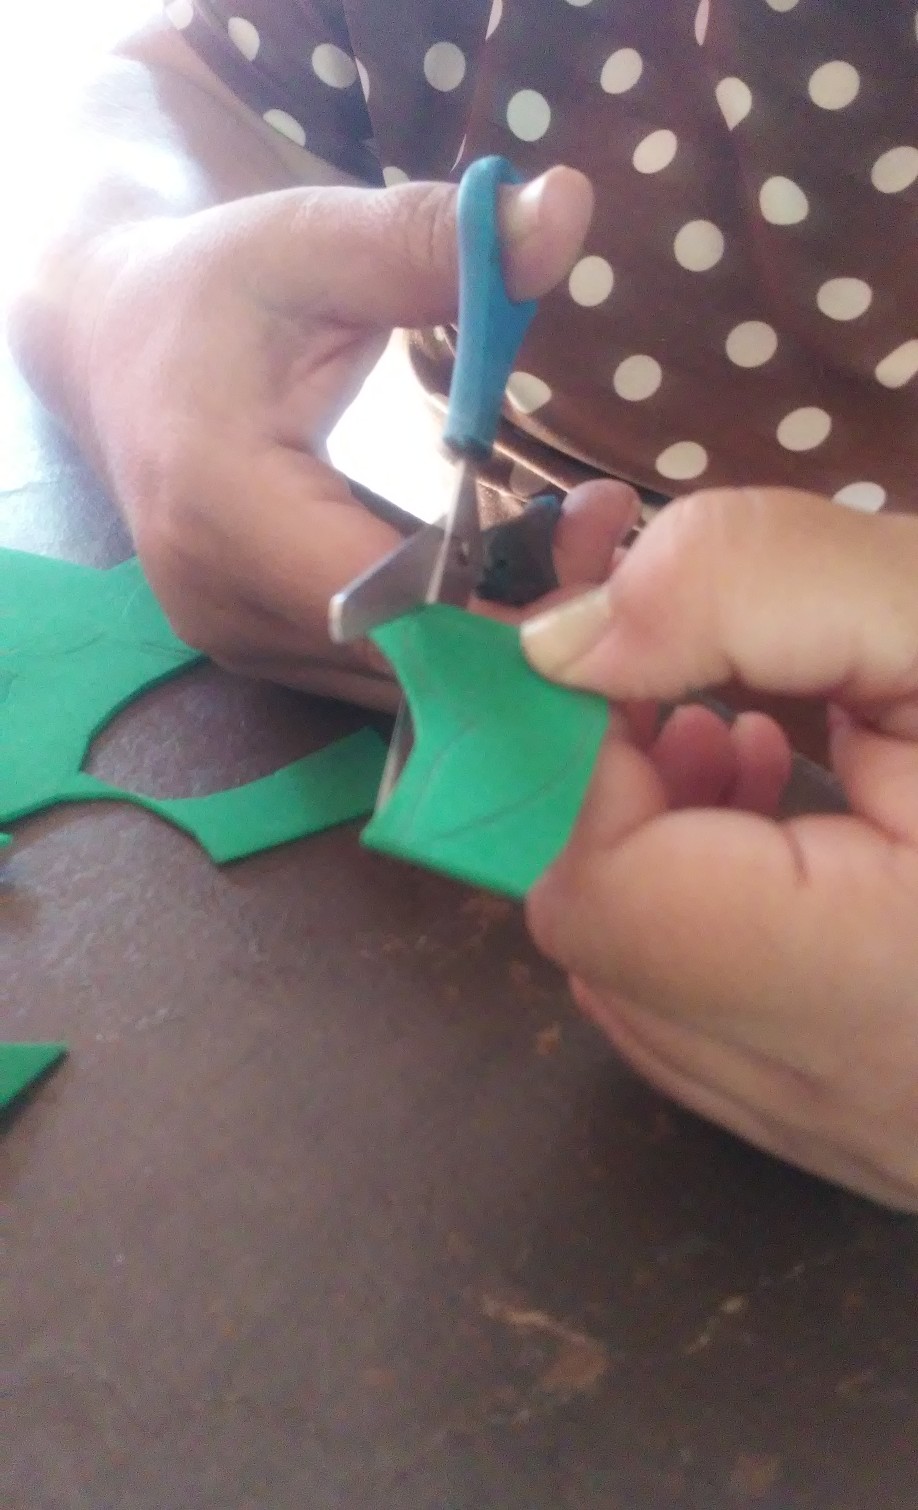
Recorto las hojas.
I trim the leaves
Paso 16
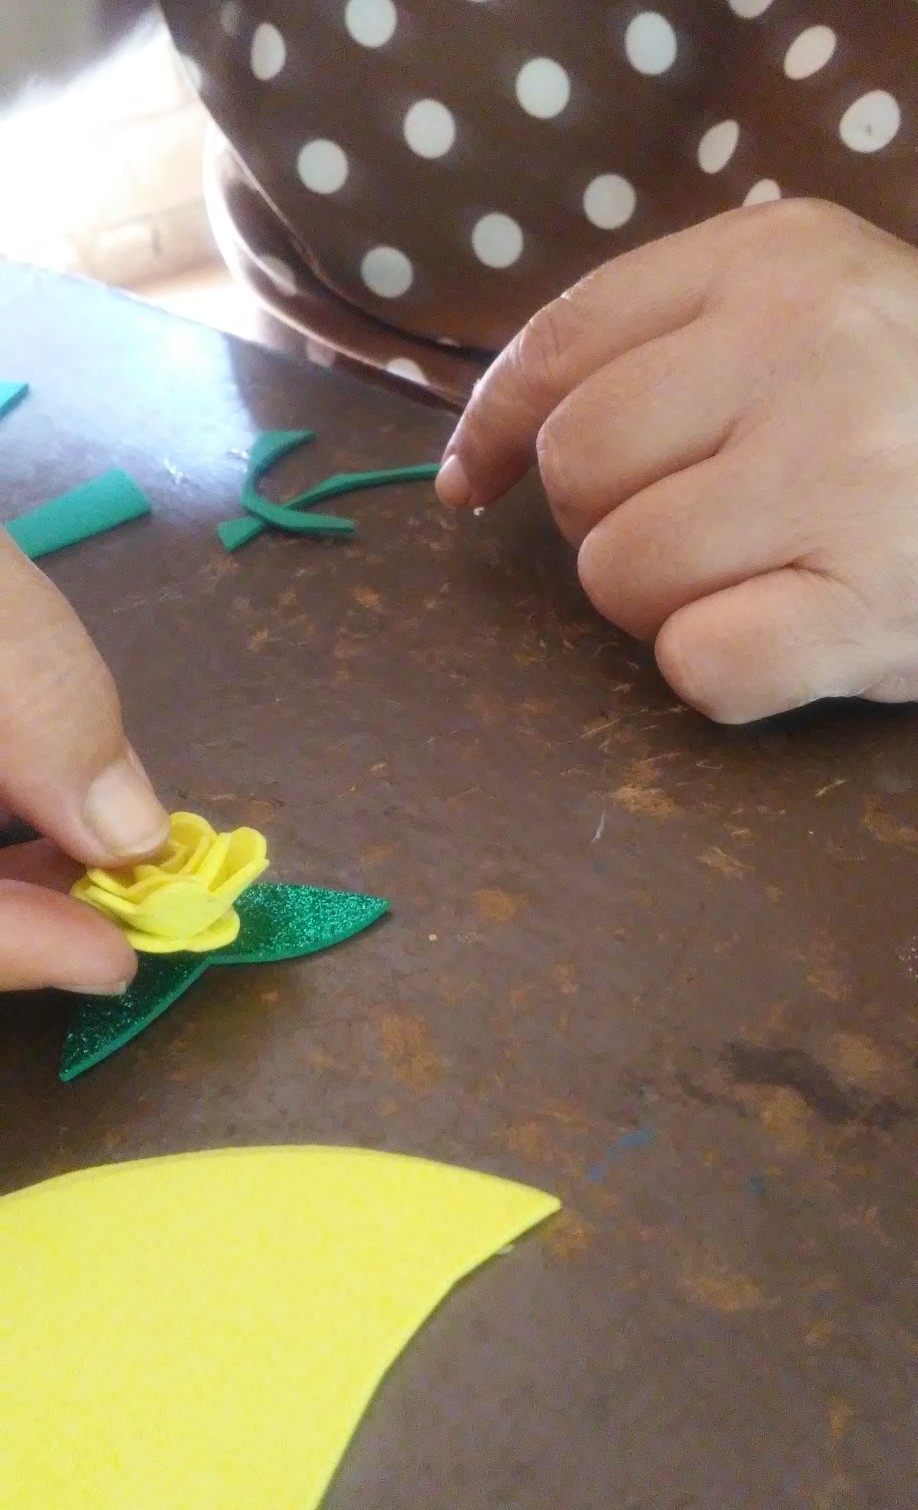
Con silicón liquido uno la flor y las hojas.
With liquid silicone I joined the flower to the leaves.
Paso 17
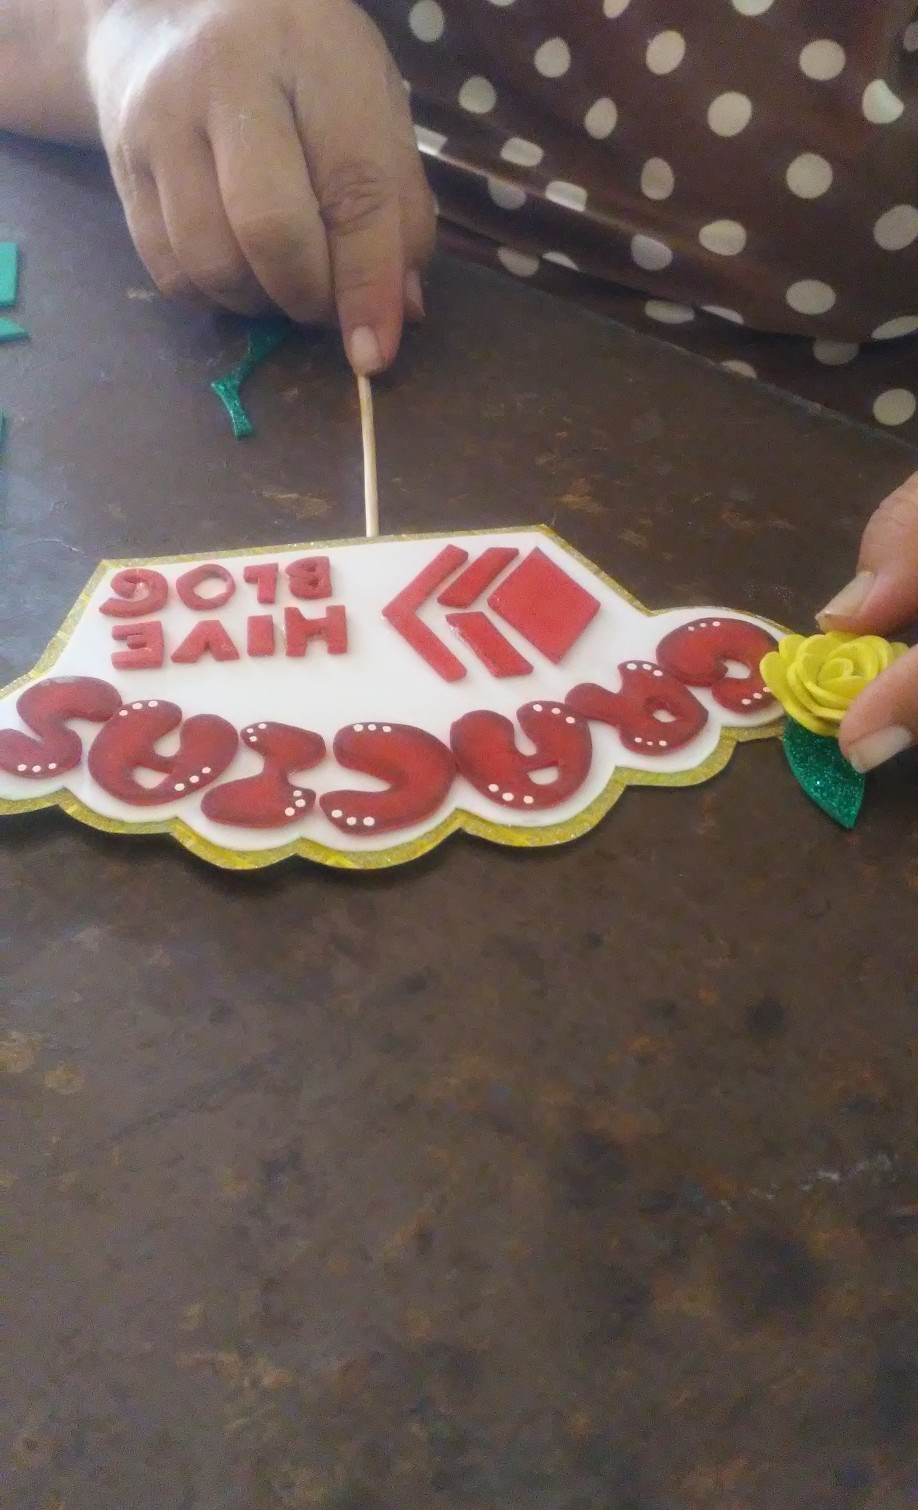
Con silicón liquido pego la flor a los adornos en el borde.
With liquid silicone I glue the flower to the ornaments on the edge.
Paso 18
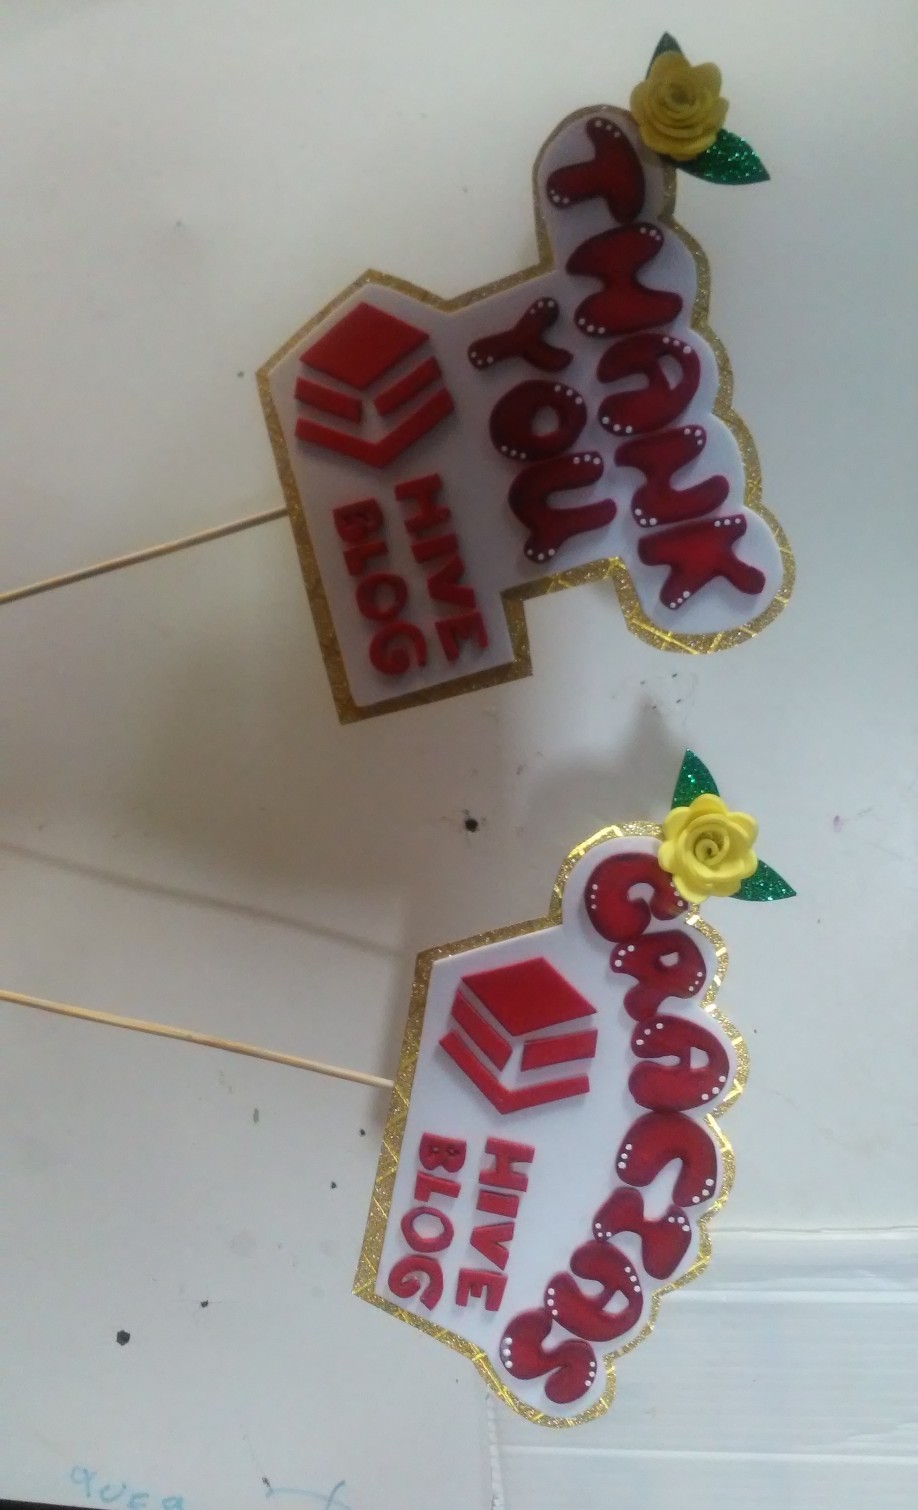
Y aquí tenemos un topper con motivo de agradecimiento.
Muchas gracias por visitar mi blog!! hasta la próxima.
And here we have a thank you topper.
Thanks so much for visiting my blog!! until next time.
Me gustaron mucho. Te quedaron Hermosos ♥️
muchas gracias por gustarle mi trabajo.
Están hermosos sus topper.
Excelente trabajo muy hermoso, gracias por compartir.