
You must resist! Don't follow the will-o-wisp!
Hello guys! This is my entry for Splinterlands Art Contest Week 277.
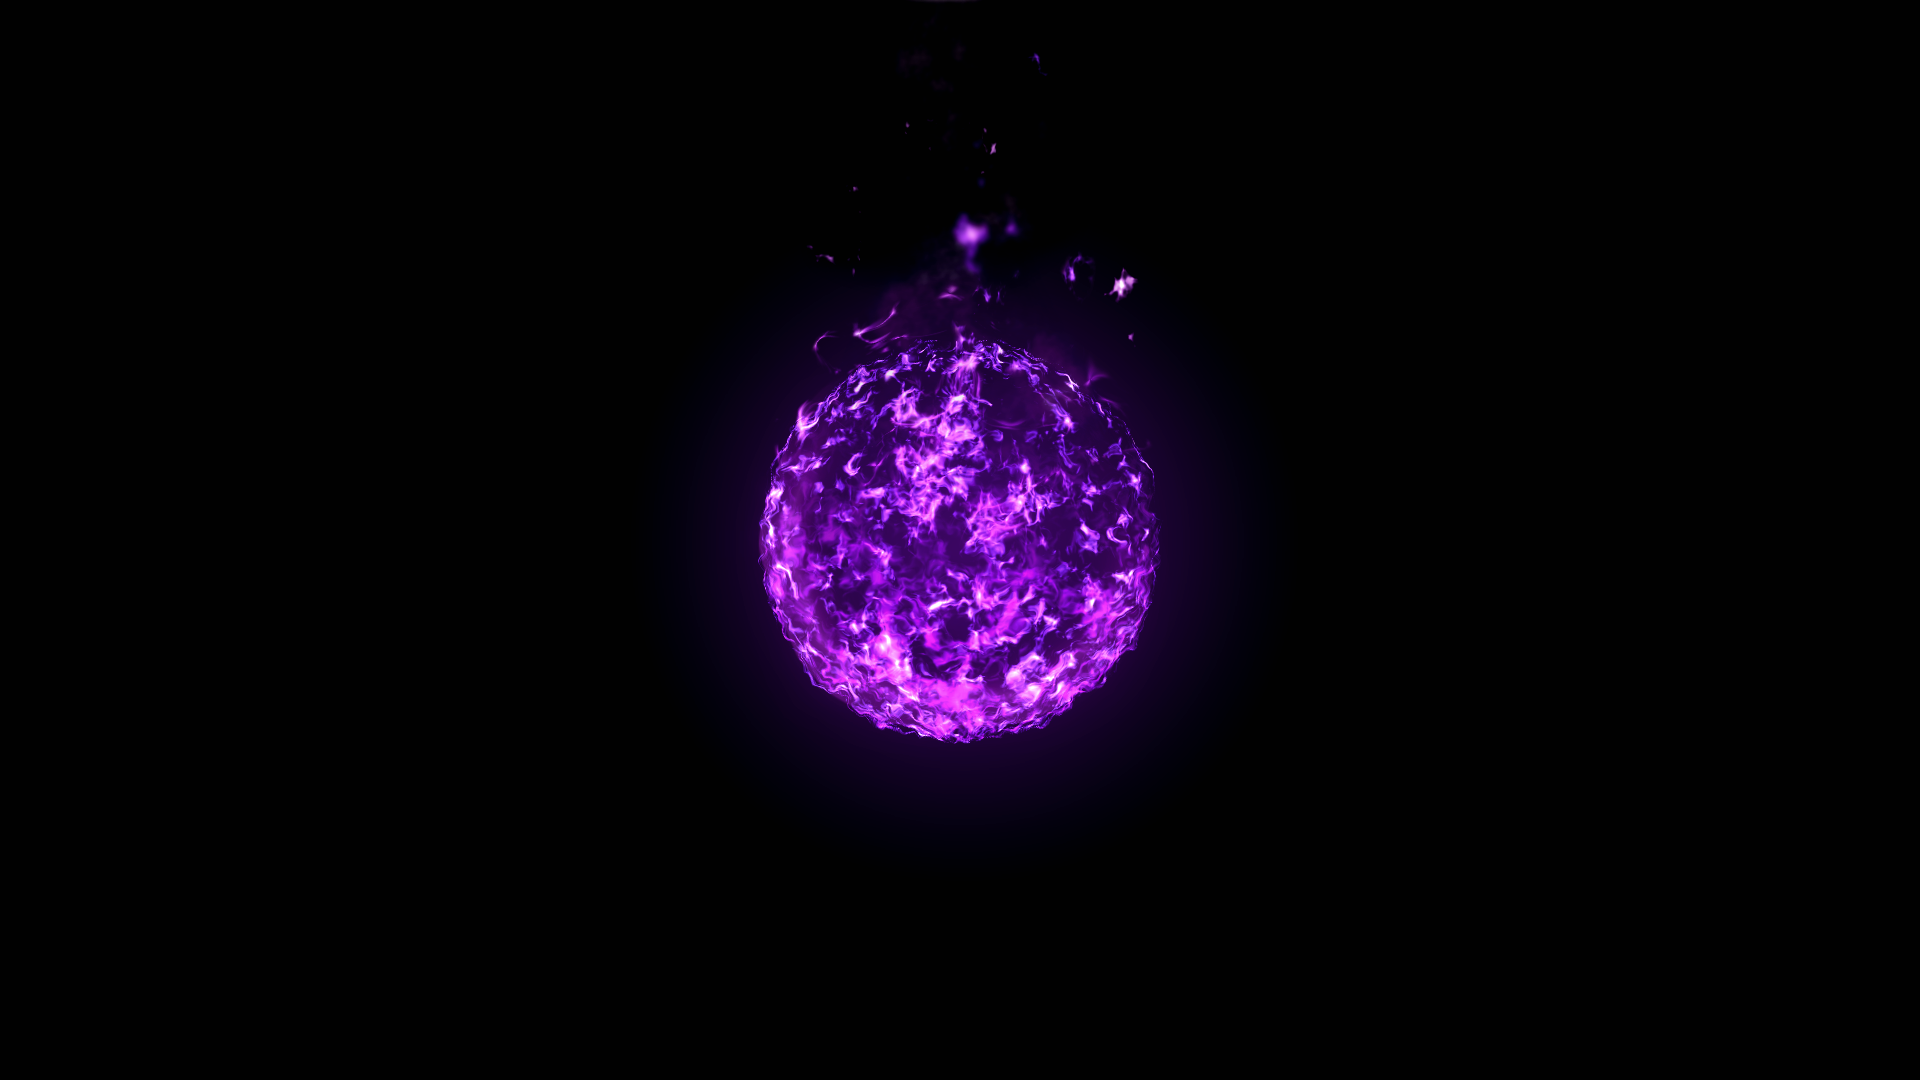
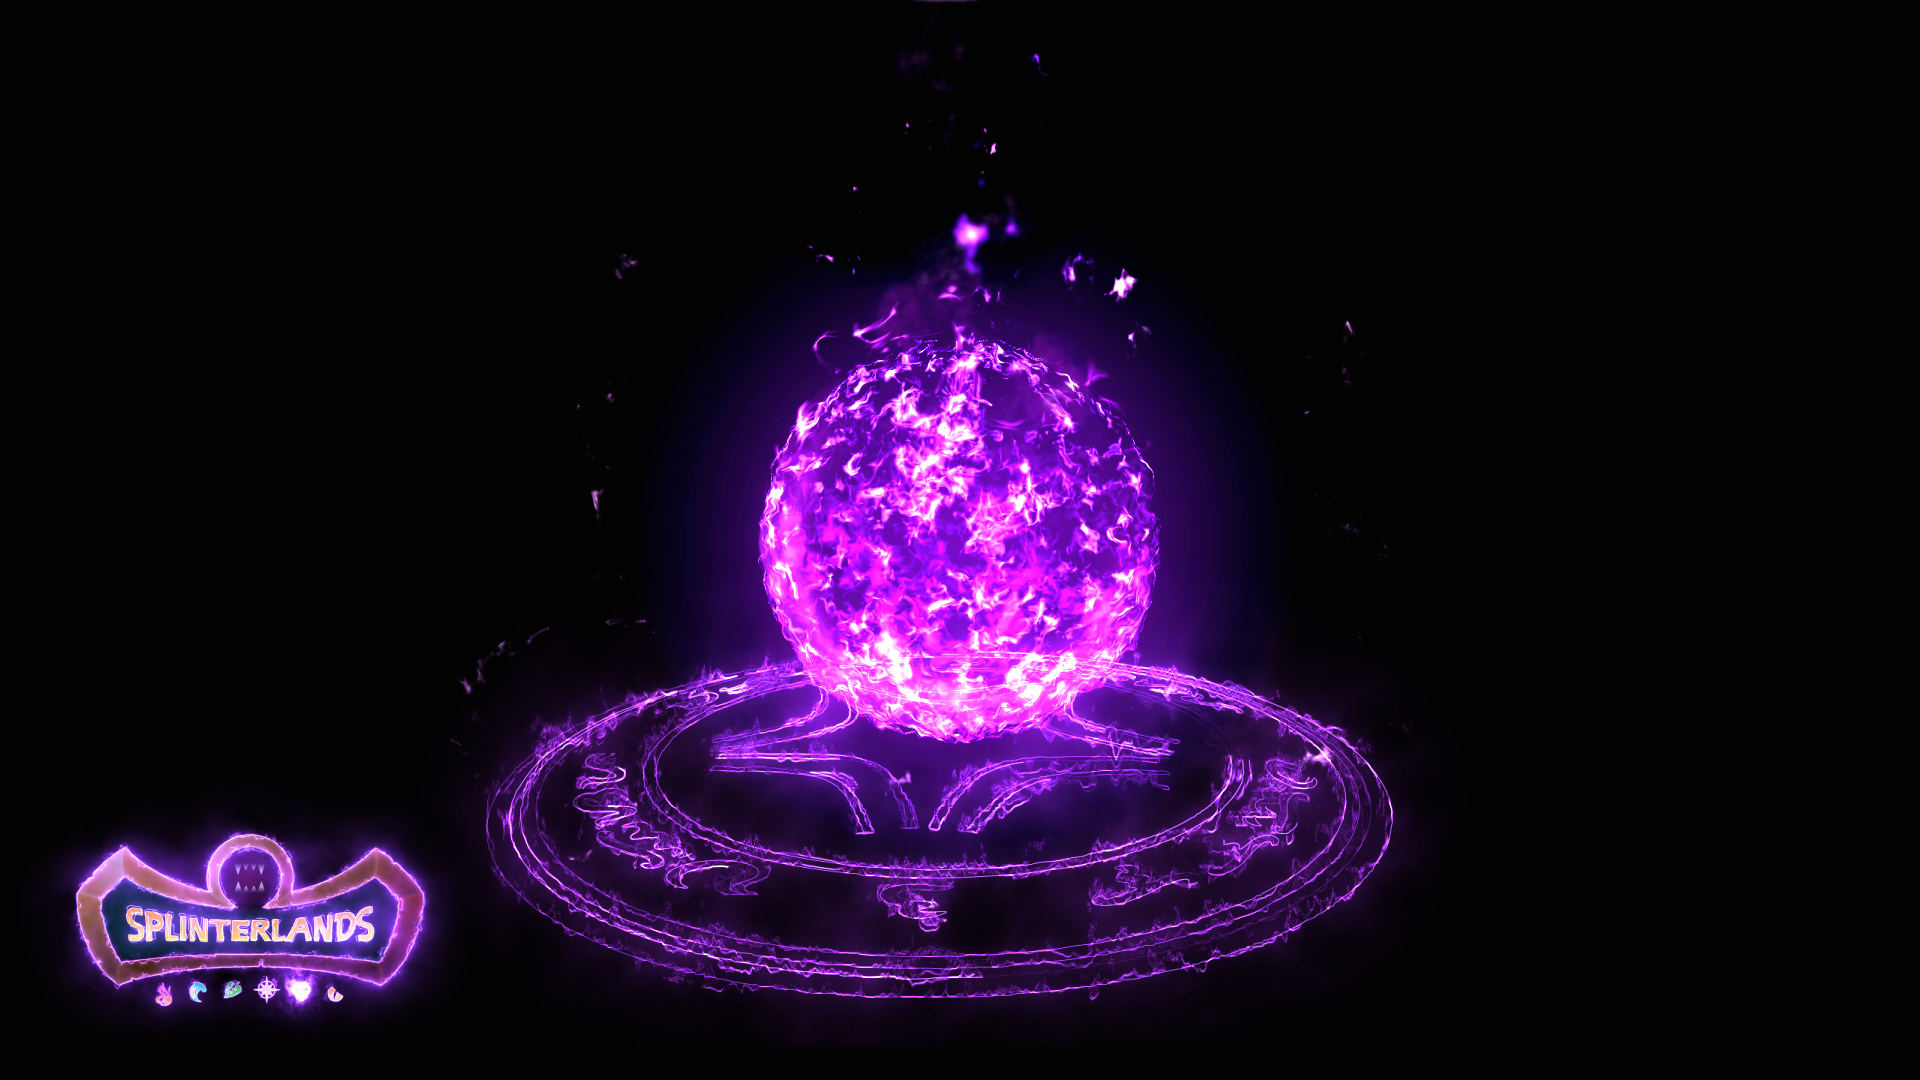
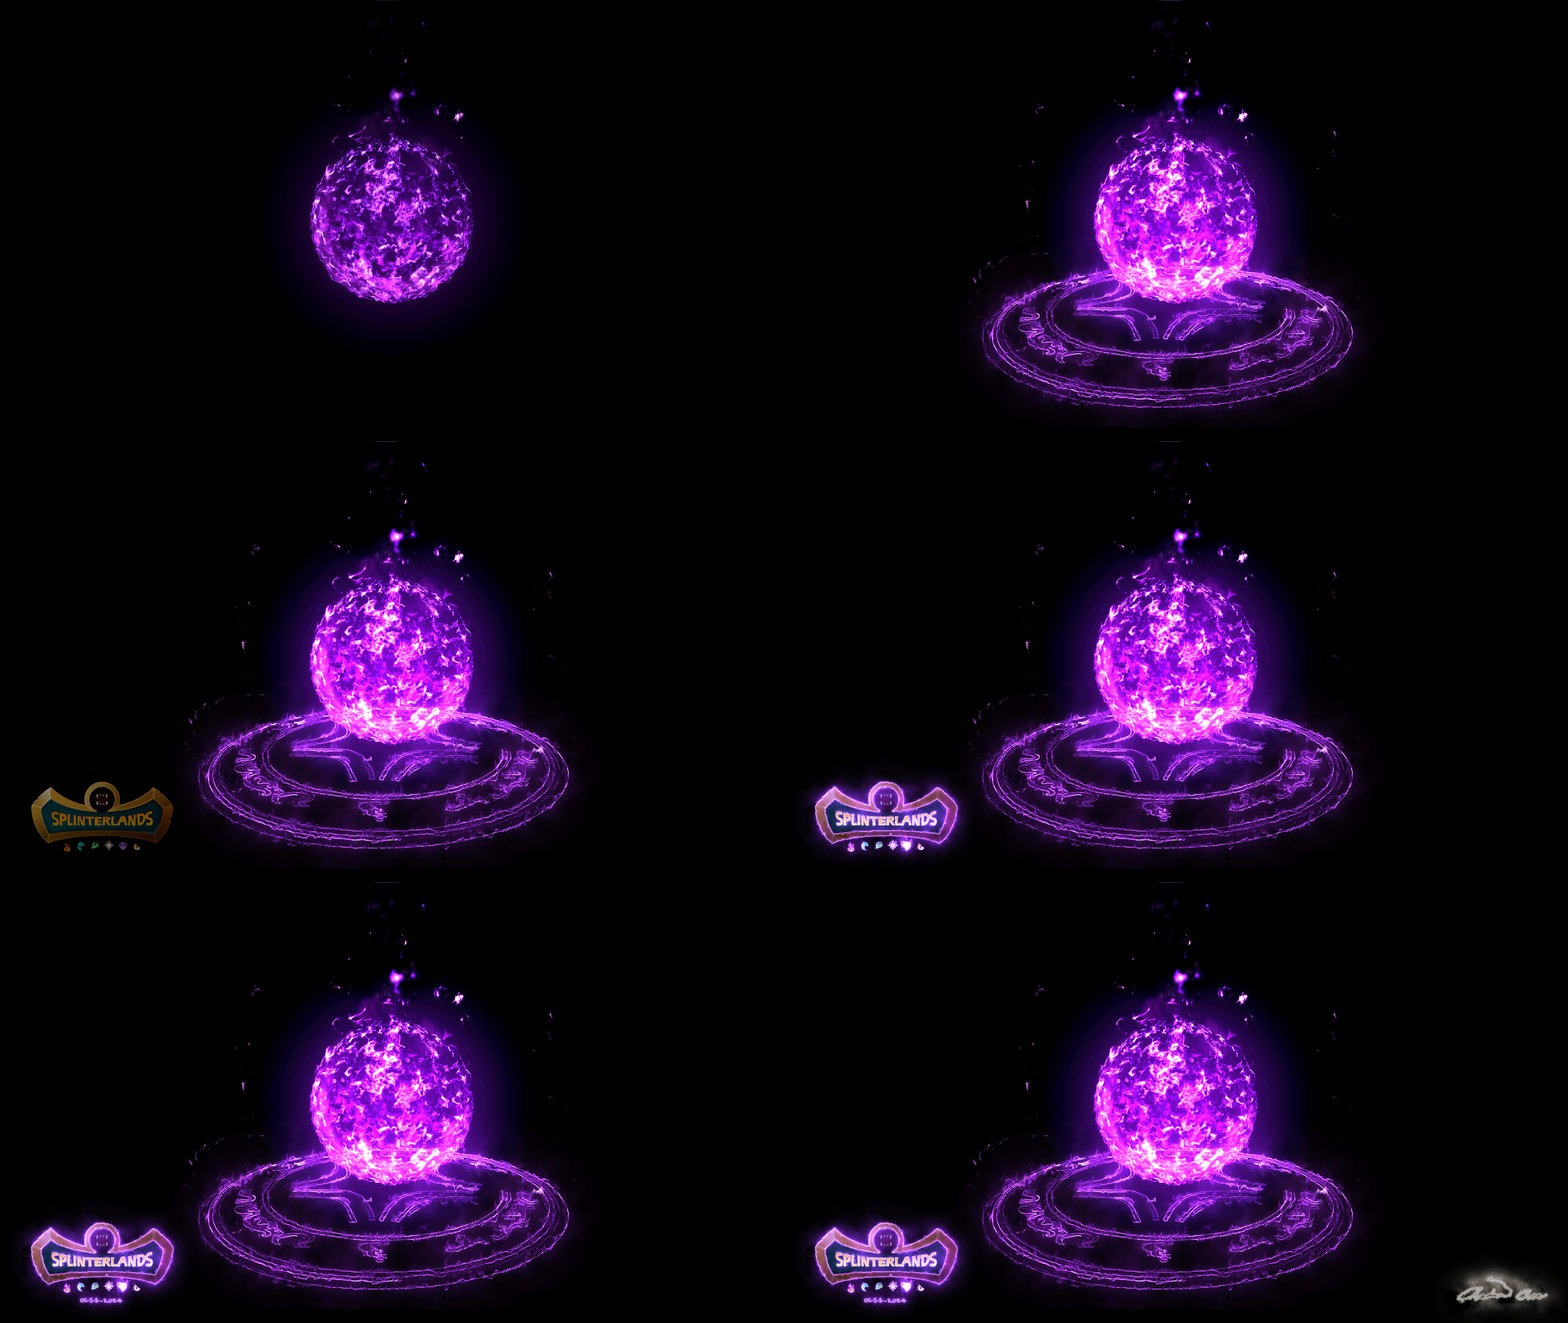
For this week's entry, I have created a motion graphics artwork for Will-o-wisp. I have made its appearance based on what's indicated from it's lore - "...appears as a hazy ball of light often mistaken for a flaming torch or lantern. Infact, its purple, flaming body is a transparent ball of mana." Which is why I made it so that has an appearance of a purple flaming ball.
This time, I tried creating another artwork while trying something new! Unlike my previous works, which have been mainly 3D modeling and animation, I have created motion graphics artwork.
I have uploaded the final output here in 1280 x 720 resolution. I have uploaded it on a higher resolution (1920 x 1080). Due to some factors, some GIFs uploaded directly on site does not properly animate, especially those created at large file sizes. Some do not loop, some stop mid-way, and some do not animate at all. That's why I encourage everyone to click the links below to see the final results.
Medium and Software:
Hardware: Personal Laptop
Software: Adobe Photoshop and Adobe After Effects
Step-by-Step:
Here are the steps on how I made my animated Artwork:
I have divided this process in three parts:
- One is for creating the Will-o-wisp.
- The other is creating the magic circle below the Will-o-wisp.
- The last one is putting them altogether to create the final output.
First Part: Will-o-wisp
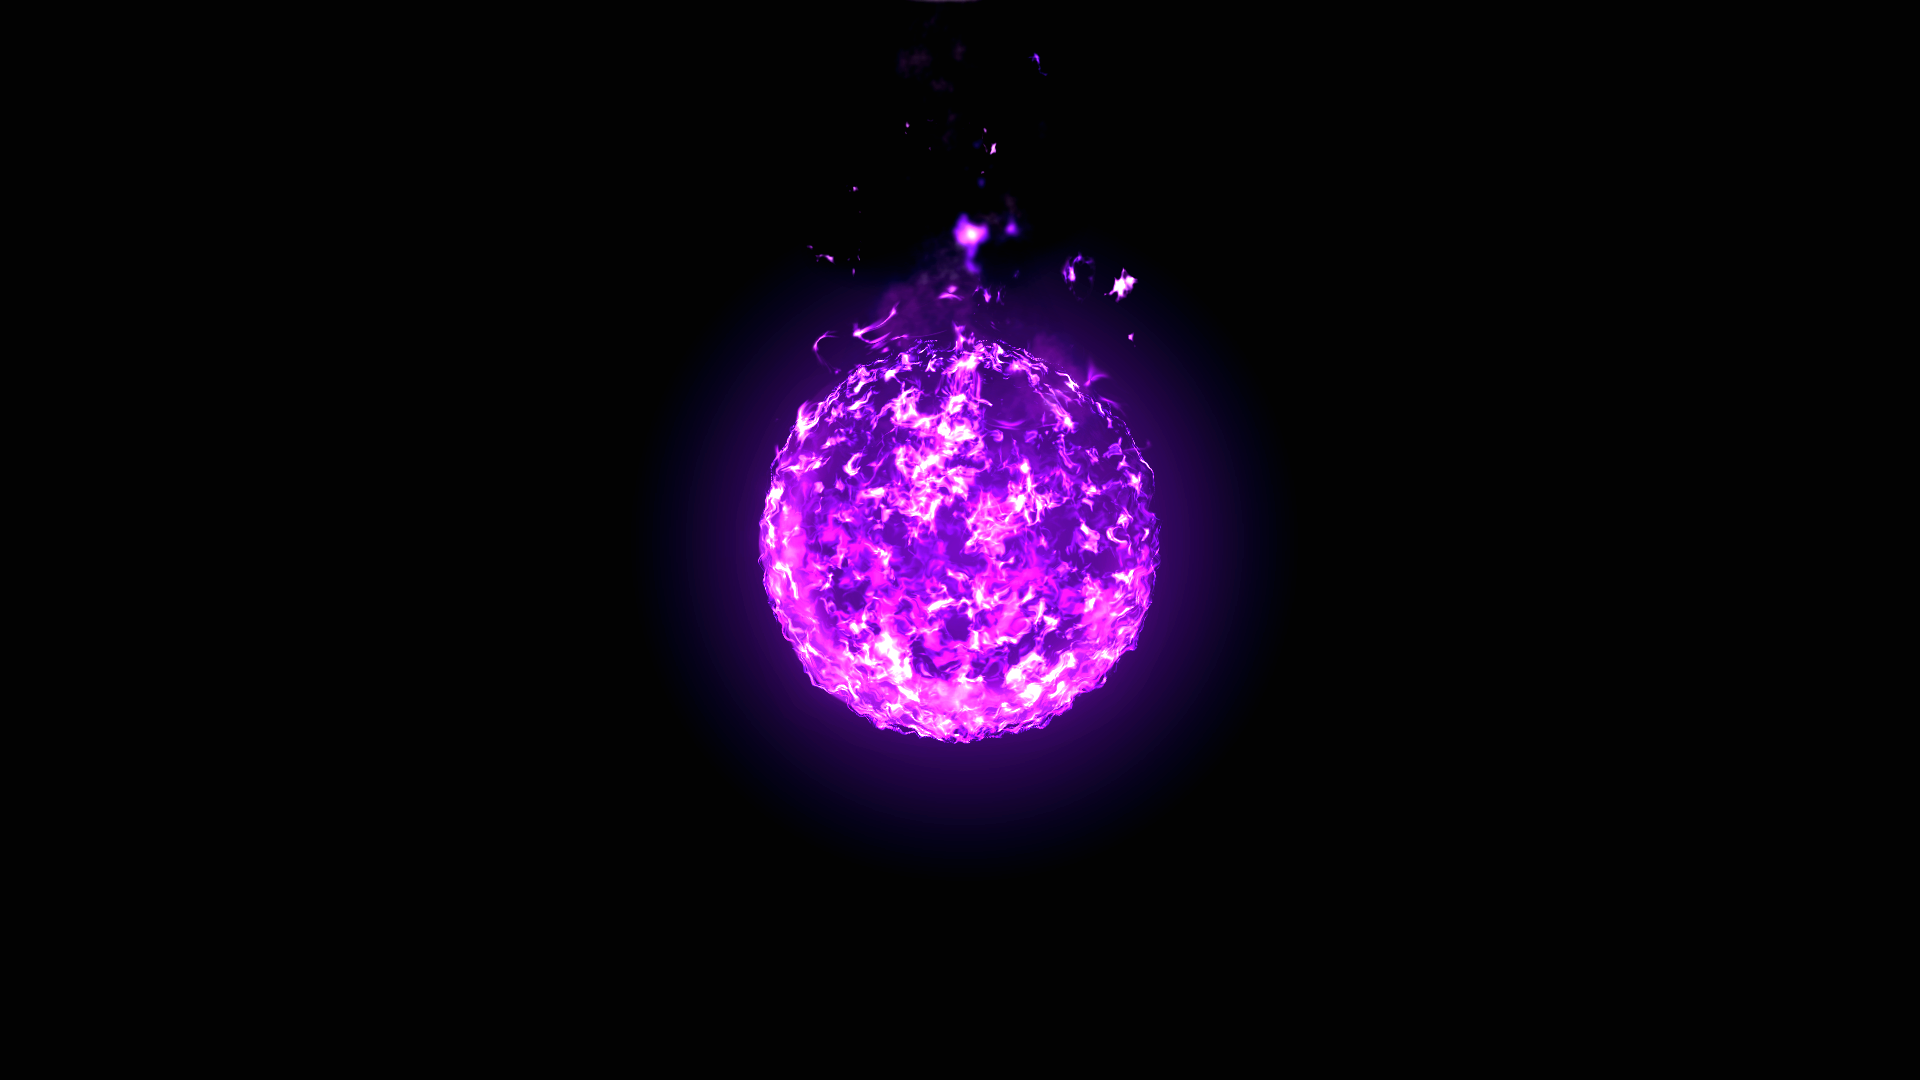
I first created the body of the Will-o-wisp. I created a circle and applied blur to it to make it look like the glow of its body. Then I created the fire ball. I applied sphere shape and fire effect on a solid object. I repeated the process and set the timing different to make the effect more dramatic.

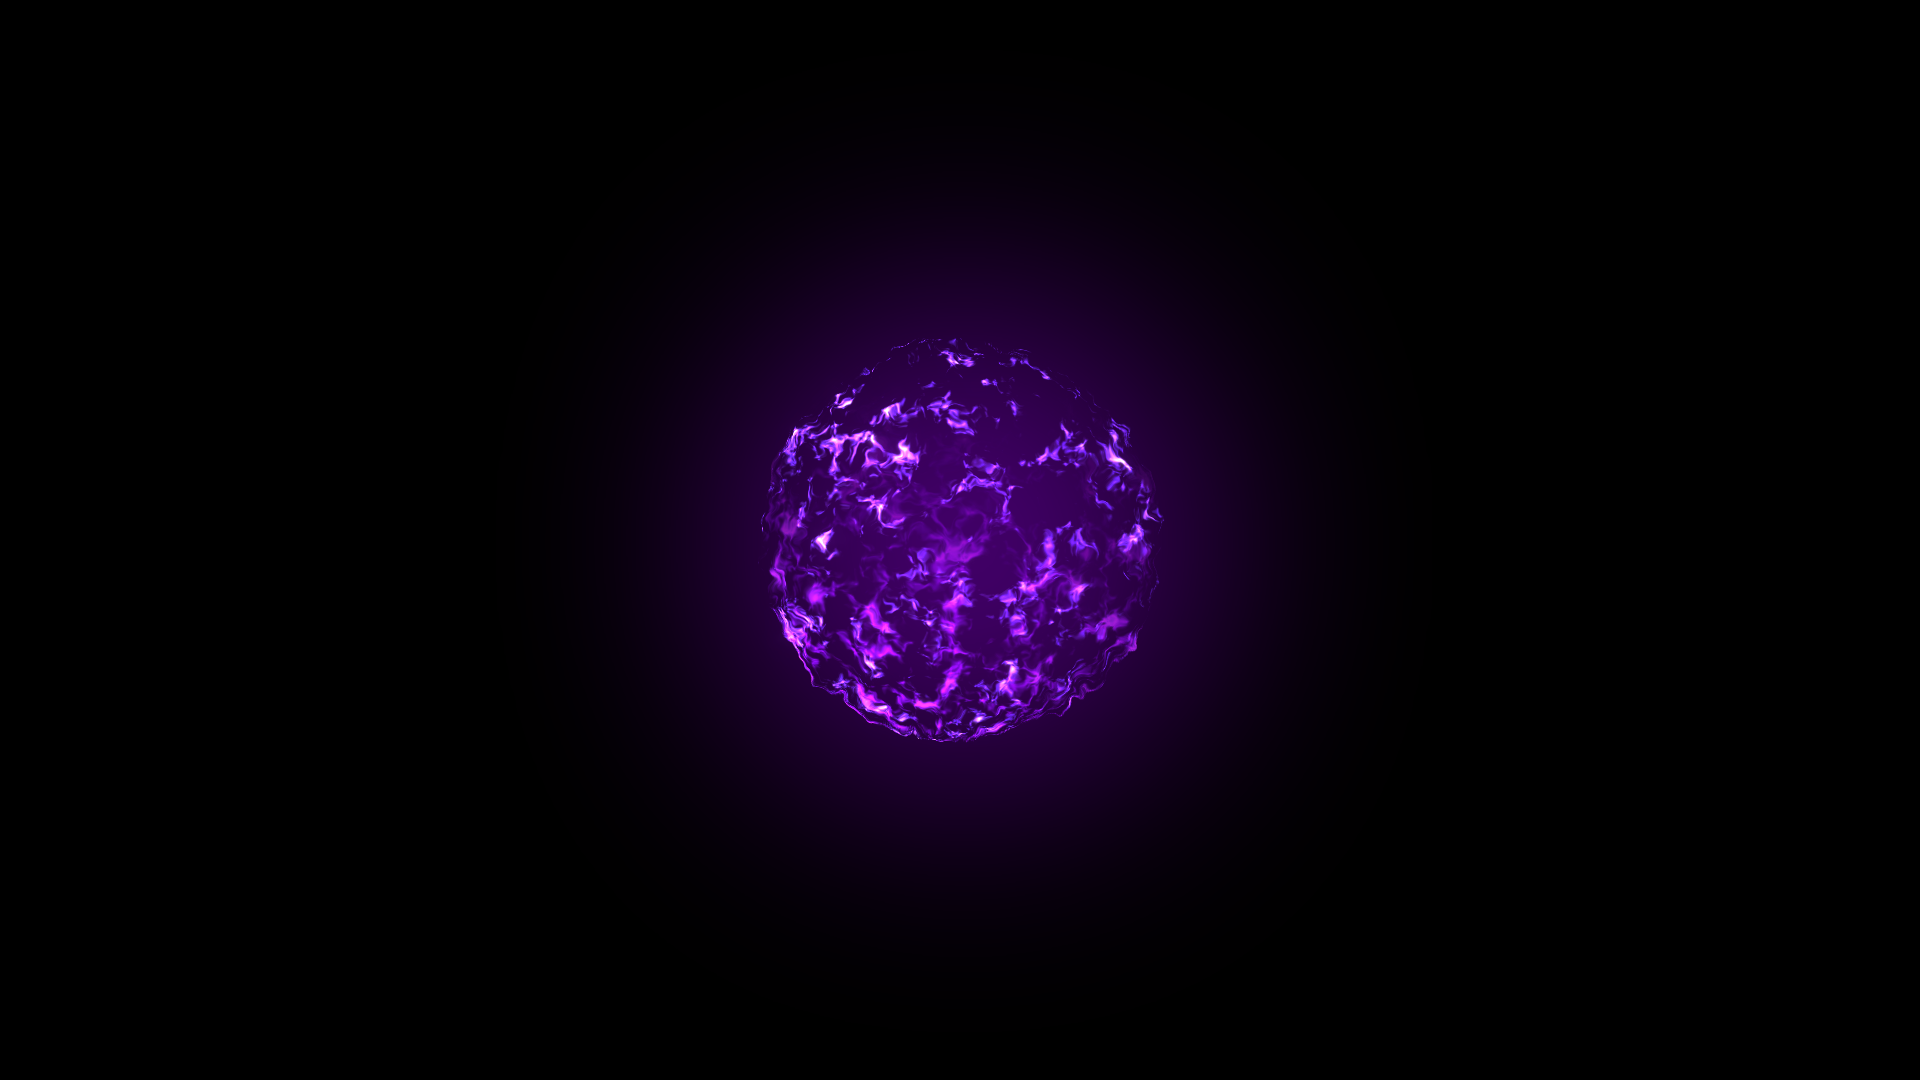
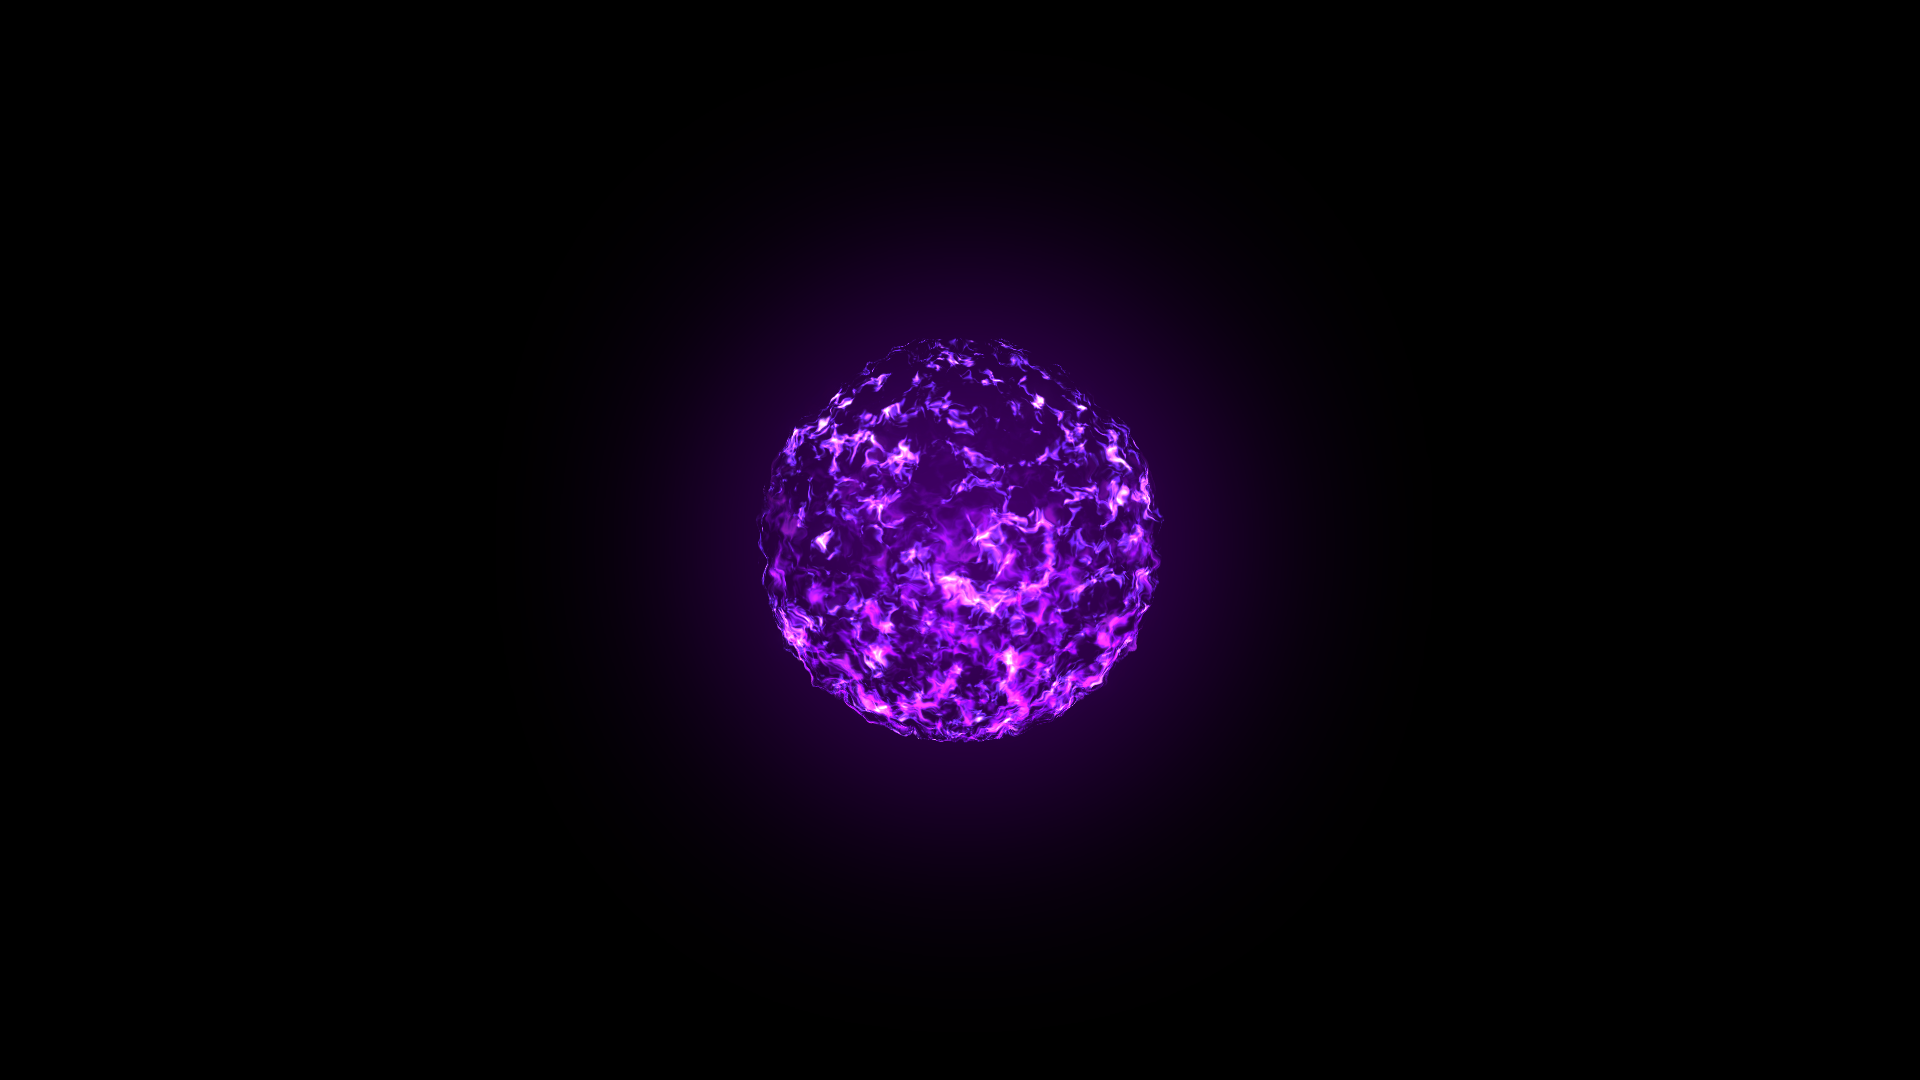
Then, to make it more realistic, I added a fire effect that goes up from the body of the Will-o-wisp. I added mask so that it will retain the desired shape. I added shade on the whole fireball to define its shape and on the bottom of the fireball to make it look denser. Then I added a fire just on top of the fireball between its body and the fire that goes up to make the transition look more natural.
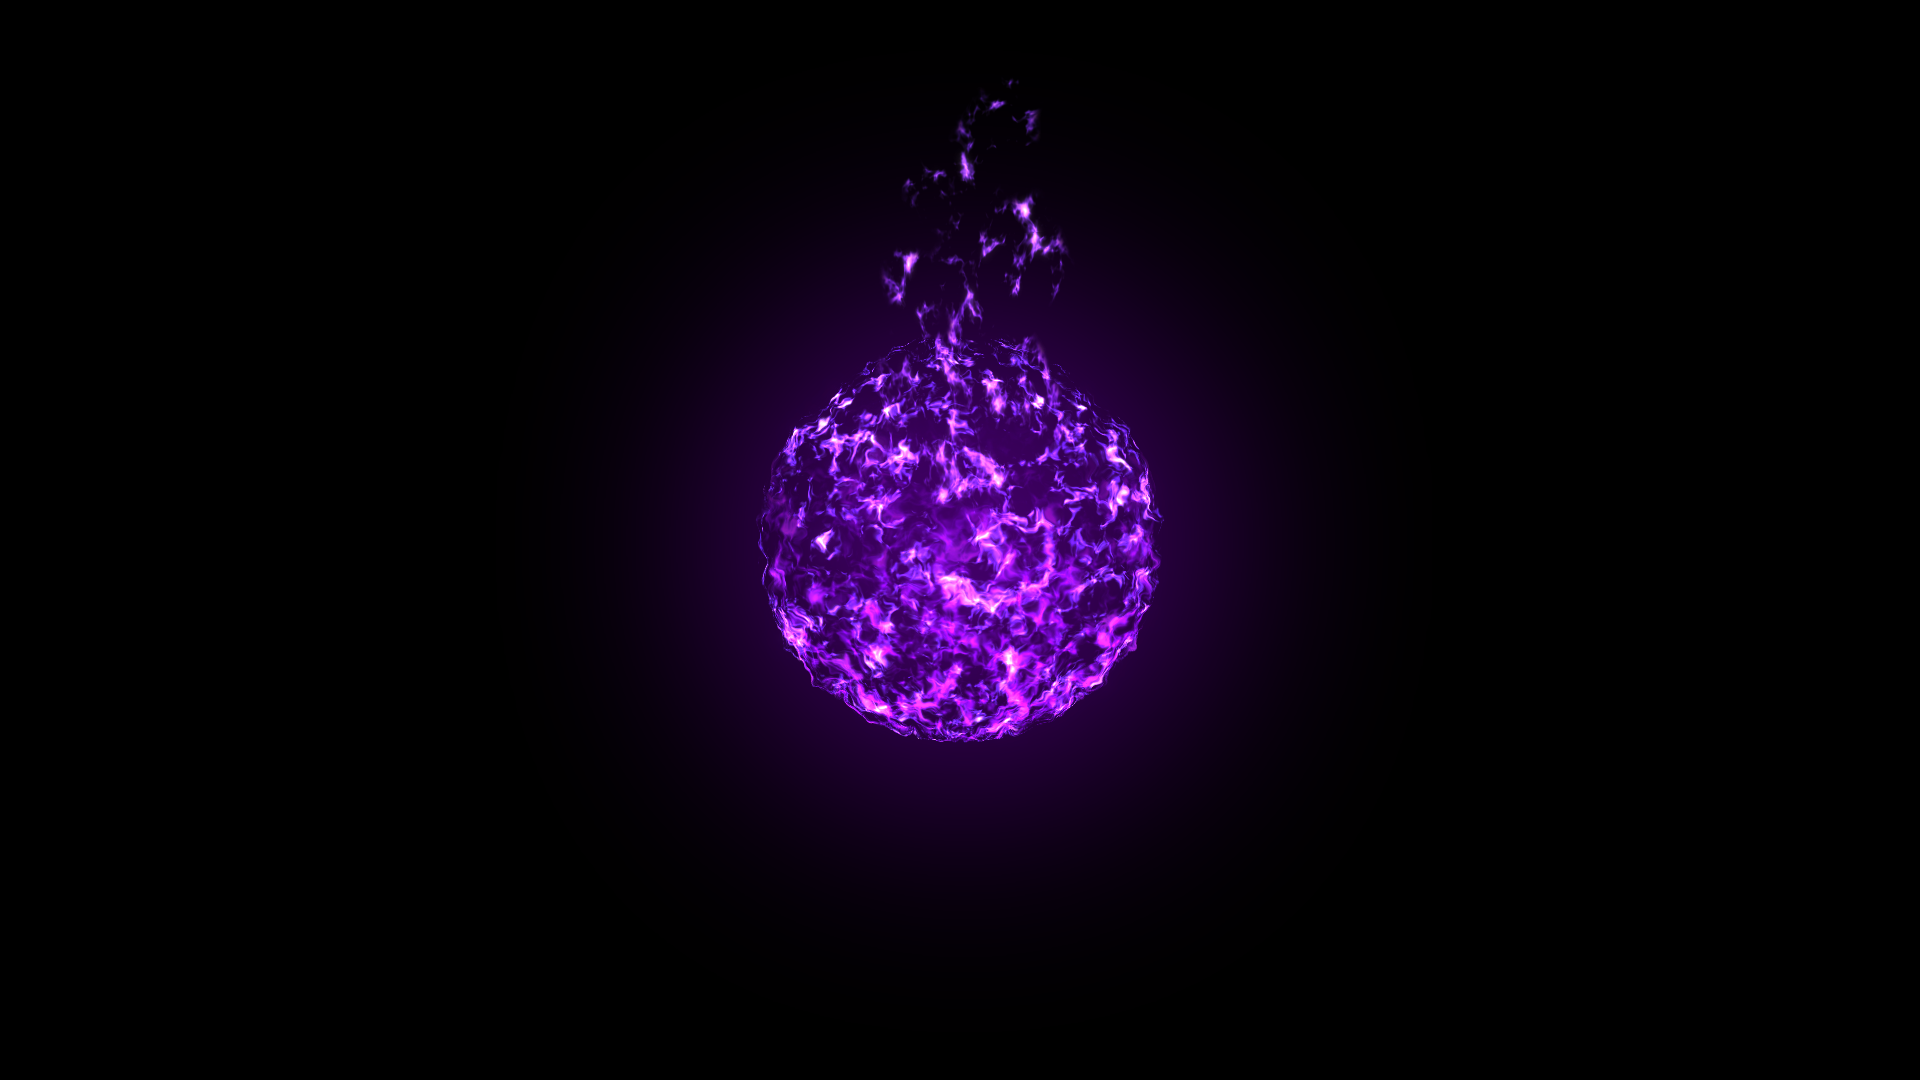
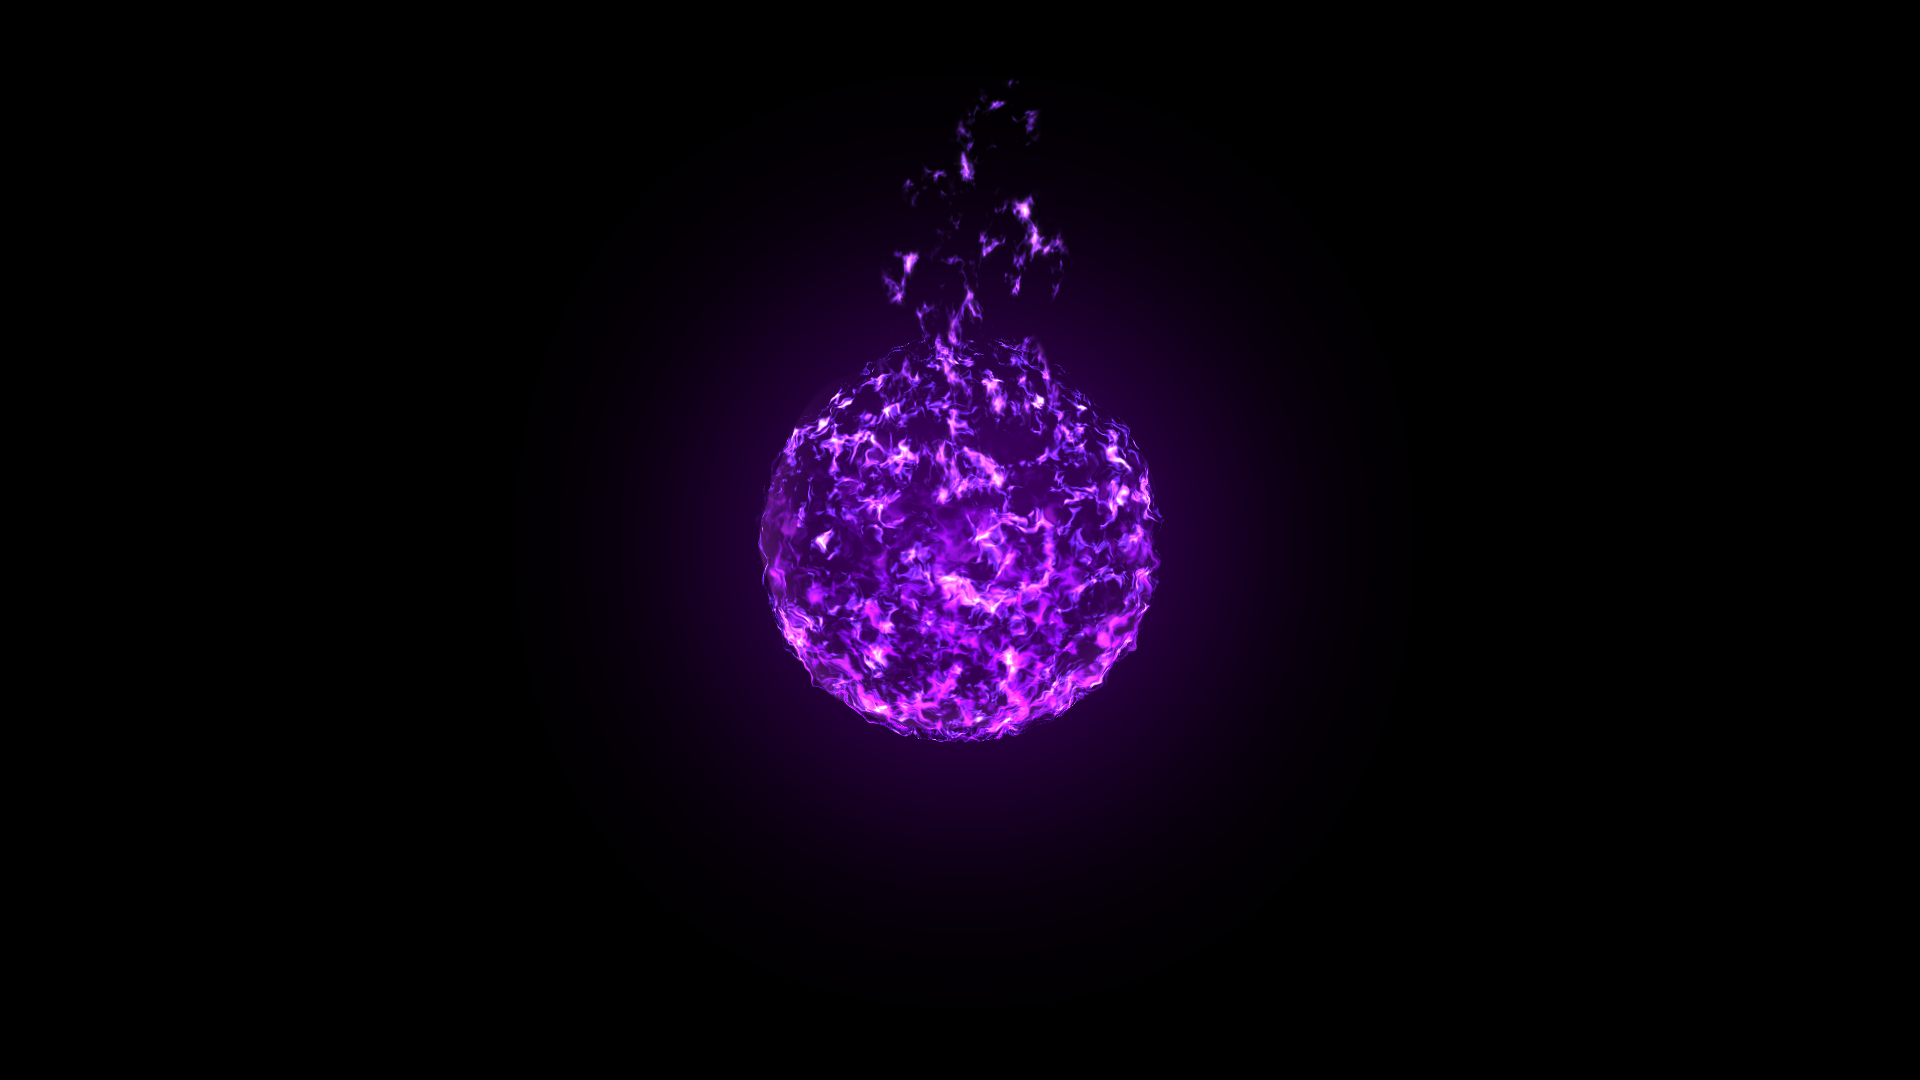
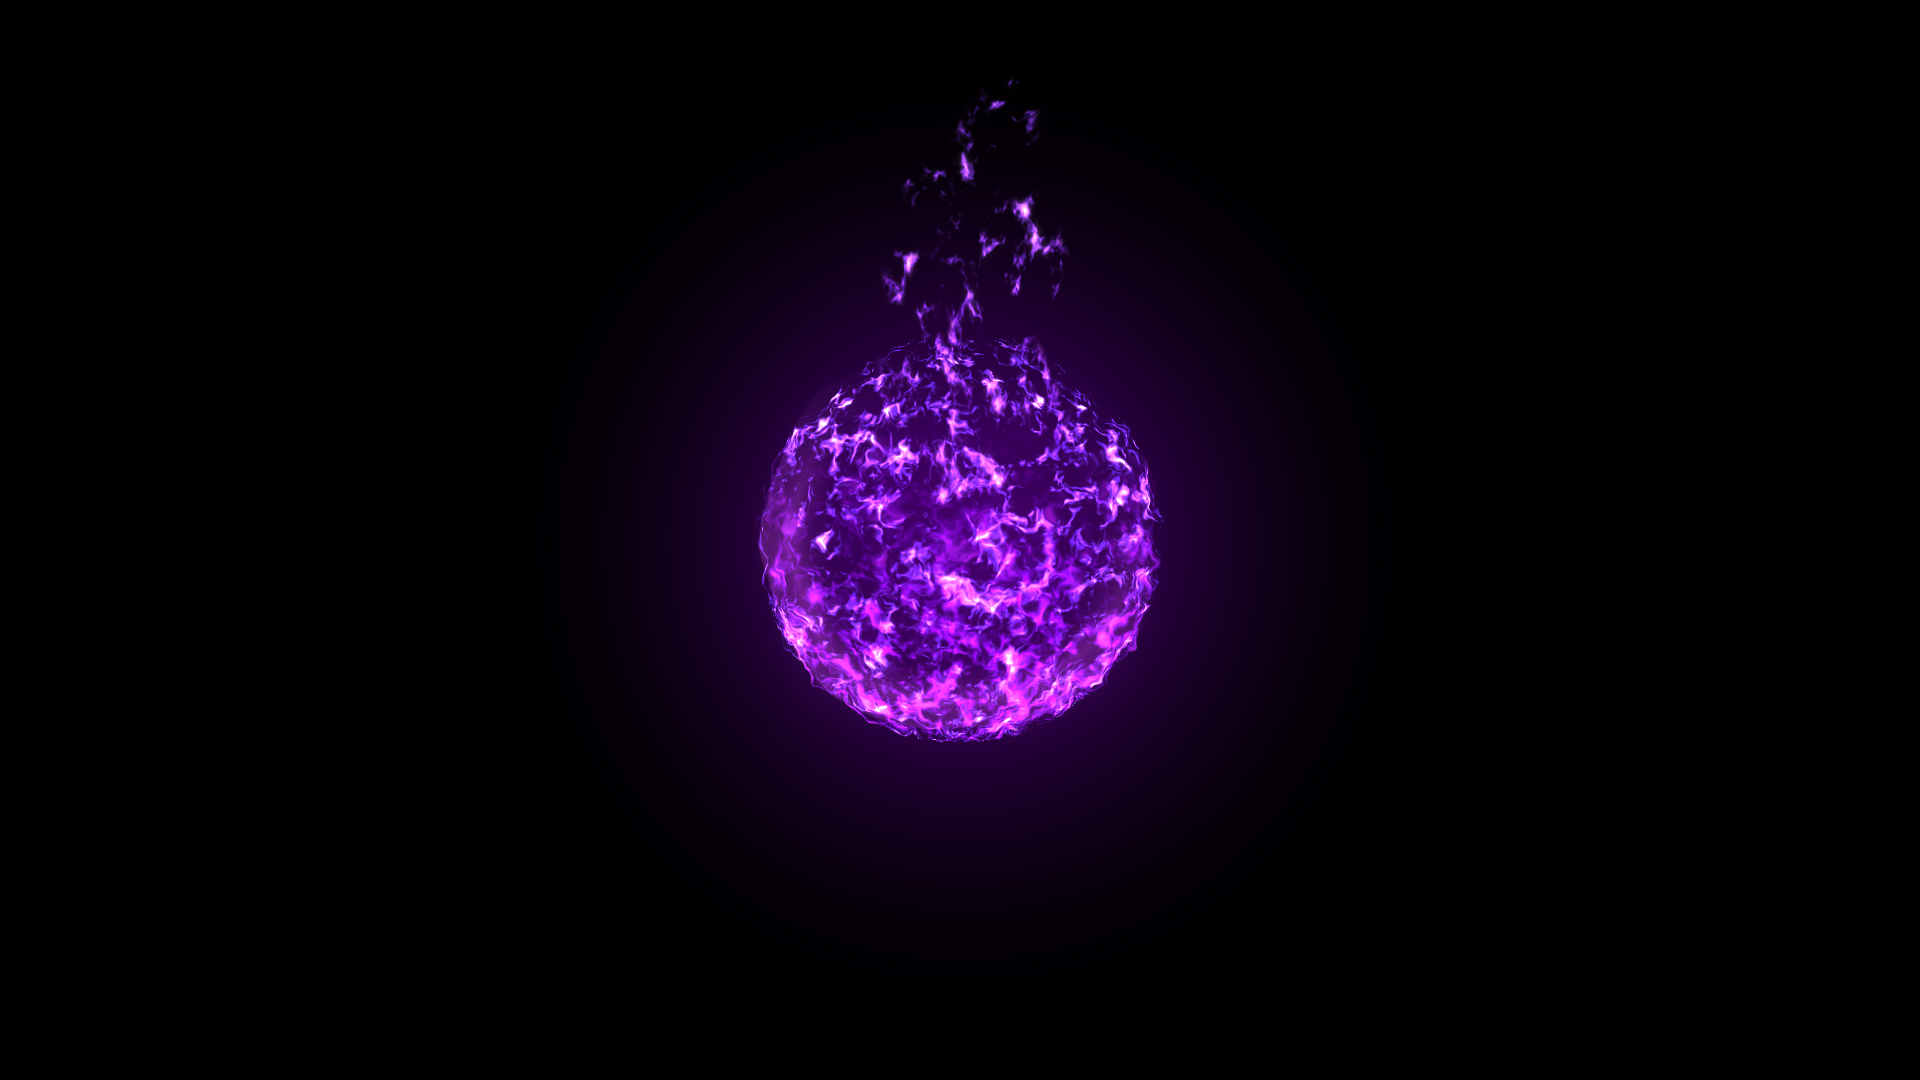
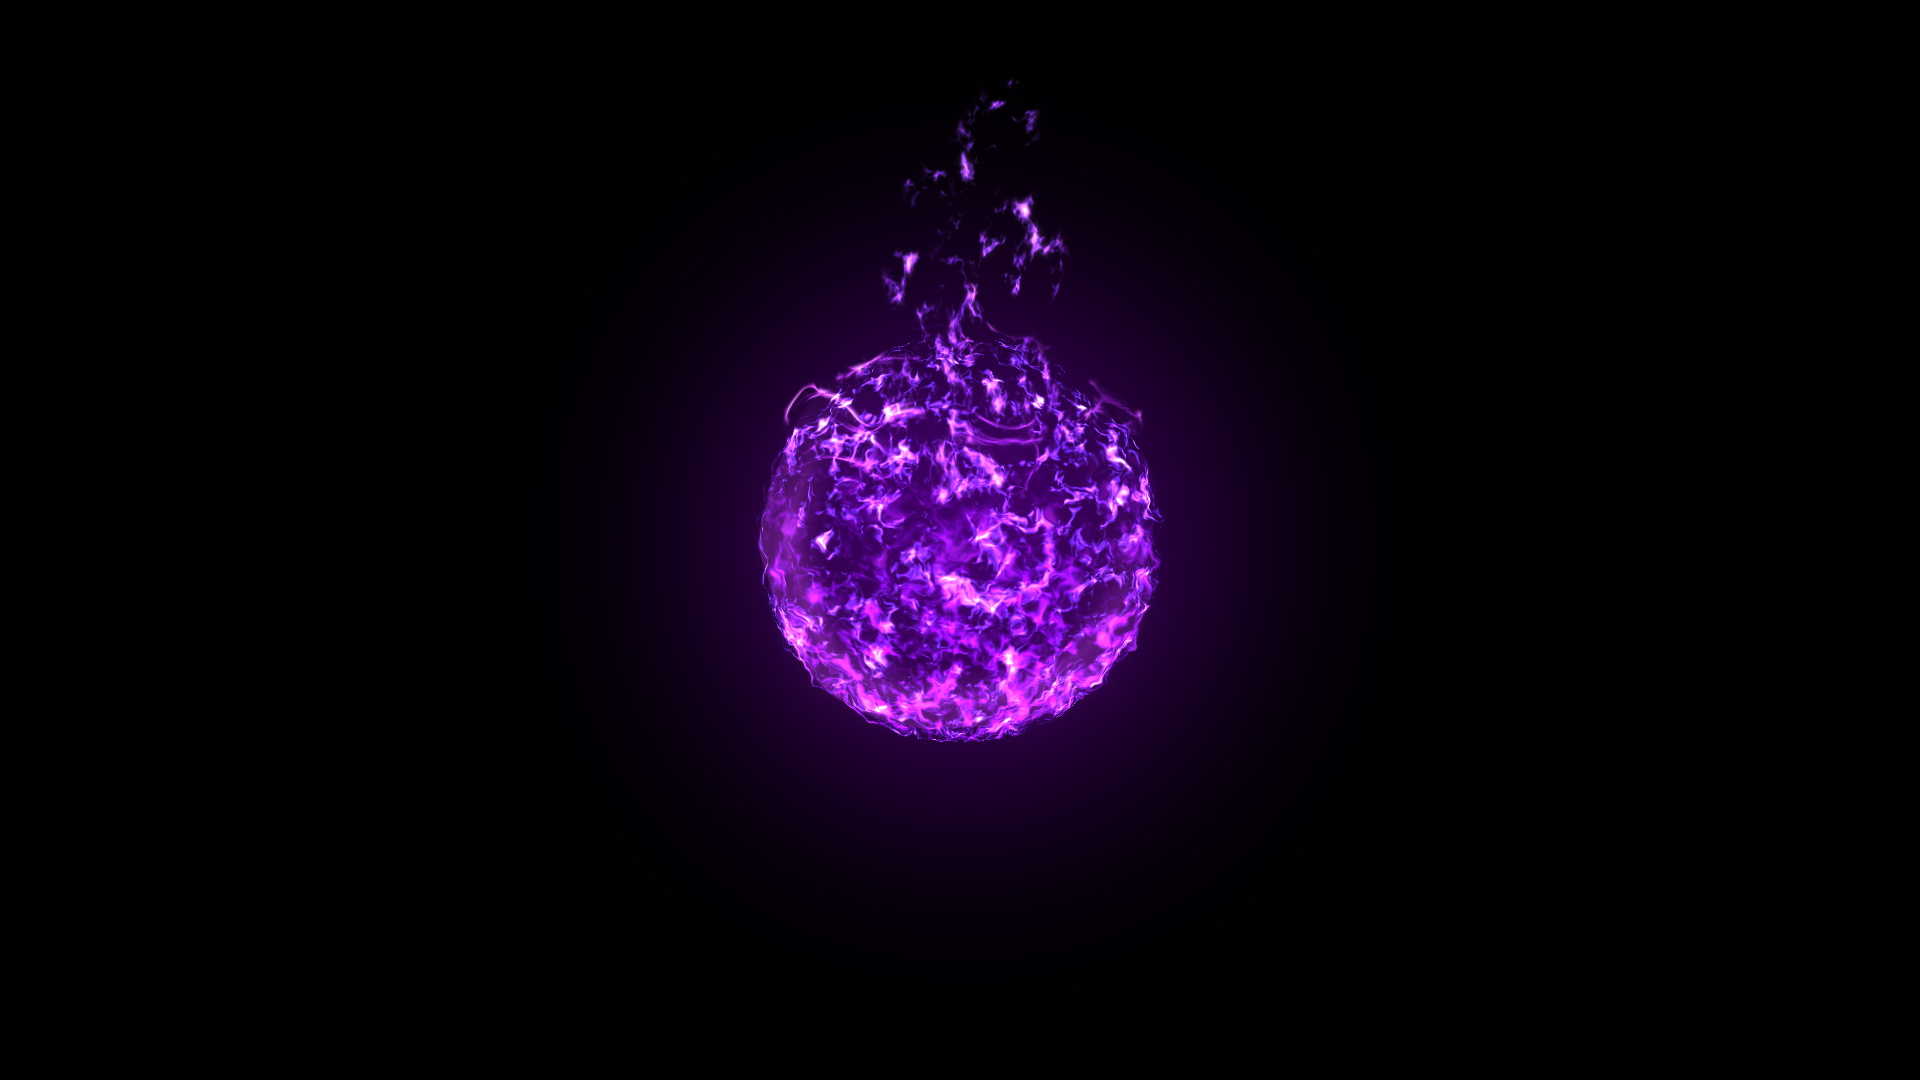
To make it look more natural, I added some smoke and sparkles. I also made some adjustments for the final output. With this, the Will-o-wisp is completed.
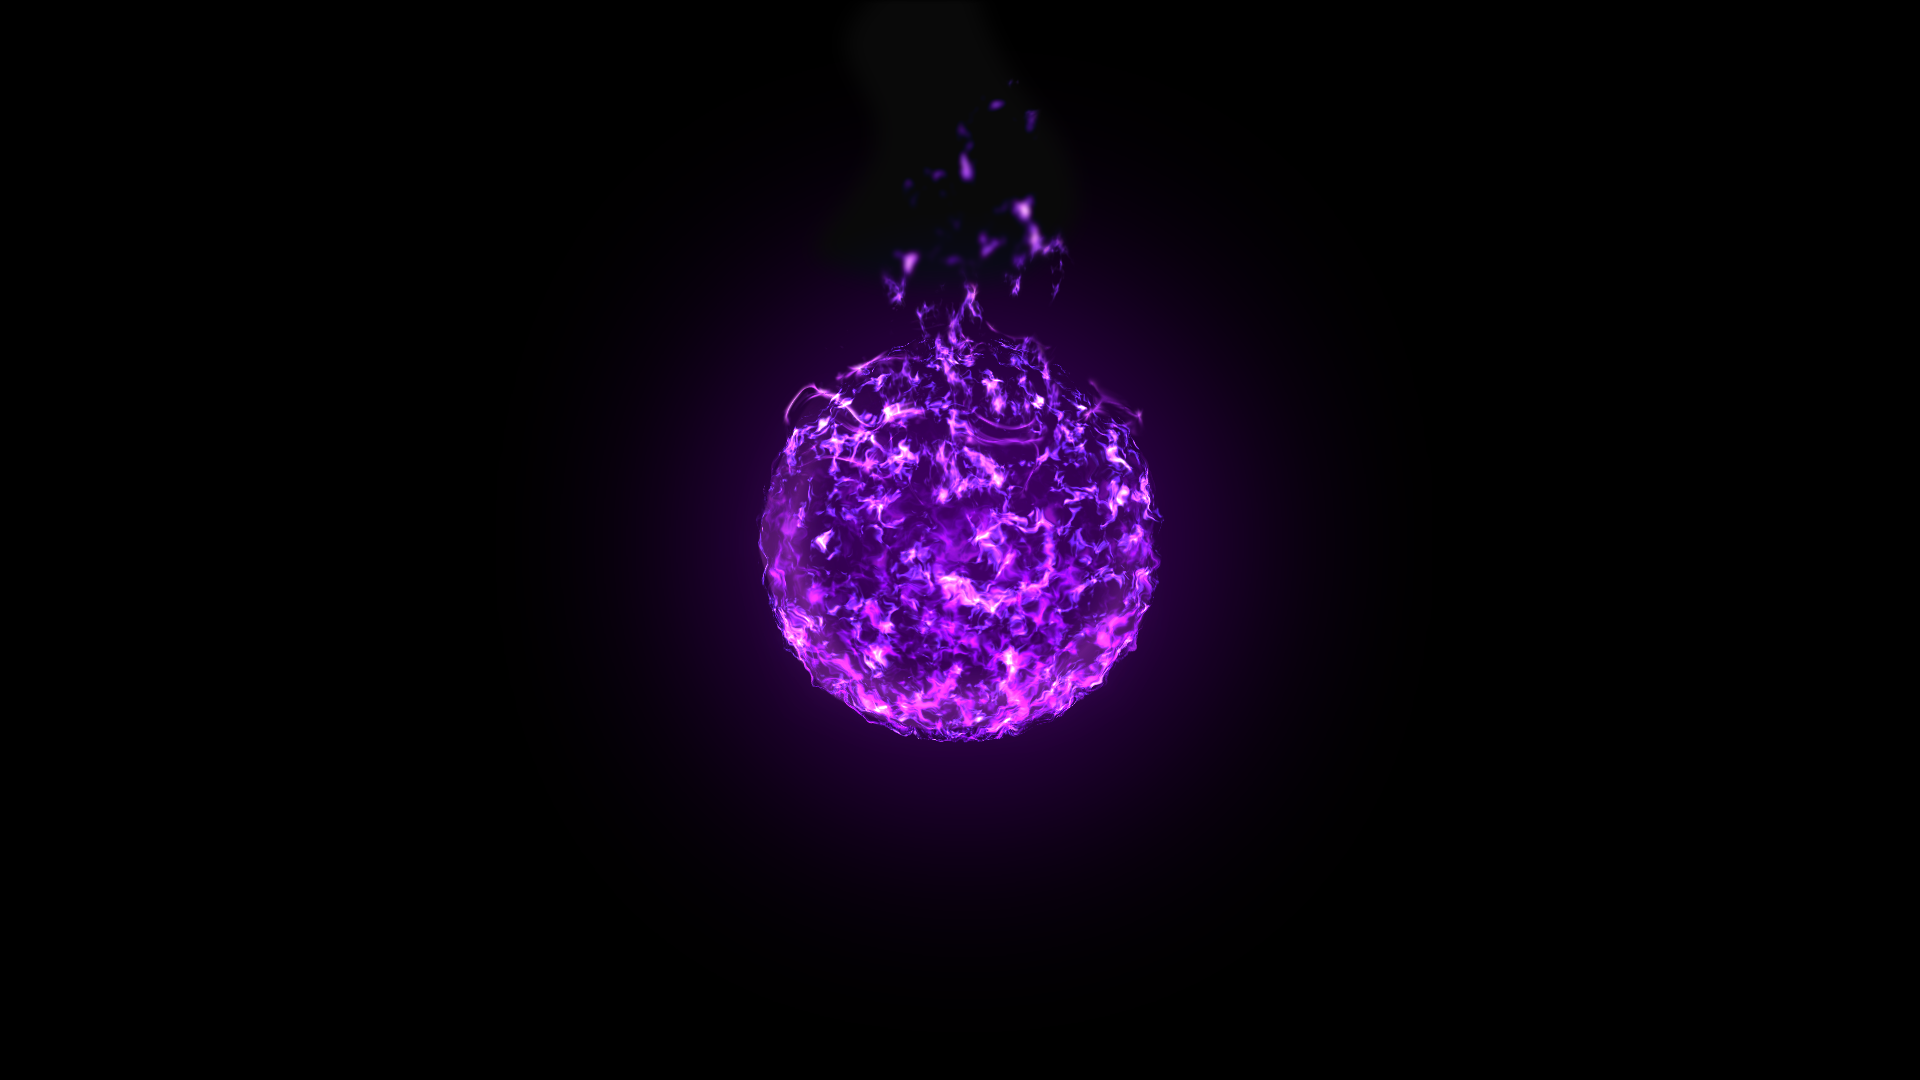
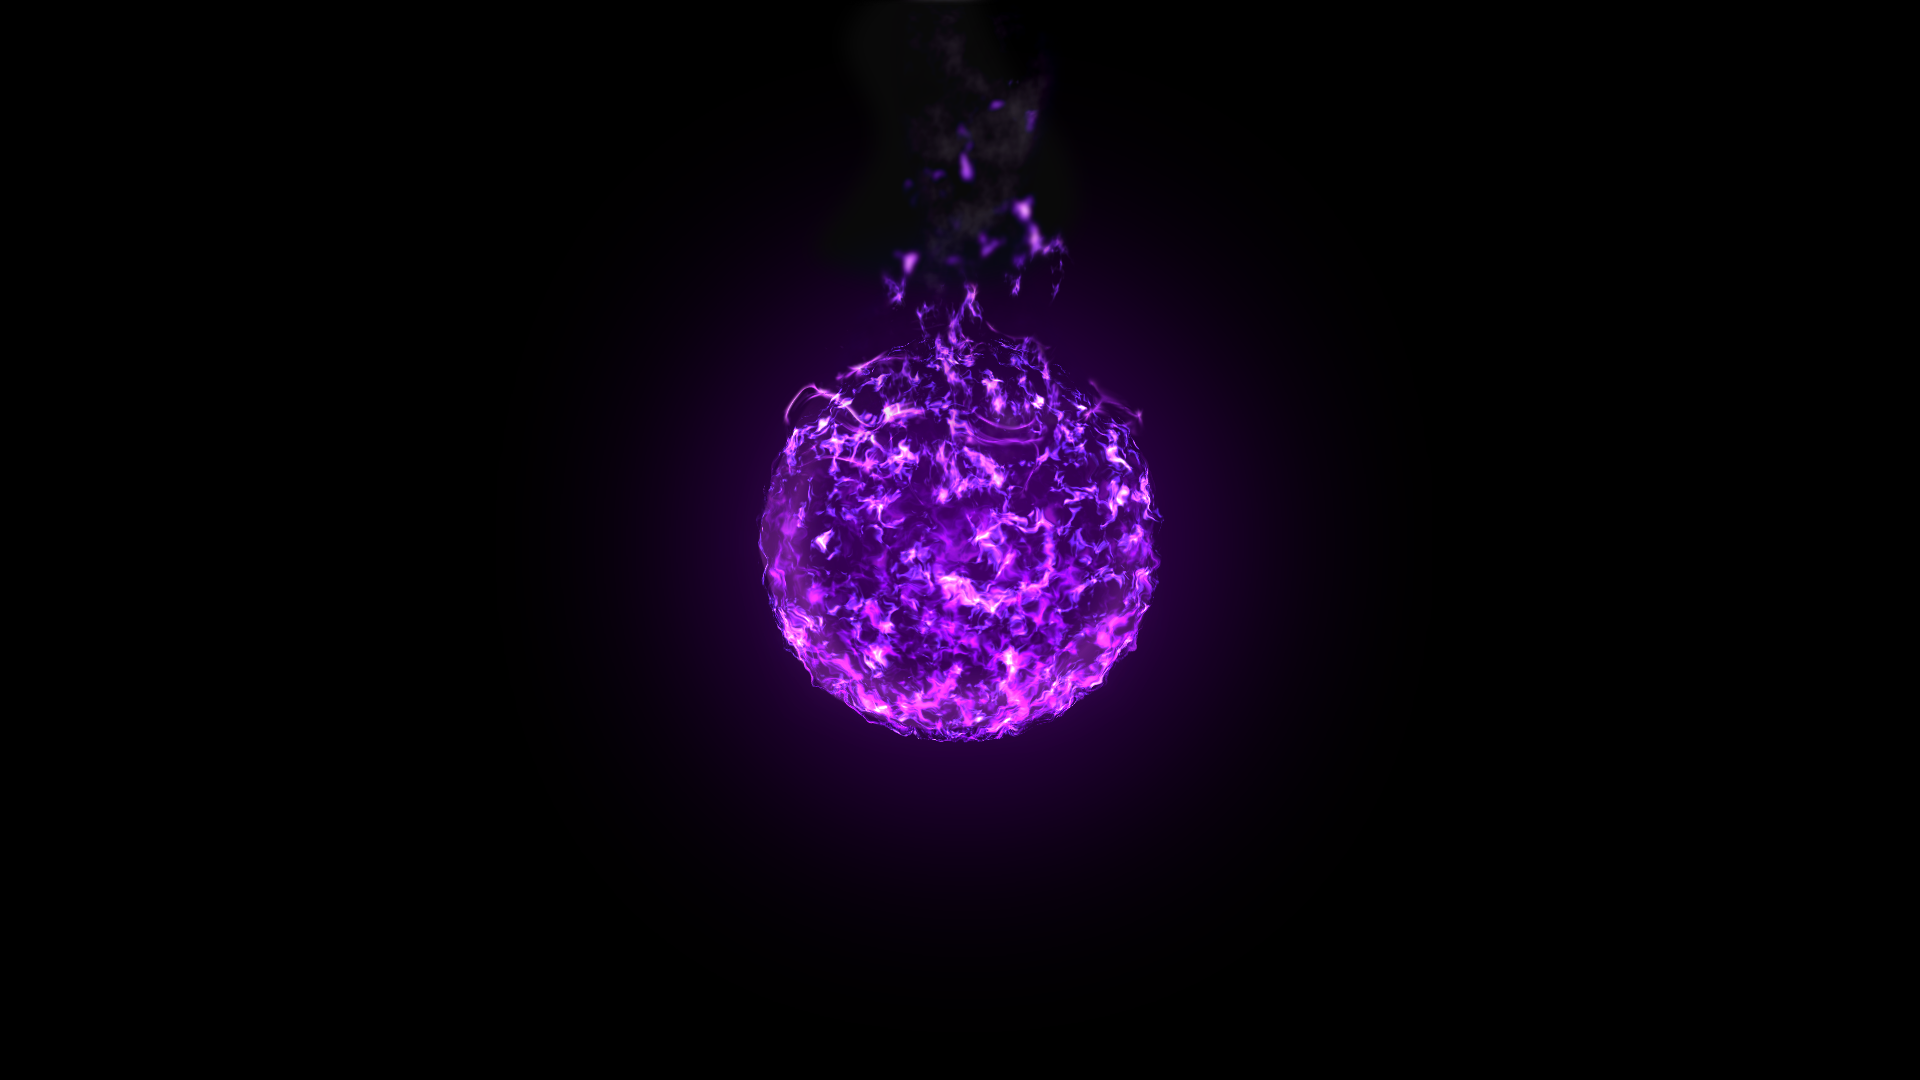
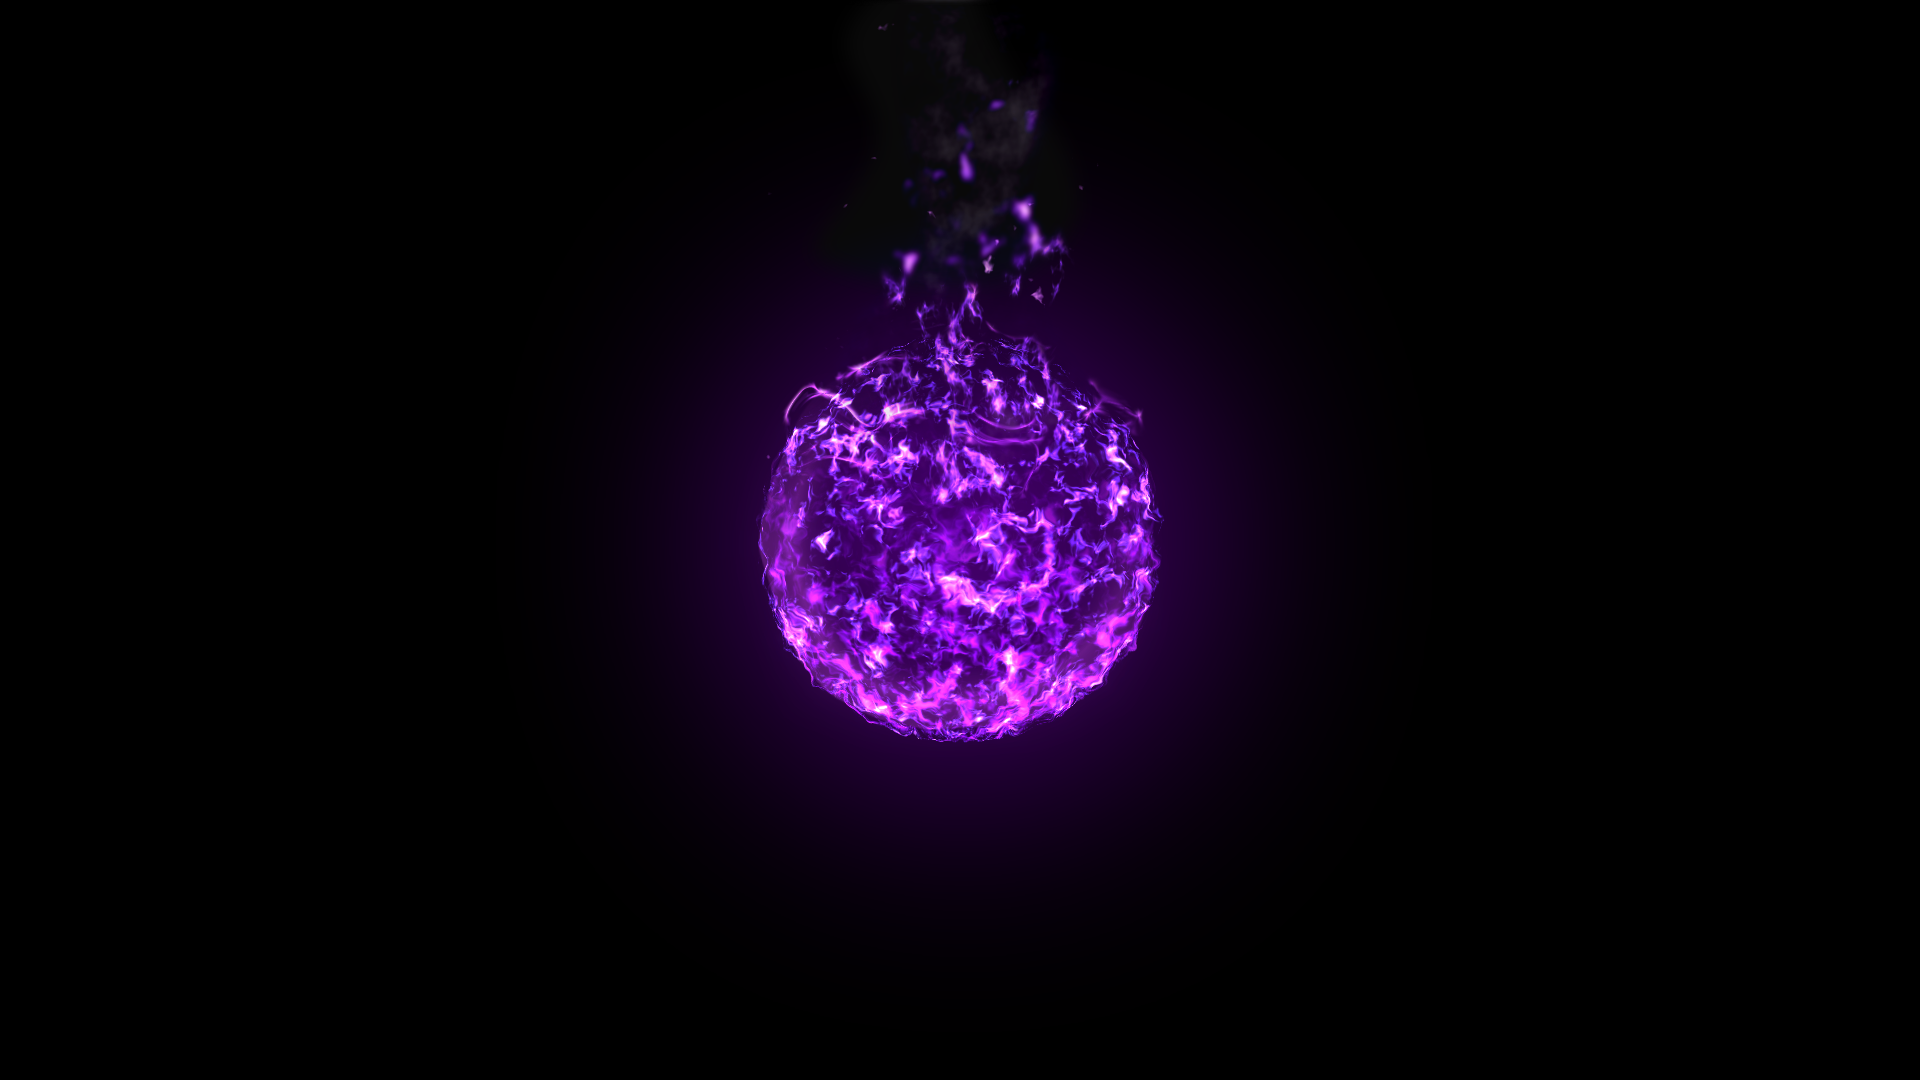
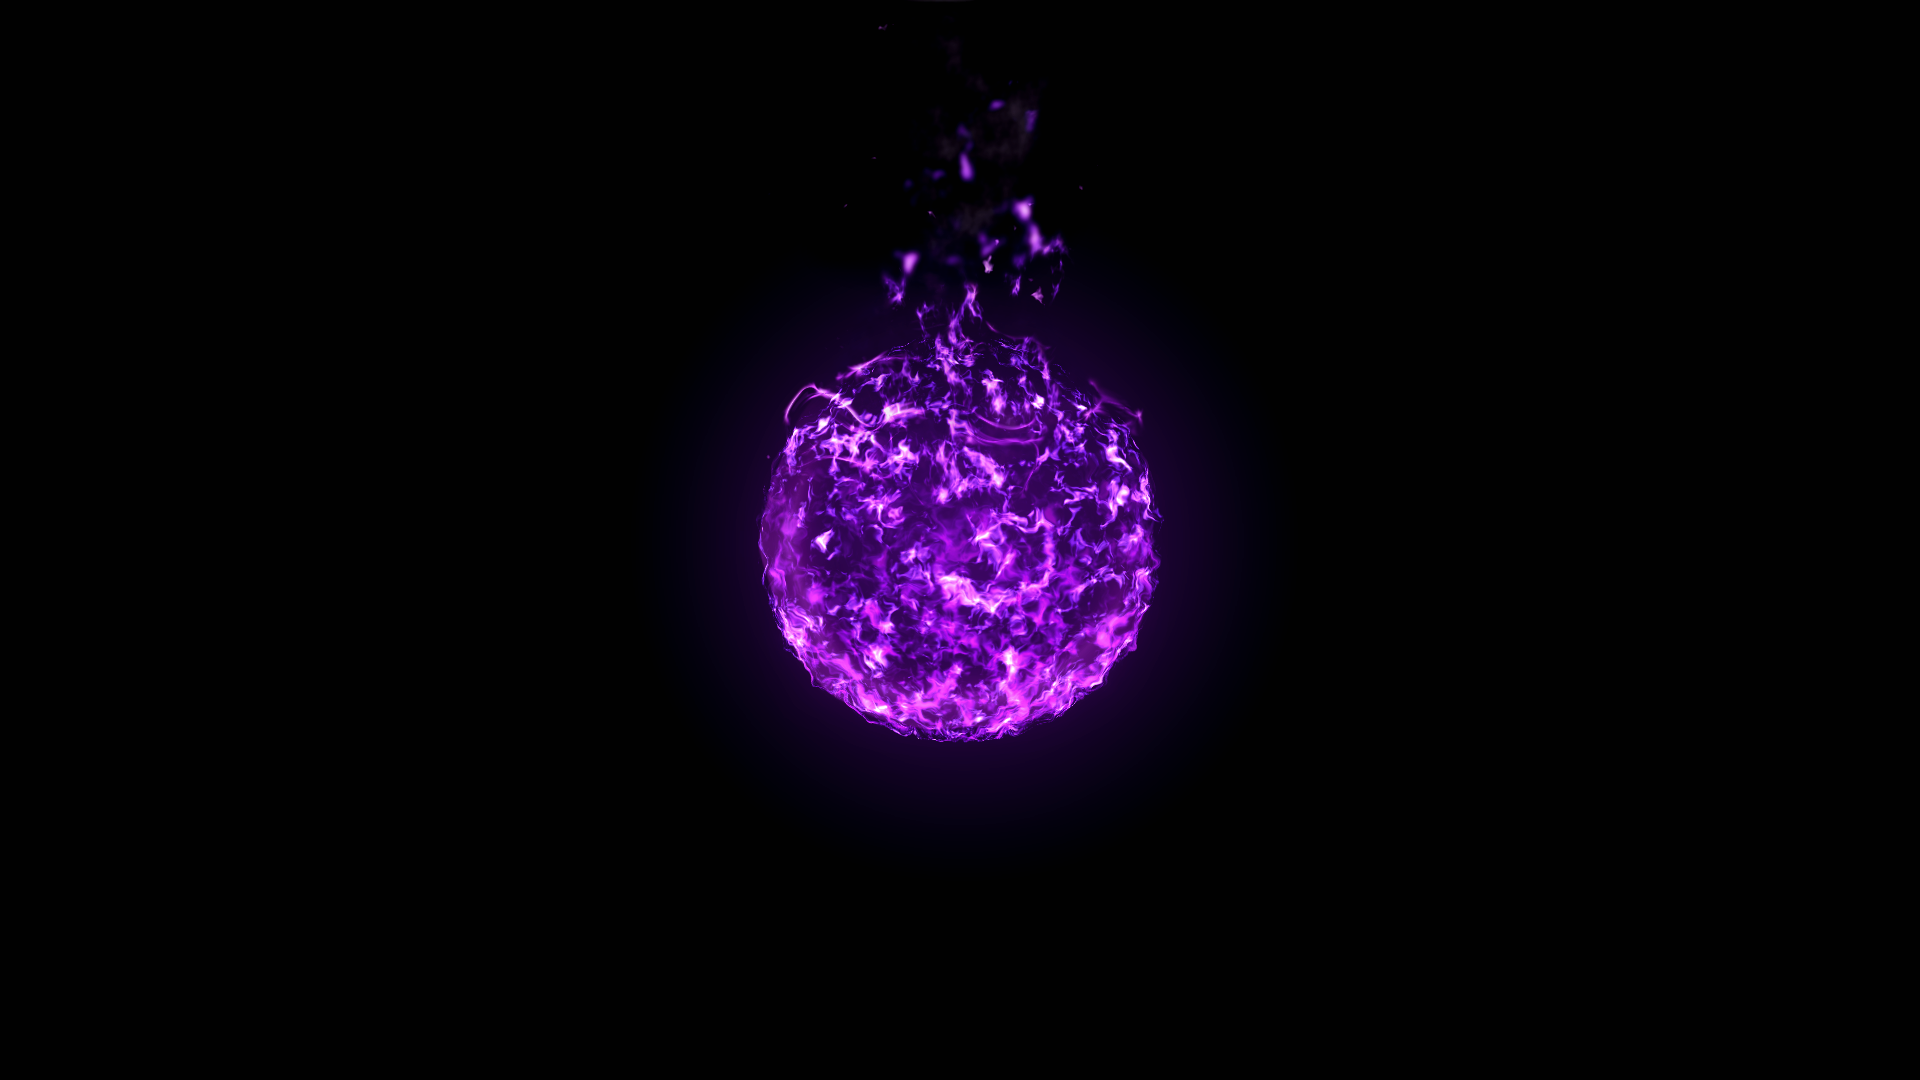
Note: I have created this based on a tutorial in youtube entitled Create a Fireball in After Effects uploaded by Curious Refuge.
Below is a timelapse of the first part of the creation process:

Second Part: Magic Circle
Now, for the magic circle, I started with a circle that will serve as the outer portion of the magic circle. I then created the circles within it.



Now, I have created the characters within the magic circle. As I don't have any copy of it showing the characters clearly, I have customized what's written in it. I used an ancient writing script native to my country. What do you think the writings in this artwork mean?
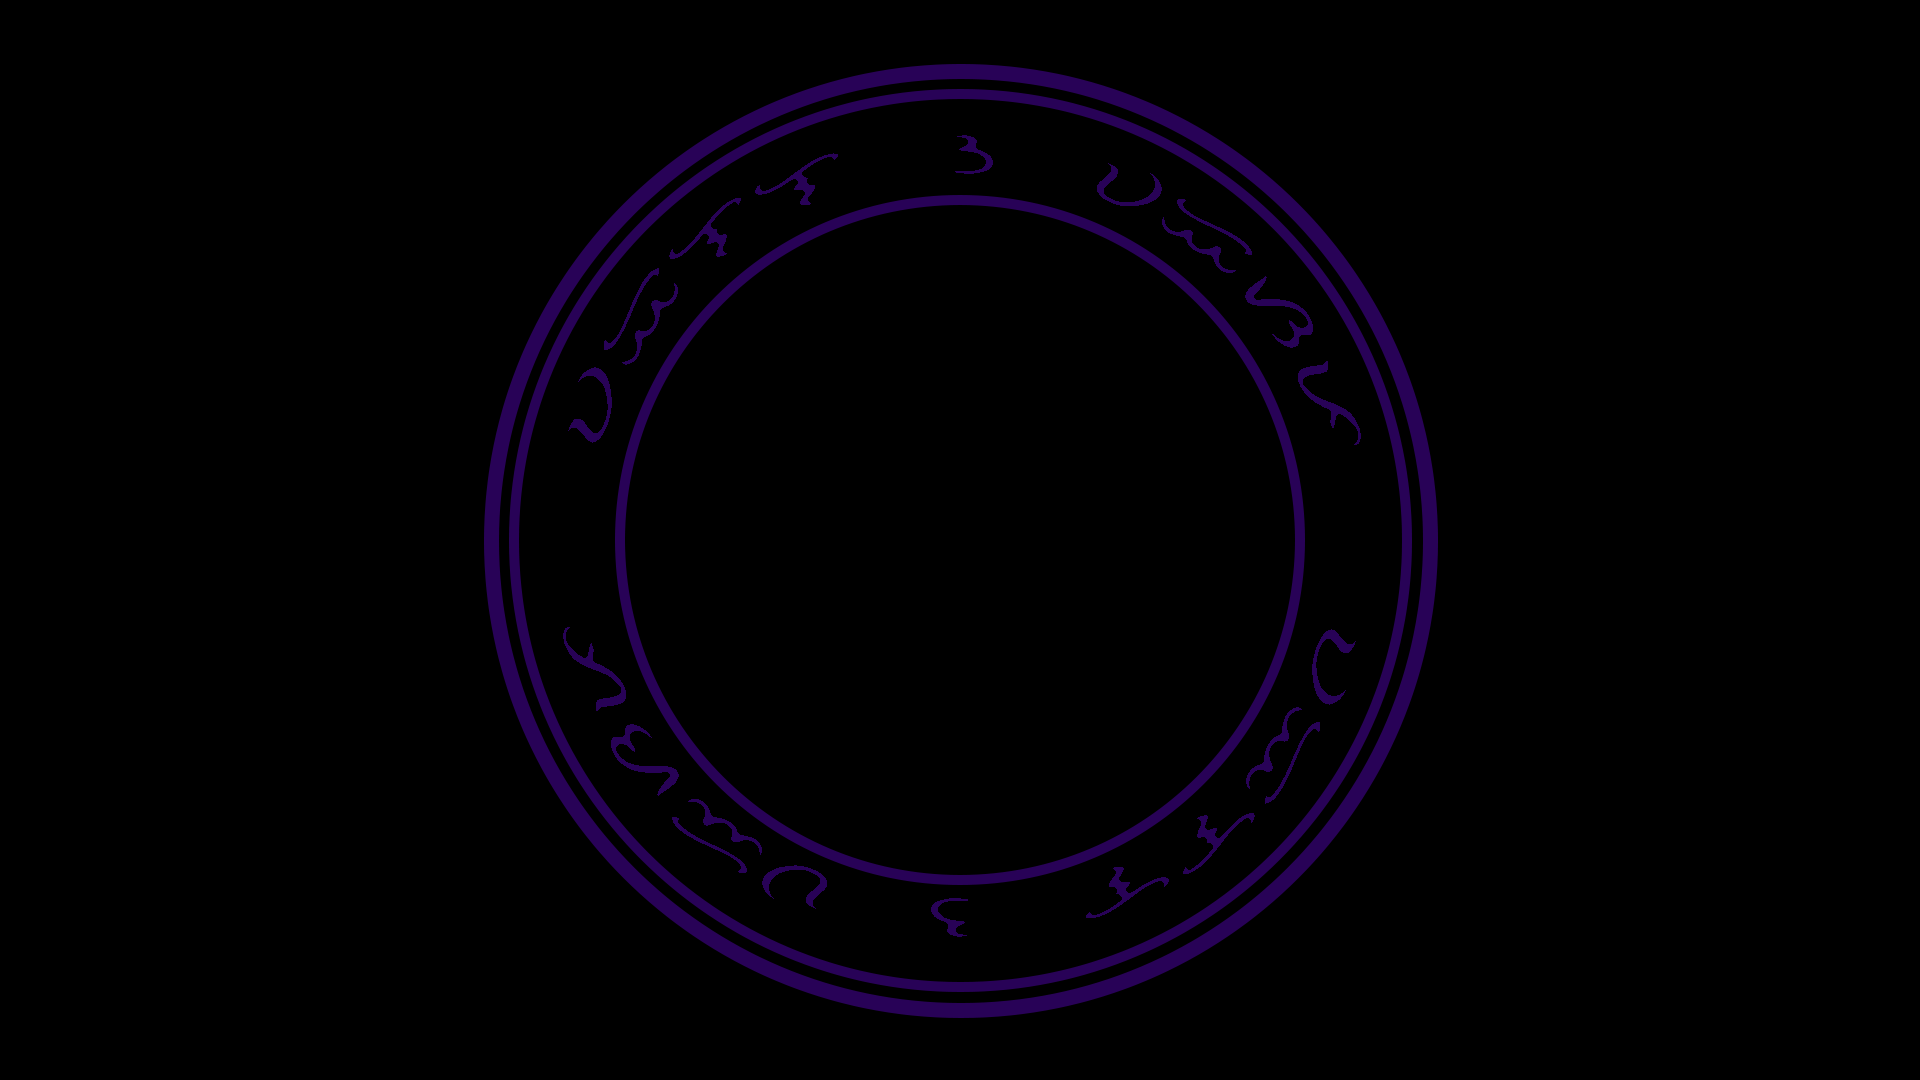
I then created what seems to be like a star shape in the inner most part of the magic circle. I have omitted the characters between its spaces. With this, the magic circle figure is completed.

I then transformed it to prespective view and added outlines, effects, and sparkles. This completes the magic circle.
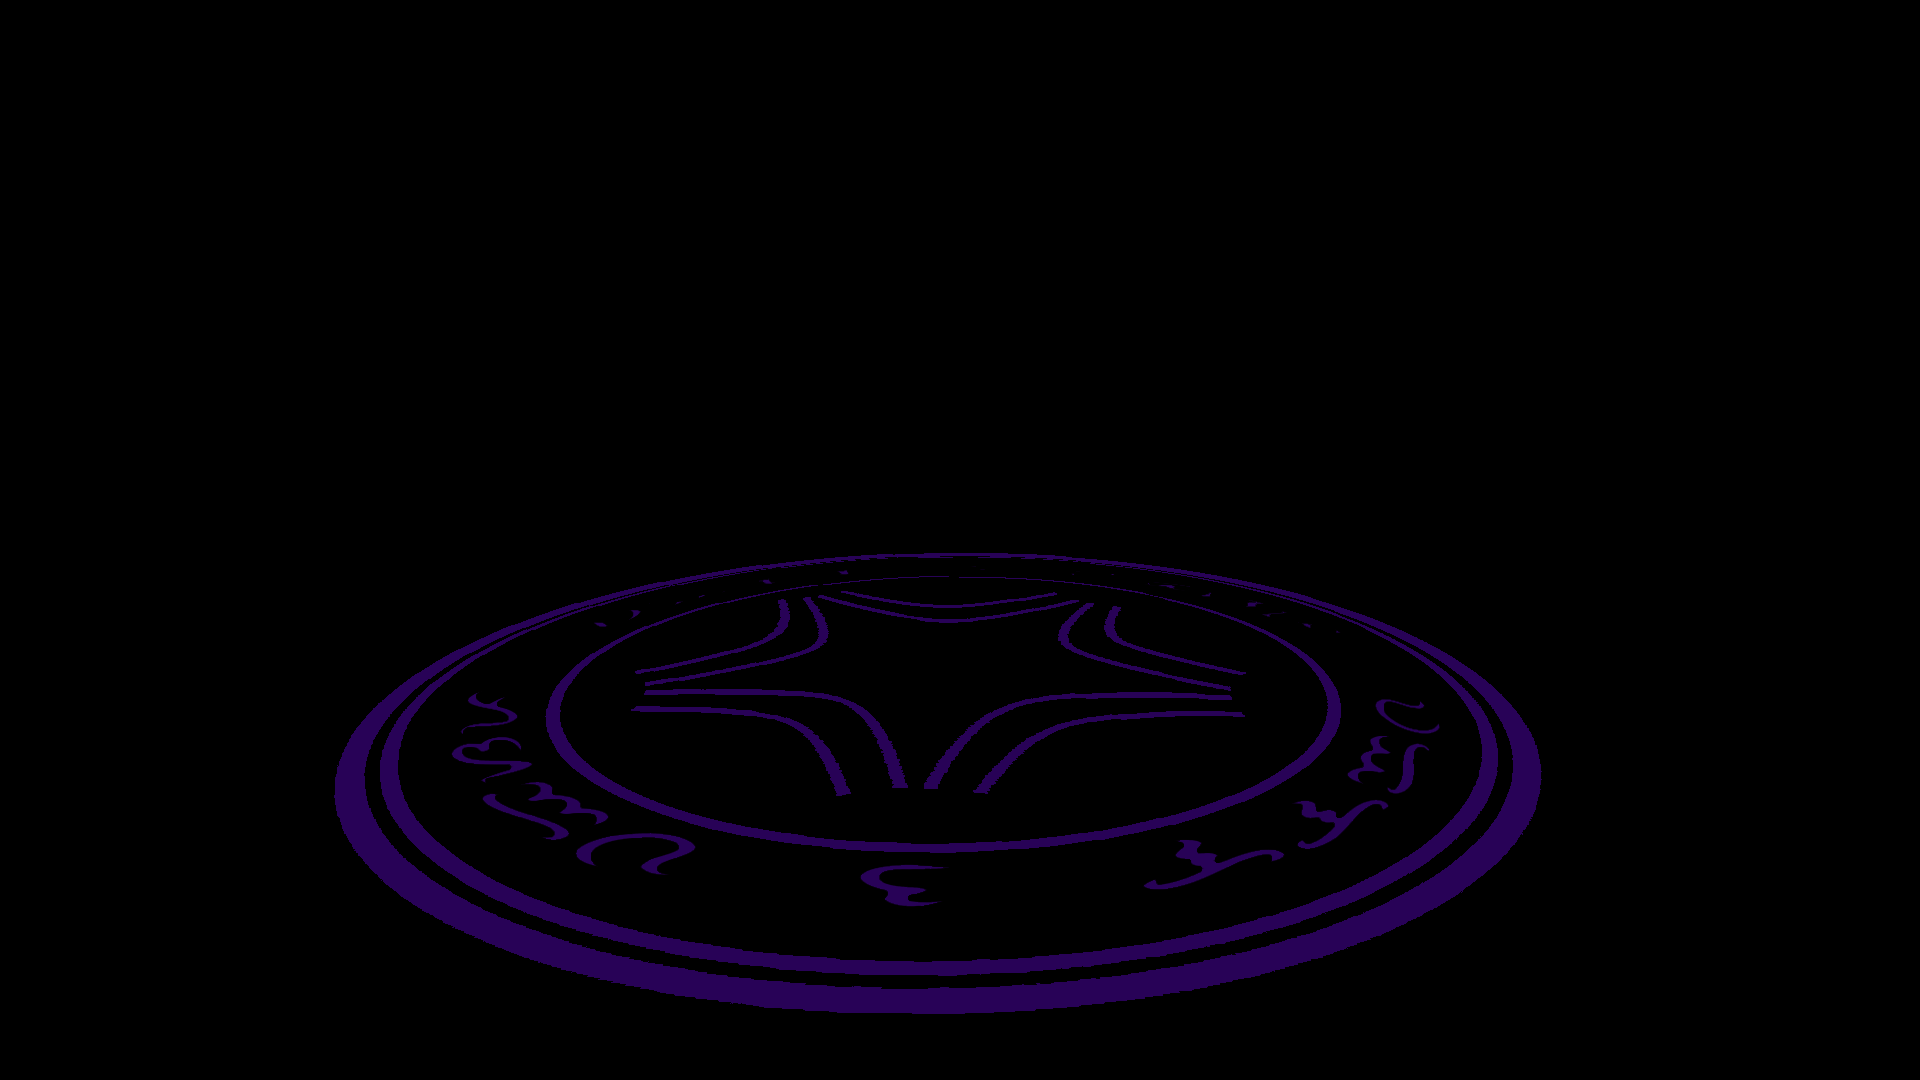
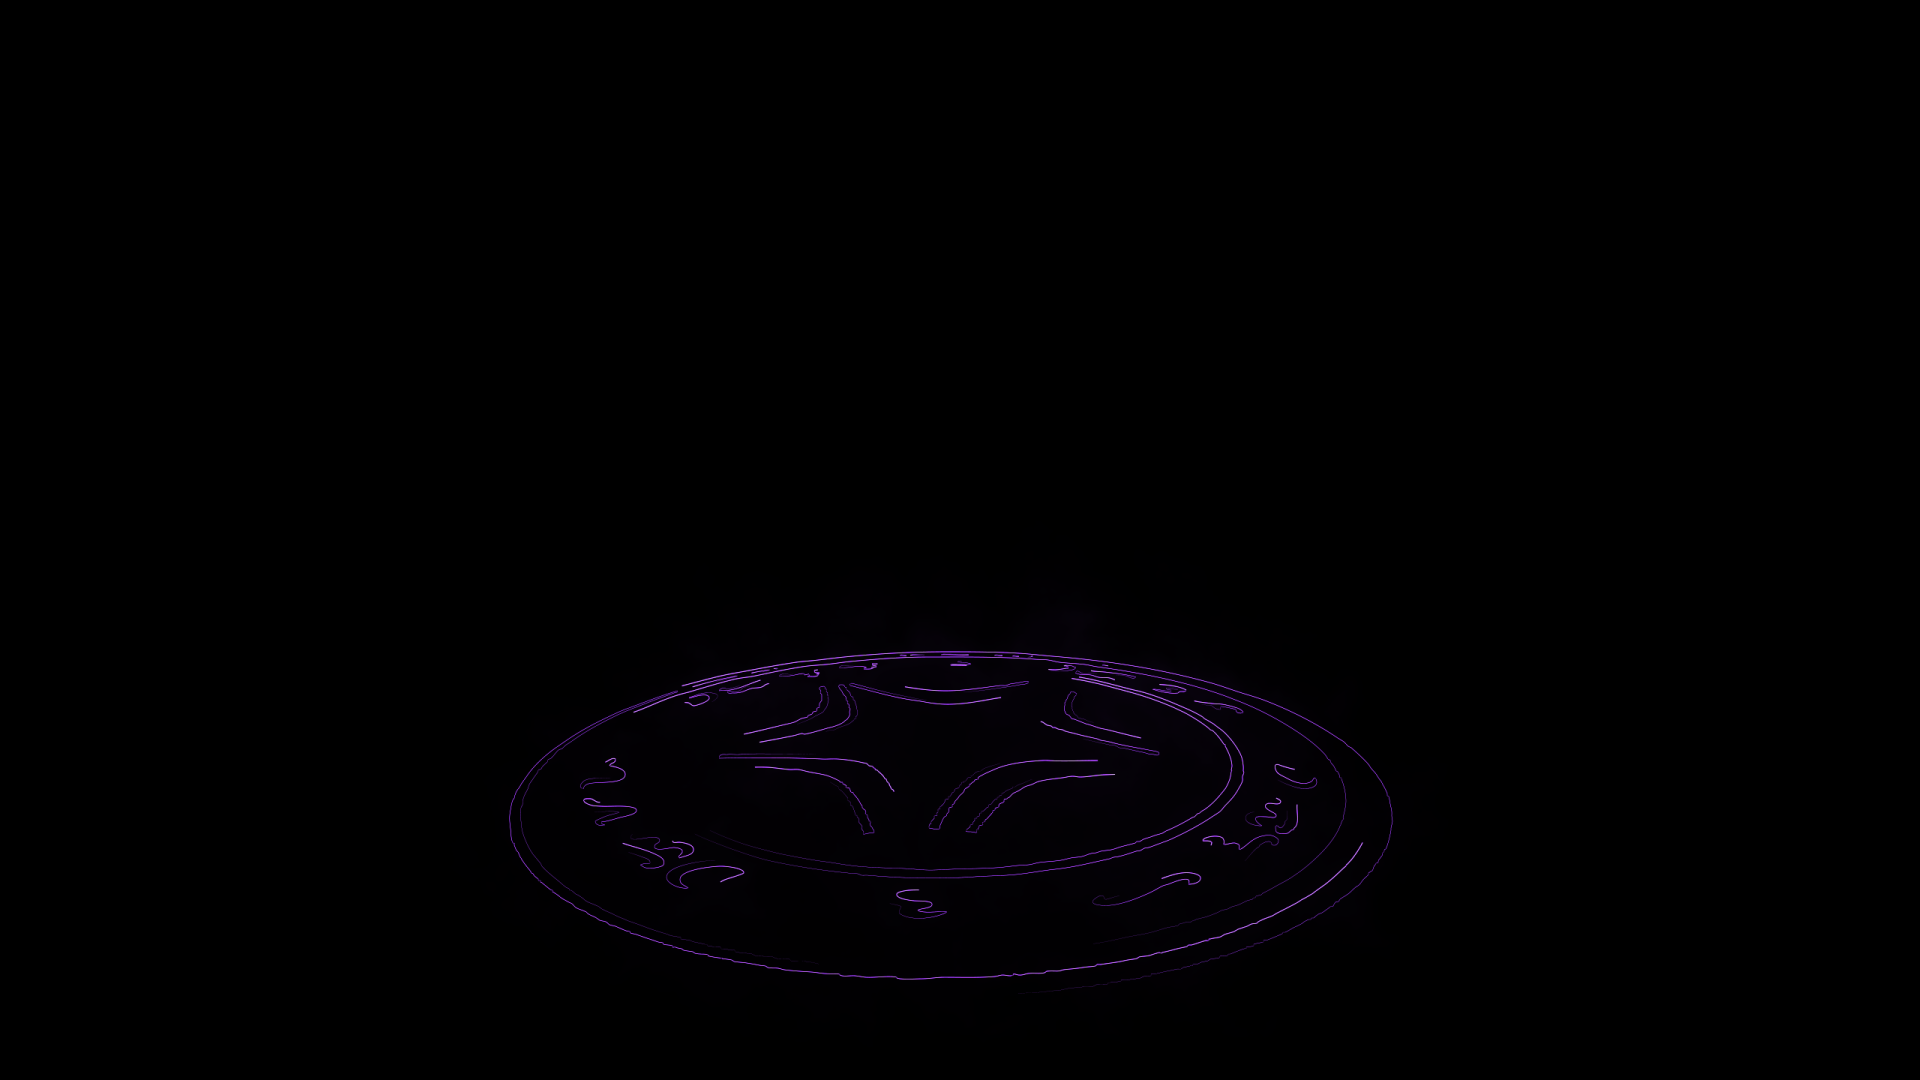
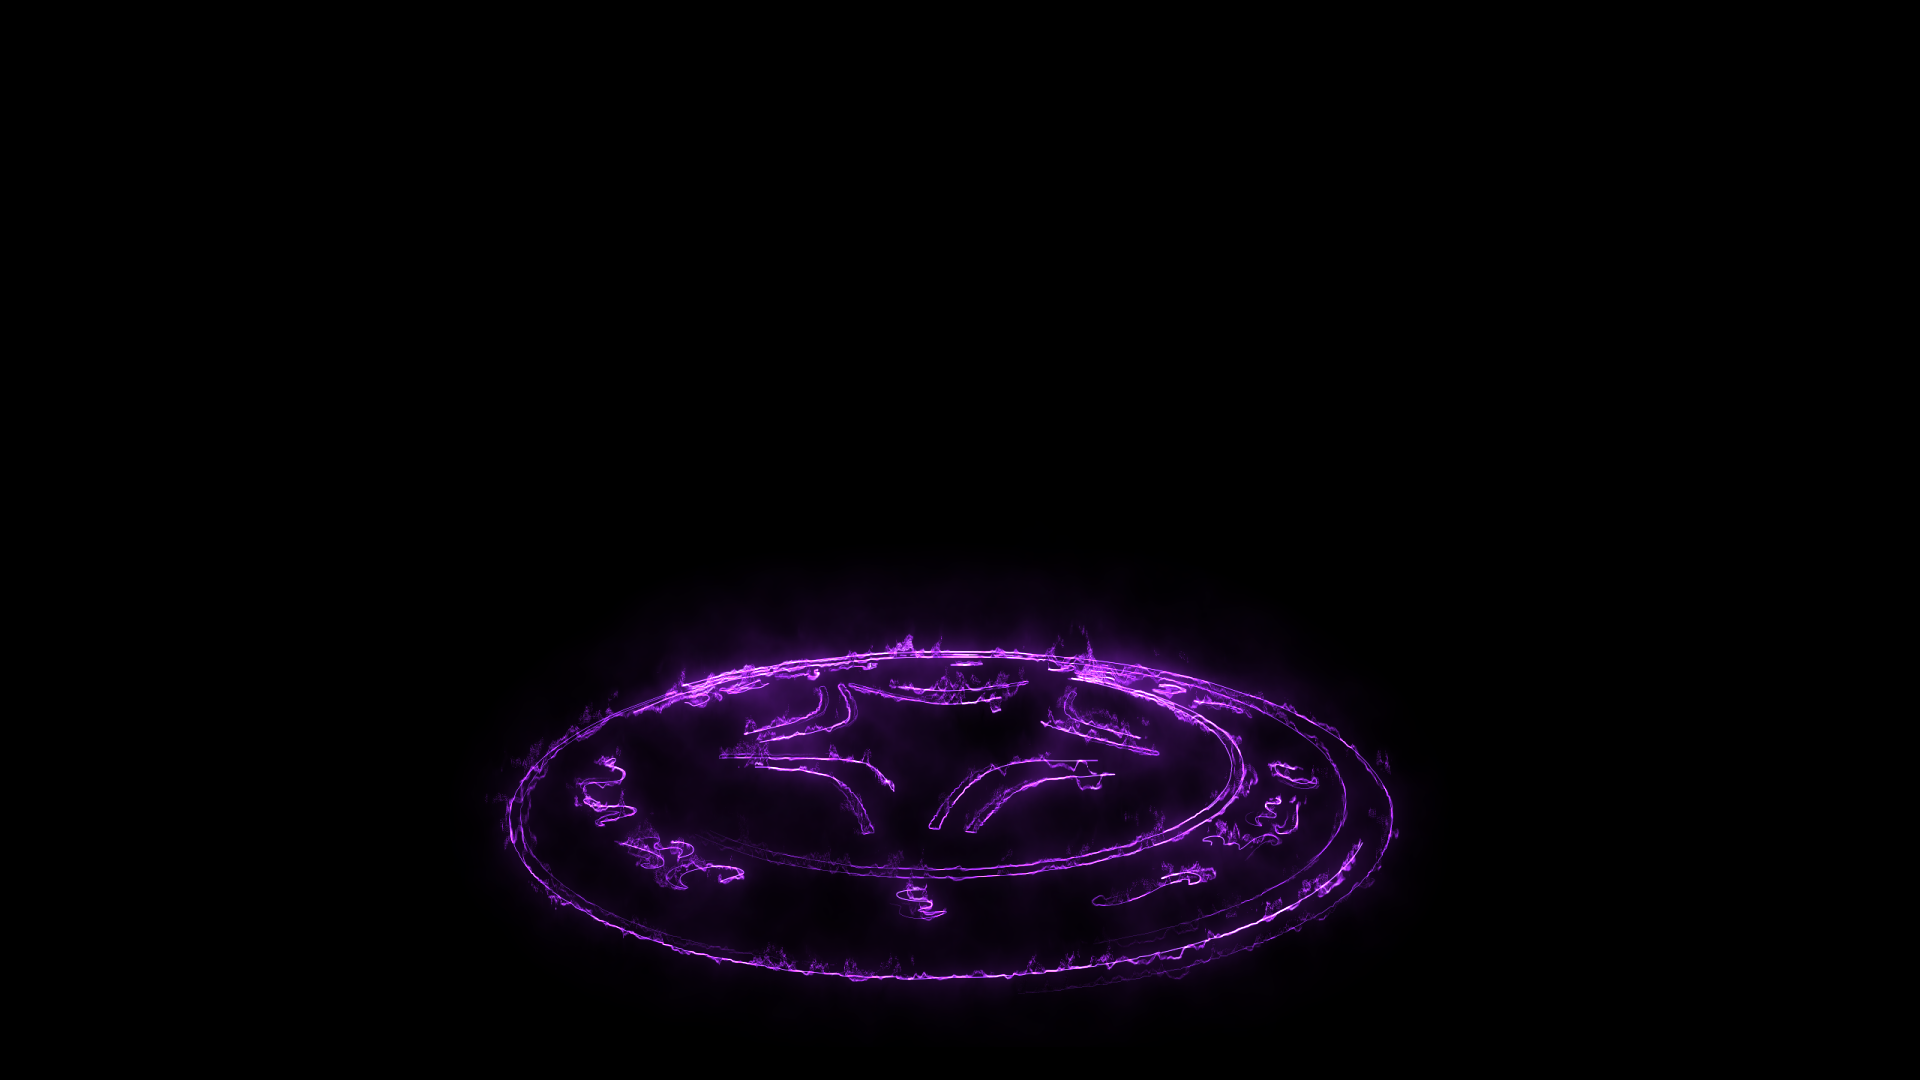
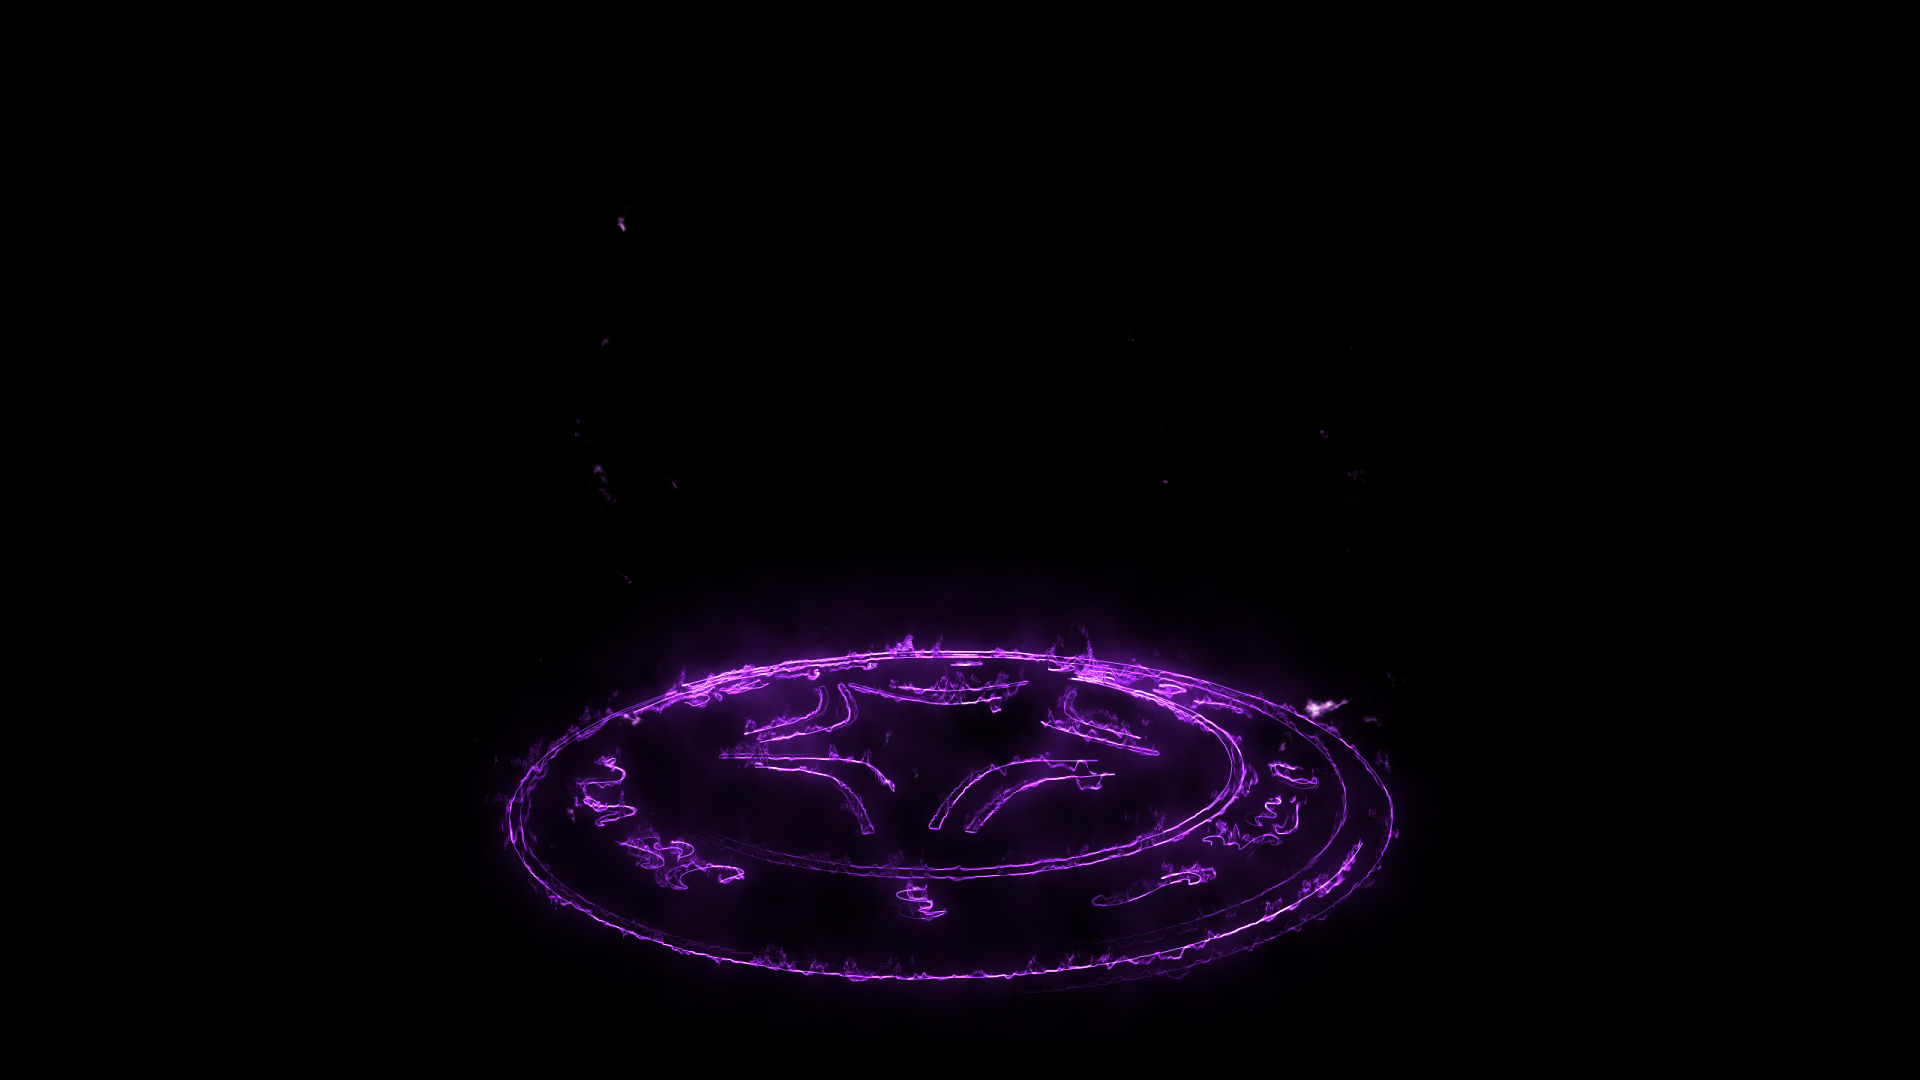
Below is a timelapse of the second part of the creation process:

Third Part: Final Output
In this part, I have arranged the outputs from the previous processes to create the final output.
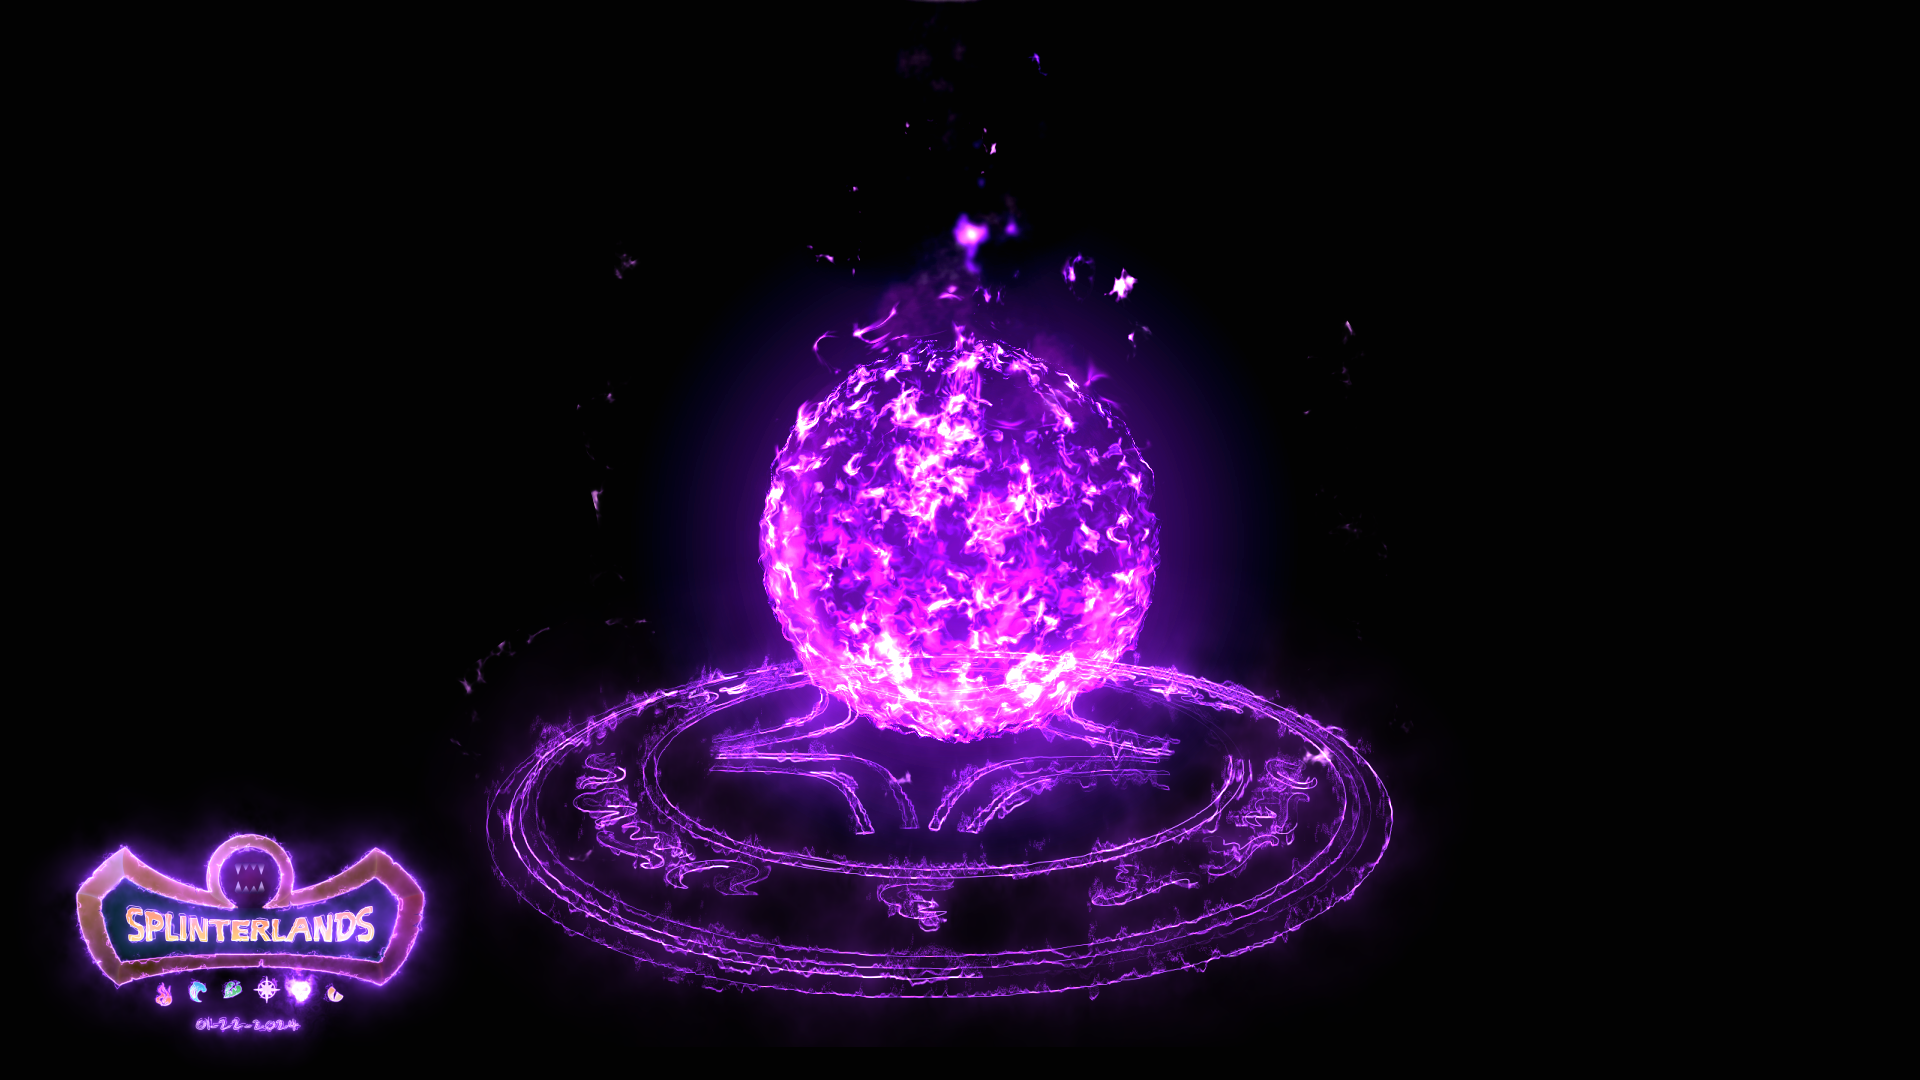
I first inserted the Will-o-wisp and duplicated it to make it brighter.
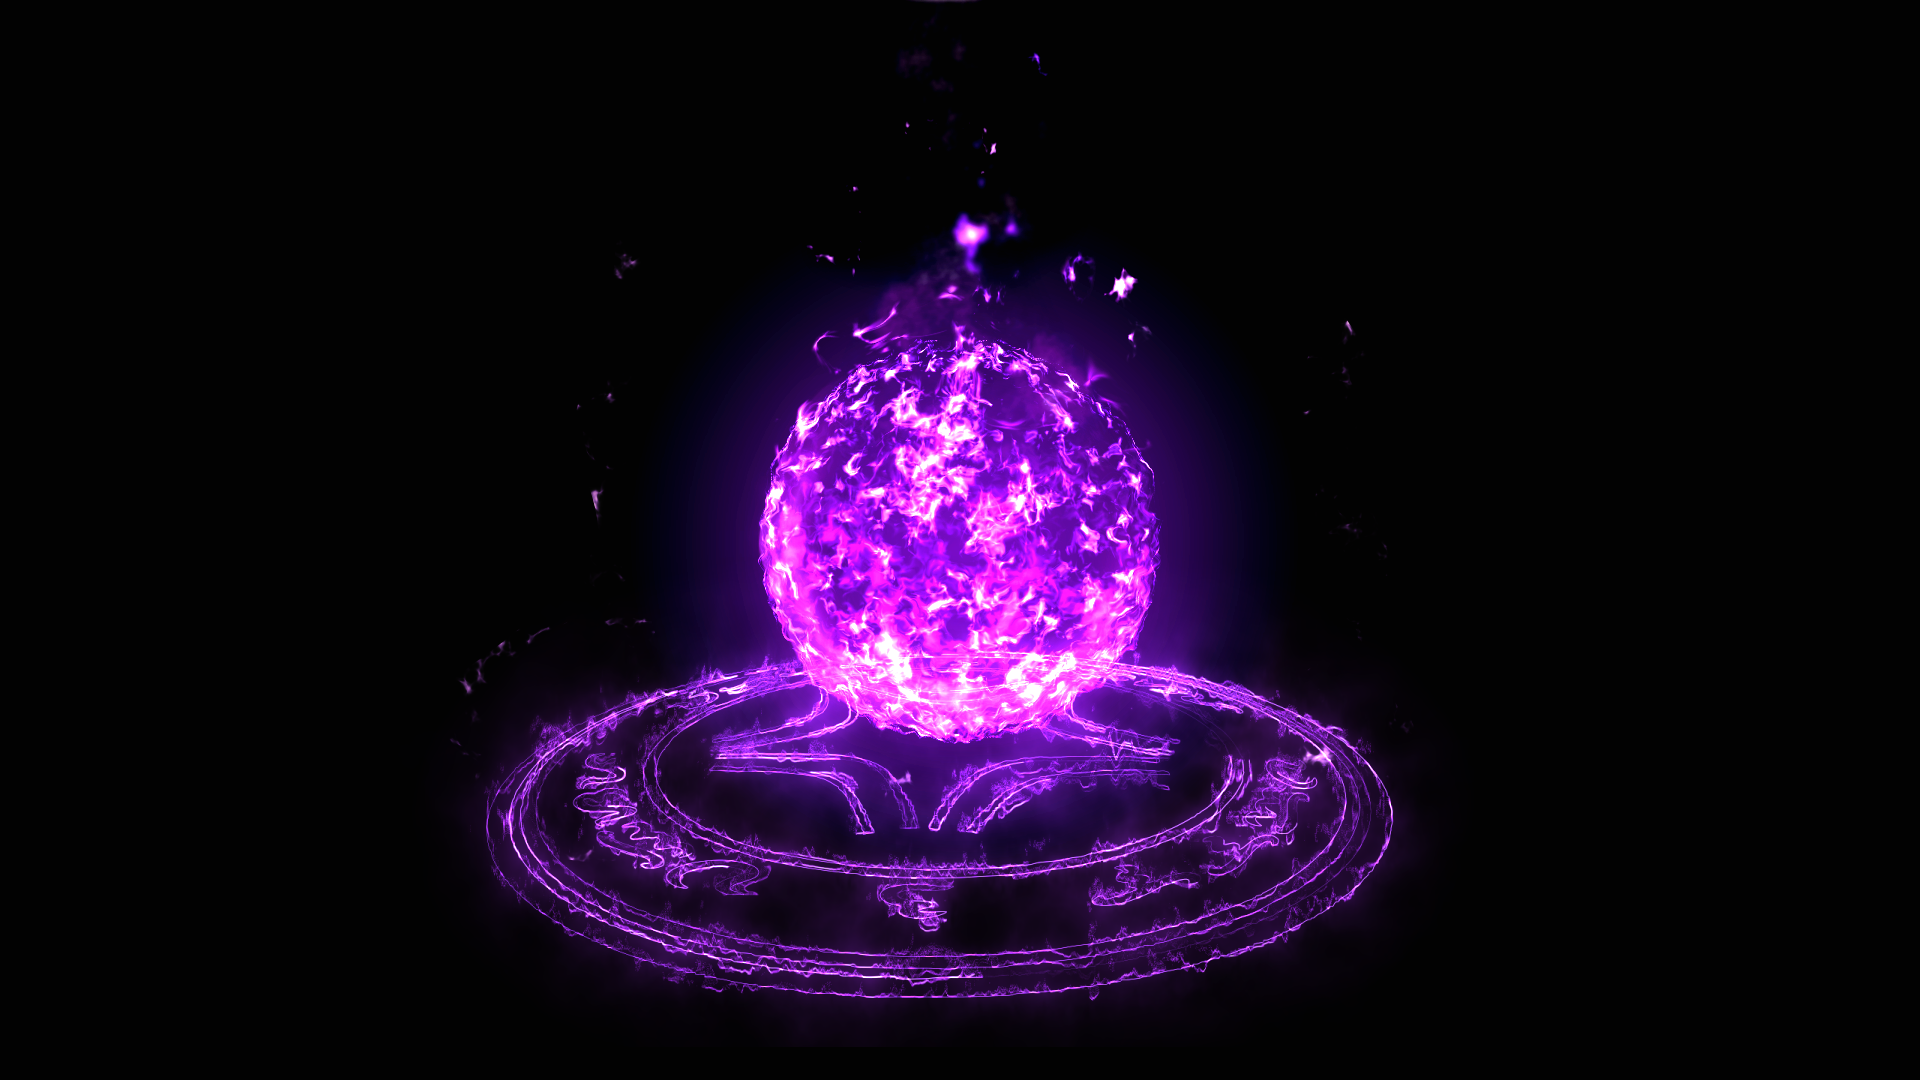
Then I have placed the magic circle below the Will-o-wisp.
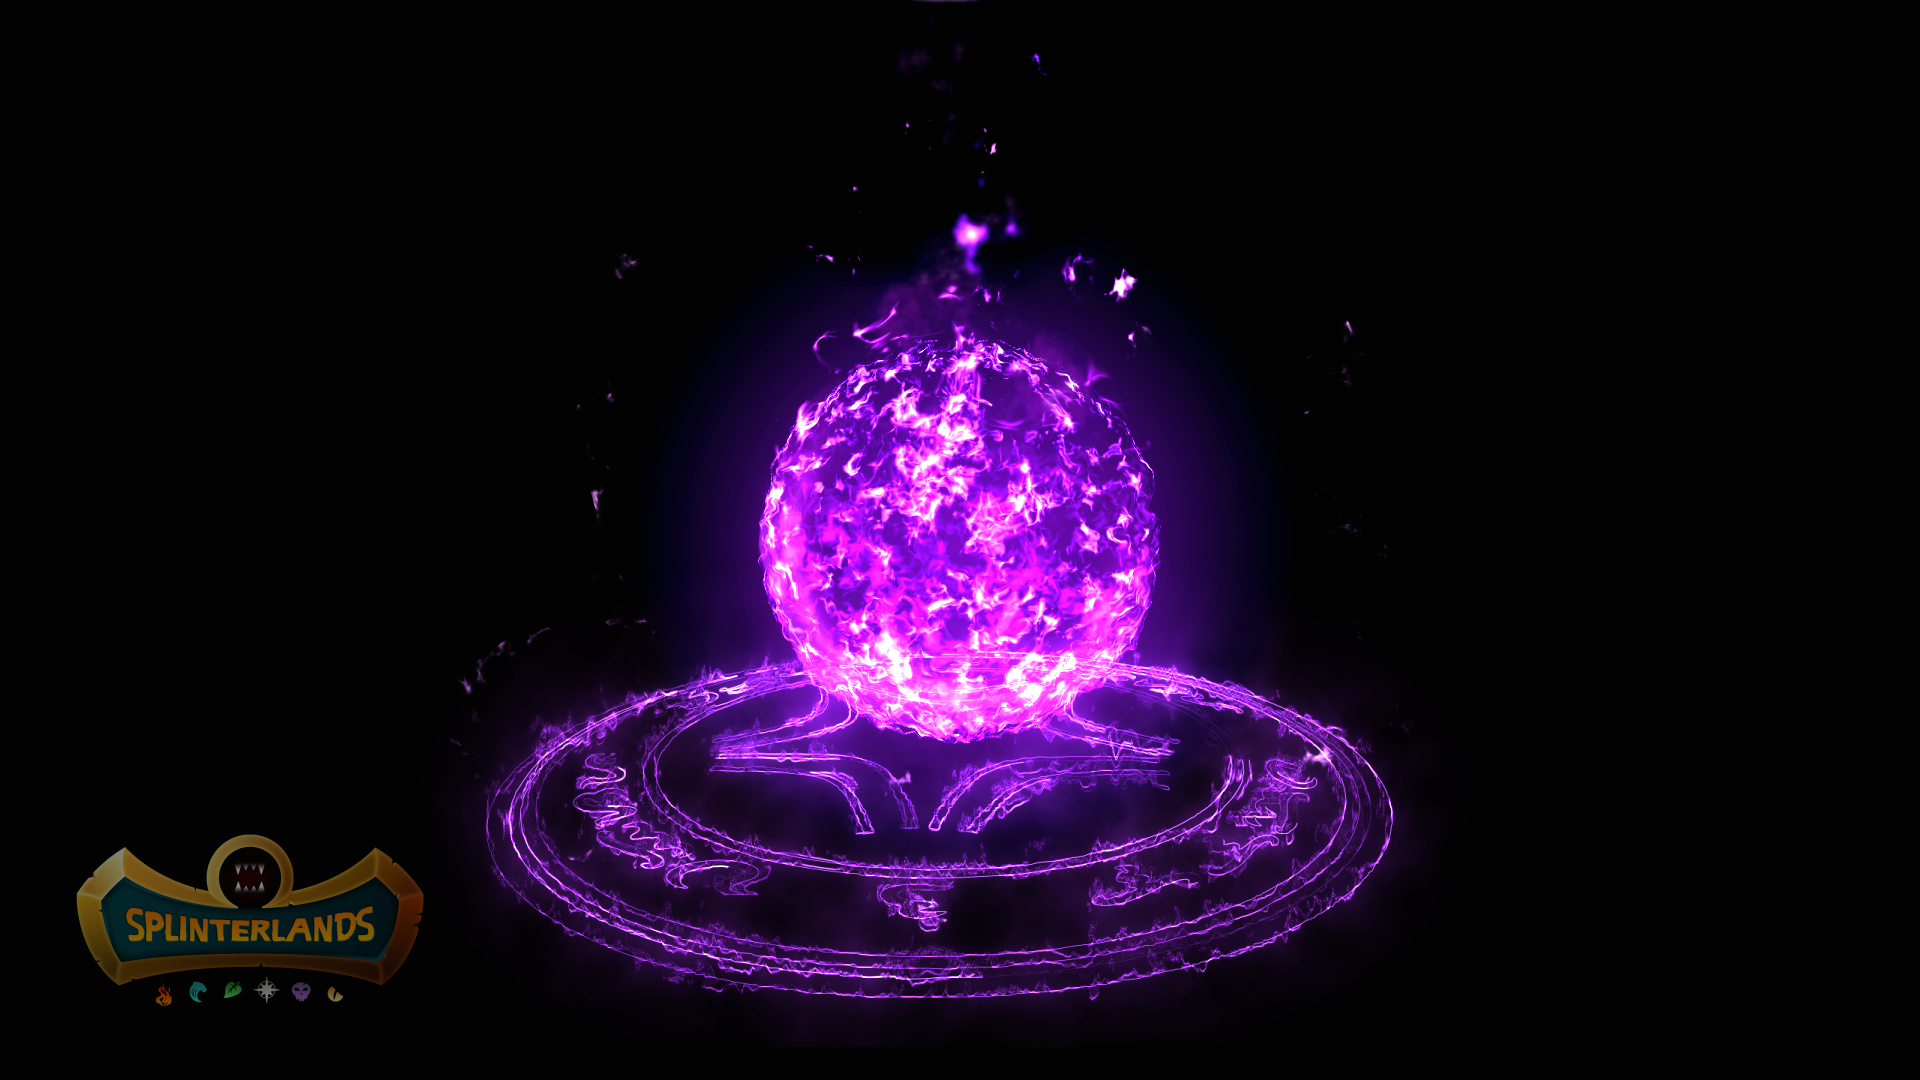
I then added the Splinterlands logo. I added effects to make it complimentary with the artwork. I also added additional effect on the death elemental icon since it depicts a death elemental creature. Below the logo, I have included the timestamp for my artwork.
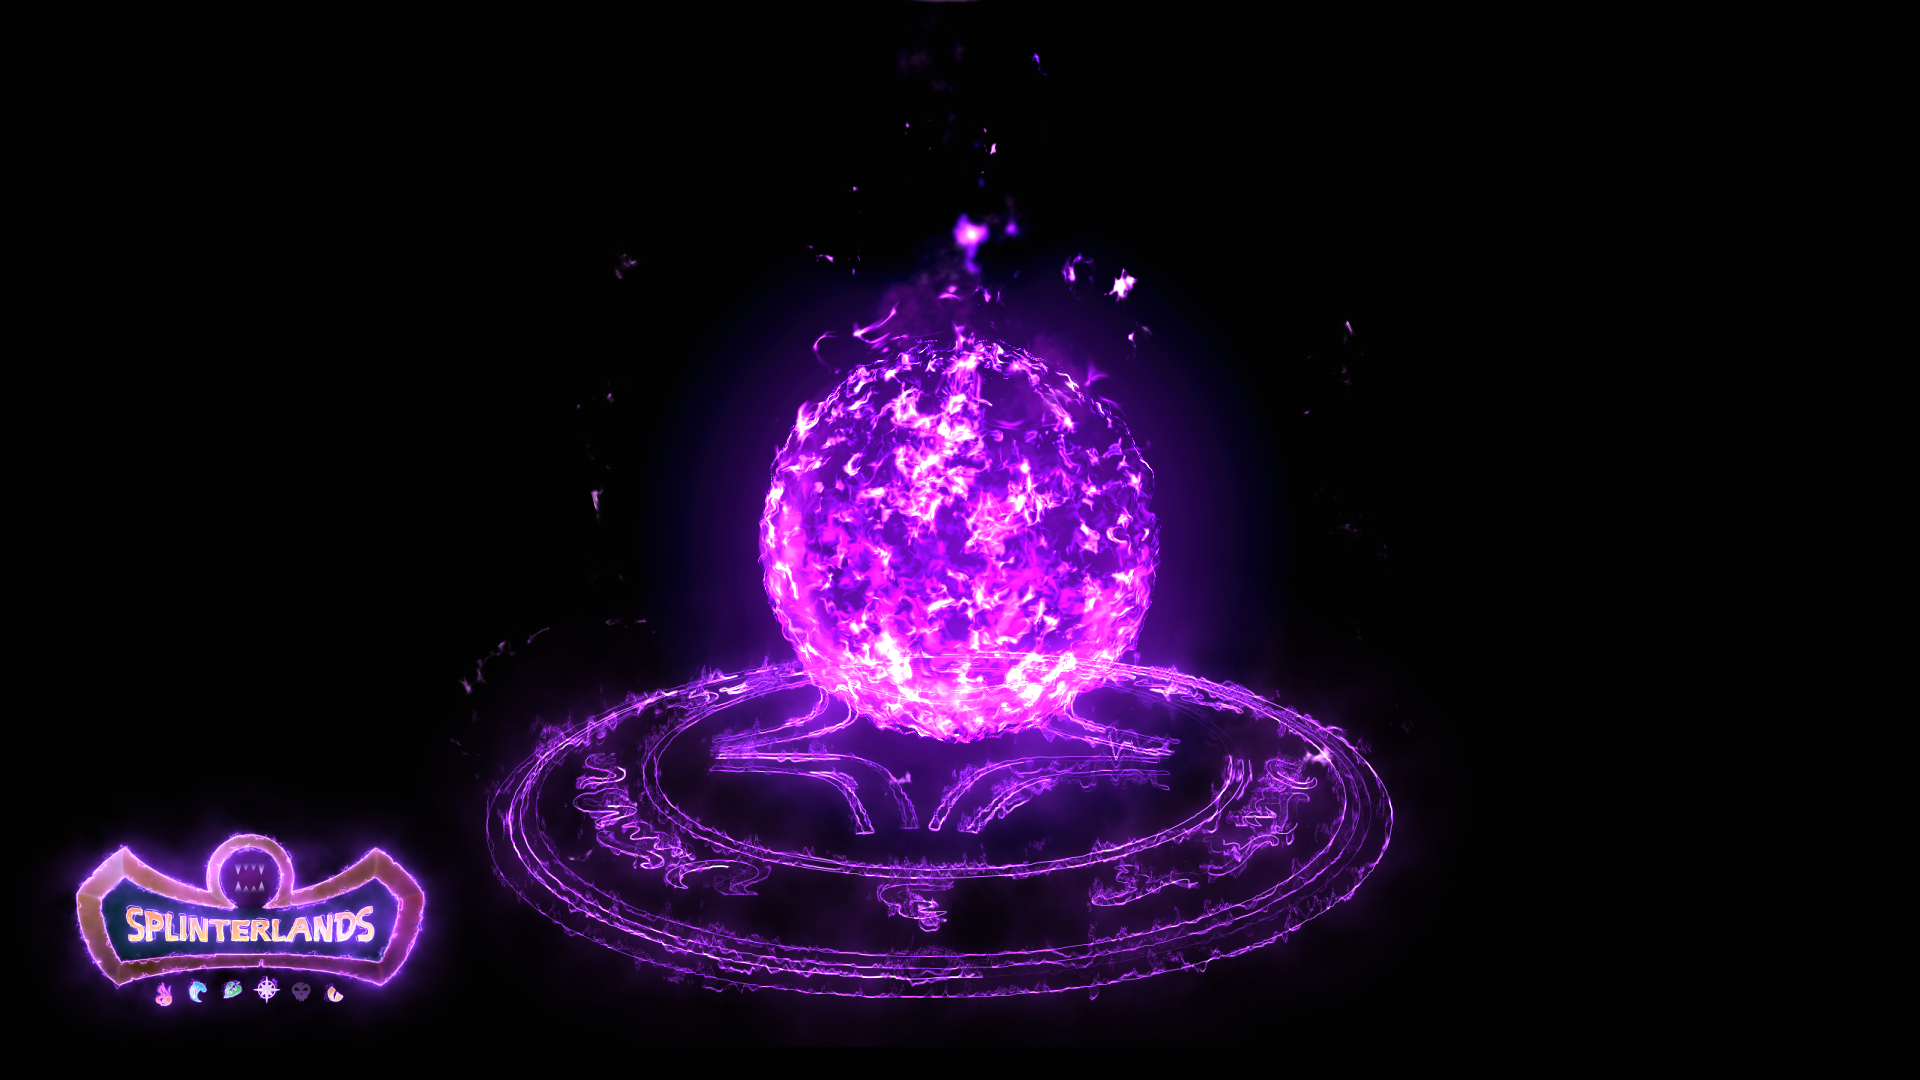
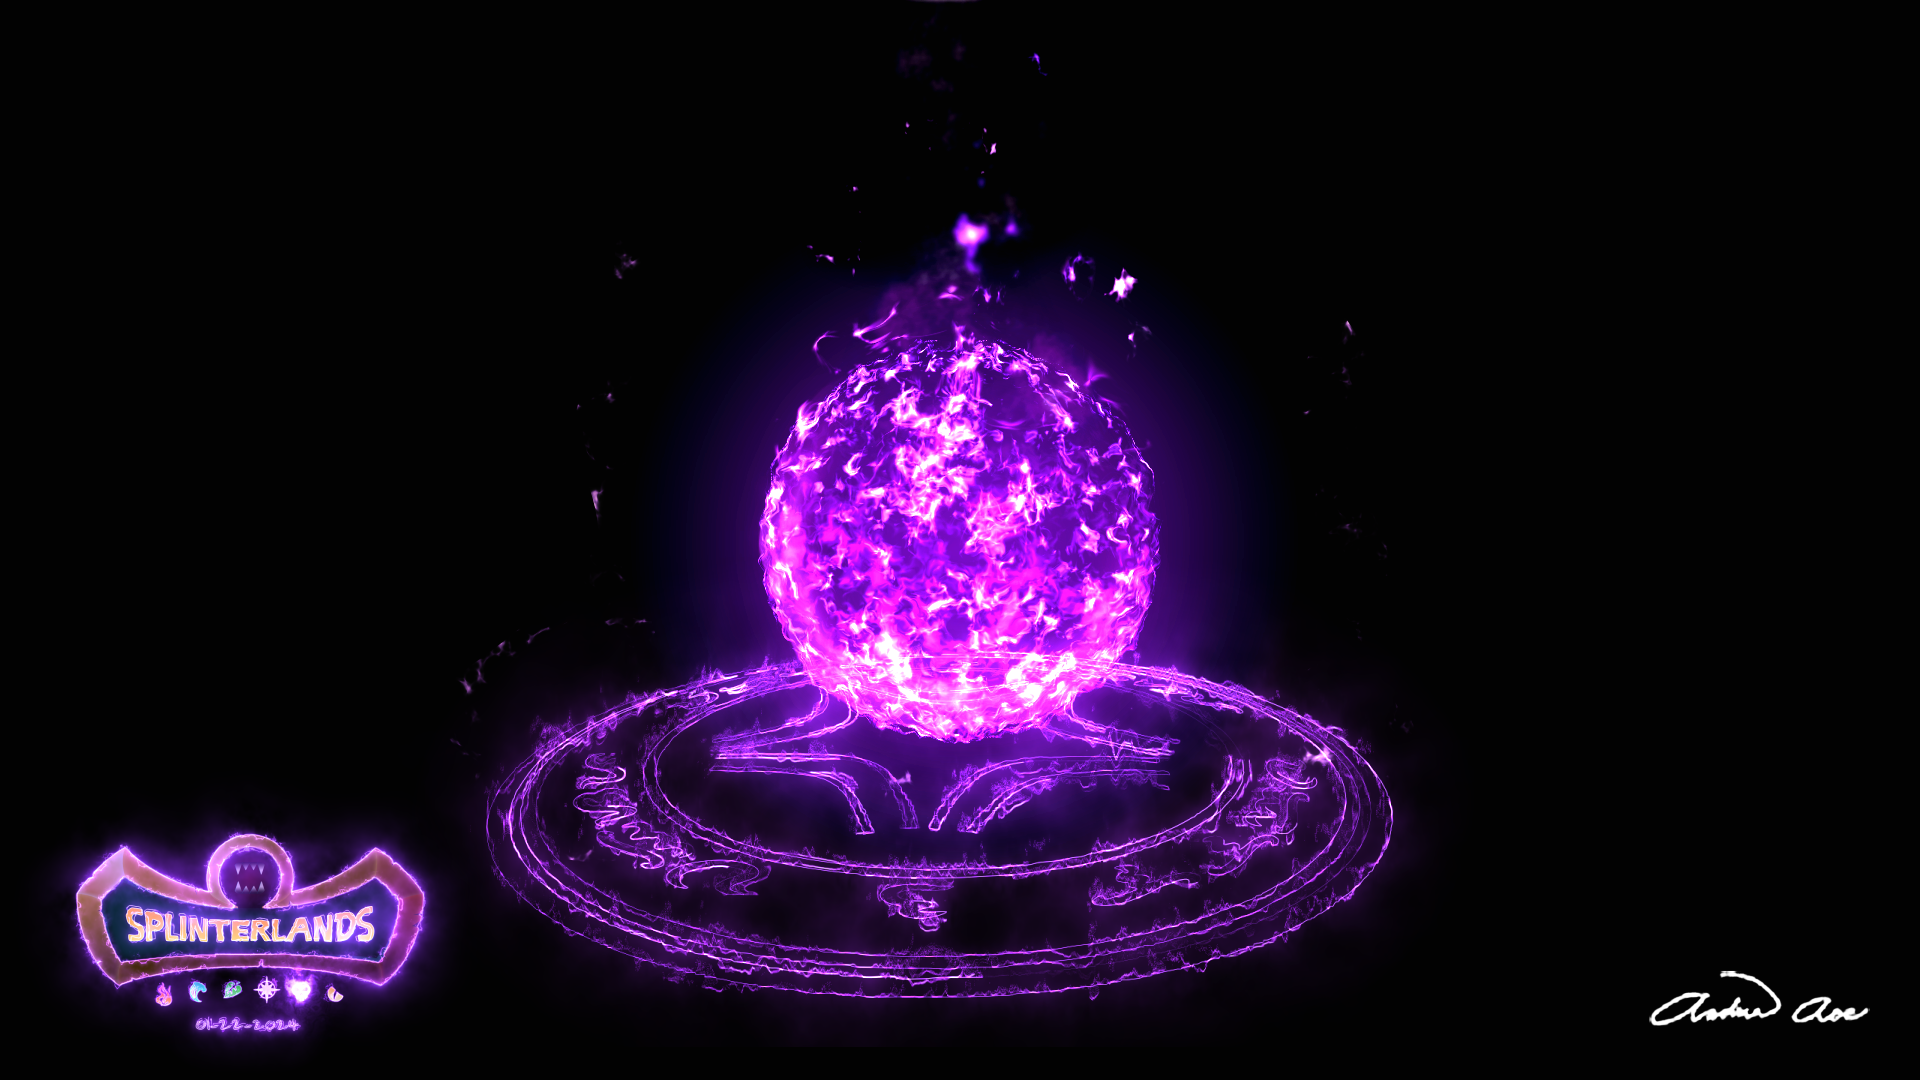
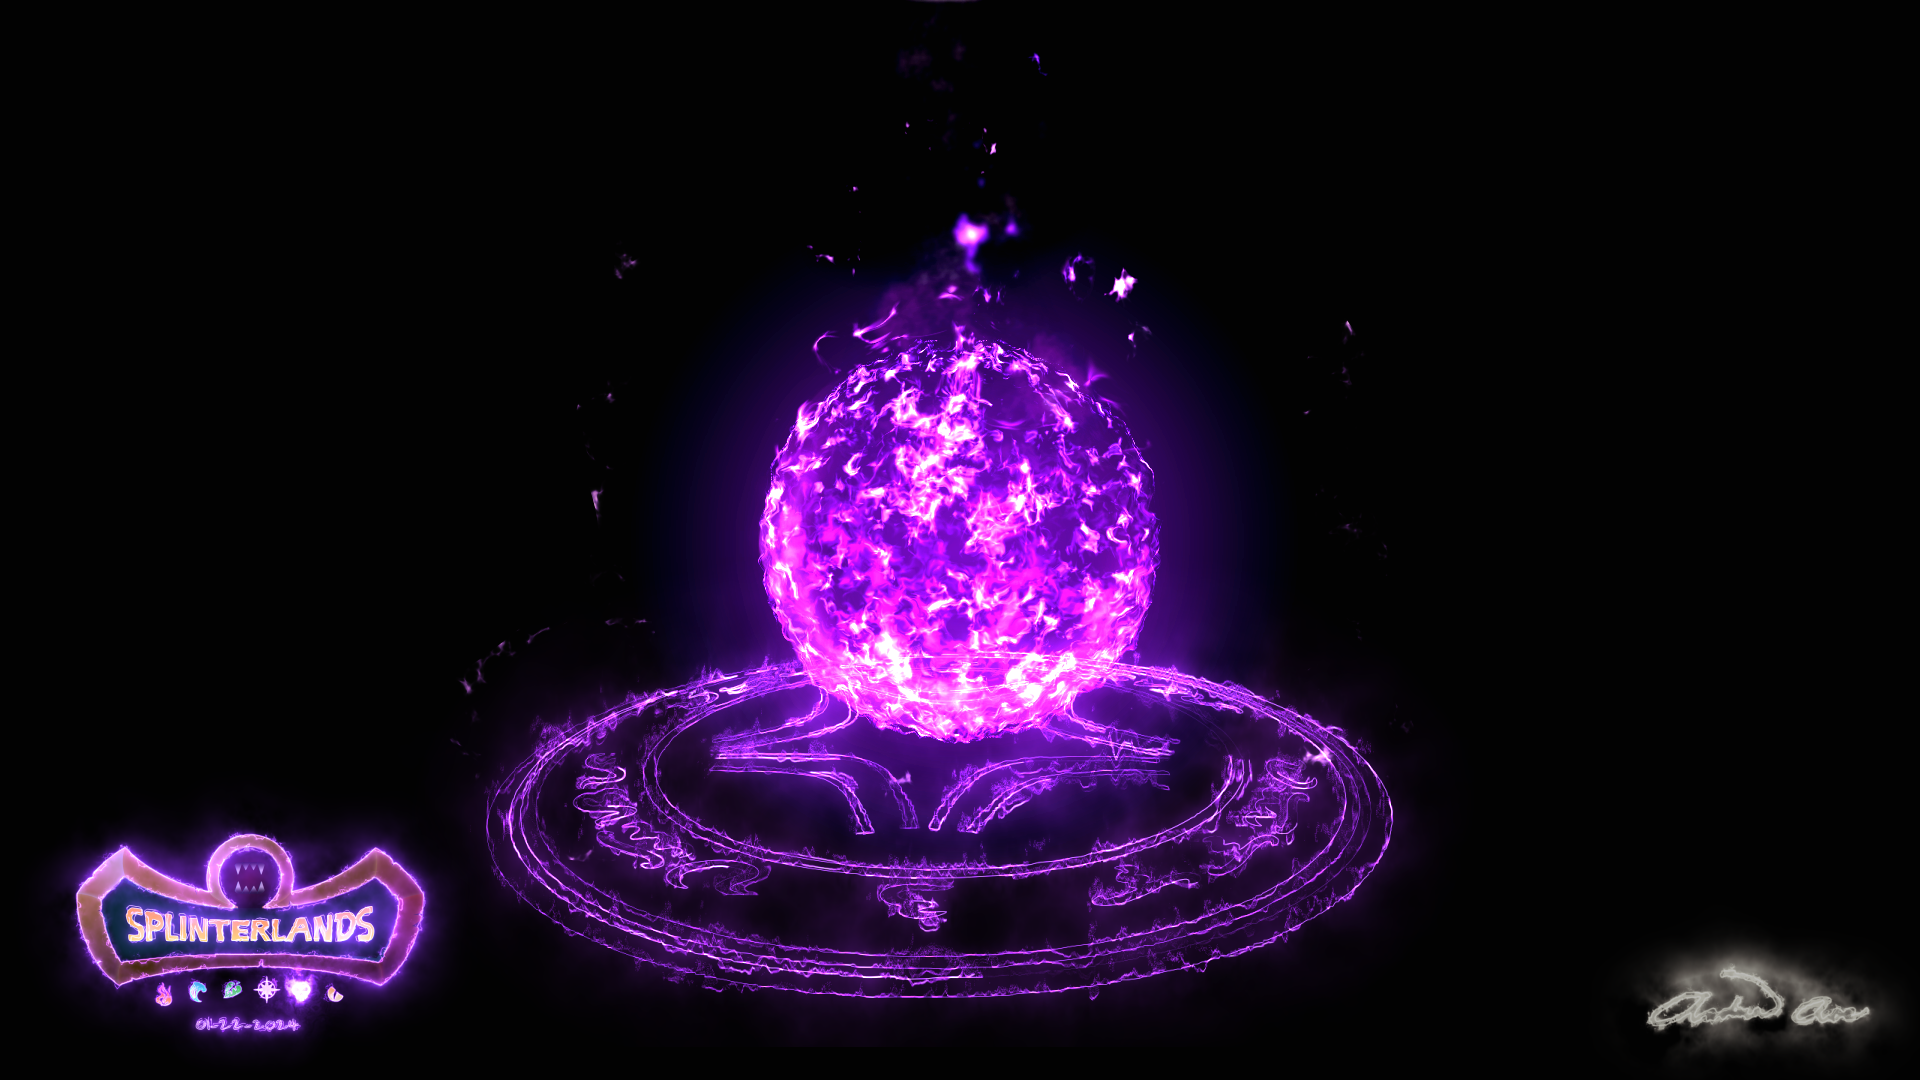
After that, I have placed my signature on the bottom right side of my artwork and added some effects. With this, the final output is completed.
Below is a timelapse of the third part of the creation process:

Hi guys! I haven't been able to create any artworks in a couple of months or so as I have to deal with the change in workplace assignment and the holidays. Now that I have a bit more free time, I have decided to explore something new. I have been wanting to try this for a long time now.
Unlike my previous works which mainly focused on 3D modeling and animation, this time, I tried working with motion graphics. Though this different from my previous works, I believe that if I can incorporate this with my 3D artworks, the resulting outputs will be way better! I can only visualize it now. But I know, sometime in the future, even I will be amazed with what I can accomplish!
Once again, thank you very much for visiting my work and reading up to this part! As always, it would mean so much for me if you can upvote and share my post. You may also comment your ideas regarding my artworks. I will be willing to read your thoughts about them. You may also visit my account to view my other artworks if you are interested.
That's it guys, see you again next time!
Reference:
Saber Effect Plug-in for Adobe After Effects downloaded from Video Copilot.
Fire Effect Plug-in by Rocketstock downloaded from Free Fire Effect: How to Create Realistic Fire in After Effects by RocketStock.
All other materials are made using the built-in materials from Adobe After Effects. The artwork was made in reference to the photo of Will-o-wisp and its lore from the official website.
Congratulations @darksonata! You have completed the following achievement on the Hive blockchain And have been rewarded with New badge(s)
<table><tr><td><img src="https://images.hive.blog/60x70/http://hivebuzz.me/@darksonata/upvoted.png?202401220820" /><td>You received more than 1750 upvotes.<br />Your next target is to reach 2000 upvotes. <p dir="auto"><sub><em>You can view your badges on <a href="https://hivebuzz.me/@darksonata" target="_blank" rel="noreferrer noopener" title="This link will take you away from hive.blog" class="external_link">your board and compare yourself to others in the <a href="https://hivebuzz.me/ranking" target="_blank" rel="noreferrer noopener" title="This link will take you away from hive.blog" class="external_link">Ranking<br /> <sub><em>If you no longer want to receive notifications, reply to this comment with the word <code>STOPGood Day
Your art work is impressive. It is a great piece
Happy gaming
This post is informative and convey practical tips to Splinters in the community.
Successful week in the arena
!PIZZA
Regards #freecompliments
$PIZZA slices delivered:
(7/15) @oadissin tipped @darksonata