✨¡Hola amigos amantes de la creatividad! Espero que estén todos bien.✨
🔸Sin más que añadir, a continuación los dejo con el paso a paso:
✨¡Hello friends who love creativity! I hope you are all well.✨
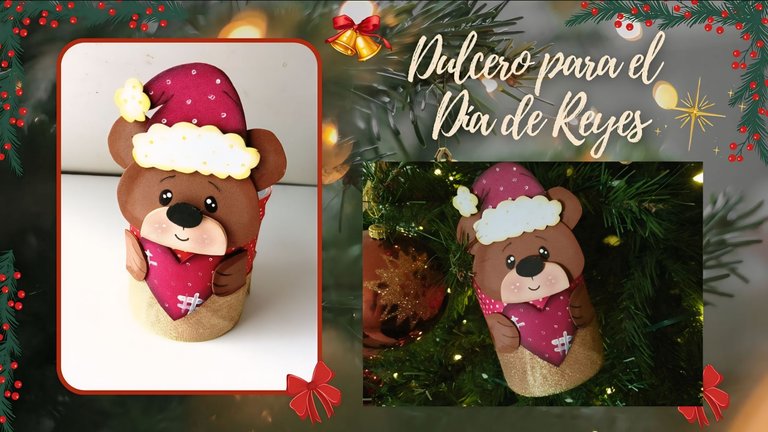
Good afternoon, friends! I hope you are having a great week. For my part, I am happy to stop by here to share a new creation with you. On this occasion I am sharing with you the step by step to make a nice candy dish for the day of the Three Kings. I know that perhaps many do not celebrate this day; however, some give a small detail as a nice gesture to the little ones or to a loved one, so thinking a little about this day and not to say goodbye so quickly to the Christmas creations, I thought of making this nice bear candy dish with a Christmas hat, quite simple and quick.
🔸Without more to add, then I leave you with the step by step:
♥️ESPERO QUE TE GUSTE,
¡Empecemos!
♥️I HOPE YOU LIKE IT,
Let's start!

✂️ MATERIALES | ✂️ MATERIALS

- Envase redondo.
- Tela de color o diseño de preferencia.
- Foami marrón.
- Foami blanco.
- Foami crema.
- Foami negro.
- Foami rojo.
- Pinturas y marcadores.
- Pegamento.
- Hoja blanca.
- Tijeras.
- Lápiz.
- Round container.
- Fabric of color or design of preference.
- Brown foam.
- White foam.
- Cream foam.
- Black foam.
- Red foam.
- Paints and markers.
- Glue.
- White sheet.
- Scissors.
- Pencil.

🌟 PROCEDIMIENTO | 🌟 PROCESS

✨PASO 1:
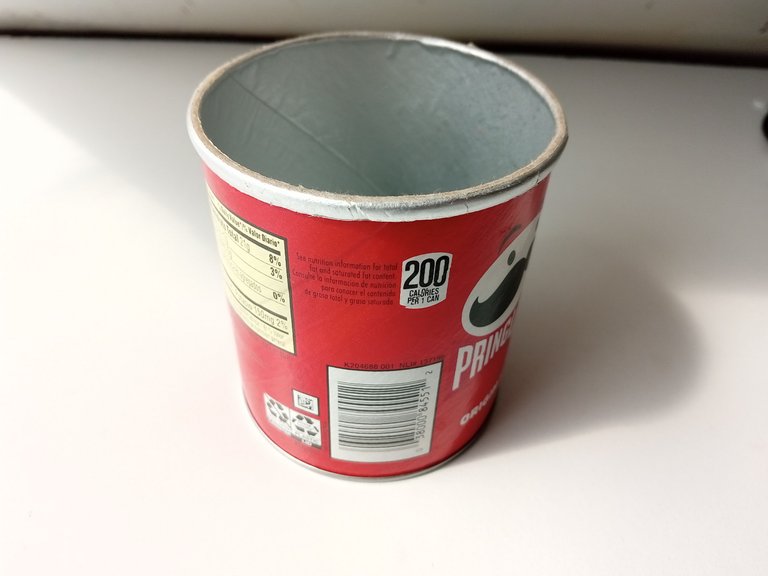
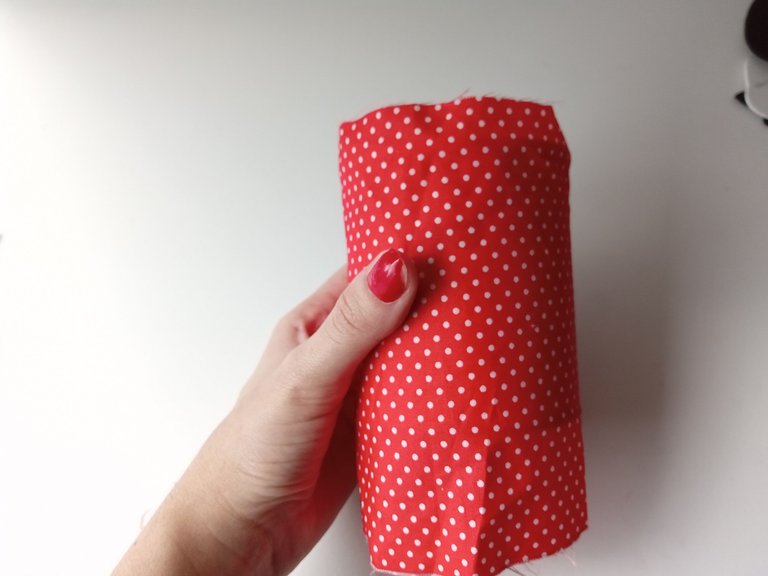
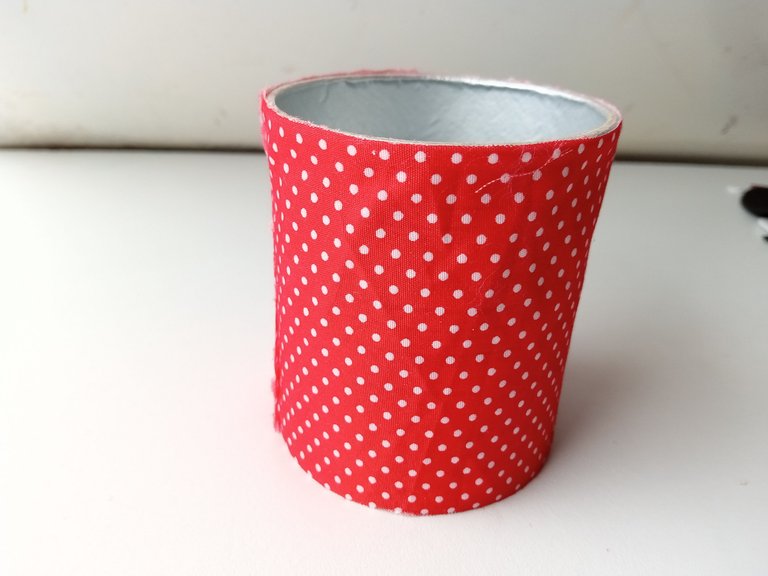
Lo primero que hice fue tomar mi envase circular, pero ustedes pueden utilizar el envase que deseen, incluso pueden reciclar una botella de refresco y recortar el cilindro que se encuentra justo en la etiqueta y utilizarlo como base. Al tener el envase, tomé una tela que combinara un poco con la temática y forré toda la parte de afuera del envase. Seguidamente, recorté el sobrante de la tela.
✨STEP 1:
The first thing I did was take my circular container, but you can use any container you want, you can even recycle a soda bottle and cut out the cylinder that is right on the label and use it as a base. Once I had the container, I took a fabric that matched the theme a bit and covered the entire outside of the container. Next, I cut out the excess fabric.

 |  |  |
|---|

✨PASO 2:
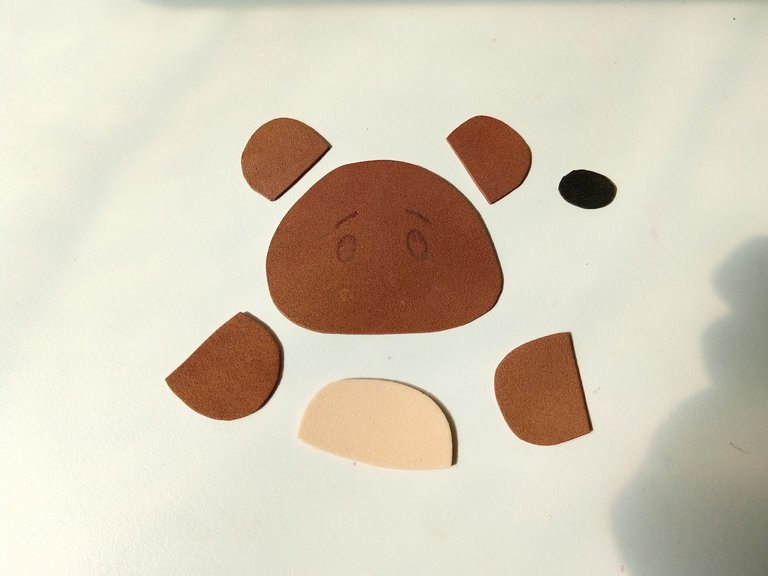
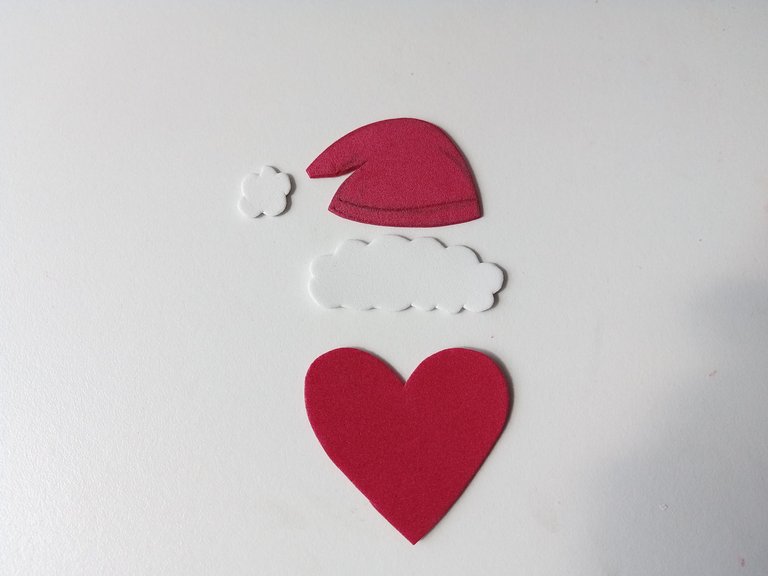
Ahora sí, vamos con la decoración. Comencé dibujando el patrón, simplemente dibujé la cabeza de un oso y patitas las cuales van a sostener un corazón y luego transferí a los colores correspondientes de foami como explico a continuación:
✨ La cabeza, orejas y patas en foami marrón.
✨ Hocico en foami crema.
✨ Nariz en foami negro.
✨ Corazón y gorro en foami rojo.
✨ Partes del gorro en foami blanco.
✨STEP 2:
Now, let's get to the decoration. I started by drawing the pattern, I simply drew the head of a bear and little paws which are going to hold a heart and then transferred them to the corresponding colors of foam as I explain below:
✨ The head, ears and paws in brown foam.
✨ Snout in cream foam.
✨ Nose in black foam.
✨ Heart and hat in red foam.
✨ Parts of the hat in white foam.

 |  |
|---|

✨PASO 3:
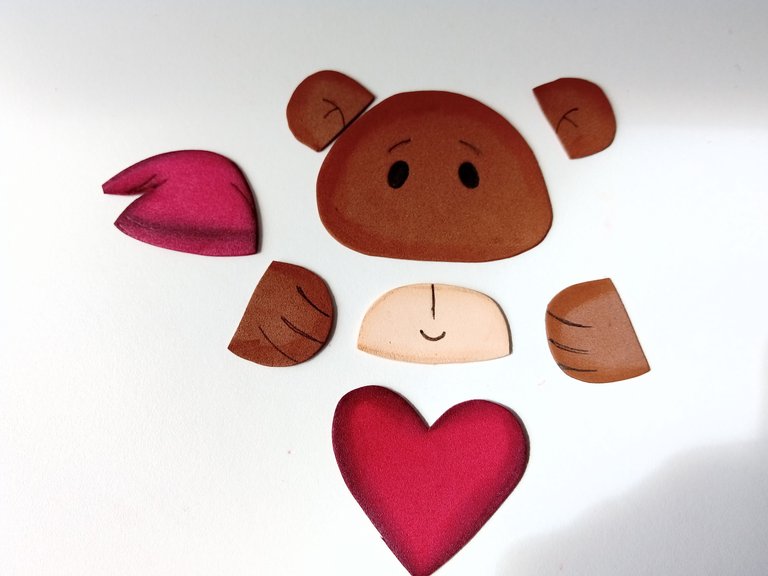
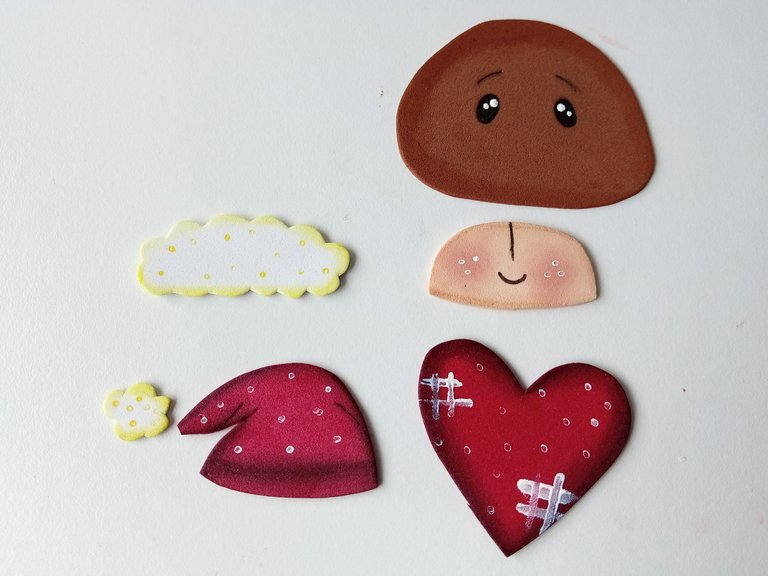
Seguidamente, comencé a dar color a los bordes con pinturas que hagan contraste y con ayuda de un pañito para difuminar y que no queden líneas muy marcadas. Al estar seco, comencé a dibujar los detalles con marcador negro, como ojos, hocico, cejas, orejas, patas y gorro. Una vez seco, di más detalles pintando las mejillas e hice algunos puntos con pinturas al gorro y corazón, mientras di puntos de luz a los ojos y mejillas. Además, le di otro toqué con pintura blanca al corazón.
✨STEP 3:
Next, I began to color the edges with contrasting paints and with the help of a cloth to blur so that there are no very marked lines. Once it was dry, I started drawing the details with a black marker, such as eyes, snout, eyebrows, ears, paws, and hat. Once dry, I added more details by painting the cheeks and made some dots with paints on the hat and heart, while I gave points of light to the eyes and cheeks. In addition, I gave another touch with white paint to the heart.

 |  |
|---|

✨PASO 4:
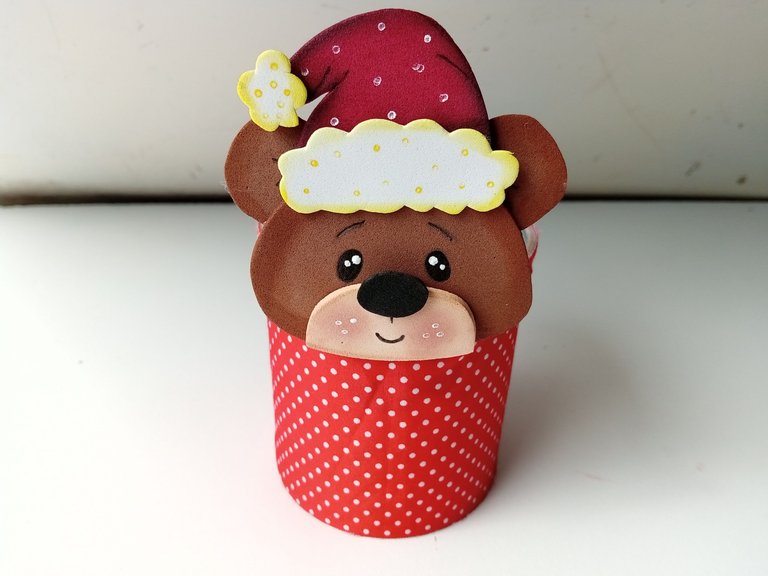
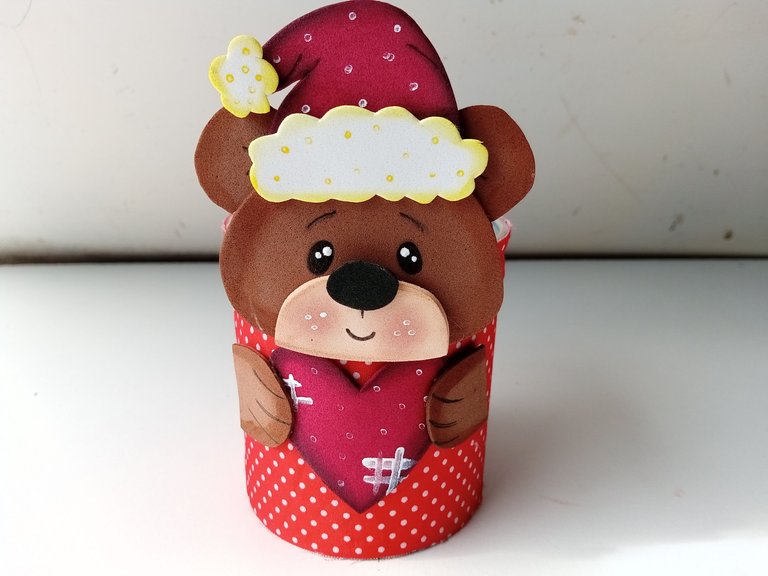
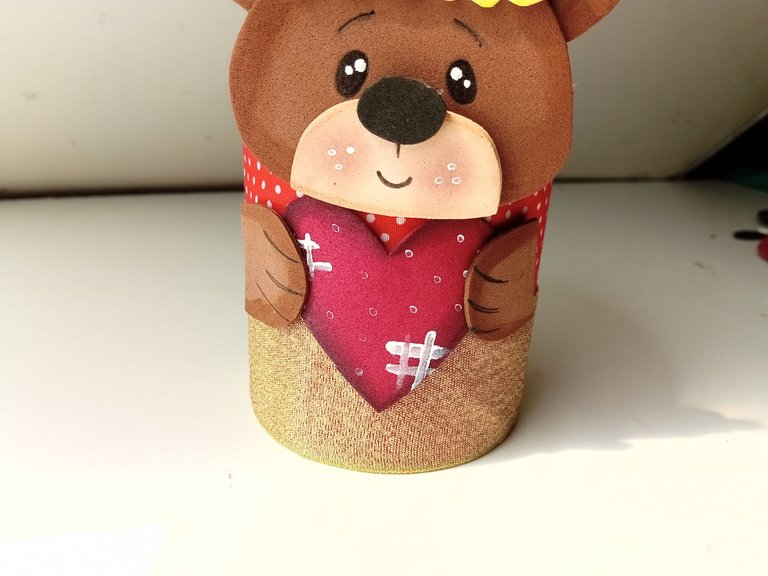
Al estar todas las piezas totalmente secas, era momento de pegar las piezas de la cabeza, junto con el gorro para así poder pegarlo al dulcero dejando espacio para el resto de la decoración, que en este caso pegué las piezas de las patitas al corazón y de ahí lo pegué directamente al centro del dulcero. Sin embargo, sentía que le faltaba un toque más para que no se viera tan sencillo, así que tomé una cinta dorada y la pegué a la mitad del envase, pero esto es opcional.
✨STEP 4:
Once all the pieces were completely dry, it was time to glue the head pieces, along with the hat so that I could stick it to the candy dish, leaving space for the rest of the decoration, which in this case I glued the paw pieces to the heart and from there I glued it directly to the center of the candy dish. However, I felt that it needed a little more touch so that it didn't look so simple, so I took a gold ribbon and glued it to the middle of the container, but this is optional.

 |  |  |
|---|

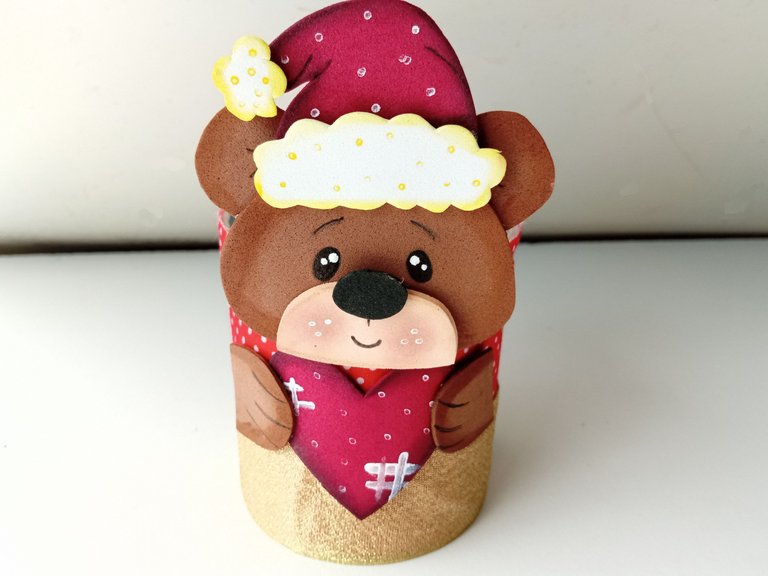
✨This is how you can make a nice and easy candy dish for Three Kings' Day. Also, you don't need so many materials and you can recycle any container you like, as well as, you can make the character of your choice like one of the Three Wise Men. I hope you liked the step-by-step instructions and are encouraged to make them.
❤️Until the next post.

✨RESULTADO: | ✨RESULT:



Todas las fotografías son de mi propiedad.
Separador y Fotos editadas en Canva
All photographs are my property.
Photos edited in Canva
Posted Using InLeo Alpha
Discord Server.This post has been manually curated by @steemflow from Indiaunited community. Join us on our
Do you know that you can earn a passive income by delegating to @indiaunited. We share more than 100 % of the curation rewards with the delegators in the form of IUC tokens. HP delegators and IUC token holders also get upto 20% additional vote weight.
Here are some handy links for delegations: 100HP, 250HP, 500HP, 1000HP.
100% of the rewards from this comment goes to the curator for their manual curation efforts. Please encourage the curator @steemflow by upvoting this comment and support the community by voting the posts made by @indiaunited.
Gracias por el apoyo amigos ✨
This is a beautiful creativity, thanks for sharing.
Muchísimas gracias ✨
Que hermoso amii, me encanta los acabados que le das siempre al foami con la pintura😍😍 este dulcero esta bellooo
Olivia quiere un dulcero así de bonito 😍
Excelente creacion, muy tierno, que ese osito se llene de dulces y se repartan el dia de Reyes (y el resto del año jaja) me encanta 😍
Jaja para todo el año, mejor 🤭. Muchas gracias 💕
This looks so cute friend. A lot of time and effort was put into making this no doubt and we commend you for making something this beautiful. Well done and thanks for sharing.
Thank you very much friends! I am very happy that you appreciate the dedication I put into this beautiful sweet dish.💕
Que hermoso, me encantó el osito! A mí mamá le gustaría mucho ✨