✨¡Hola amigos amantes de la creatividad! Espero que estén todos bien.✨
🔸Sin más que añadir, a continuación los dejo con el paso a paso:
✨¡Hello friends who love creativity! I hope you are all well.✨
Good afternoon, friends! I hope you are having a great week. For my part, I am happy to stop by here to share a new creation with you. On this occasion I am sharing with you the step by step to make a nice idea for a cardboard Christmas house. Every year I share with you a Christmas house to place under my tree, so they are usually very similar to each other, since I try to look for fabrics with different designs, but that all match in colors so that it looks like a small neighborhood under my tree and obviously, so that that area is not so empty.
🔸Without more to add, then I leave you with the step by step:
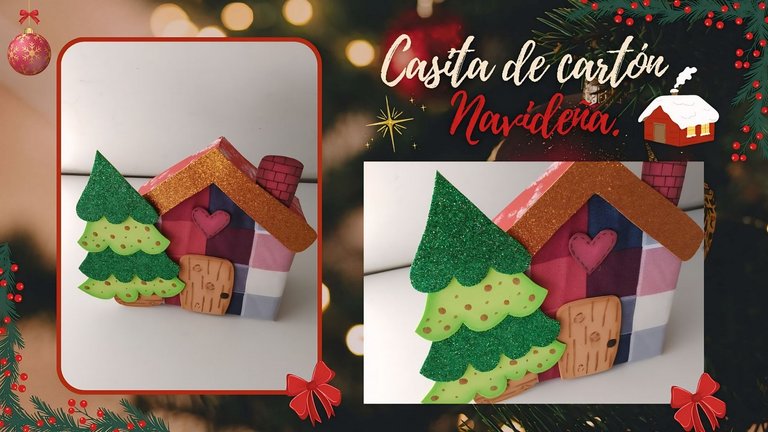
♥️ESPERO QUE TE GUSTE,
¡Empecemos!
♥️I HOPE YOU LIKE IT,
Let's start!

✂️ MATERIALES | ✂️ MATERIALS

- Caja de cartón.
- Tela (Color de preferencia).
- Foami escarchado cobrizo y verde.
- Foami marrón, rojo y verde.
- Pinturas y marcadores.
- Hoja blanca.
- Pegamento.
- Tijeras.
- Regla.
- Lápiz.
- Cardboard box.
- Fabric (color of preference).
- Frosted copper and green foam.
- Brown, red and green foam.
- Paints and markers.
- White sheet.
- Glue.
- Scissors.
- Ruler.
- Pencil.

🌟 PROCEDIMIENTO | 🌟 PROCESS

✨PASO 1:
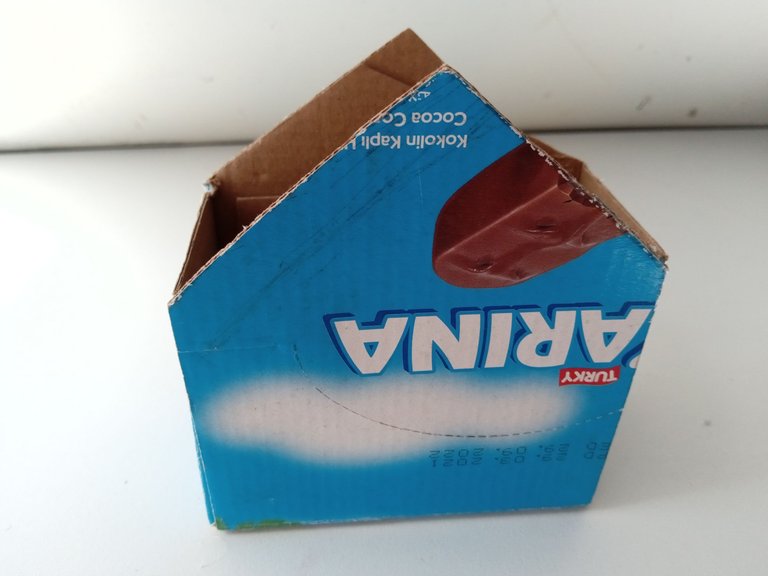
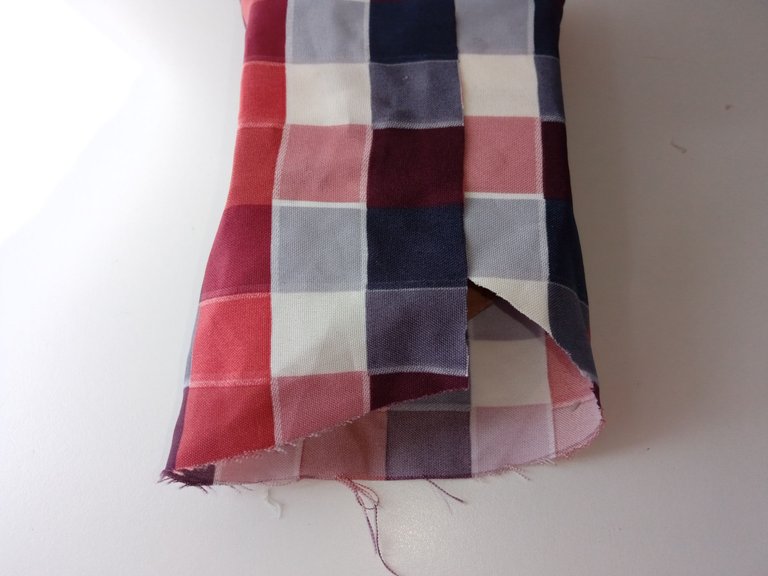
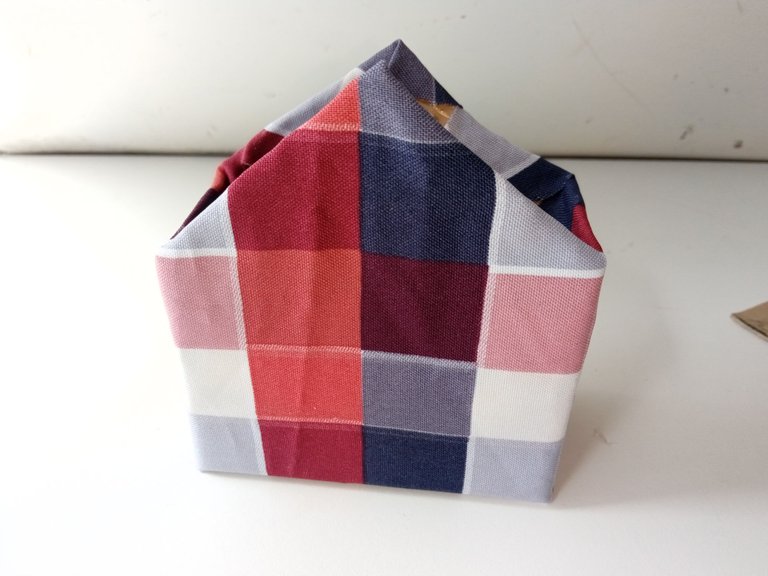
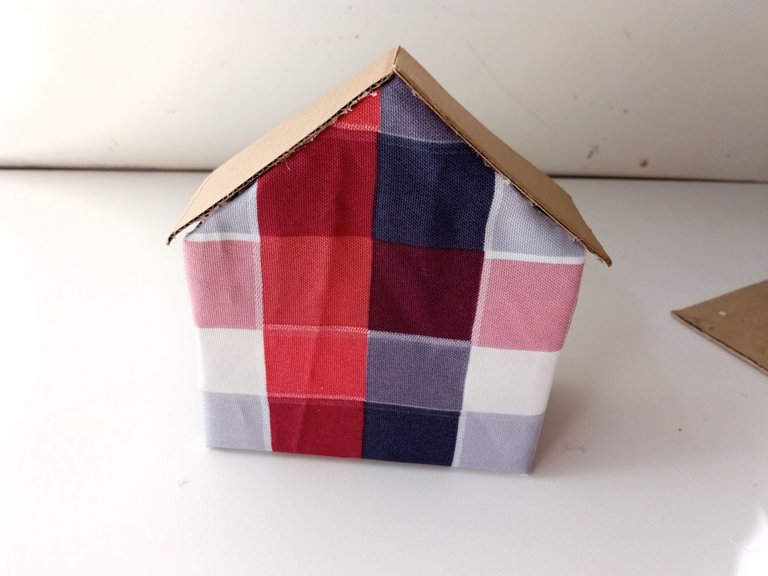
Lo primero que hice fue darle la forma de lo que sería el tejado a la caja de cartón que tenía, en mi caso las medidas de la caja eran de 13 cm x 10 cm. Luego, tomé la tela, que en este caso quise utilizar una de cuadros grandes, forré toda la estructura de la casa y el excedente lo pegué a la parte interna y tape la parte baja o base de la casa.
✨STEP 1:
The first thing I did was give the cardboard box I had the shape of what would be the roof. In my case, the measurements of the box were 13 cm x 10 cm. Then, I took the fabric, which in this case I wanted to use a large square, I covered the entire structure of the house and I glued the excess to the inside and covered the lower part or base of the house.

 |  |  |
|---|

✨PASO 2:
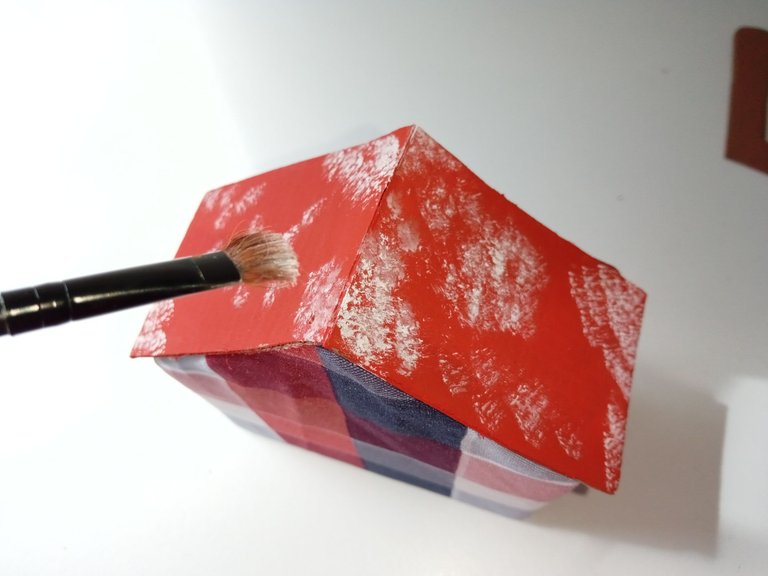
Seguidamente, con los restos de cartón picados al inicio, recorté dos piezas rectangulares para el tejado y los pegué. Tomé pintura roja, pinté el tejado dando dos capas para cubrir muy bien y para pintar un poco de nieve, con ayuda del mismo pincel y pintura blanca di toques en algunos lados para dar ese efecto de nieve.
✨STEP 2:
Next, with the cardboard scraps cut up at the beginning, I cut out two rectangular pieces for the roof and glued them. I took red paint, painted the roof in two layers to cover it very well and to paint a little snow with the help of the same brush and white paint, I touched some sides to give that snow effect.

 |  |
|---|

✨PASO 3:
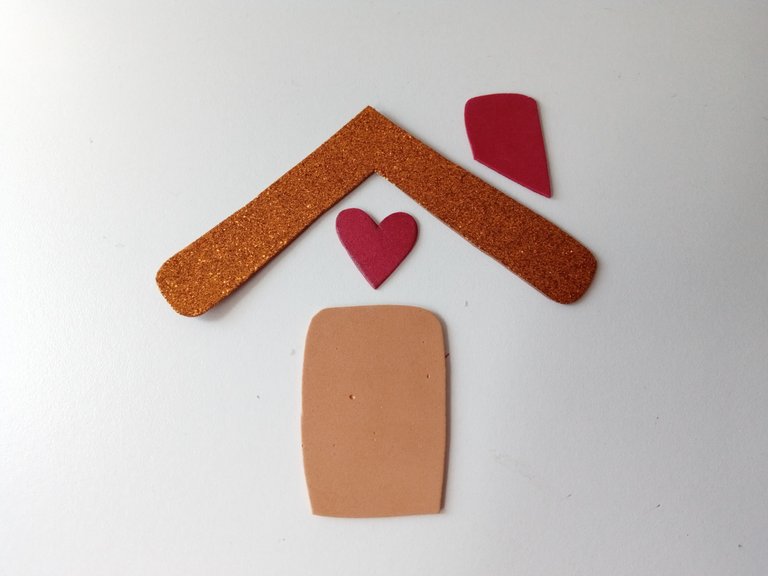
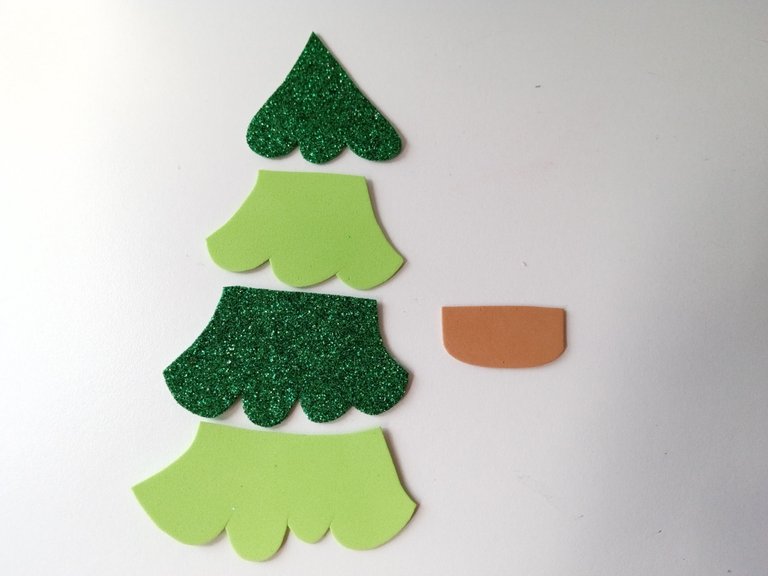
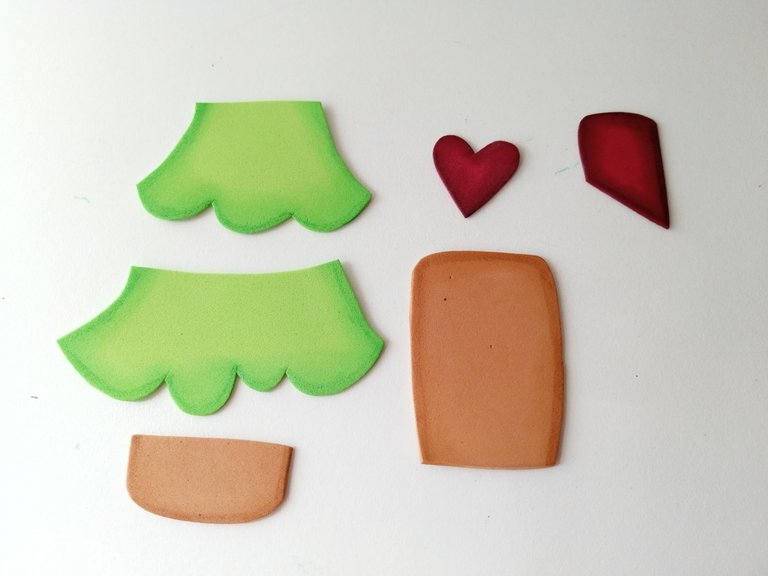
Mientras secaba, comencé a dibujar en una hoja blanca el resto de detalles para la casa y luego los transferí a los colores correspondientes de foami, como explico a continuación: el marco del tejado en foami escarchado cobrizo, chimenea y corazón en foami rojo, puerta y tronco en foami marrón, niveles del árbol en foami escarchado verde y liso verde.
✨STEP 3:
While it was drying, I began to draw the rest of the details for the house on a white sheet and then I transferred them to the corresponding colors of foam, as I explain below: the roof frame in copper frosted foam, chimney and heart in red foam, door and trunk in brown foam, tree levels in green frosted foam and green smooth foam.

 |  |
|---|

✨PASO 4:
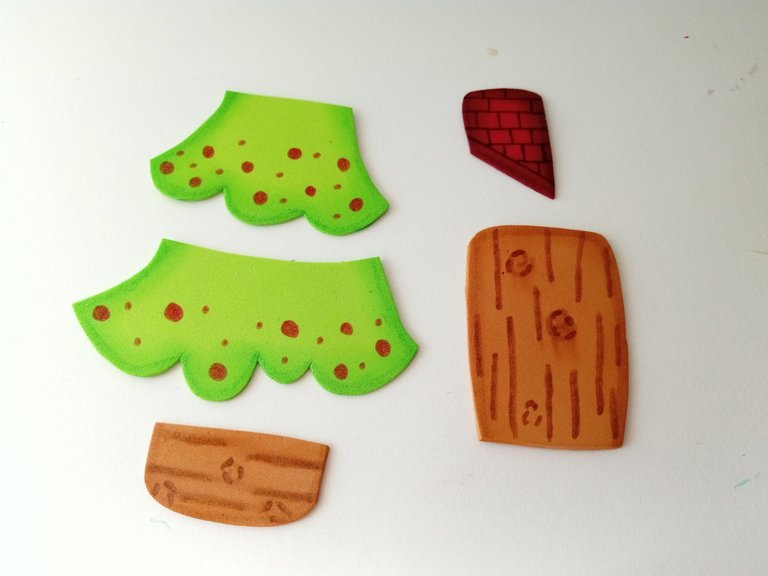
Al tener recortadas todas las piezas, es momento de dar color a los bordes de las piezas en foami liso, con ayuda de pinturas y un pañito para difuminar. Al estar seco, comencé a dar detalles con marcadores a la puerta, a los bloques de la chimenea, al corazón y esferas del árbol.
✨STEP 4:
Once all the pieces were cut out, it was time to color the edges of the pieces in smooth foam, using paints and a cloth to blend. Once it was dry, I began to add details with markers to the door, the blocks of the fireplace, the heart and spheres of the tree.

 |  |
|---|

✨PASO 5:
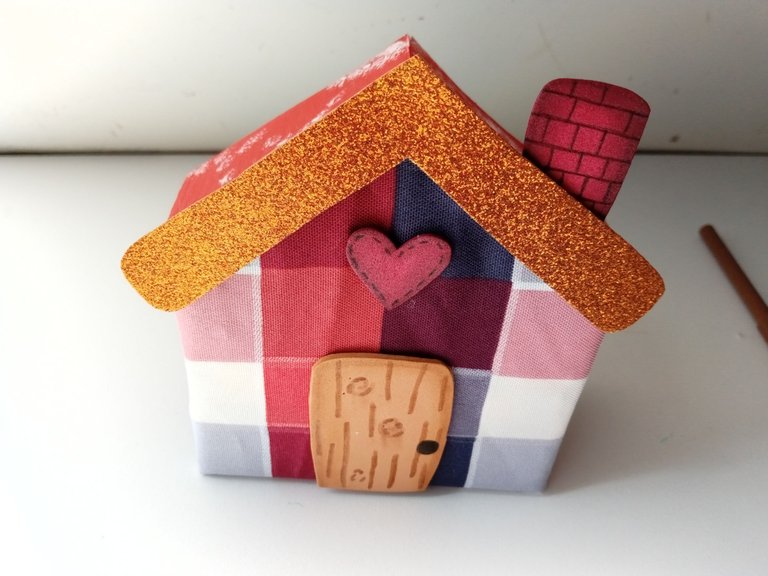
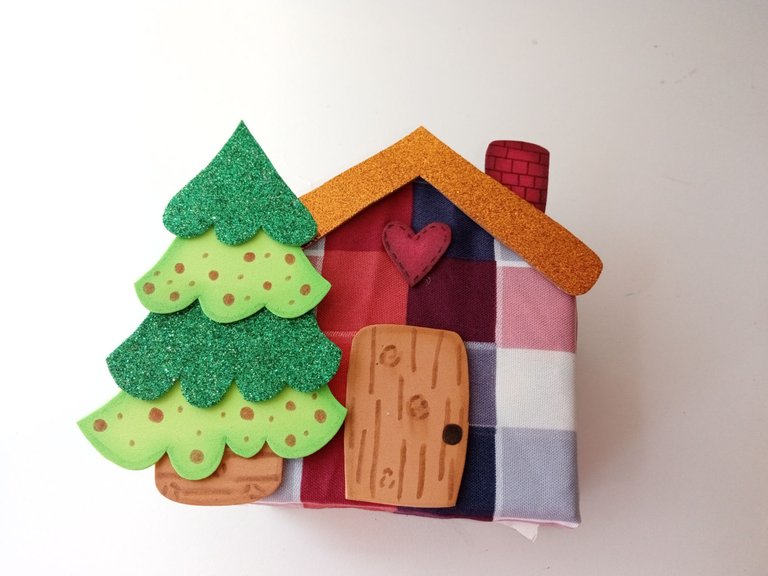
Al estar seco, pegué las piezas a la casa en el orden correspondiente, seguidamente uní las piezas hasta formar el árbol y pegué el árbol en el borde izquierdo de la casa y no quise esta vez agregar puntos de luz con pintura blanca, pero si desean pueden hacerlo.
✨STEP 5:
Once it was dry, I glued the pieces to the house in the corresponding order, then I joined the pieces together to form the tree and glued the tree to the left edge of the house and this time I didn't want to add points of light with white paint, but if you want you can do it.

 |  |
|---|

✨This is how I made my third cardboard house to decorate the area at the base of my tree a little more, but don't forget that it is also a nice idea to decorate any other area of our home or even as a centerpiece, accompanied by other decorations. I hope you liked the step by step and are encouraged to make it.
❤️Until the next post.

✨RESULTADO: | ✨RESULT:

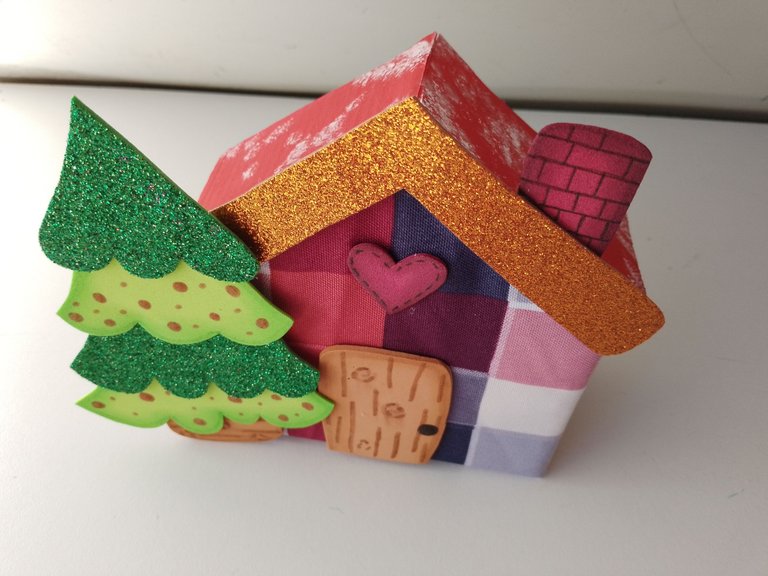


Todas las fotografías son de mi propiedad.
Separador y Fotos editadas en Canva
All photographs are my property.
Photos edited in Canva
Posted Using InLeo Alpha
Congratulations @valenpba! You have completed the following achievement on the Hive blockchain And have been rewarded with New badge(s)
<table><tr><td><img src="https://images.hive.blog/60x70/https://hivebuzz.me/@valenpba/upvoted.png?202412240809" /><td>You received more than 110000 upvotes.<br />Your next target is to reach 120000 upvotes. <p dir="auto"><sub><em>You can view your badges on <a href="https://hivebuzz.me/@valenpba" target="_blank" rel="noreferrer noopener" title="This link will take you away from hive.blog" class="external_link">your board and compare yourself to others in the <a href="https://hivebuzz.me/ranking" target="_blank" rel="noreferrer noopener" title="This link will take you away from hive.blog" class="external_link">Ranking<br /> <sub><em>If you no longer want to receive notifications, reply to this comment with the word <code>STOP <p dir="auto"><strong>Check out our last posts: <table><tr><td><a href="/christmas/@hivebuzz/christmas-2024"><img src="https://images.hive.blog/64x128/https://files.peakd.com/file/peakd-hive/hivebuzz/48a4gxbkQPDKgMgmJ1sSWqc4FpvuFVG7uBQwX26wrQR6sYmdAJnAdDKzrEg1a2hdq5.png" /><td><a href="/christmas/@hivebuzz/christmas-2024">Christmas Season is Back - Gift your Loved FriendsQuedó linda, se ve tierna 🥹
Nuuu es muy tierna, me encanto 😍 le voy a pedir a mi hermana que me traiga carton y hacerle una casita asi a Buhito, asi duerme ahi y no molesta jajaja esta muy hermosa ❤️
Muy bonito y creativo, porque no se me ocurrió antes jajaja, pero lo anotare para el próximo año, me encanto la idea, gracias por compartirla, saludos, felices fiestas.
Ay no qué ternura! Esa casita esta hermosa amiga
wOW que bonita quedó tu casa . Excelente trabajo.
Felices fiestas!!
Wow! Ami te quedó hermosa, me encantó como decoraste la casita con la tela, se ve súper bella 😍😍 Parece una casita de leñador. Gracias por compartir con nosotros ❤️
Amiga que preciosa decoración! Me encanta como te quedó y los colores están muy lindos! 🫶🏽