

Hola queridos amigos artistas de Hive, comunidad HiveDIY y jugadores de Splinterlands. Espero hayan tenido una linda semana y un feliz inicio del Spooky month (mi mes favorito para hacer rewatch de toda la saga de Scream jaja).
El día de hoy les traigo un fanart que he estado trabajando desde hace ya varias semanas, de hecho, desde antes de mi última publicación para el concurso de social media que realicé ya hace casi un mes. Me trabé un montón en una de las características más representativas del personaje, el agua, pues no tenía ni remota idea de como hacerla con volumen y fluidez. Fue un proceso de prueba y error bastante largo y de un montón de posibilidades. Posteriormente con el fondo también tuve problema, pues no quería que se viera demasiado simple. Pero finalmente el día de hoy me dispuse a seguir avanzando con este y logré un resultado aceptable.
A continuación les enseñaré el paso a paso de cómo realicé la siguiente ilustración de Water Caller, espero les guste.

Hello dear friends Hive artists, HiveDIY community and Splinterlands players. I hope you had a nice week and a happy start of Spooky month (my favorite month to rewatch the whole Scream saga haha).
Today I bring you a fanart I've been working on for several weeks now, in fact, since before my last post for the social media contest I did almost a month ago. I got stuck a lot on one of the most representative features of the character, the water, because I had no idea how to make it with volume and fluidity. It was a long process of trial and error and a lot of possibilities. Later with the background I also had a problem, because I didn't want it to look too simple. But finally today I set out to move forward with this one and achieved an acceptable result.
Next I will show you the step by step of how I made the following illustration of Water Caller, I hope you like it.
Proceso 🌱 Process
Sketch
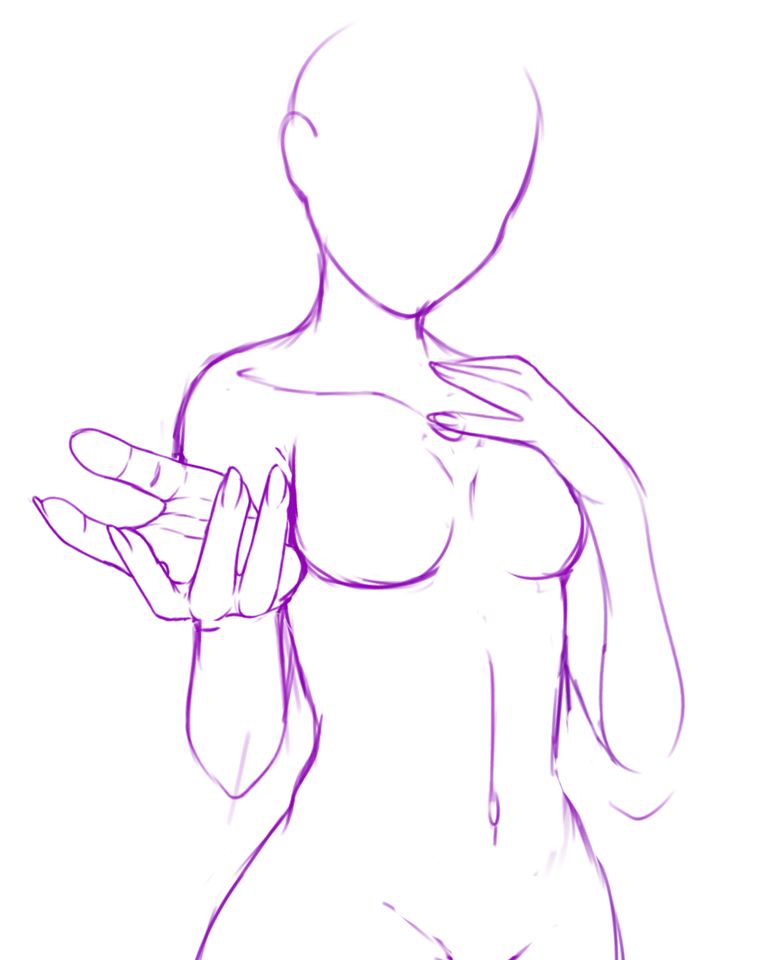
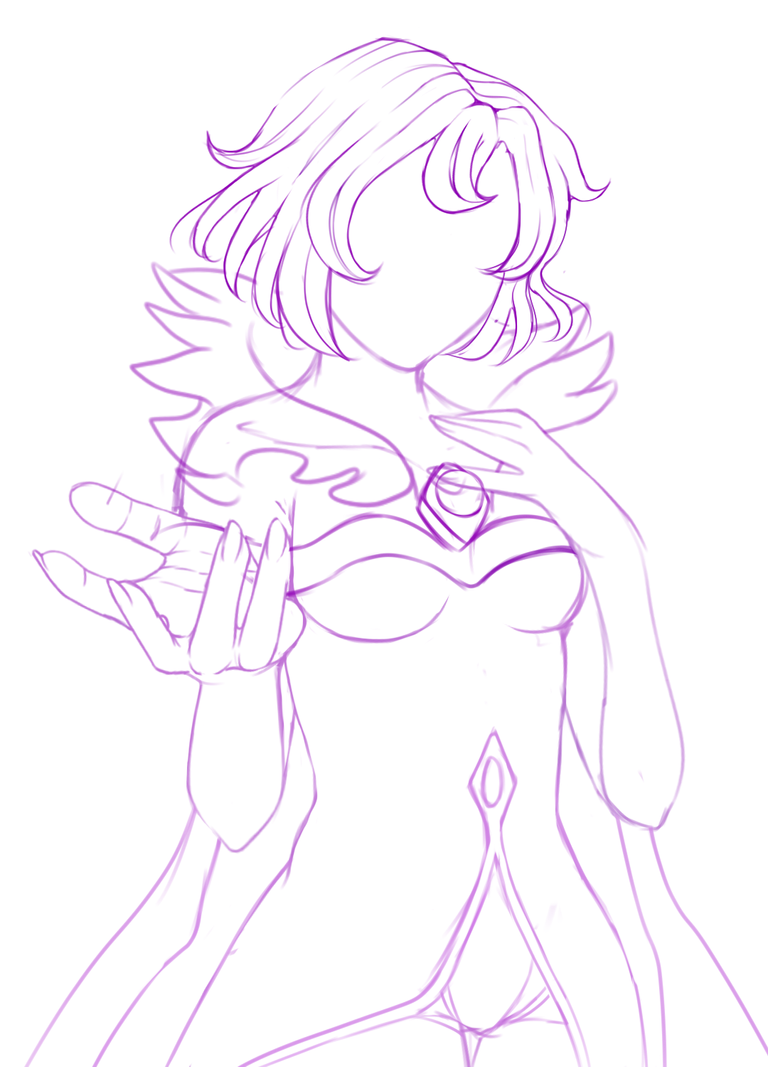
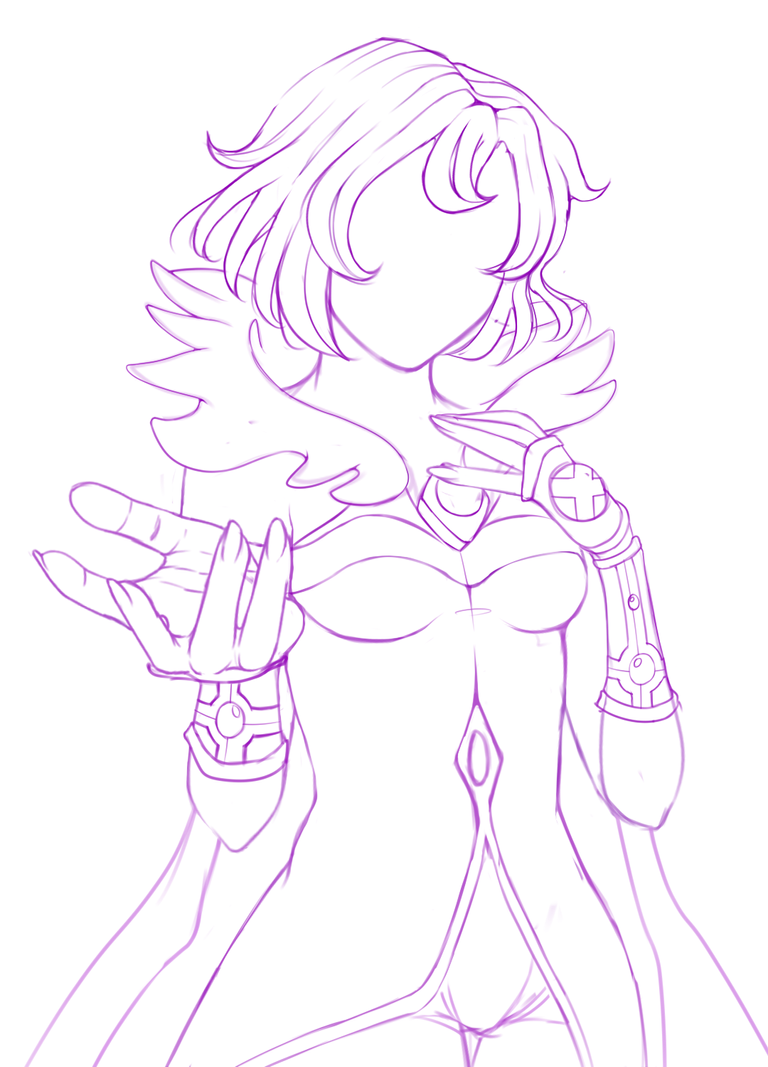
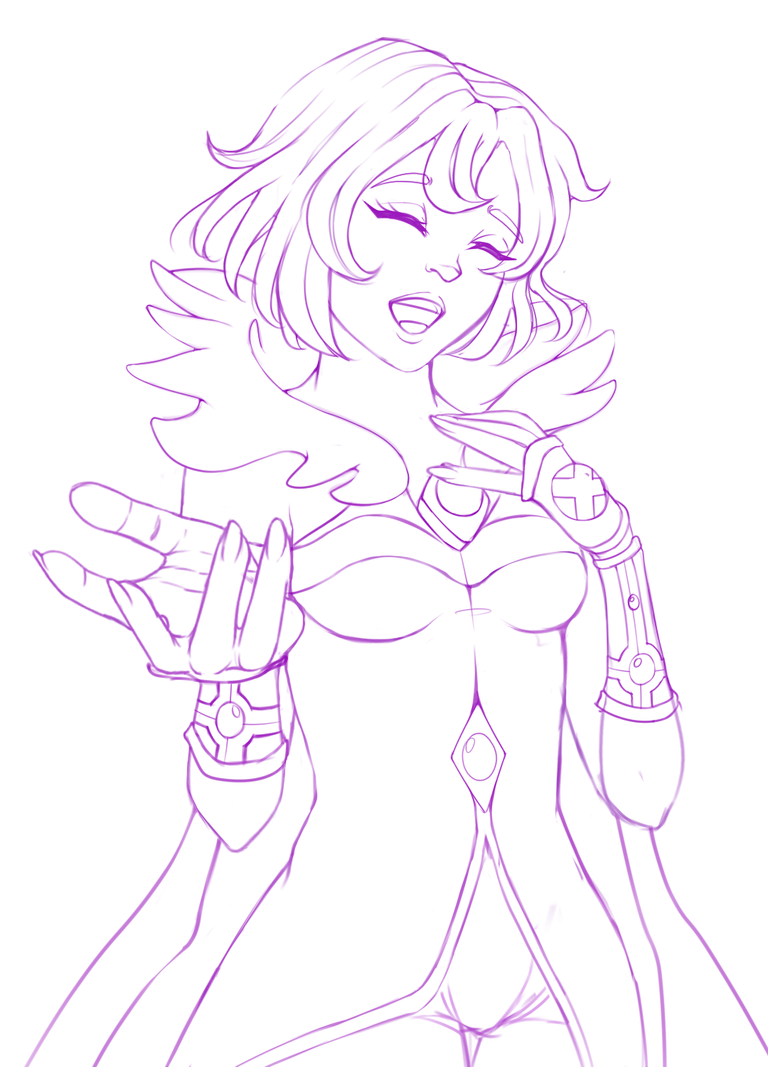
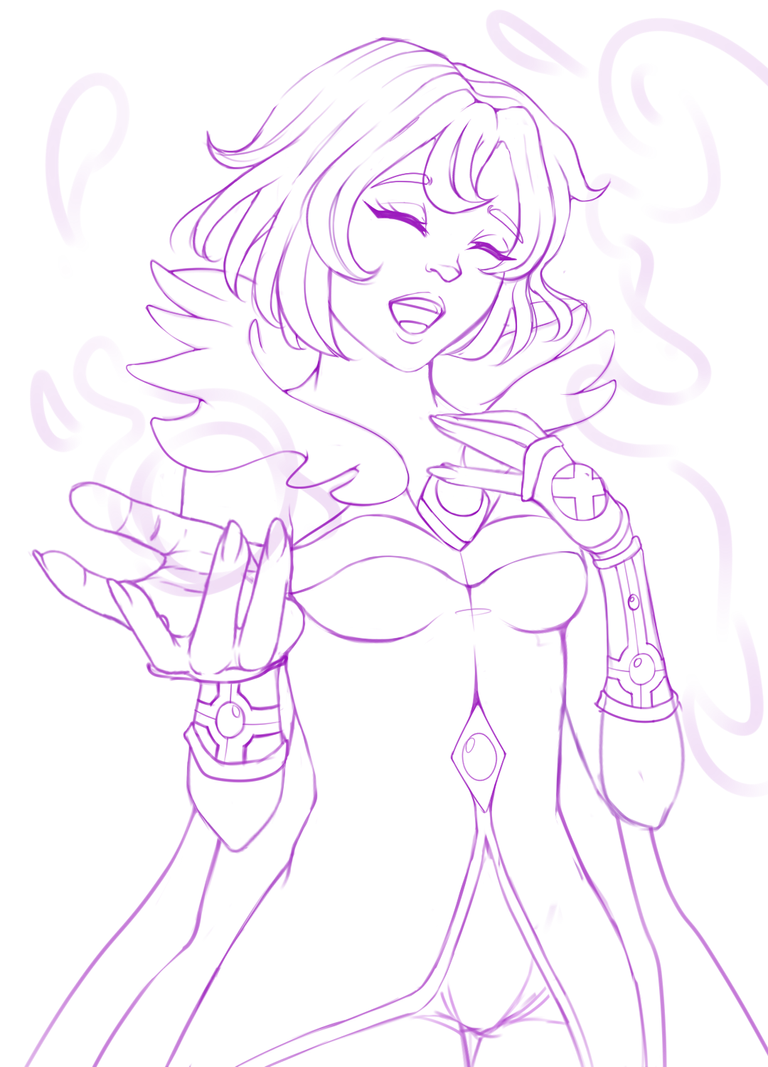
Para el boceto comencé dibujando una pose que me pareció llamativa para el personaje, en una orientación especifica. Quería que tuviera un poco de perspectiva y que luciera como si el personaje estuviera acercando su mano. Para esto hice algunos estudios fotográficos conmigo misma haciendo la pose y lo estuve dibujando hasta llegar a un resultado que me agrado. Poco a poco fui añadiendo el resto de detalles faltantes, la ropa y el cabello, que decidí darle un poco más mi estilo personal. Finalicé con la expresión del rostro, bastante alegre, y me debatí entre dibujar los ojos abiertos o cerrados, pero aquí si mantuve la esencia original.
For the sketch I started by drawing a pose that I thought was striking for the character, in a specific orientation. I wanted it to have a bit of perspective and to look as if the character was bringing his hand closer. For this I made some photographic studies with myself doing the pose and I was drawing it until I reached a result that I liked. Little by little I added the rest of the missing details, the clothes and the hair, which I decided to give a little more my personal style. I finished with the expression of the face, quite happy, and I debated between drawing the eyes open or closed, but here I kept the original essence.
Coloring
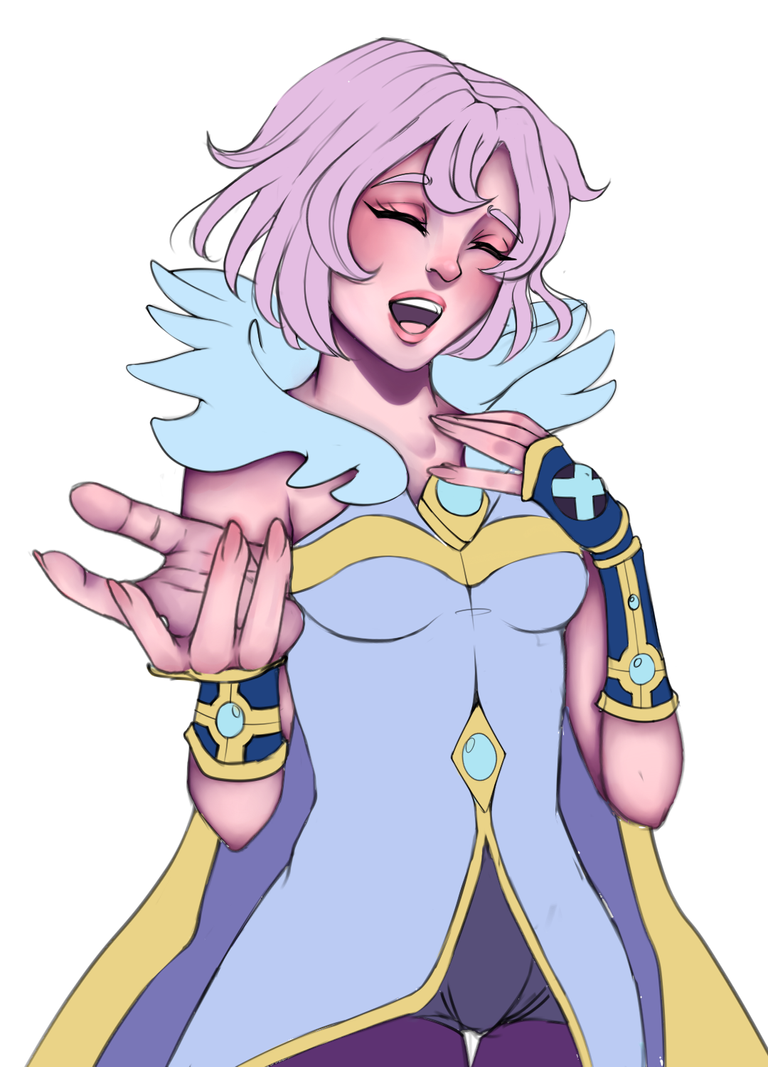
Para los colores base extraje distintos tonos de la carta original y no los alteré mucho en saturación ya que preferí trabajarlos posteriormente al aplicar las sombras. Trabajé la piel con diversos tonos de rosa y rojo para tornar más cálido el color base que use para la piel, luego con un color más tornando hacia lo violeta, y la capa en multiplicar me dispuse a sombrear en lugares específicos, como bajo el cuello, en los bordes de la ropa, y bajo el cabello.
For the base colors I extracted different tones from the original chart and did not alter them much in saturation since I preferred to work on them later when applying the shadows. I worked the skin with different shades of pink and red to warm up the base color I used for the skin, then with one more color turning to violet, and the multiply layer I shaded in specific places, like under the neck, on the edges of the clothes, and under the hair.
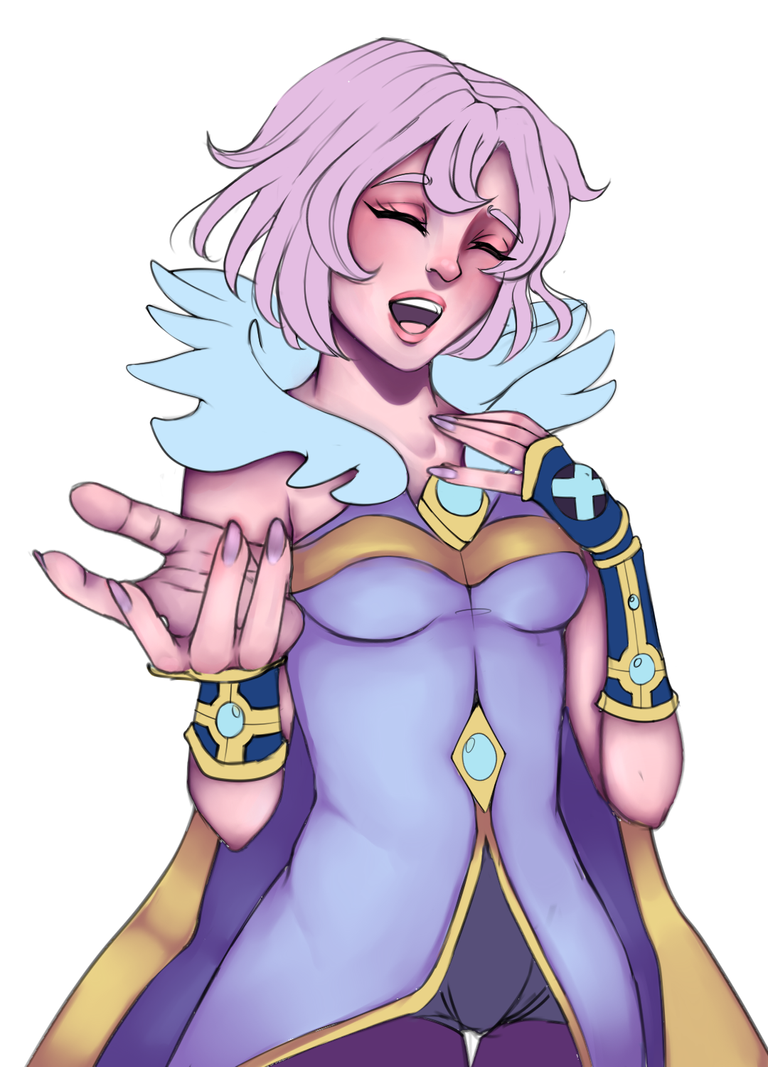
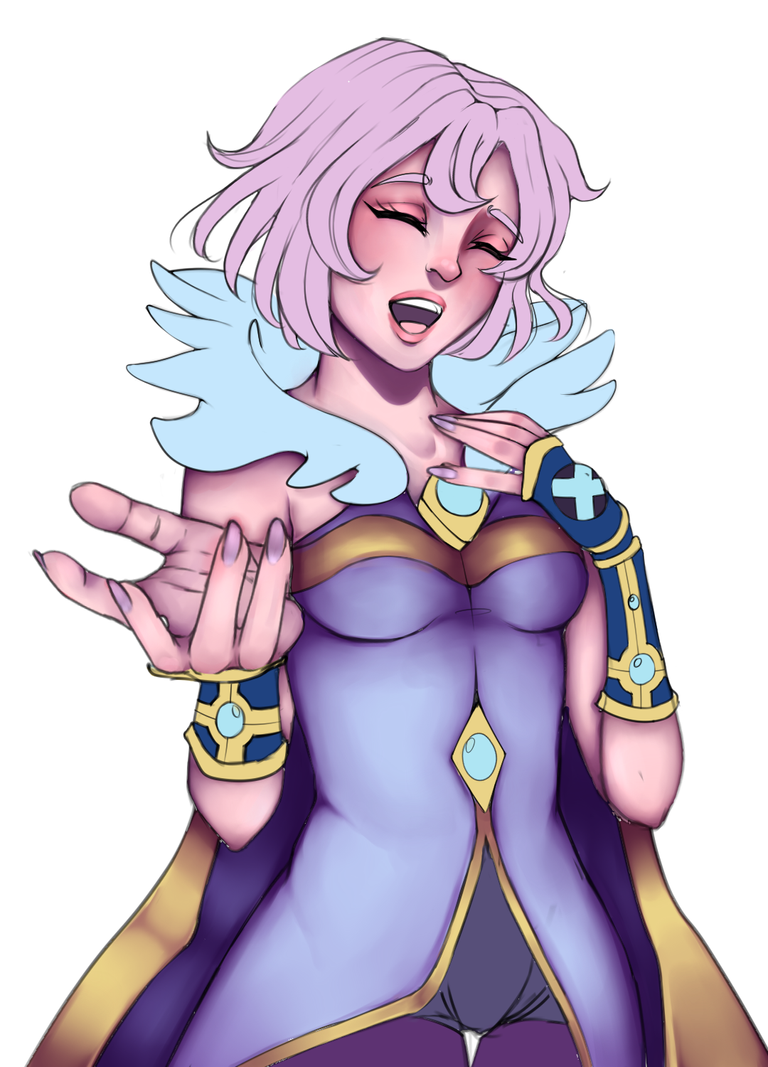
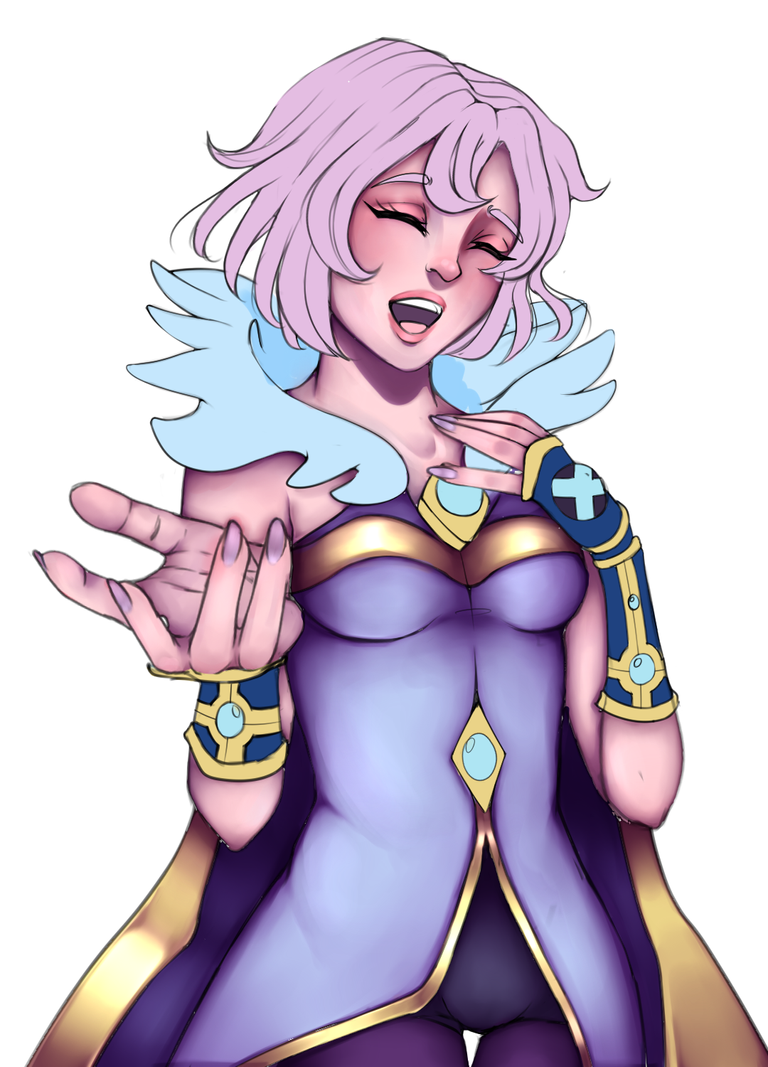
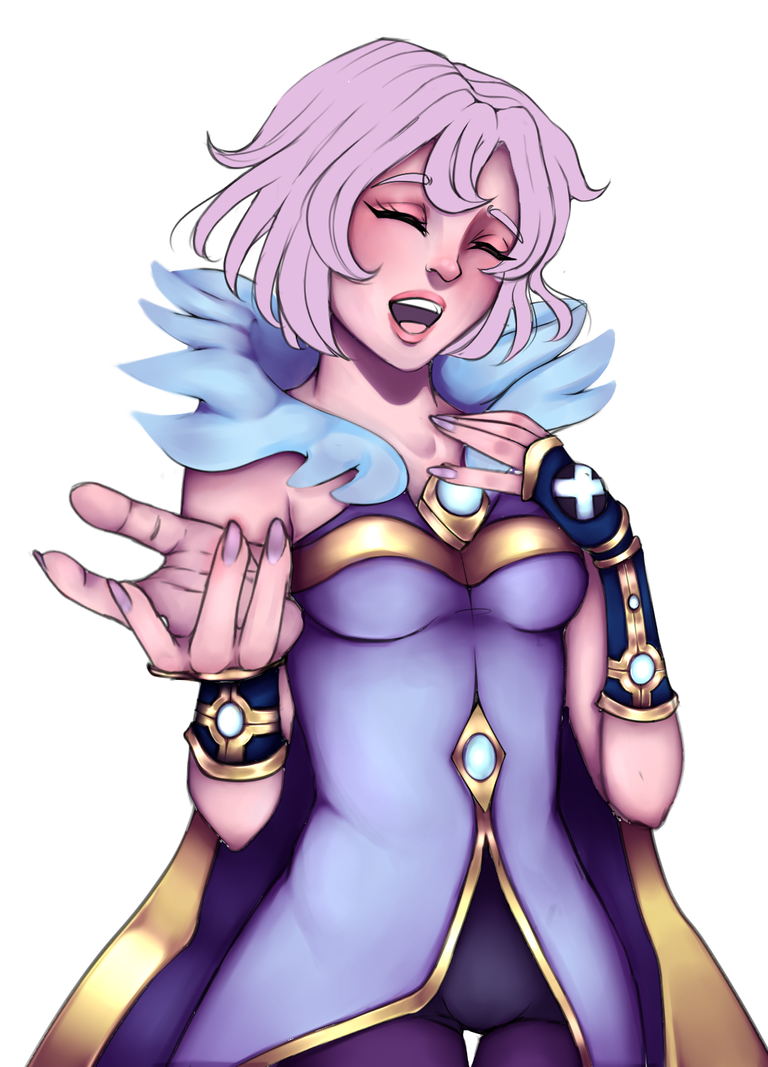
La ropa la trabajé con distintos tonos de violeta, del más claro al más oscuro en partes escondidas, en una capa en multiplicar, para sombrear y darle volumen y definición. Luego los detalles brillantes en los guantes y la ropa, los coloreé con la capa en opción de luminosidad.
The clothes I worked with different shades of violet, from the lightest to the darkest in hidden parts, in a layer in multiply, to shade and give volume and definition. Then the shiny details in the gloves and the clothes, I colored them with the layer in luminosity option.
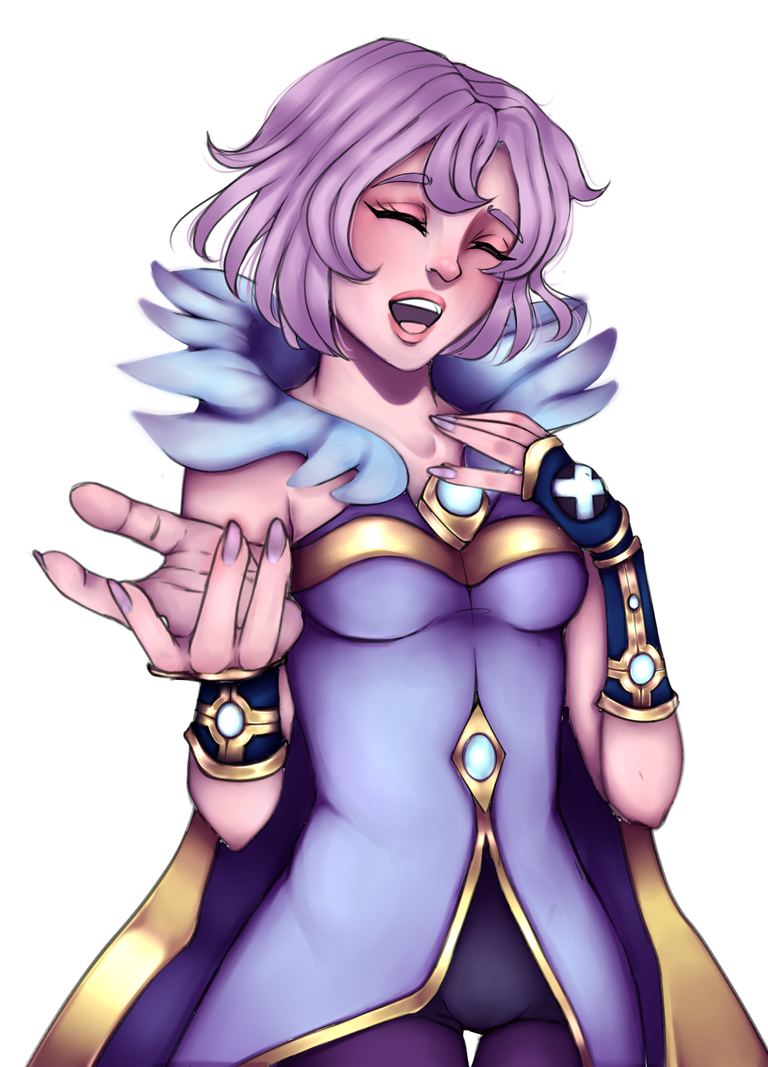
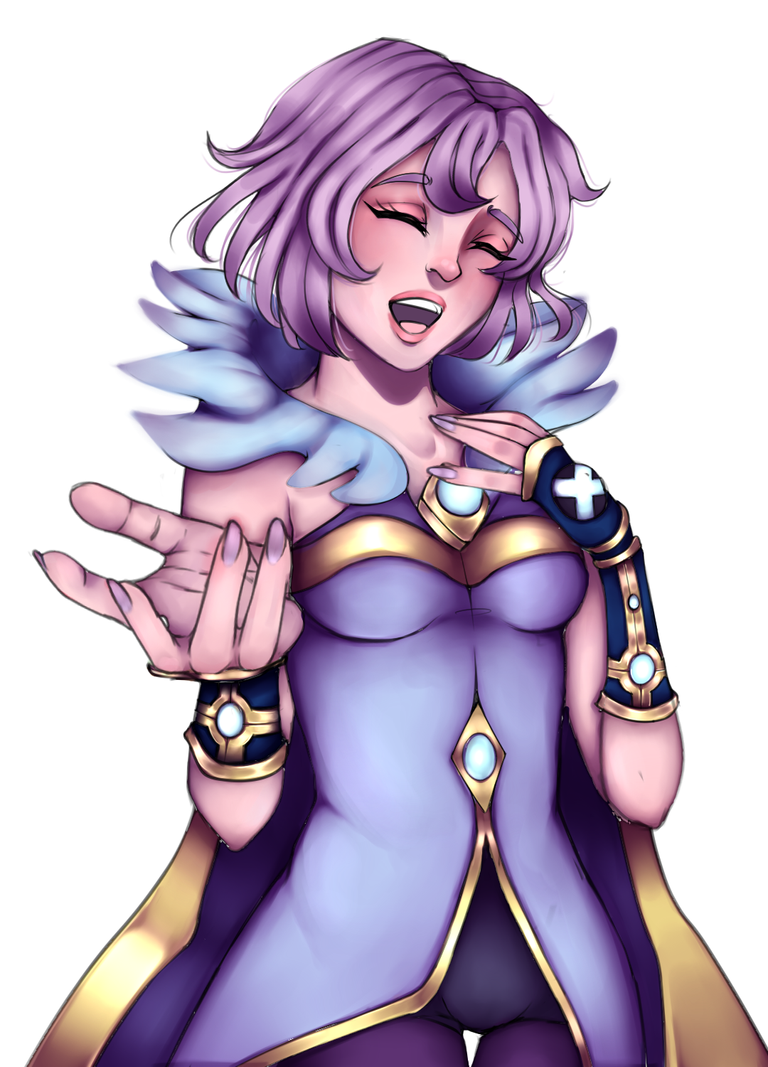
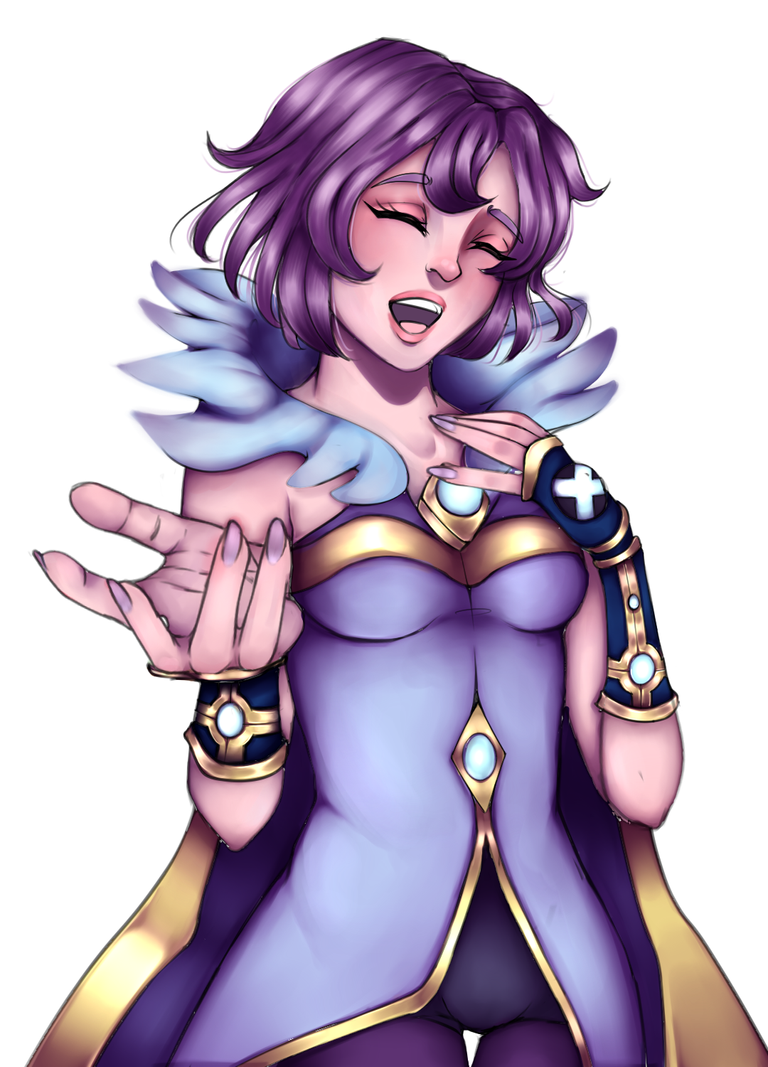
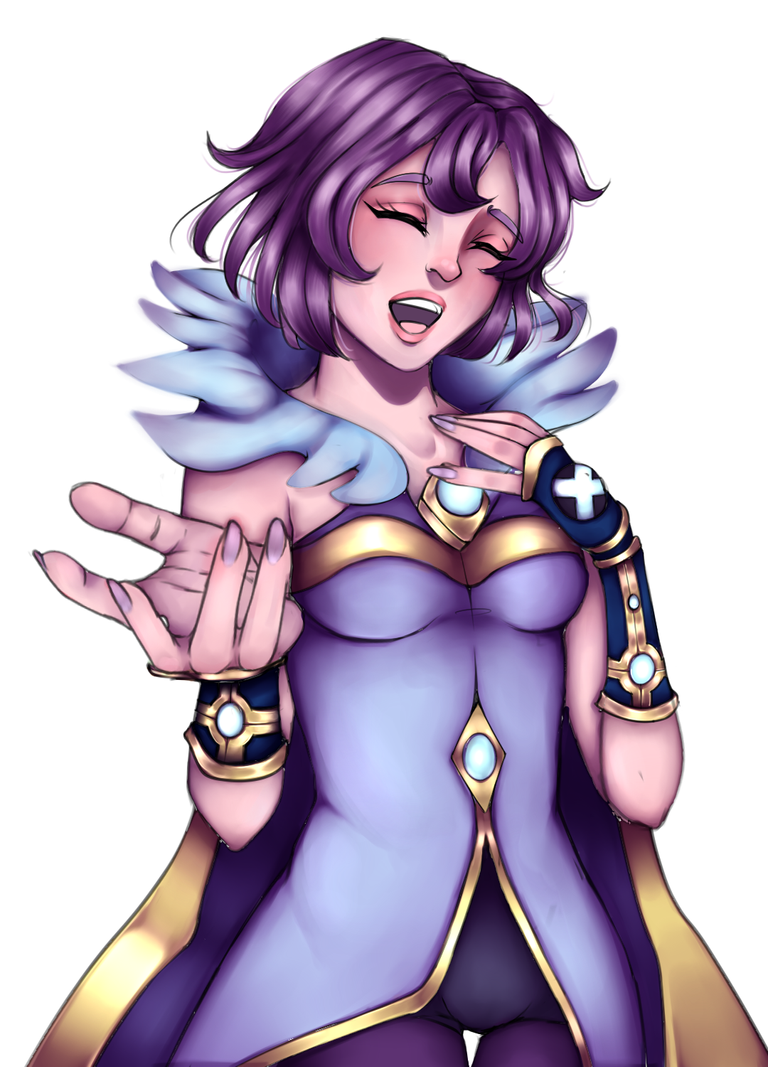
El cabello ya de por sí era un tono lavanda, por lo que en variaciones del mismo tono me dispuse a darle volumen. Luego finalicé con una capa en luminosidad, dibuje un aro de luz alrededor de todo el cabello y lo difuminé un poco.
The hair was already a lavender tone, so in variations of the same tone I gave it volume. Then I finished with a layer in luminosity, drew a ring of light around the hair and blurred it a bit.
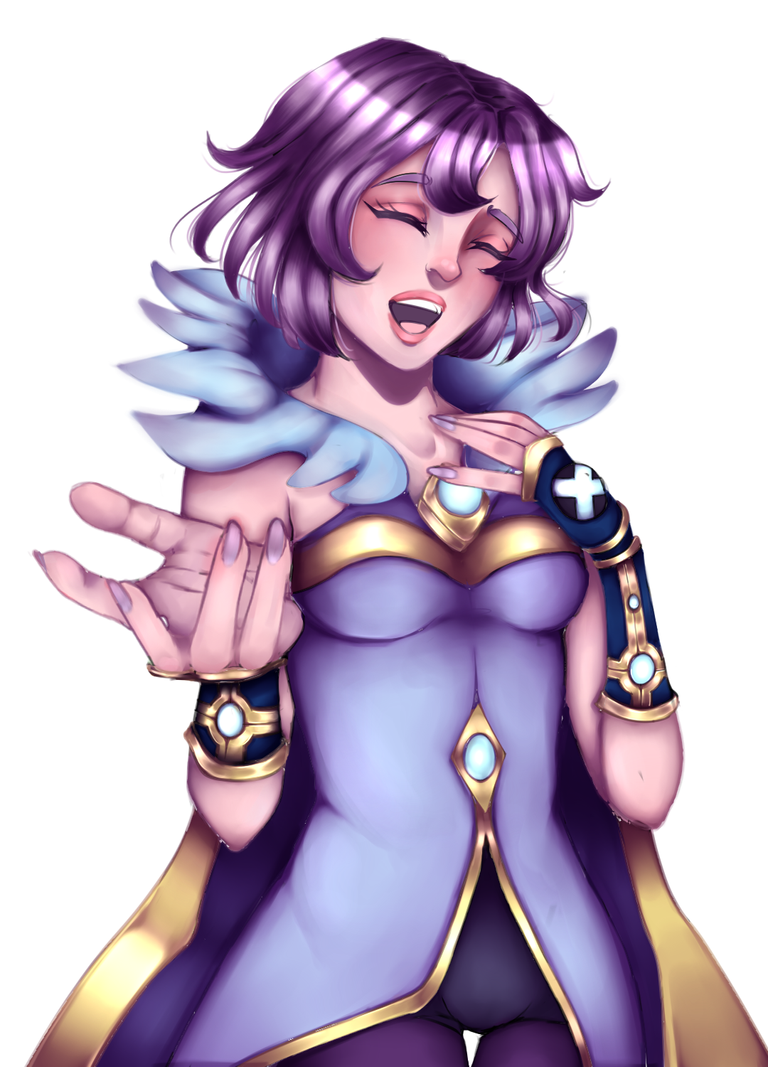
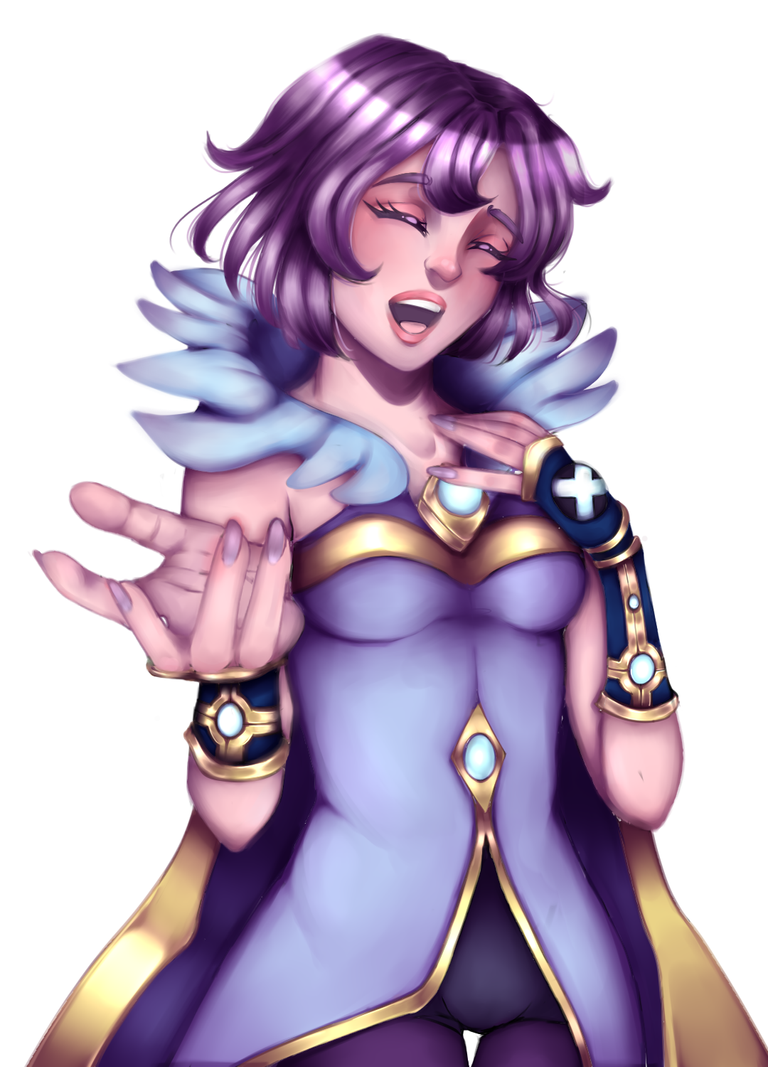

Ya para este punto donde en la mayoría del dibujo estaba coloreado, coloreé el lineart de dstintos colores extraidos del dibujo para hacerlo un poco más realista.
At this point, where most of the drawing was already colored, I colored the lineart with different colors extracted from the drawing to make it a little more realistic.
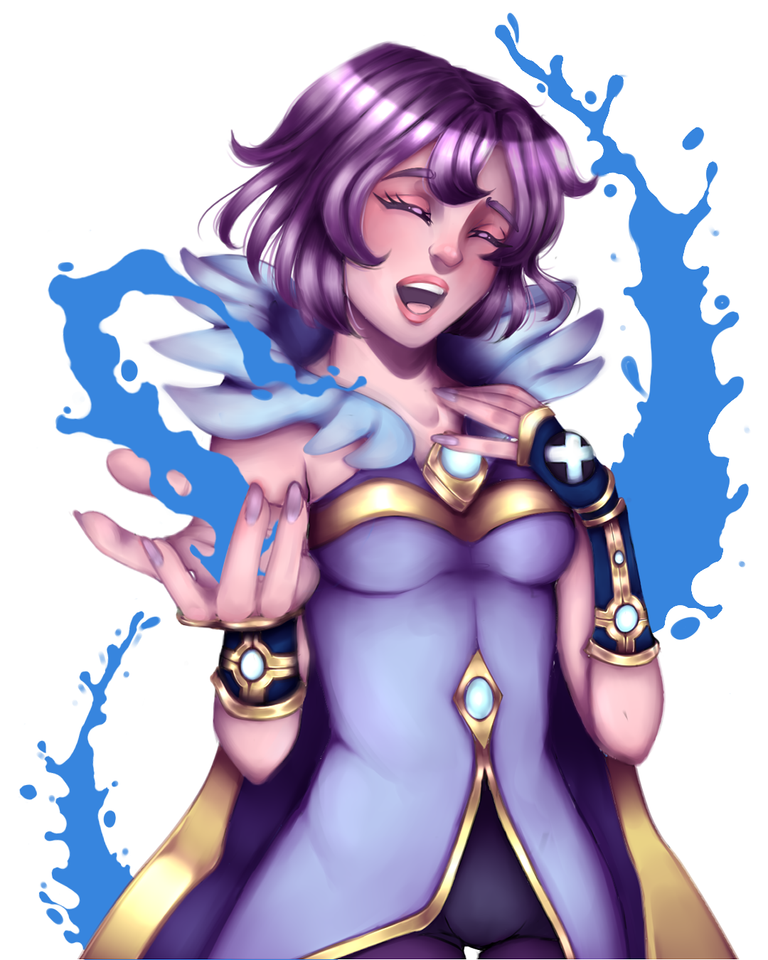
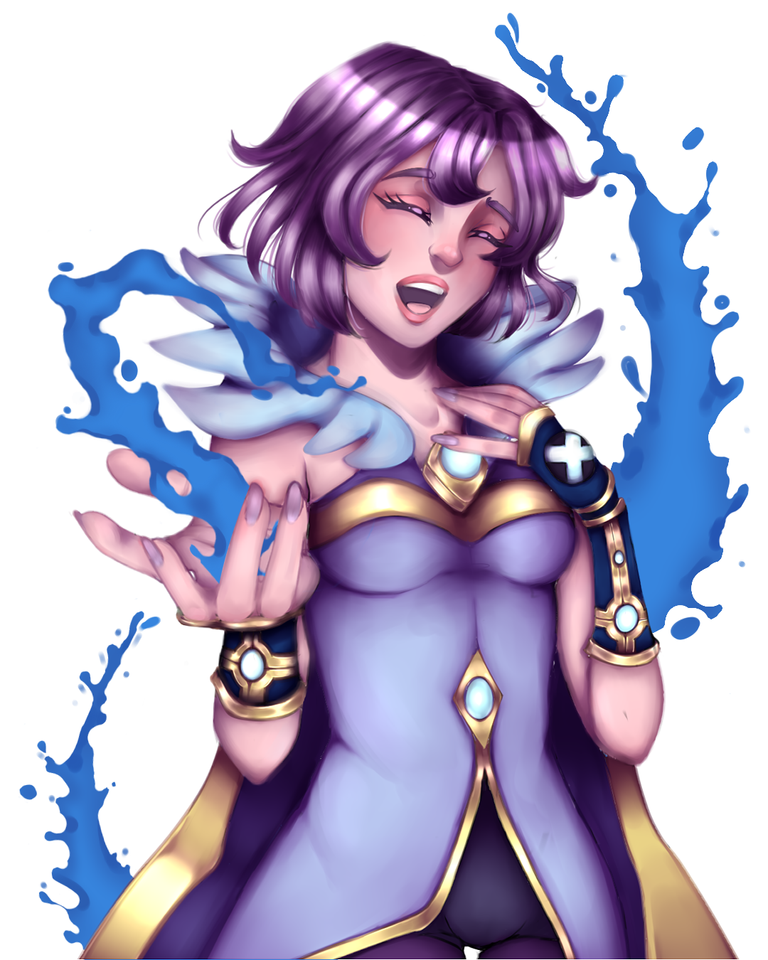
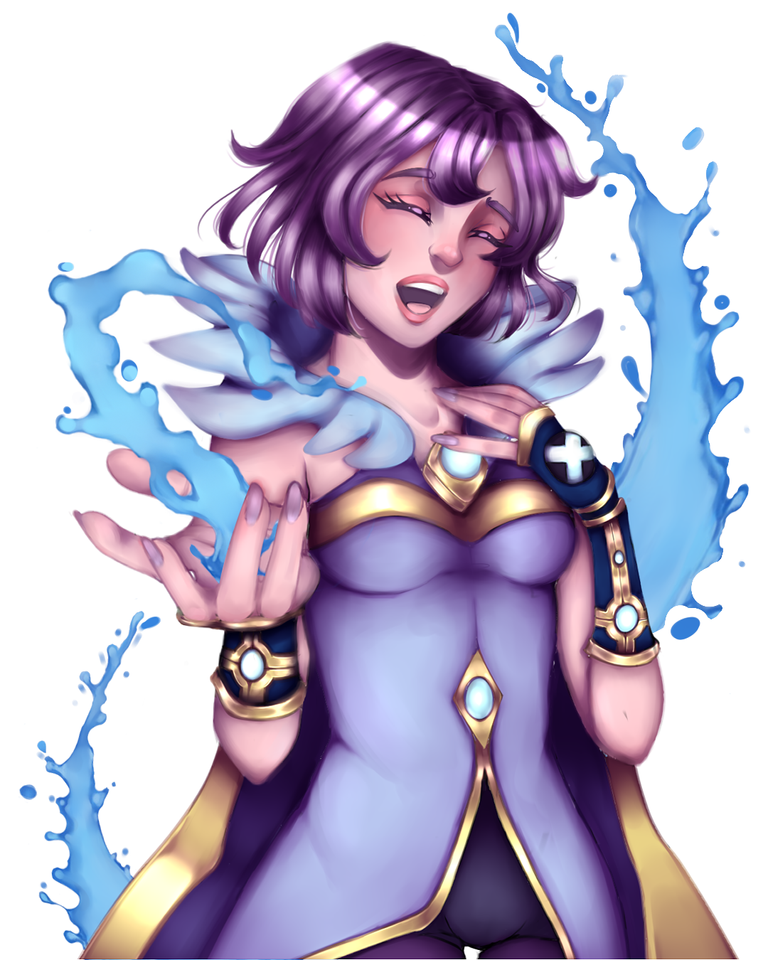
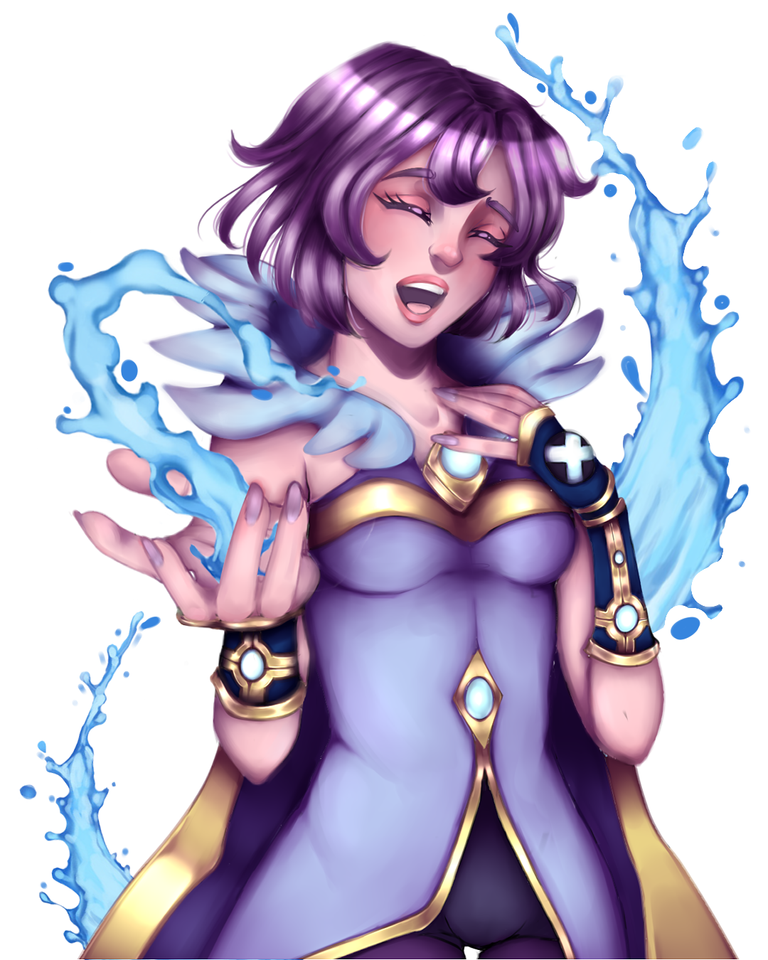
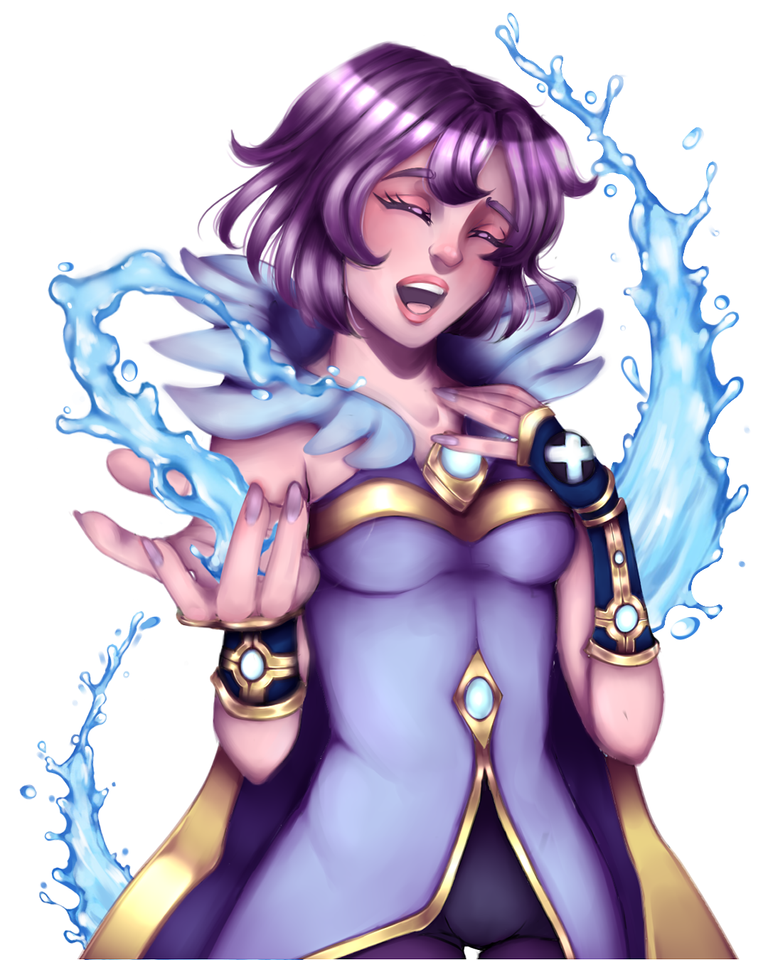
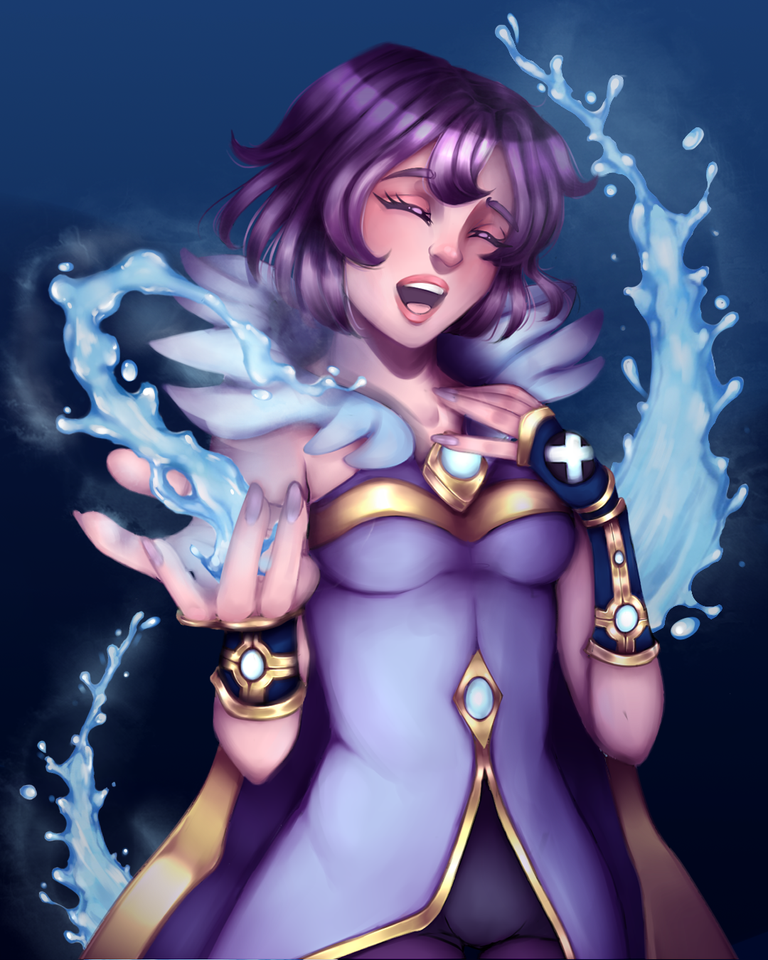
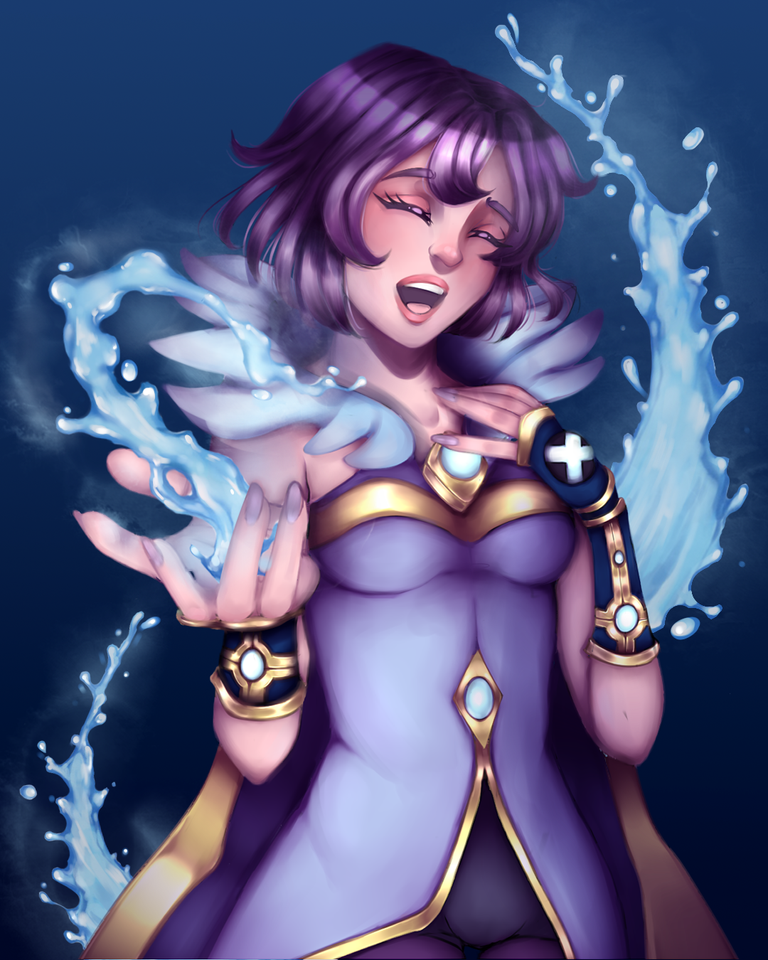
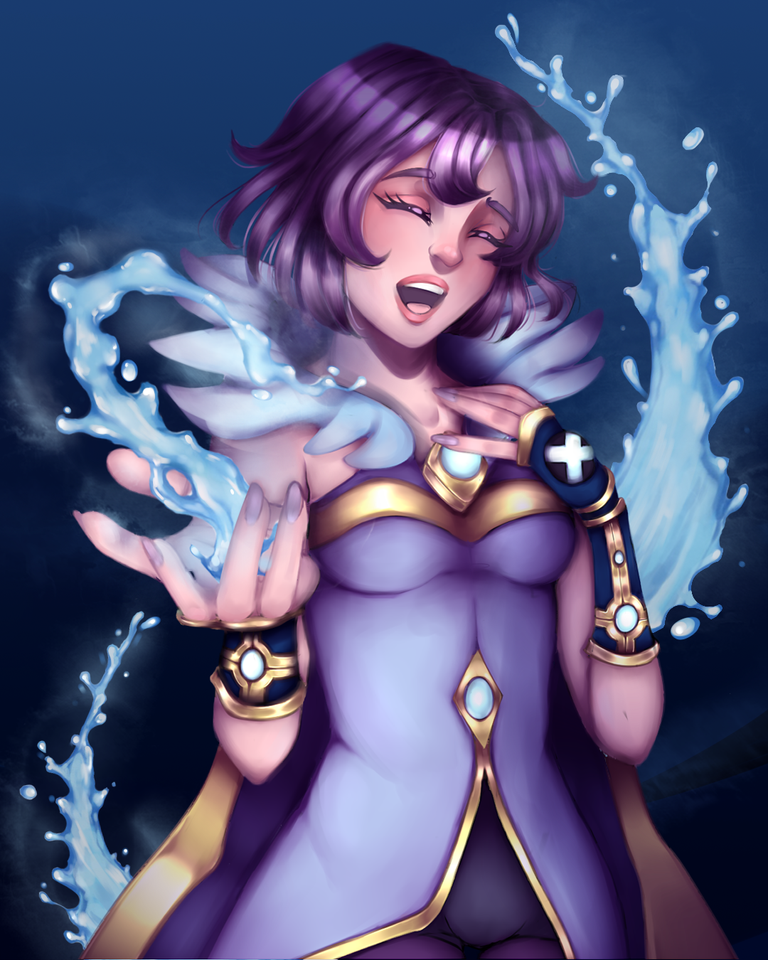
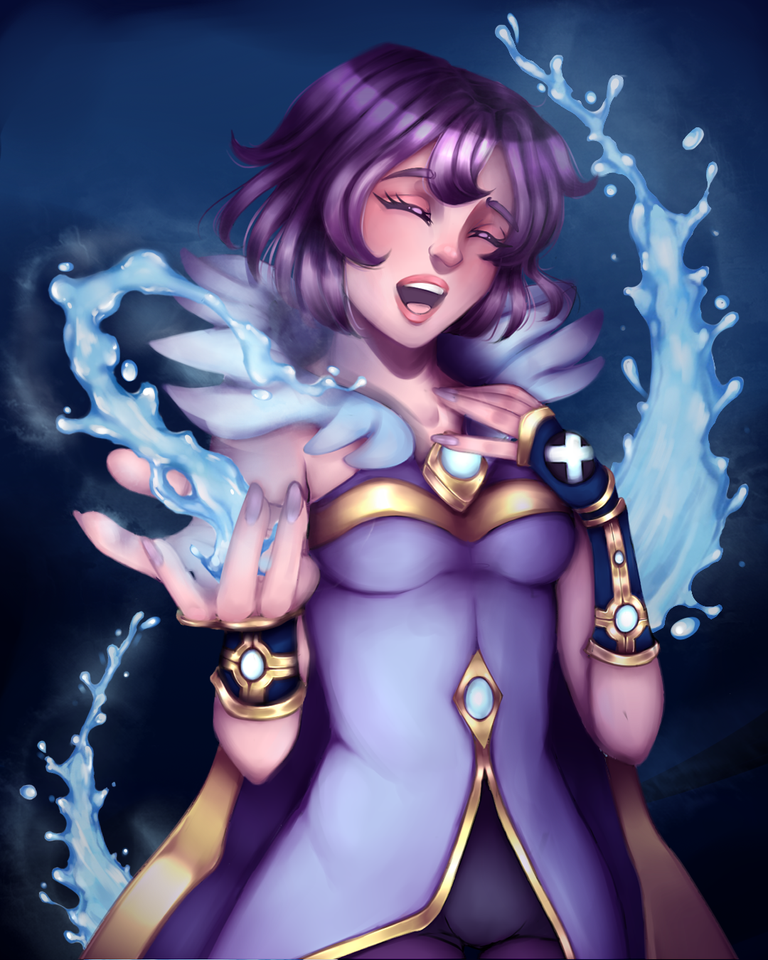
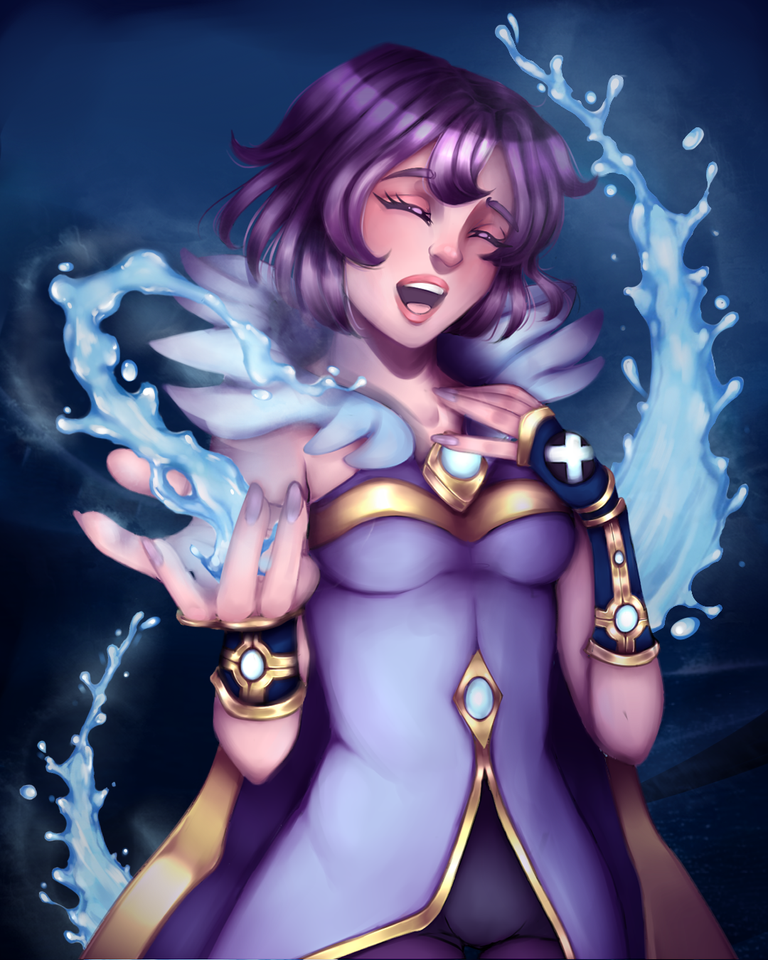
Para el fondo utilice dos colores e hice un degradado en photoshop con ambos, luego jugué un poco para intentar hacerlo lucir como el mar a lo lejos. Luego al dibujo le aplique sombras más oscuras para que se mimetizara bien, e iluminé algunas zonas donde se refleja el poder del agua.
For the background I used two colors and made a gradient in photoshop with both of them, then I played a bit to try to make it look like the sea in the distance. Then I applied darker shadows to the drawing to make it blend in well, and I illuminated some areas where the power of the water is reflected.
Final Result

I hope you liked it. Thanks for watching ฅ^-ﻌ-^ฅ♡


Está súper este contenido
gracias🌱
Gran pieza de arte. Me gustan mucho los colores utilizados y el acabo es bellísimo.
!discovery 45
Graciasss 👐🌱🌸
Hola, eres muy pro ✌️😎🤟
This is definitely gonna get on the leader board, great job.
Thank you! Let's hope so :)
Dios mío, te juro que soy la niña que no dibuja pero que ama ver a gente haciéndolo
JAJAJA, gracias por ver mi dibujo. A mi también me encanta ver trabajos en areas que no domino, me sorprenden las habilidades de las personas. 🌱
Magnifico trabajo digital con un original estilo, te esforzaste mucho en realizarlo pero lo importante es que finalmente lo lograste y quedo hermoso.
Esos bloqueos suelen suceder.
Felicidades y suerte en el concurso @shinfxx ✨
!DIY
Magnificent digital work with an original style. It was beautiful. Congratulations and good luck in the contest.
Está precioso tu trabajo ❤️
This post was shared and voted inside the discord by the curators team of discovery-it
Join our Community and follow our Curation Trail
Discovery-it is also a Witness, vote for us here
Delegate to us for passive income. Check our 80% fee-back Program
Thank you! 🌱💚
@shinfxx
https://leofinance.io/threads/view/hive-130560/re-leothreads-6cn1pjwe
Hermoso.
Thanks for sharing! - @alokkumar121
