🌹✨️🌹Español🌹✨️🌹
Hola mi gente linda de hive ❤️🌹 muy buenas noches para todos espero hayan disfrutado de este tranquilo día y que todos se encuentren muy bien de la mano de Dios siempre es un placer y un gusto enorme saludarlos y compartir algo nuevo cada noche 🤗 hoy me gustaría compartirles y mostrarles paso a paso la confección de un hermoso enterizo corto con un corte superior talle princesa el cual lo hace ser un diseño muy tierno y delicado, me gustaría que me acompañen en cada paso a seguir 😘.
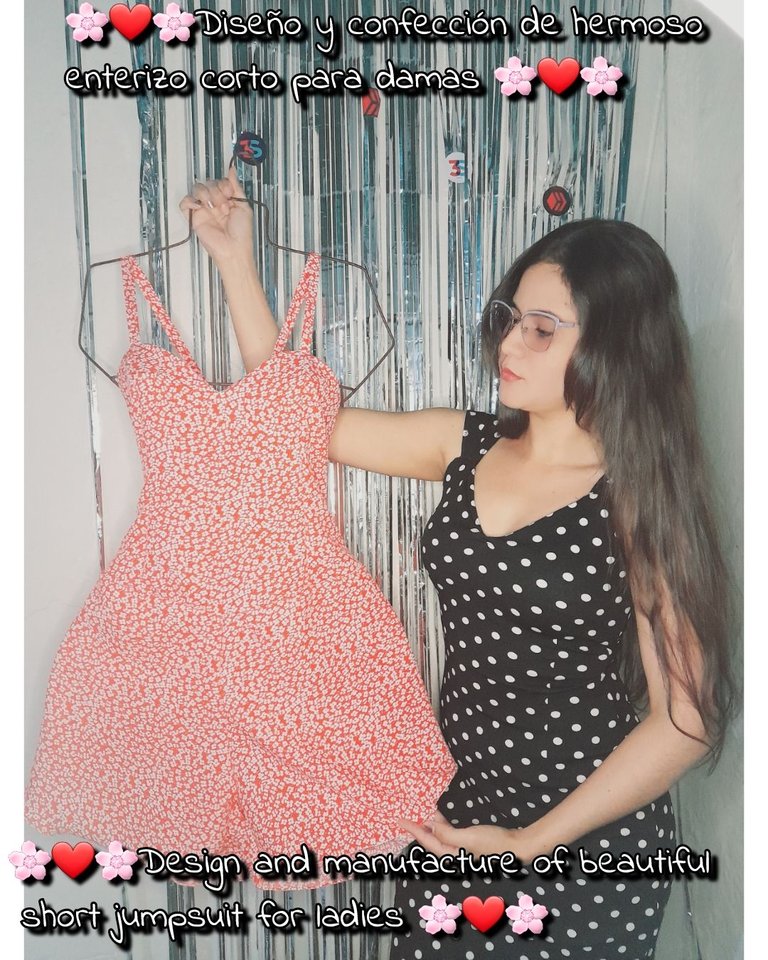
✨️Estos fueron los materiales que use✨️
• Máquina de coser
• Tijera
• Hilo de coser
• Tela
• Prenda de medida
• Cremallera
✨️Pasos✨️
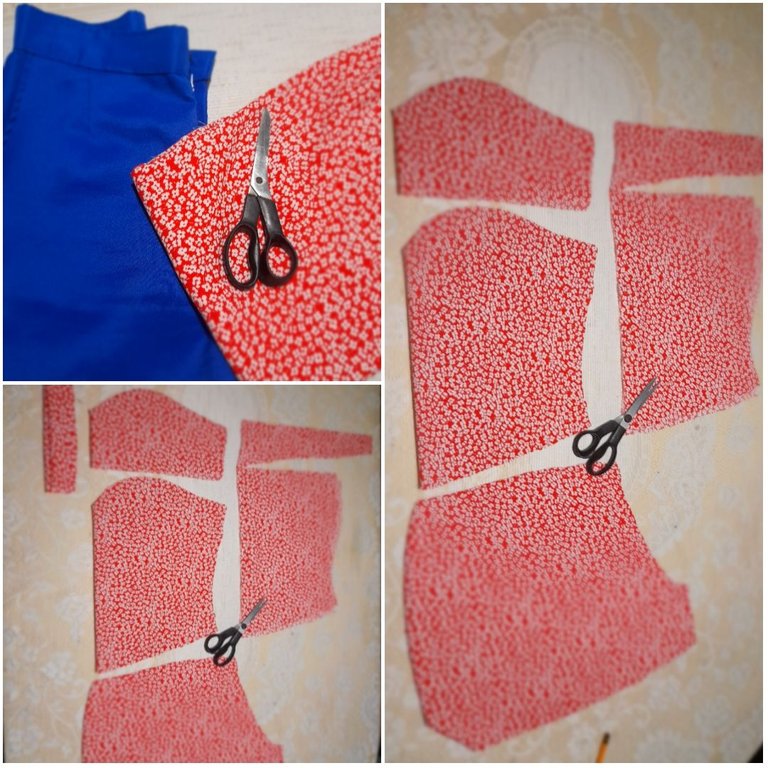
•✨️Voy a iniciar cortando todas las piezas de mi enterizo usando una prenda de medida y medidas tomadas con cinta métrica voy a cortar dos piezas traseras, dos delanteras para el short, para la parte superior voy a cortar una pieza frontal, dos piezas traseras, dos forros superiores uno delantero, otro trasero y dos tiros.
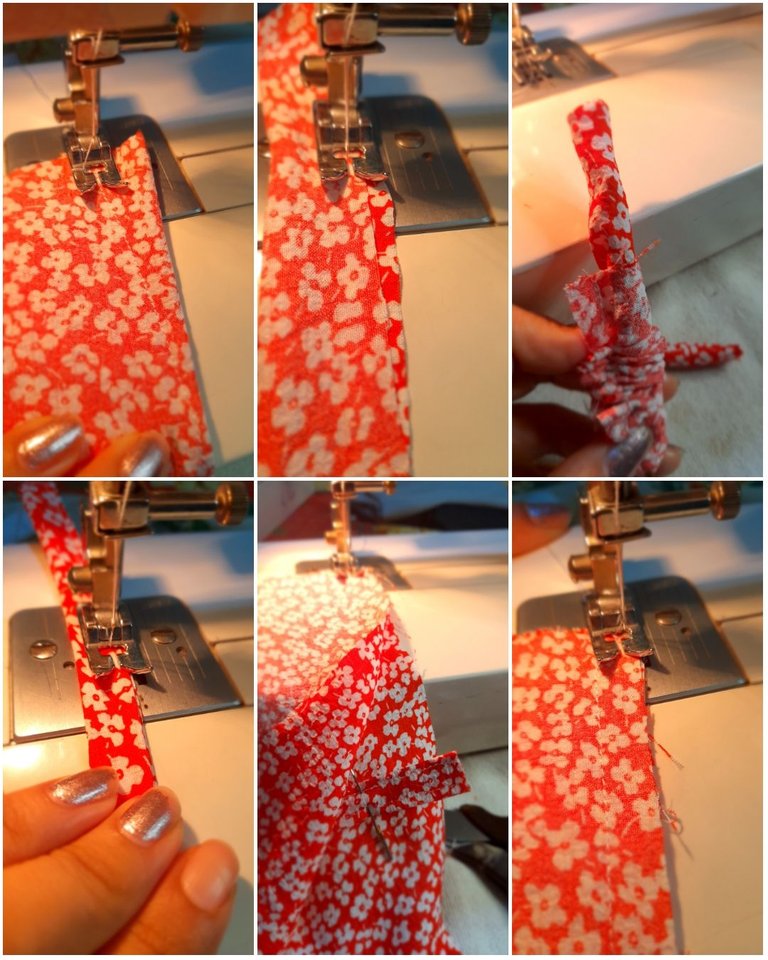
•✨️Continúo cosiendo las pinzas frontales para brindarle caída y forma al busto esto lo haré también con el forro frontal luego voy a coser los tiros doblando la tela y dejando expuesto el lado reverso y cosiendo con costura recta para luego voltear con la ayuda de un palillo luego voy a coser por encima con costura recta, luego voy a fijar los tiros junto con el forro y voy a coser con costura recta y zigzag para asegurar.
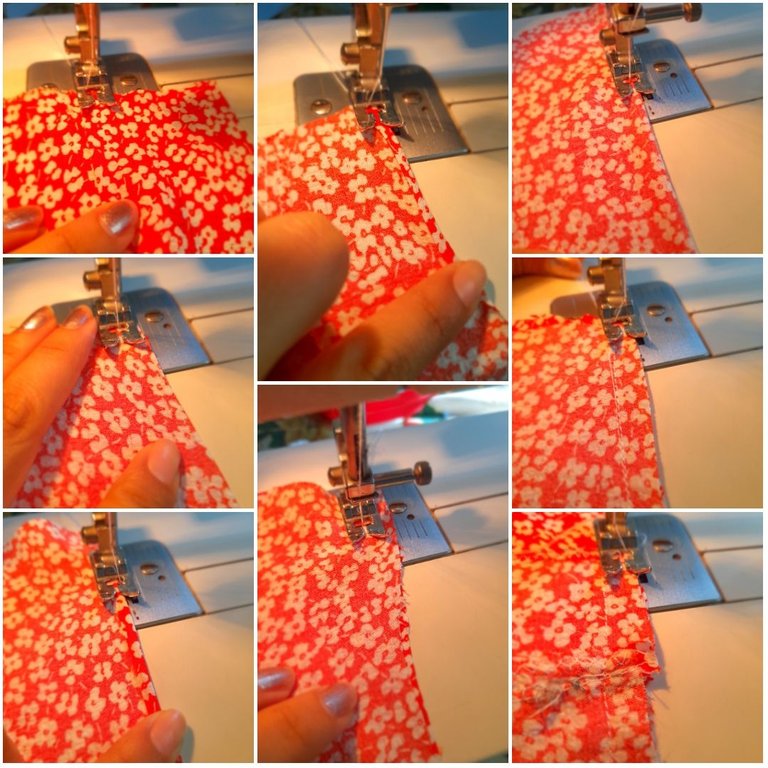
•✨️Voy a coser el lado interno con una costura recta para brindarle caída a la parte superior luego voy a doblar la orilla del forro y coser con costura de zigzag y continúo cosiendo las pinzas traseras con el forro y asegurando de una vez los tiros y haciendo la orilla del forro trasero y continúo cosiendo los extremos de la parte superior con costura recta y zigzag.
•✨️Voy a doblar justo donde esta la costura del forro y voy a coser con costura recta para asegurar de esta forma el forro y evitar que se levante. Continúo cosiendo la parte frontal con costura recta y zigzag y la parte trasera de igual manera también voy a coser los extremos de la parte inferior con costura recta y zigzag para asegurar quedando así lista la parte inferior.
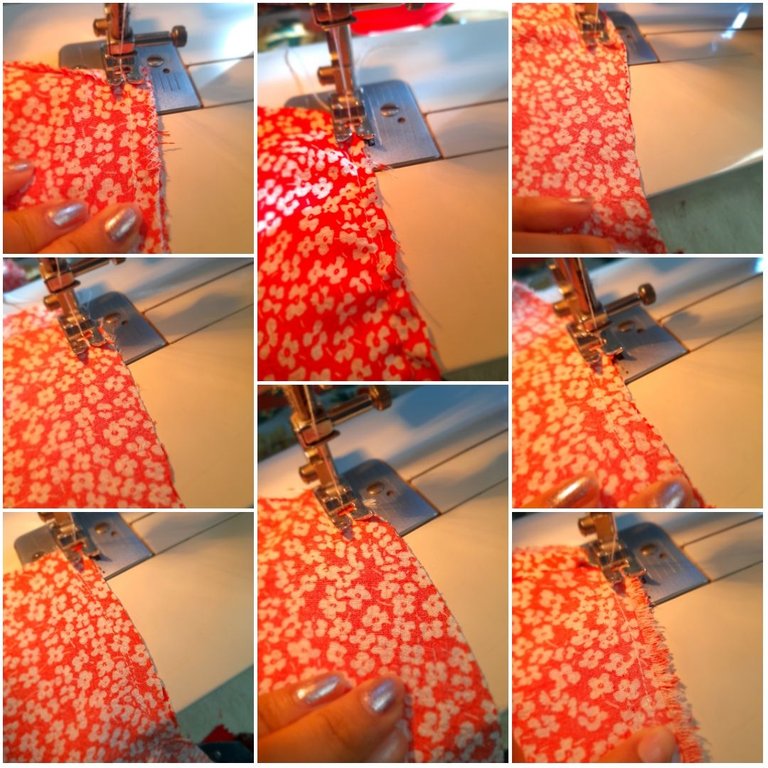
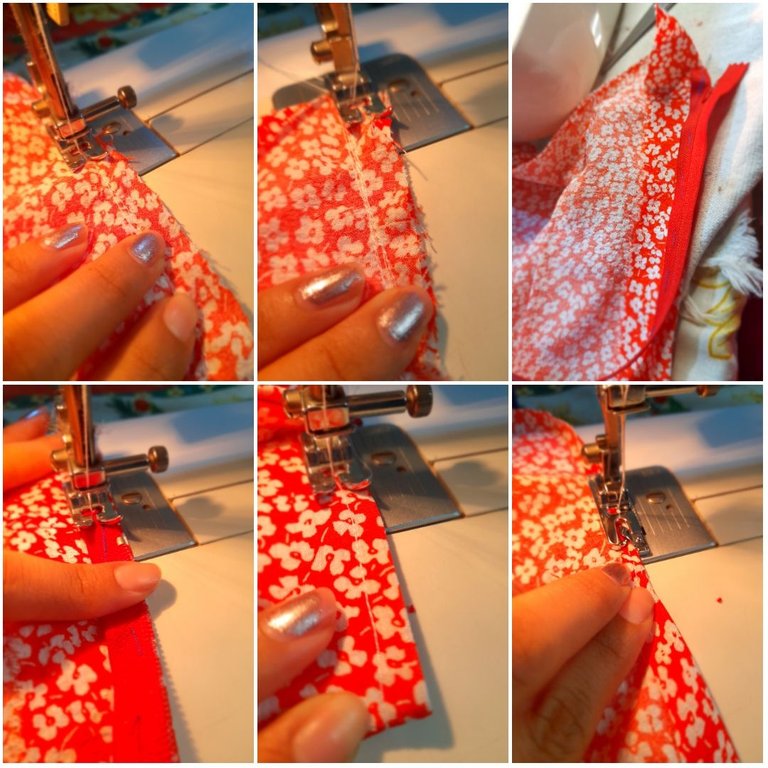
•✨️Continúo uniendo ambas piezas inferior y superior con costura recta y zigzag para asegurar y luego voy a coser la parte interna de la pierna con costura recta dos veces y zigzag dejando un pequeño espacio para coser la cremallera la cual lo haré con una costura recta asegurando la parte superior culminando así este lindo diseño.
🌹✨️🌹Resultados🌹✨️🌹
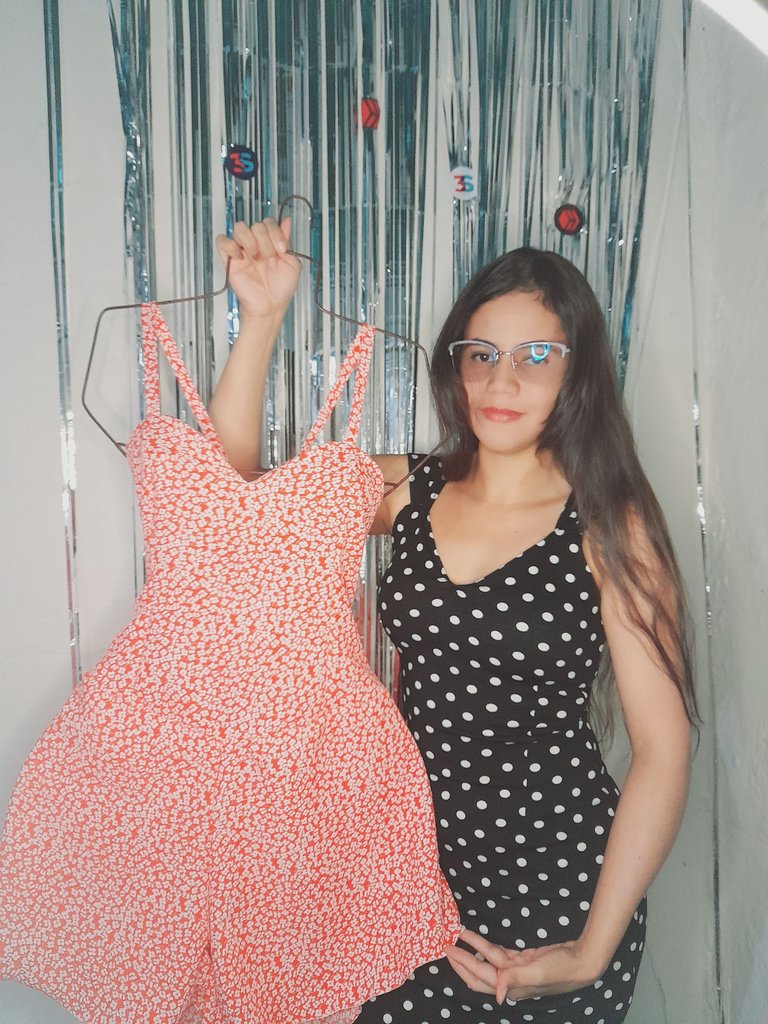
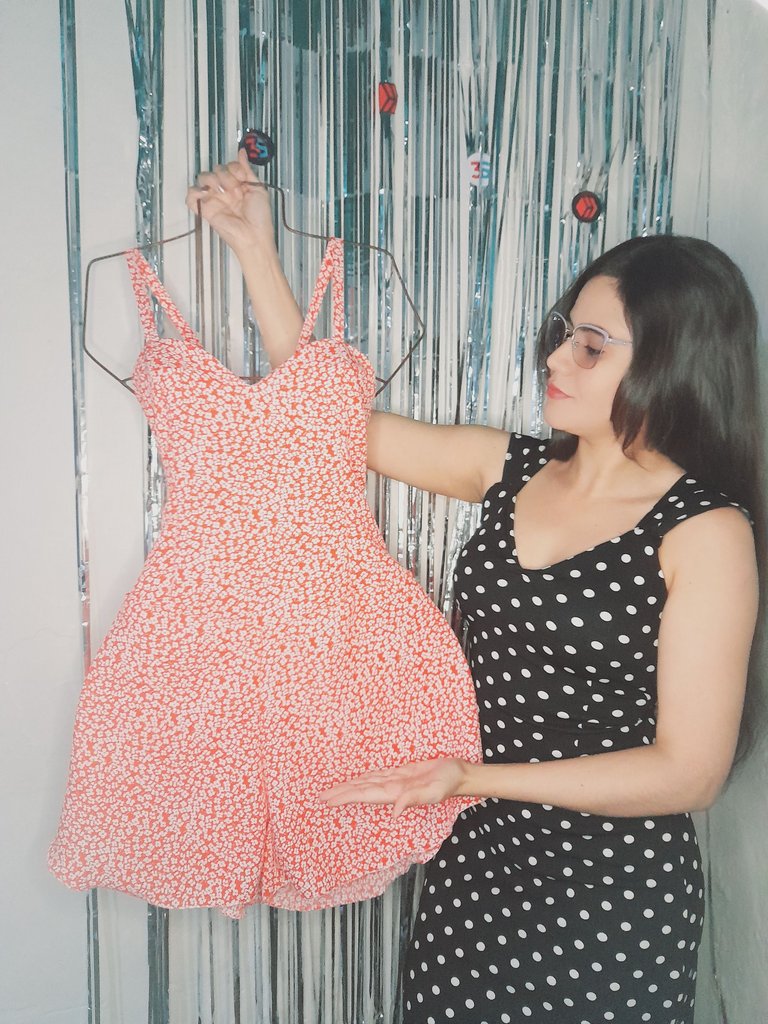
Así culmina la confección de este hermoso diseño de enterizo el cual es muy cómodo y femenino 😍 este diseño te hará lucir muy hermosa resaltando las curvas del cuerpo femenino 🌹 me alegro mucho haber compartido este pequeño espacio dedicado a la costura con todos ustedes espero les haya gustado mi post 😘 muchas gracias por haber tomado un minuto para leer 🤗 muy buenas noches para todos queridos amigos de Hive ✨️.
🌹✨️🌹English🌹✨️🌹
Hello my beautiful hive people ❤️🌹 very good night to all I hope you have enjoyed this peaceful day and that everyone is feeling very well in the hand of God it is always a pleasure and a great pleasure to greet you and share something new every night 🤗 today I I would like to share and show you step by step the making of a beautiful short jumpsuit with a princess size upper cut which makes it a very tender and delicate design, I would like you to accompany me in each step to follow 😘.

✨️These were the materials I used✨️
• Sewing machine
• Scissors
• Sewing thread
• Fabric
• Measurement garment
• Zipper
✨️Steps✨️
•✨️I am going to start by cutting all the pieces of my jumpsuit using a garment measurement and measurements taken with a measuring tape, I am going to cut two back pieces, two front pieces for the shorts, for the top part I am going to cut a front piece, two back pieces , two upper linings, one front, one rear and two shots.

•✨️I continue sewing the front darts to provide drape and shape to the bust. I will also do this with the front lining. Then I will sew the shots by folding the fabric and leaving the reverse side exposed and sewing with a straight seam and then turning with the help of a toothpick then I'm going to sew over it with a straight seam, then I'm going to secure the shots along with the lining and I'm going to sew with a straight seam and zigzag to secure.

•✨️I am going to sew the inner side with a straight seam to give the upper part drape, then I am going to fold the edge of the lining and sew with a zigzag seam and I continue sewing the back darts with the lining and securing the shots and making the edge of the back lining and continue sewing the ends of the top with straight and zigzag sewing.

•✨️I'm going to fold right where the seam of the lining is and I'm going to sew with a straight seam to secure the lining and prevent it from lifting up. I continue sewing the front part with a straight and zigzag seam and the back part in the same way I am also going to sew the ends of the bottom part with a straight and zigzag seam to ensure the bottom part is ready.

•✨️I continue joining both bottom and top pieces with straight seam and zigzag to secure and then I am going to sew the inside of the leg with straight seam twice and zigzag leaving a small space to sew the zipper which I will do with a straight seam securing the upper part thus completing this cute design.

🌹✨️🌹Results🌹✨️🌹


This is how the making of this beautiful jumpsuit design ends, which is very comfortable and feminine 😍 this design will make you look very beautiful, highlighting the curves of the female body 🌹 I am very happy to have shared this small space dedicated to sewing with all of you, I hope you enjoyed it liked my post 😘 thank you very much for taking a minute to read 🤗 very good evening to all dear friends of Hive ✨️.
💁♀️Todas las fotografías son de mi autoría capturadas con mi Samsung Galaxy A12 y editadas en GridArt.
El texto y resumen es totalmente de mi autoría.
Texto traducido en el traductor Google.💁♀️
💁♀️All the photographs are my own, captured with my Samsung Galaxy A12 and edited in GridArt.
The text and summary is entirely my own.
Translated text in Google translator.💁♀️
¿ᴺᵉᶜᵉˢᶦᵗᵃˢ ᴴᴮᴰ? ᵀᵉ ˡᵒ ᵖʳᵉˢᵗᵃᵐᵒˢ ᶜᵒⁿ
Congratulations @selenediva! You have completed the following achievement on the Hive blockchain And have been rewarded with New badge(s)
<table><tr><td><img src="https://images.hive.blog/60x70/https://hivebuzz.me/@selenediva/upvoted.png?202411190418" /><td>You received more than 45000 upvotes.<br />Your next target is to reach 50000 upvotes. <p dir="auto"><sub><em>You can view your badges on <a href="https://hivebuzz.me/@selenediva" target="_blank" rel="noreferrer noopener" title="This link will take you away from hive.blog" class="external_link">your board and compare yourself to others in the <a href="https://hivebuzz.me/ranking" target="_blank" rel="noreferrer noopener" title="This link will take you away from hive.blog" class="external_link">Ranking<br /> <sub><em>If you no longer want to receive notifications, reply to this comment with the word <code>STOPEstá demasiado bonito, me encantó está idea de confección. Te felicito ✨