Como les comenté hace unos dias, después de buscar ideas y más ideas, ya tengo definido todo lo que haré en cuanto a decoraciones navideñas para este año en mi hogar, y si me lees por primera vez, te pongo al día, y es que este año decidí alejarme de las tradicionales decoraciones navideñas en rojo, verde y blanco, y adecuar todo a una decoración nórdica, que desde la navidad pasada había llamado mucho mi atención, y una de las imágenes que se repetían una y otra vez en este estilo de decoración, eran las villas navideñas, así que me dispuse a crear una en casa.
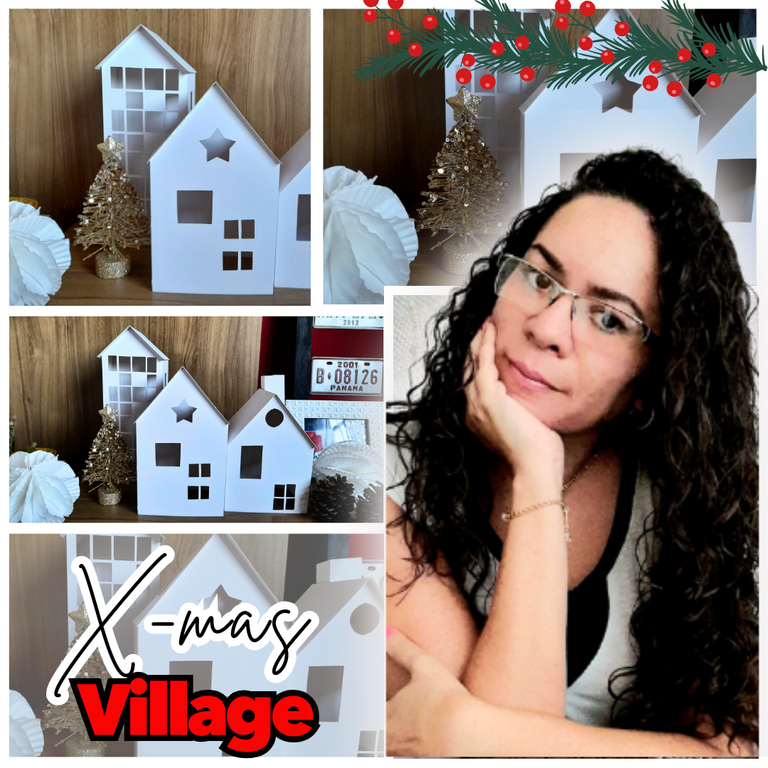
Estas pequeñas villas vendrian siendo algo parecido a lo que aquí en Venezuela, llamamos "pesebre o nacimiento" y que en muchos hogares es tradicion, pero confieso que nunca llamaron mi atención, por lo que jamás los hice, pero estas villas nórdicas las amé en cuanto las vi.
Pequeñas casas blancas, con aberturas para ventanas y puertas con luces en su interior, algunos pinos y piñas navideñas conforman un escenario que definitivamente quería replicar en casa.
Busqué muchísimas referencias para definir lo que quería hacer, y por supuesto vi muchos tutoriales, y luego de darme cuenta que necesitaba muy pocos materiales, decidí que este proyecto sin dudas era para mi, y a continuación te comparto el paso a paso y los materiales que utilicé.
Materiales
Lámina de cartulina sulfatada
Silicón frío
Regla
Lápiz
Cortador (cutter, exacto)
Tijera
Paso a paso
Lo primero que haremos es marcar sobre la cartulina sulfatada nuestra casa, y esto lo haremos con ayuda del lápiz y la regla. Para esto, pueden realizar moldes previamente o trabajar directamente sobre la cartulina. En mi caso hice las dos cosas, ya que tenía unos moldes para elaborar casitas de jengibre y los utilicé para dos de las casas de la villa, y para el edificio trabajé directamente sobre la cartulina elaborando el diseño.
En las imágenes que les comparto, que son las del edificio, pueden ver que recorté pieza por pieza, pero lo ideal es hacer una sola, para trabajar mucho más rápido, y de hecho, eso fue lo que hice con las dos casitas, pero la verdad no se me había ocurrido hacer el tutorial, y ya para el edificio solo estaban quedando retazos de cartulina y tuve que hacerlo de esta forma.
Así que tracé sobre la cartulina las 4 piezas de la casa, dos que corresponen al frente y la parte trasera, y dos para las paredes laterales del edificio. Las medidas dependeran del espacio que tengan disponible para su villa navideña.
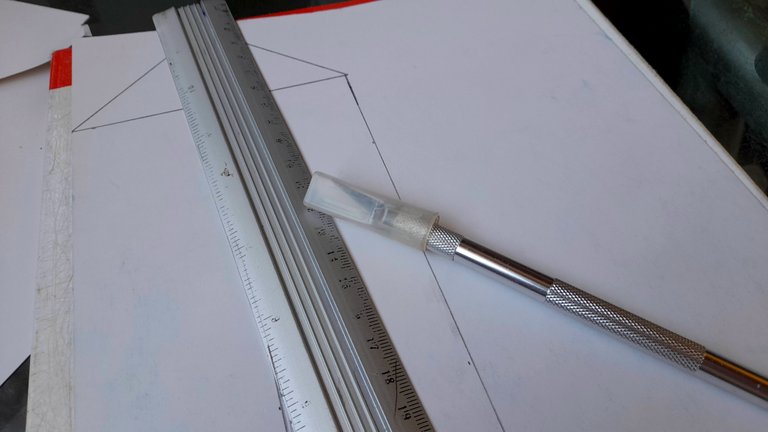
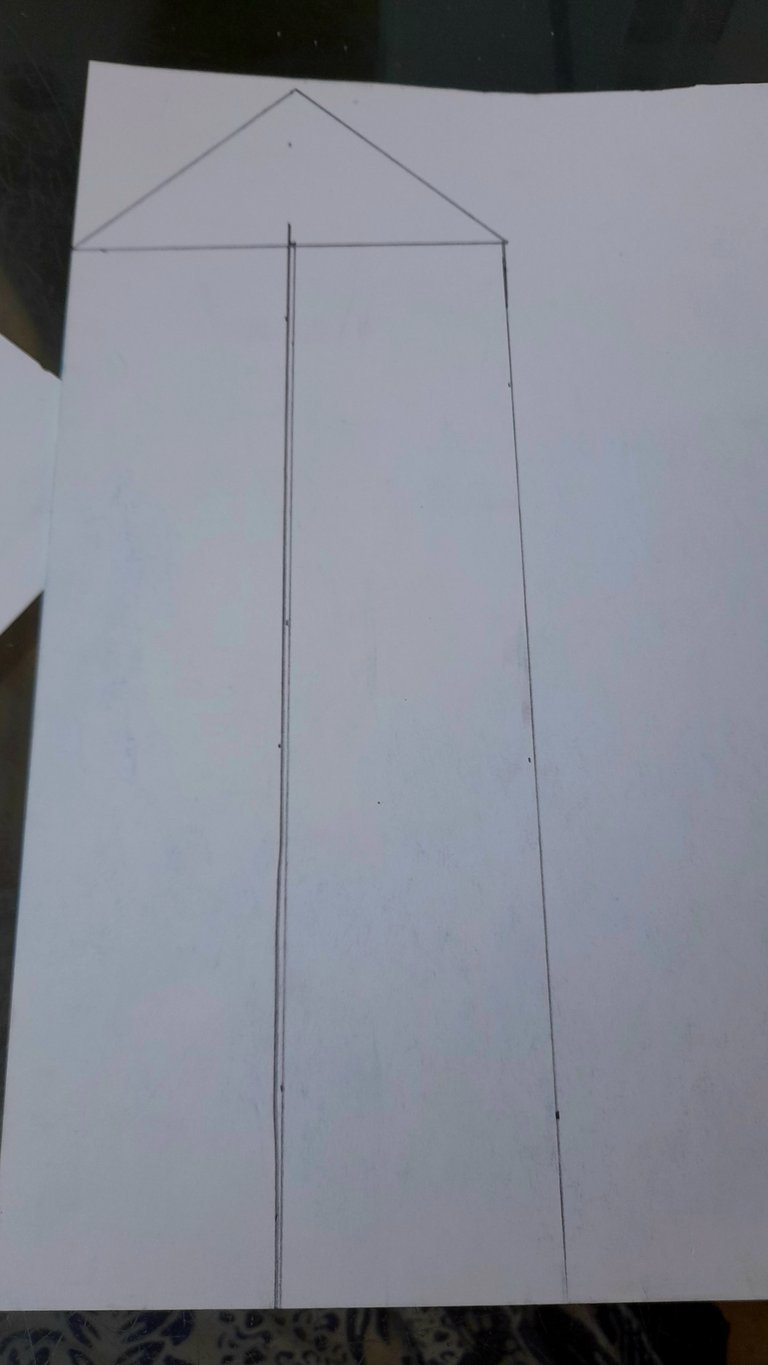
Una vez tenemos trazadas las piezas, con ayuda de la regla y el cutter procedemos a cortar, y aunque pudiesen usar las tijeras para este paso, el cutter y la regla nos dan cortes prolijos.
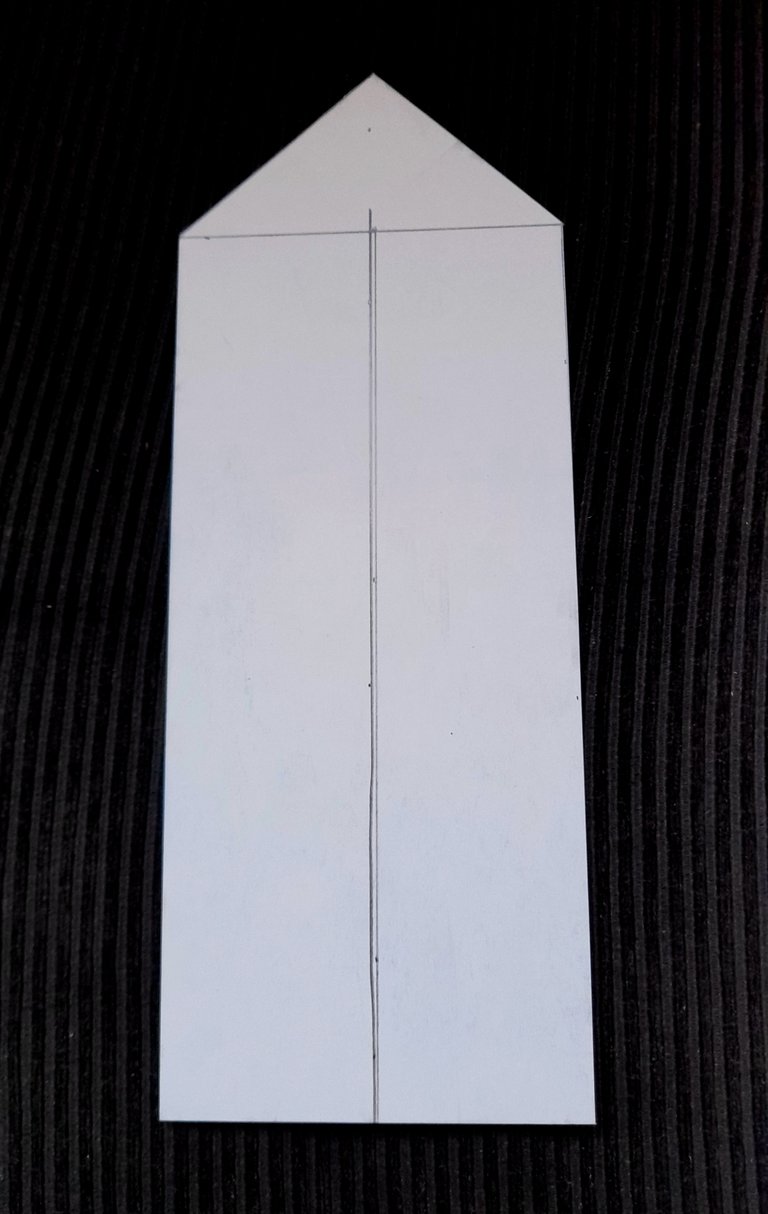
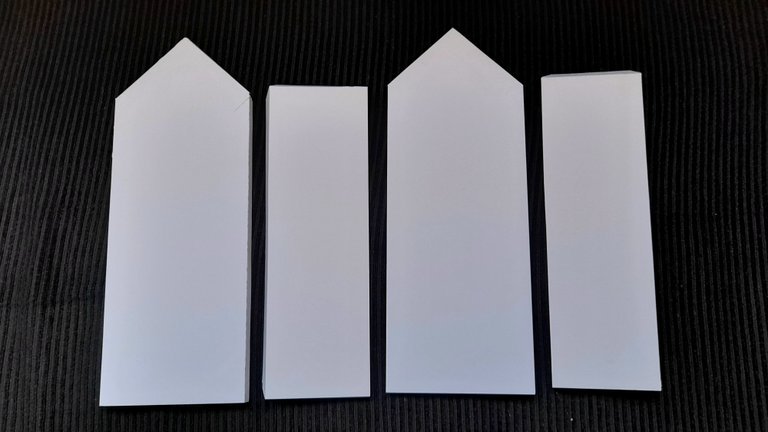
Debemos tomar en cuenta que si vamos a trabajar pieza por pieza, lo ideal es dejar un pequeño borde al rededor de algunas piezas para que al momento de armarla se vea lo mejor posible. En mi caso, realicé estos dobleces en un extremo de las paredes laterales, especificamente en el lado derecho de las piezas para fijar ahí la pared del frente del edificio.
Para hacer esto, sumamos un centímetro adicional al borde de la pieza antes de recortarla y luego con ayuda de la regla y el cutter, hacemos pequeños cortes superficiales sobre la cartulina, esto con la finalidad de poder doblar con facilidad la cartulina y que los bordes queden perfectos.
Esto mismo debemos hacerlo en la pared trasera, tanto en los laterales como en el lugar donde irá el techo para que este tenga un mejor soporte a la hora de pegarlo.
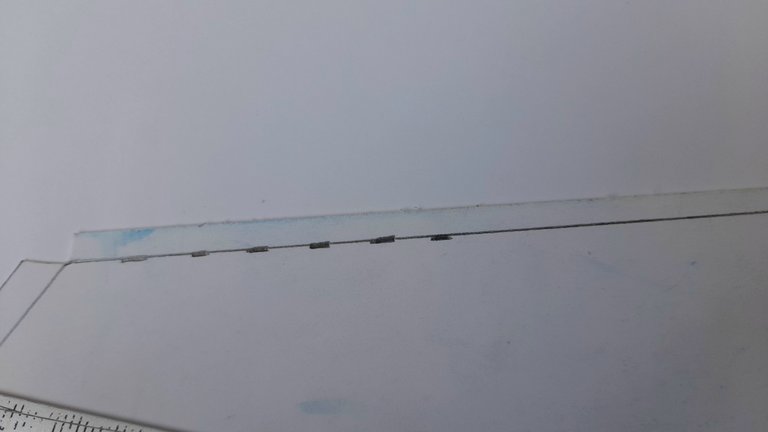
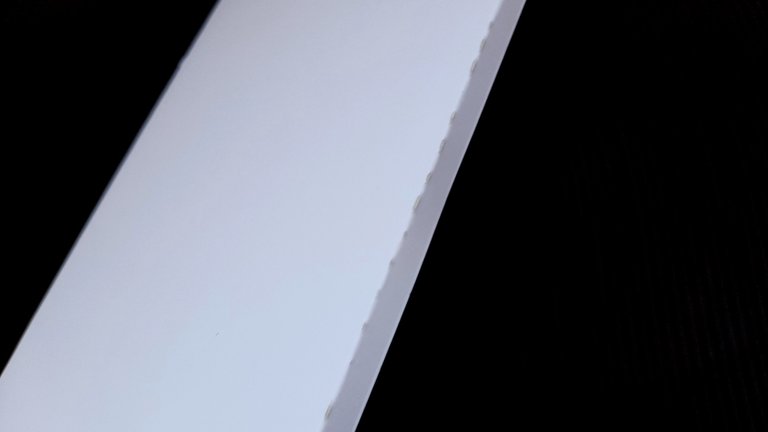
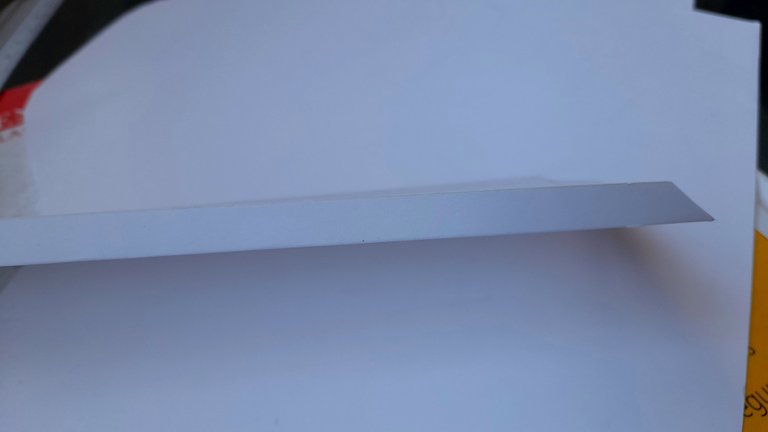
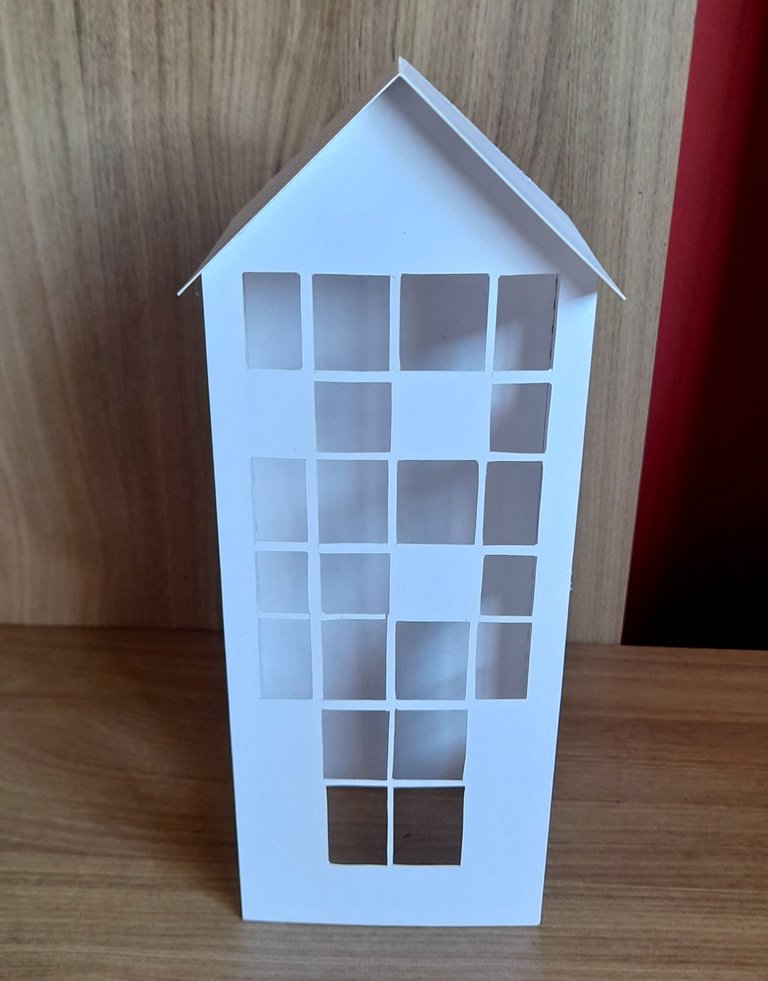
El siguiente paso es la elaboración de las salidas de luz que serán nuestras ventanas, y en el caso del edificio hice muchisimas en la pared del frente, y unas pocas en las paredes laterales, la pared trasera y el techo no tienen, pero esto es decisión personal y como ven en las imágenes hice una especie de diagrama para luego con el cutter y la regla tealizar los cortes.
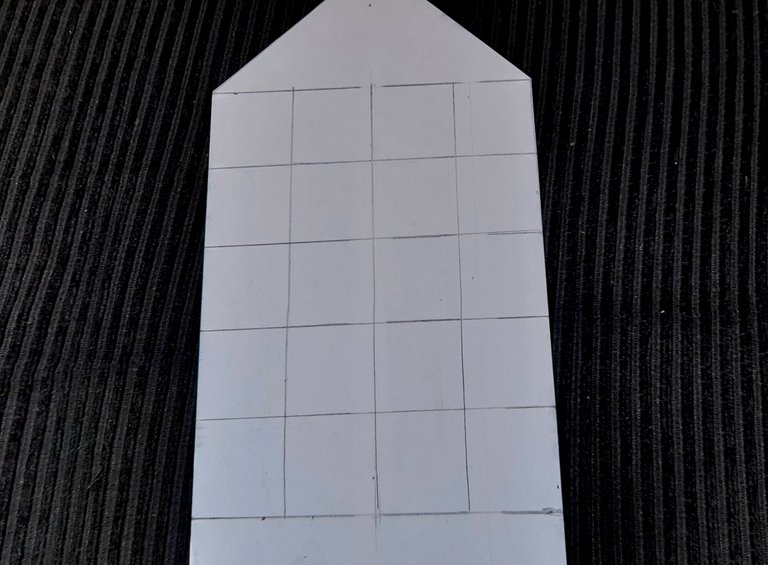
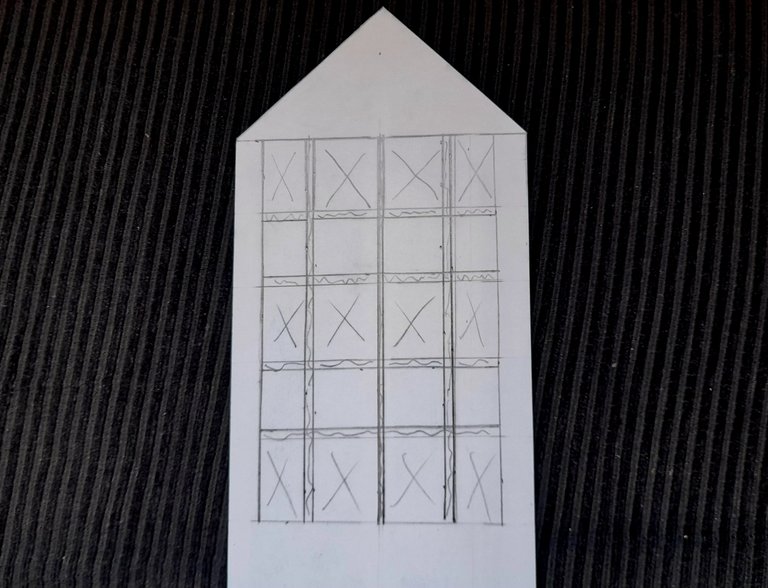


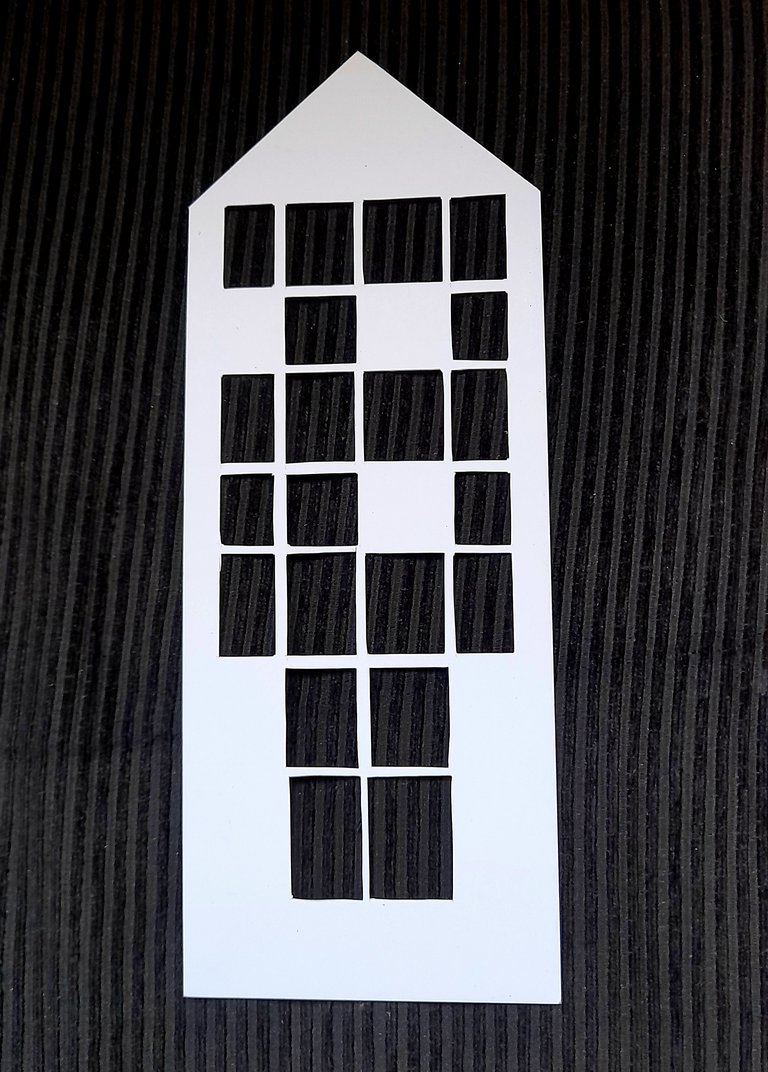

Una vez listas las ventanas de todas las piezas el siguiente paso es armar el edificio, y para esto yo decidí utilizar el silicón frío, porque su secado es lento, y me da tiempo de ubicar bien las piezas, además de verse más prolijo.
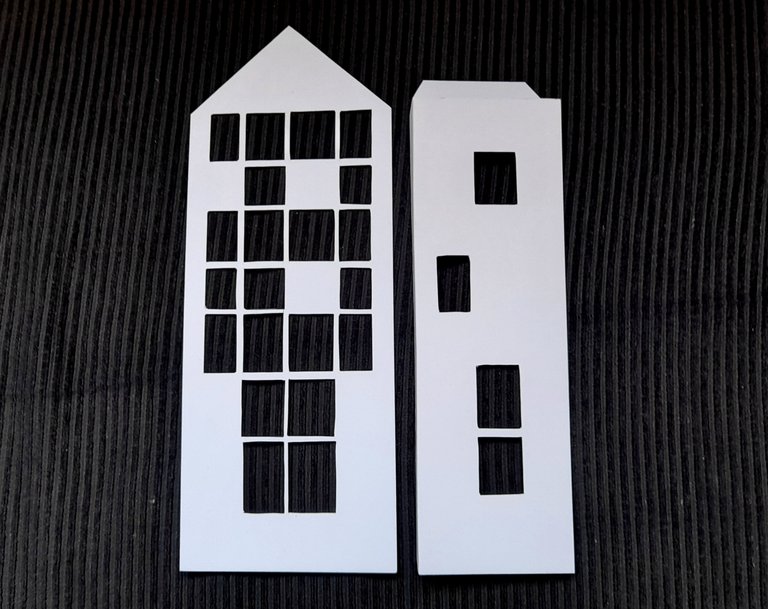
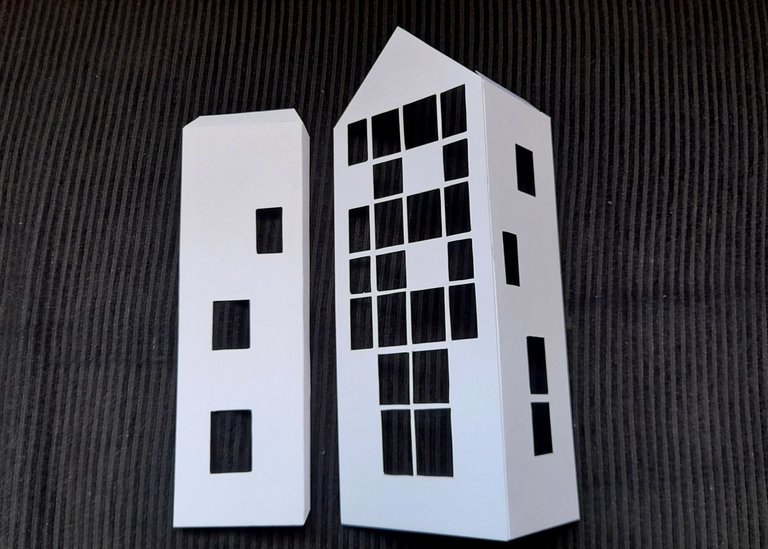
Listas las paredes, procedemos a poner el techo, y tendremos listo nuestro edificio.
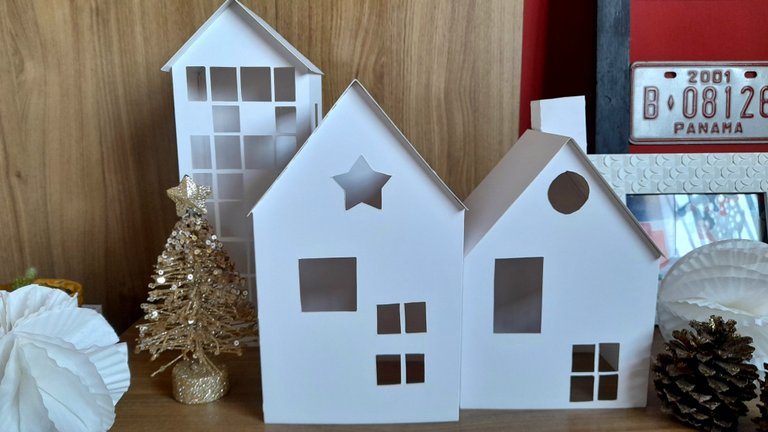
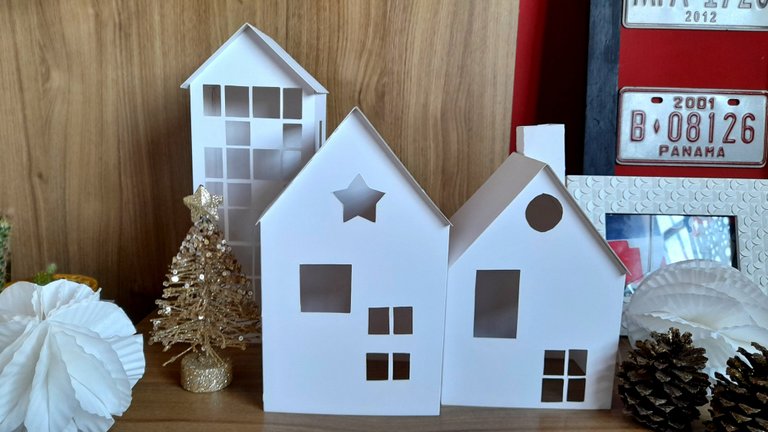
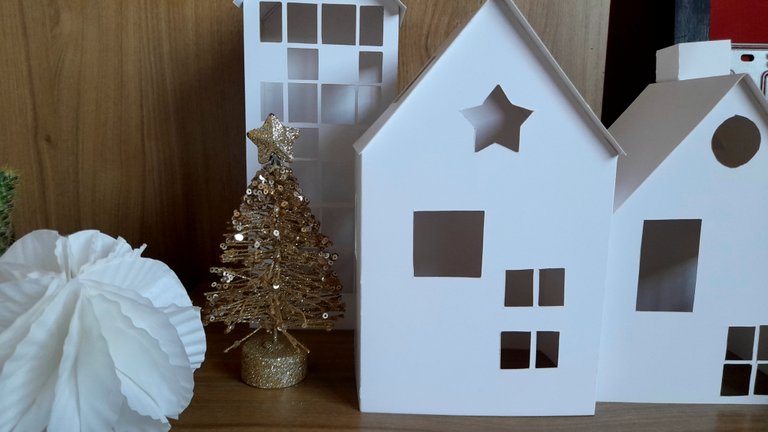
Como ven, hice dos casitas más, y creo que haré otra un poco más pequeña, y también comencé a organizar la villa, aunque todavía faltan las luces, y otros detalles que quiero incorporar, pero hasta ahora les puedo decir que estoy enamorada de cómo está quedando. Y a ustedes, qué les parece?

As I told you a few days ago, after looking for ideas and more ideas, I have already defined everything I will do in terms of Christmas decorations for this year in my home, and if you read me for the first time, I'll update you, and this year I decided to move away from the traditional Christmas decorations in red, green and white, and adapt everything to a Nordic decor, which since last Christmas had caught my attention, and one of the images that recurred again and again in this style of decoration, was the Nordic Christmas decorations, green and white, and adapt everything to a Nordic decoration, which since last Christmas had caught my attention, and one of the images that were repeated over and over again in this style of decoration, were the Christmas villas, so I set out to create one at home.

These little villas would be something similar to what here in Venezuela, we call "pesebre or nativity" and that in many homes is tradition, but I confess that they never caught my attention, so I never made them, but these Nordic villas I loved them as soon as I saw them.
Small white houses, with openings for windows and doors with lights inside, some pine trees and Christmas pine cones make up a scenario that I definitely wanted to replicate at home.
I searched a lot of references to define what I wanted to do, and of course I watched many tutorials, and after realizing that I needed very few materials, I decided that this project was definitely for me, and below I share with you the step by step and the materials I used.
Materials
Sulfated cardboard sheet
Cold silicone
Ruler
Pencil
Cutter (cutter, exacto)
Scissors
Step by step
The first thing we will do is to mark our house on the greaseproof cardboard, and we will do this with the help of the pencil and the ruler. For this, you can make molds previously or work directly on the cardboard. In my case I did both, since I had some molds to make gingerbread houses and I used them for two of the houses in the village, and for the building I worked directly on the cardboard making the design.
In the images I share with you, which are those of the building, you can see that I cut out piece by piece, but the ideal is to make just one piece, to work much faster, and in fact, that's what I did with the two houses, but the truth is that I had not thought of doing the tutorial, and for the building there were only scraps of cardboard left and I had to do it this way.
So I traced on the cardboard the 4 pieces of the house, two corresponding to the front and the back, and two for the side walls of the building. The measurements will depend on the space you have available for your Christmas village.


Once we have traced the pieces, with the help of the ruler and the cutter we proceed to cut, and although you could use the scissors for this step, the cutter and the ruler give us neat cuts.


We must take into account that if we are going to work piece by piece, the ideal is to leave a small border around some pieces so that when we assemble it, it looks the best possible. In my case, I made these folds at one end of the side walls, specifically on the right side of the pieces to fix there the front wall of the building.
To do this, we add an additional centimeter to the edge of the piece before cutting it and then with the help of the ruler and the cutter, we make small superficial cuts on the cardboard, this in order to be able to easily fold the cardboard and make the edges perfect.
We must do the same on the back wall, both on the sides and in the place where the roof will go so that it will have a better support when it comes to glue it.


The next step is the elaboration of the light outlets that will be our windows, and in the case of the building I made many on the front wall, and a few on the side walls, the back wall and the roof do not have, but this is a personal decision and as you can see in the images I made a kind of diagram and then with the cutter and ruler I made the cuts.


Once the windows of all the pieces are ready, the next step is to assemble the building, and for this I decided to use cold silicone, because it dries slowly, and gives me time to place the pieces well, besides looking neater.


Ready the walls, we proceed to put the roof, and we will have our building ready.


As you can see, I made two more little houses, and I think I will make another one a little smaller, and I also started to organize the villa, although I still need to add the lights, and other details that I want to incorporate, but so far I can tell you that I am in love with how it is turning out. And you, what do you think?

Posted Using InLeo Alpha
Amiga te quedó hermoso
Gracias amiga, ando chocha jajajahs
Jajaja me imagino amiga 🤭
Que belleza amiii, me encantó, super sencillo pero lindo para decorar 🤩
Gracias amiga, eso es lo que me gusta, que es sencillo, no se gasta casi y queda súper linda 😉
It is beautiful and realistic. Love its design and how you made this. Thank you for sharing this. Keep it up!
Thank you so much for the suport
Muy lindo te quedo amiga, tiene su trabajo, me encanta como se ve la villa es una gran decoración 😉
Gracias amiga! Yo estoy enamorada y con el brazo muerto jaja cortar las ventanas requiere hacer algo de fuerza pero valió la pena. Gracias por pasar
Dios mío Pero que becha, me encantó el resultado y desde ya se ven hermosas las casitas, te va quedando todo hermoso, tu eres muy creativa y como vas con tiempo seguro harás cosas preciosas. Gracias por compartir amiga. Saludos y Bendiciones
Gracias Flori!! Ando activada porque no puedo gastar mucho, así que toca full manualidades jeje, pero bueno, lo disfruto, porque tu sabes que a mi me gusta, así ande con la cervical vuelta miga. Abrazos
Hola amiga no había visto este post me encantaron como te quedaron tus villas, no aceptas encargos???🥰🥰🥰🥰
Gracias amiga, me alegra que te gustarán, a mi me encantaron, el blanco luce mucho!
Te quedaron muy linda me imagino el trabajo que te dieron
Este año voy a usar tus edificios para adornar mi pesebre. Siempre le coloco las mismas casitas ya bastante trilladas. Me parece genial el resultado obtenido con tus casitas. Gracias por el dato.
Gracias amigo, a mi me gustaron muchísimo, falta poner las luces y estaría listo, luego lo muestro cuando esté terminado, y espero ver el de ustedes!
Bello amiga, muy fácil .! Gracias por compartir tu idea. 🤗🤗🤗
En verdad queda muy linda, a mi me gustó muchísimo
Thanks so much
Me encanta. Intenté hacer algo así en la pared de vidrio de mi oficina, quedó espectacular el año pasado. Muy lindo 😻
Gracias amiga.me diste una idea para las ventanas jeje
Amiga te quedo muy hermosa esta villa navideña 😍 ¿hay alguna habitacion disponible para Buhito? jeje me encanta como decoracion ❤️
Wow I love this and glad you shared the steps with us.