REPLICA DE UN HELICOPTERO DE CARGA HEHO CON MATERIAL DE PROVECHO - REPLICA OF A FREIGHT HELICOPTER MADE WITH USE MATERIAL (ESP//ENG) @hectorher

in Hive Diy3 years ago


HELICOPTERO 026.JPG

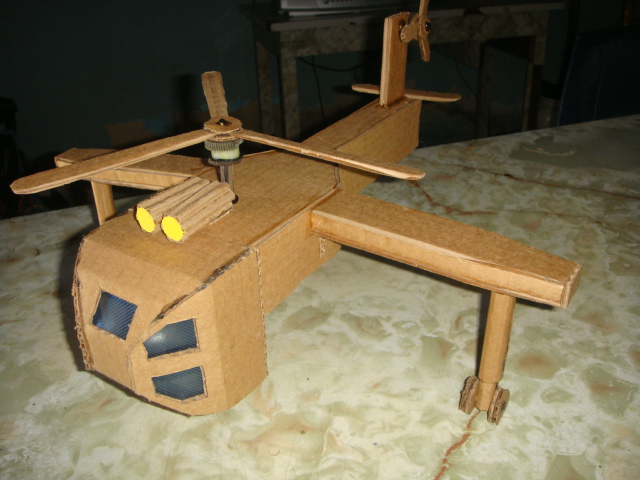
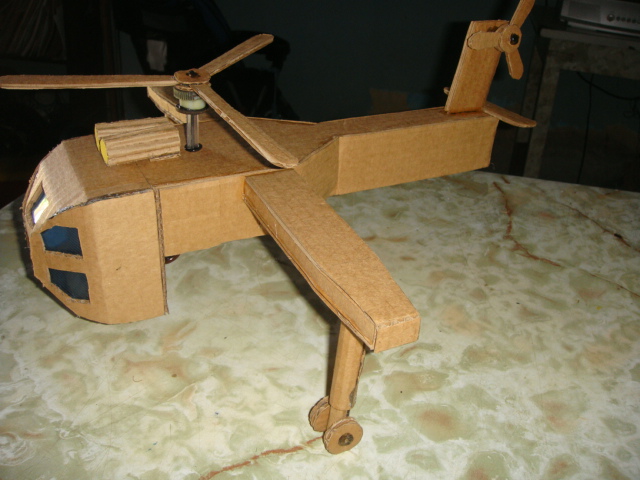
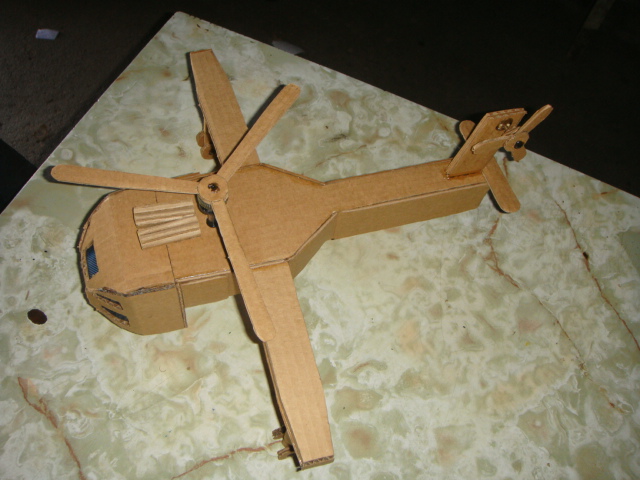
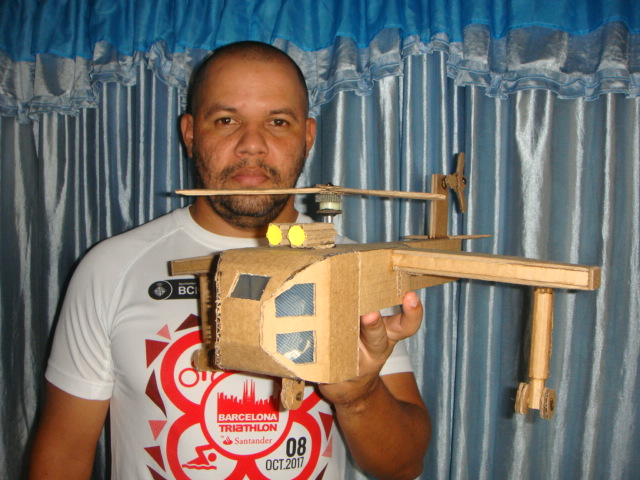
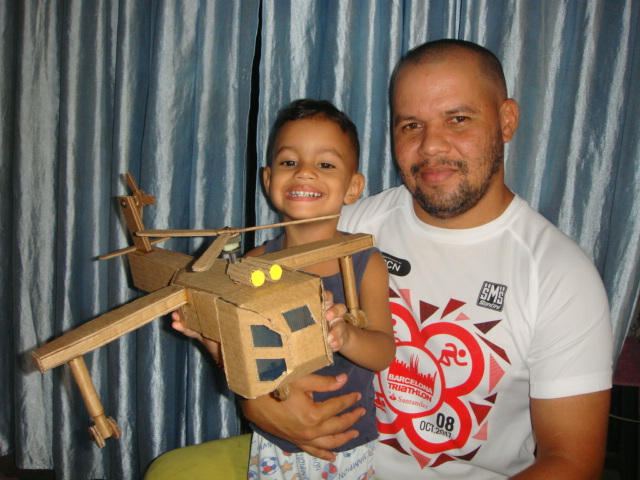
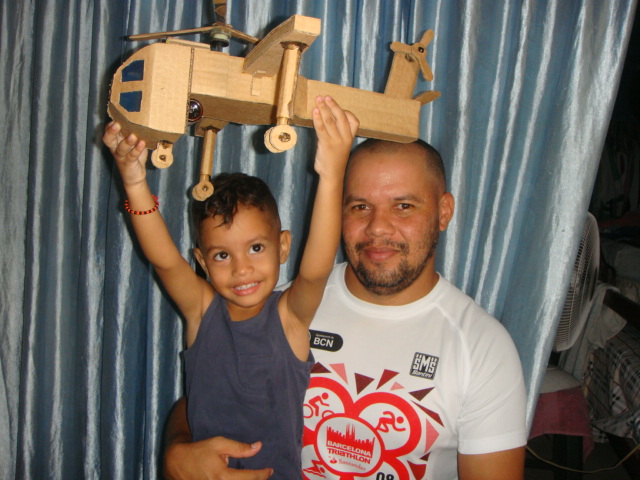
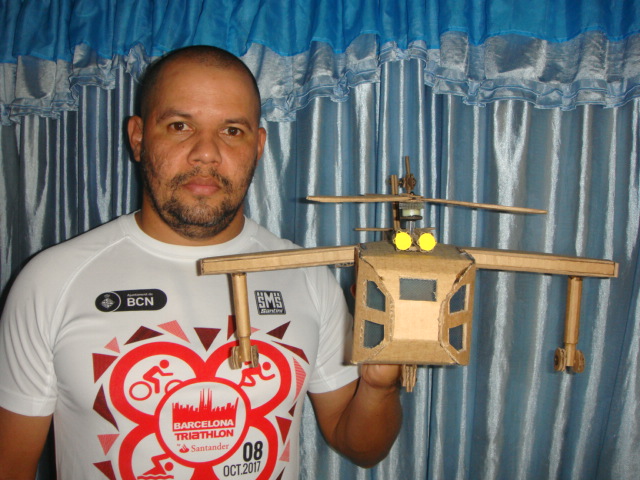
Un cordial saludo amigos de hive, nuevamente con ustedes esta vez con mi trabajo creativo de hoy que consiste en la elaboración de una réplica a escala de un helicóptero de carga, esta misma realizada con material de provecho espero les guste.

Kind regards, friends of hive, again with you this time with my creative work today which consists of making a scale replica of a cargo helicopter, this one made with useful material. I hope you like it.

MATERIALES
Cartón.
Silicón.
Reglas.
Tijeras.
Lápices.
Yesquero.
Exacto.
Compas.
Palillos de altura.

MATERIALS

Paperboard.

Silicone.

Rules.

Pair of scissors.

Pencils.

Tinder.

Exactly.

Compass.

Tall chopsticks.

PASO A PASO
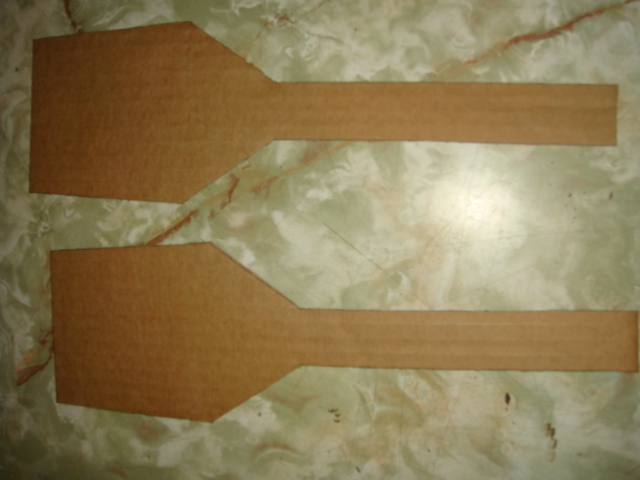
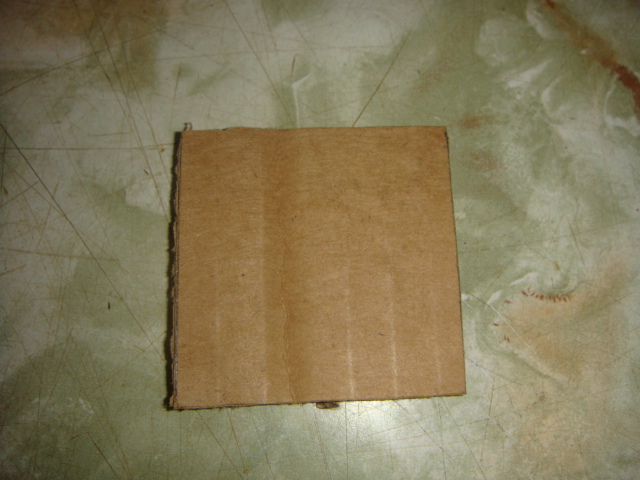
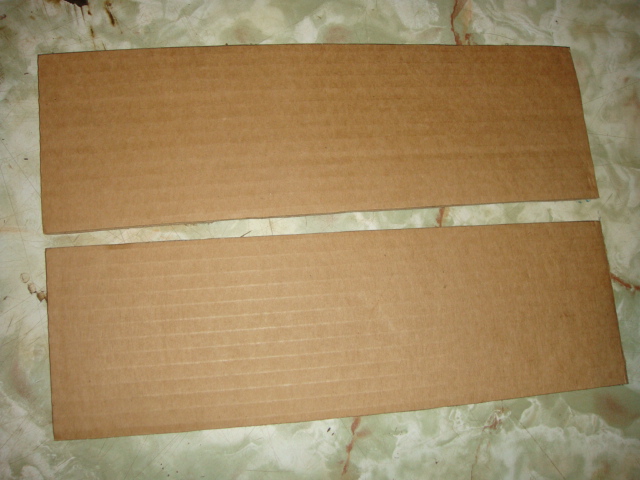
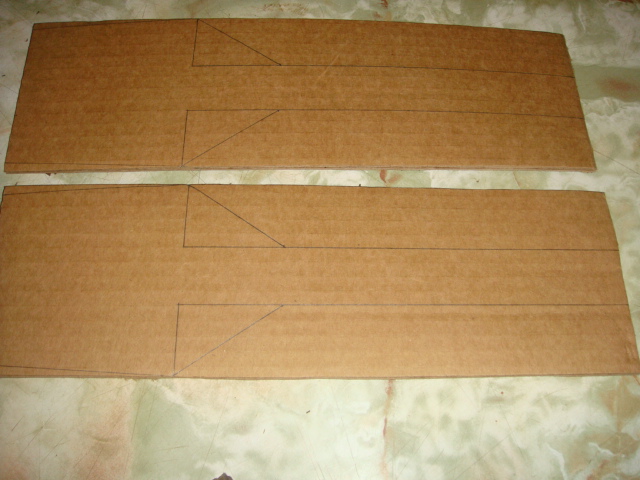
Utilizando cartón comenzaremos a marcar un par de rectángulos de 10cms de ancho por 30cms de largo esto para hacer el cuerpo base de nuestro helicóptero, y en estos marcaremos el modelo del cuerpo del helicóptero y recortaremos.
STEP BY STEP

Using cardboard we will begin to mark a couple of rectangles 10cms wide by 30cms long this to make the base body of our helicopter, and in these we will mark the model of the helicopter body and cut it out.


elicoptero y dulcero 001.JPG


elicoptero y dulcero 004.JPG


elicoptero y dulcero 005.JPG

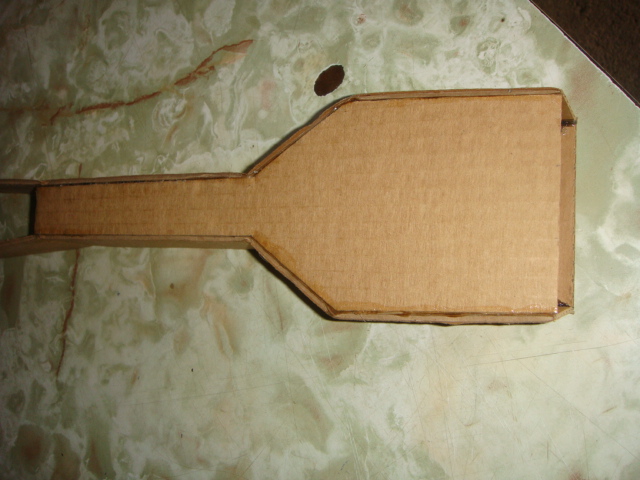
Ahora recortaremos dos rectángulos de 5cms de ancho por 35cms de largo para formar y cerrar el cuerpo del helicóptero.
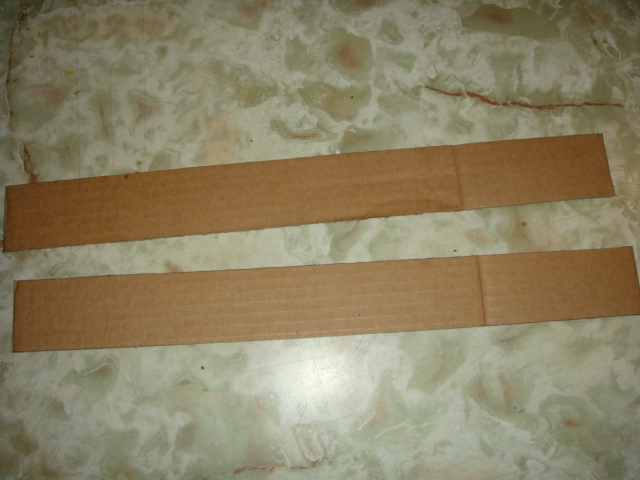
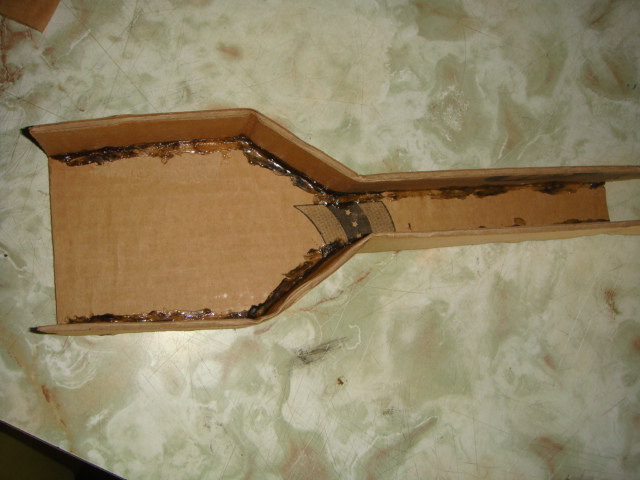
Now we will cut out two rectangles 5 cm wide by 35 cm long to form and close the body of the helicopter.


elicoptero y dulcero 006.JPG


elicoptero y dulcero 026-2.JPG


elicoptero y dulcero 029.JPG

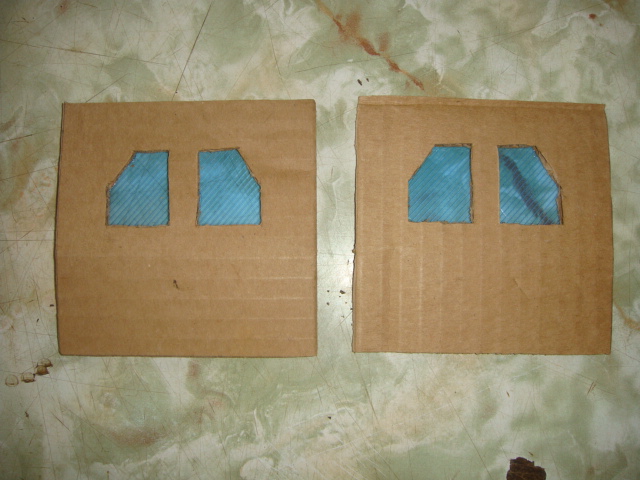
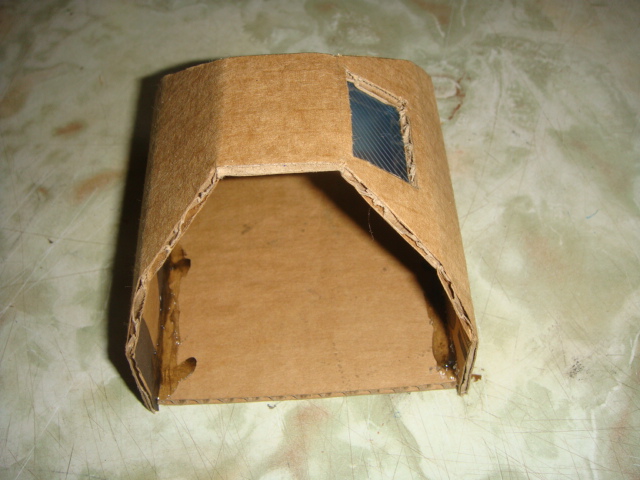
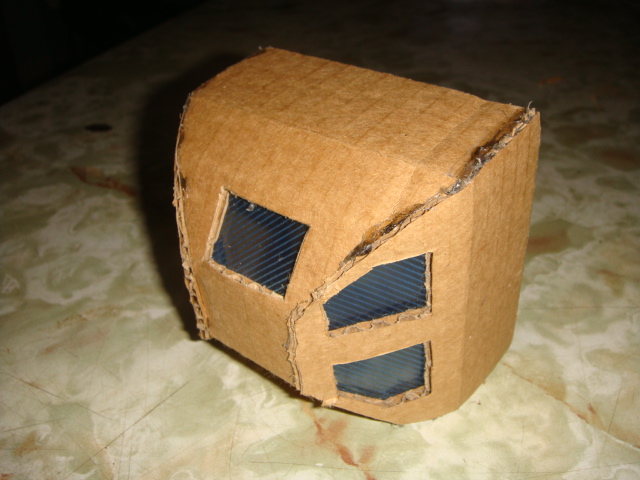
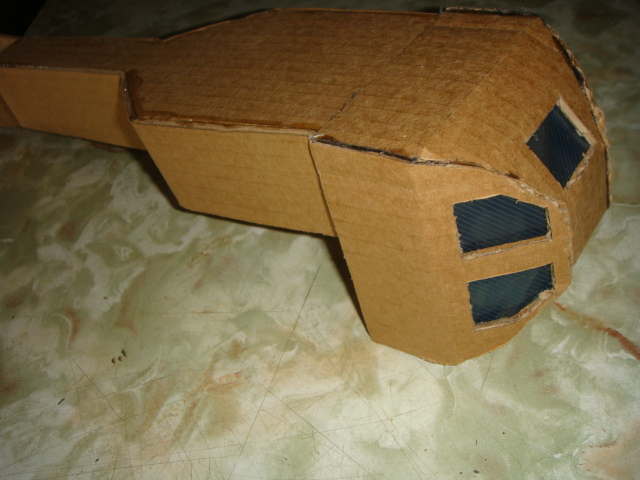
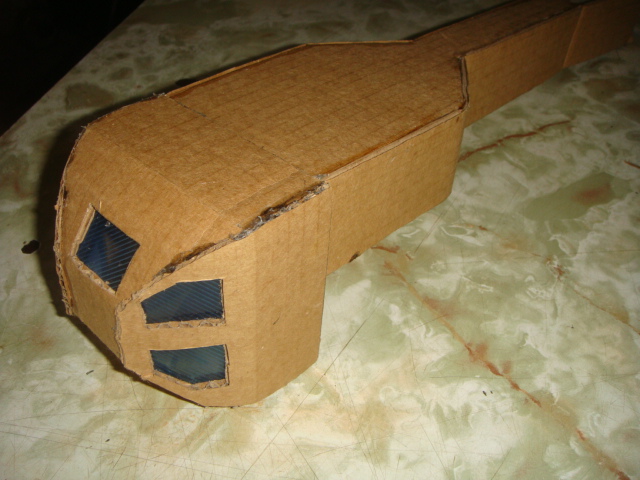
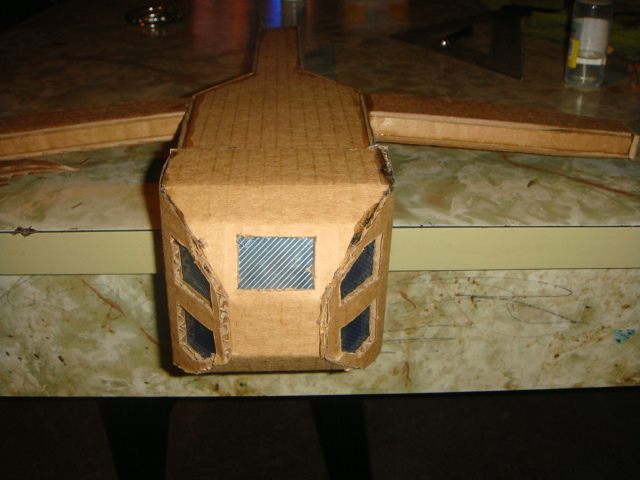
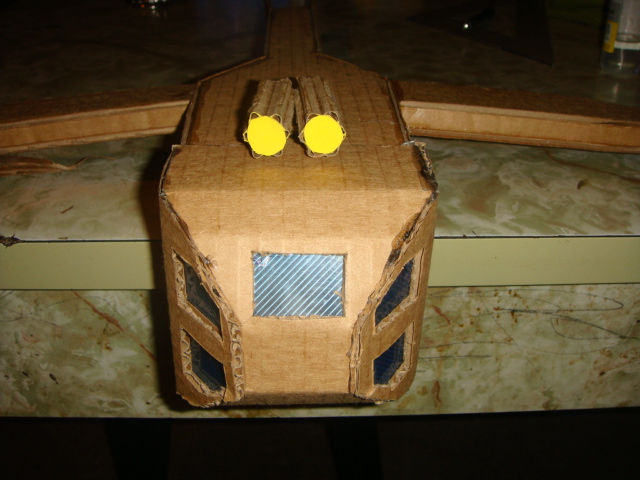
Luego marcaremos un cuadrado de 10x10cms para la base de la cabina y dos más de 10x10cms para los laterales de la misma en los cuales marcaremos y recortaremos las ventanas, y un rectángulo de 10cms de ancho por 20cms de largo para el frontal de la cabina y el parabrisas de la misma, las cuales ventanas y parabrisas cubriré con acetato para simular el vidrio, y luego uniremos esta al cuerpo del helicóptero.
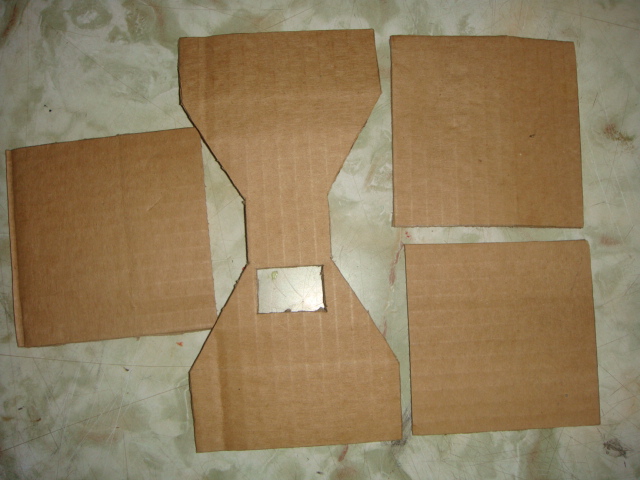
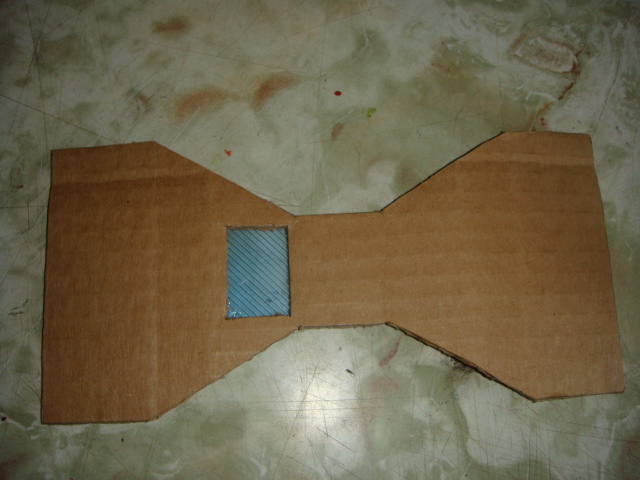
Then we will mark a square of 10x10cms for the base of the cabin and two more of 10x10cms for the sides of the same in which we will mark and cut the windows, and a rectangle of 10cms wide by 20cms long for the front of the cabin and the windshield of the same, which windows and windshield I will cover with acetate to simulate the glass, and then we will join this to the body of the helicopter.


elicoptero y dulcero 030.JPG


elicoptero y dulcero 032.JPG


elicoptero y dulcero 035.JPG


elicoptero y dulcero 036.JPG


elicoptero y dulcero 040.JPG


elicoptero y dulcero 041.JPG


elicoptero y dulcero 042.JPG

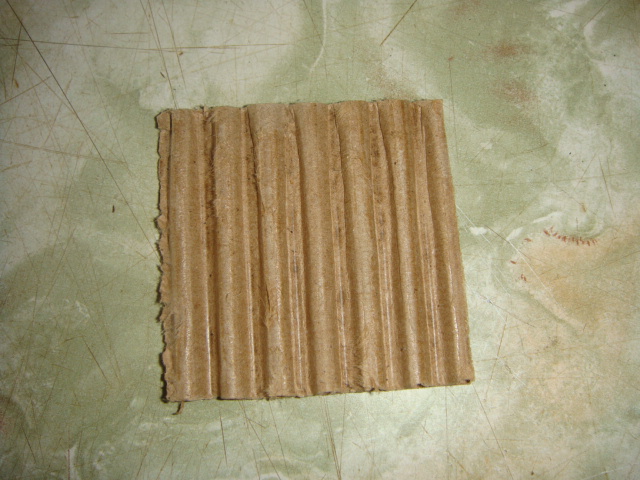
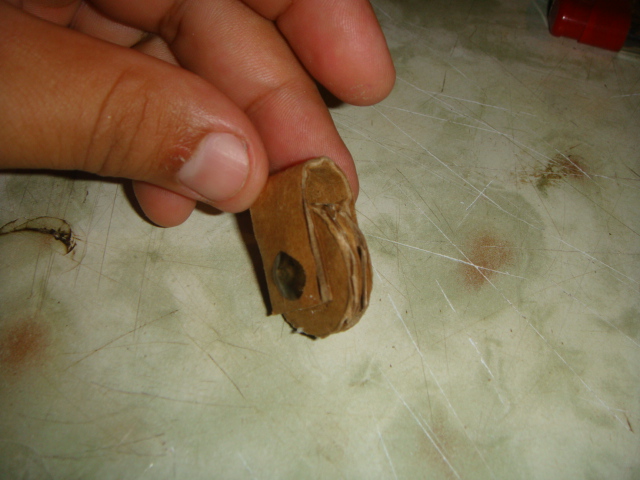
Ahora marcaremos y recortaremos 4 rectángulos de 13cms de largo por 4 cms de ancho y 4 rectángulos de 13cms de largo por 1,5cms de ancho para los laterales de las alas y poder cerrar las mismas, también recortaremos 2 cuadrados de 6x6cms y le quitaremos una de las caras al cartón para hacer los motores.
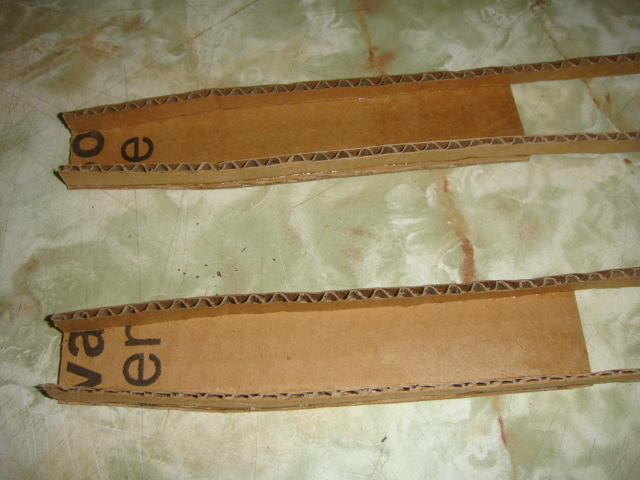
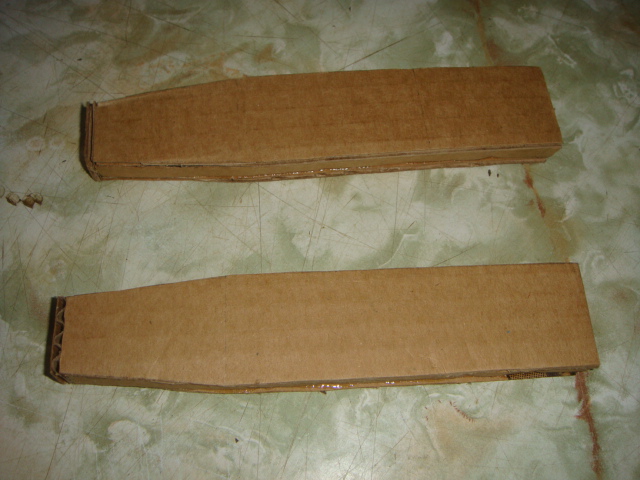
Now we will mark and cut 4 rectangles of 13 cm long by 4 cm wide and 4 rectangles 13 cm long by 1.5 cm wide for the sides of the wings and to be able to close them, we will also cut 2 squares of 6x6 cm and we will remove one from the faces to the cardboard to make the motors.


elicoptero y dulcero 043.JPG


elicoptero y dulcero 044.JPG


elicoptero y dulcero 052.JPG


elicoptero y dulcero 053.JPG


elicoptero y dulcero 054.JPG


elicoptero y dulcero 064.JPG


elicoptero y dulcero 064-1.JPG


elicoptero y dulcero 065.JPG

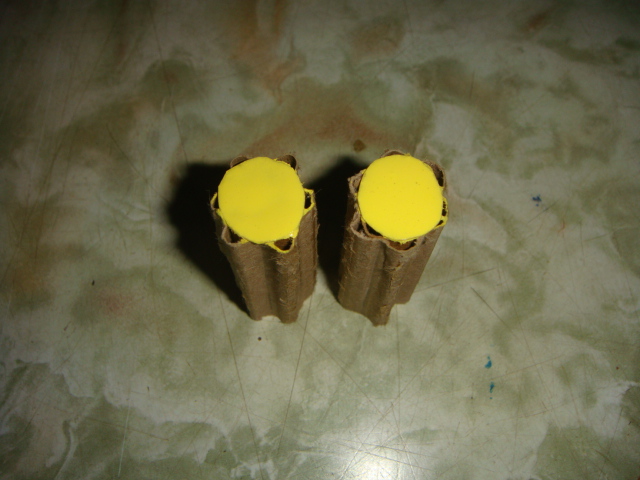
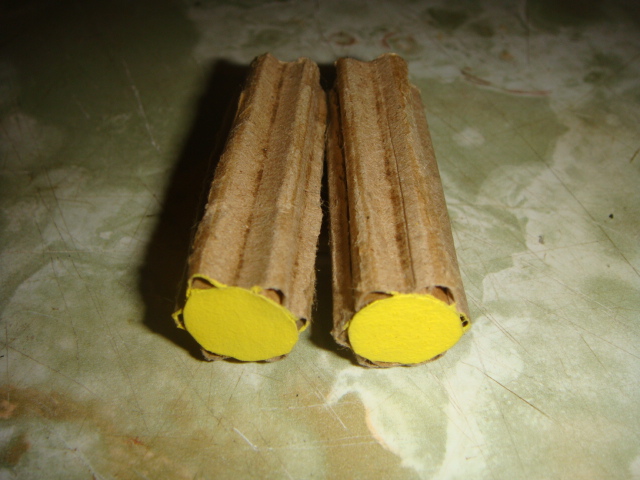
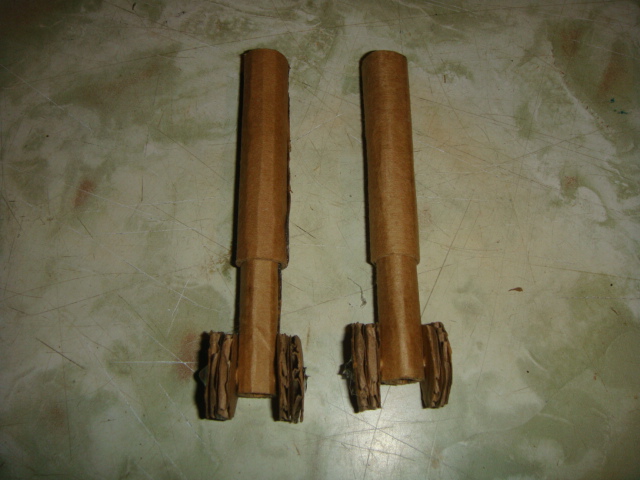
Seguidamente haremos pequeños tubos para hacer el tren de aterrizaje de nuestro helicóptero y sus respectivas ruedas, y recortaremos también tres rectángulos de 13cms de largo por 1,5 de ancho con reducción a 1cms para hacer el rotor principal.
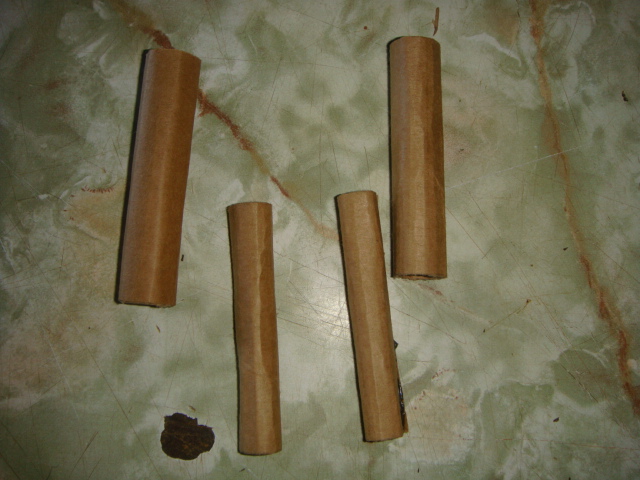
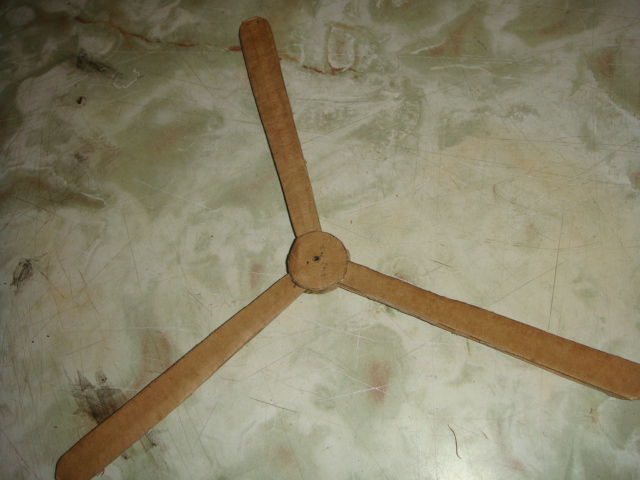
Next we will make small tubes to make the landing gear of our helicopter and its respective wheels, and we will also cut three rectangles 13 cm long by 1.5 wide with reduction to 1 cm to make the main rotor.


elicoptero y dulcero 066.JPG


HELICOPTERO 001.JPG


HELICOPTERO 002.JPG


HELICOPTERO 003.JPG

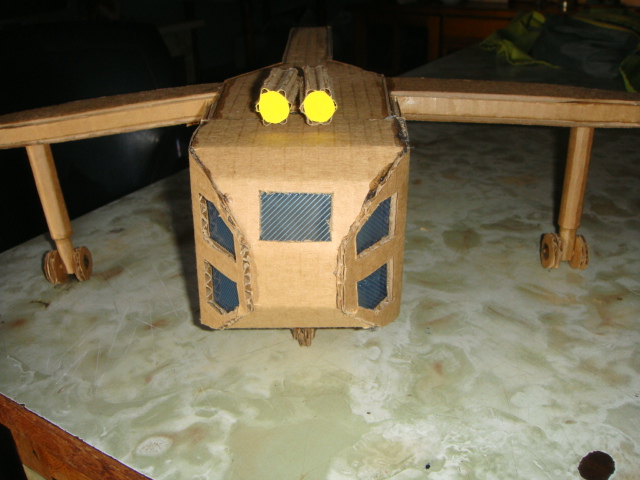
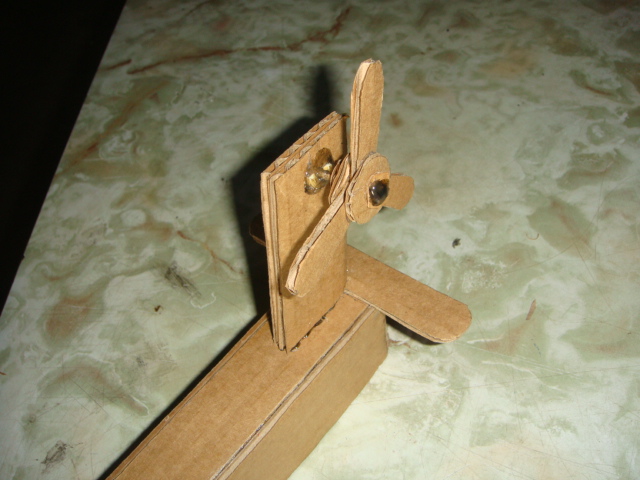
Y ya para terminar haremos el rotor trasero el cual recortaremos tres rectángulos de 5cms de largo y 1,5cms de ancho con reducción a 1cms, y la base de este un rectángulo de 9cms de alto por 4cms de ancho y un alerón estabilizador de 10cms de largo por 2cms de ancho y fijaremos todo y ya tendremos nuestro helicóptero listo, espero les allá gustado, saludos hasta la próxima.
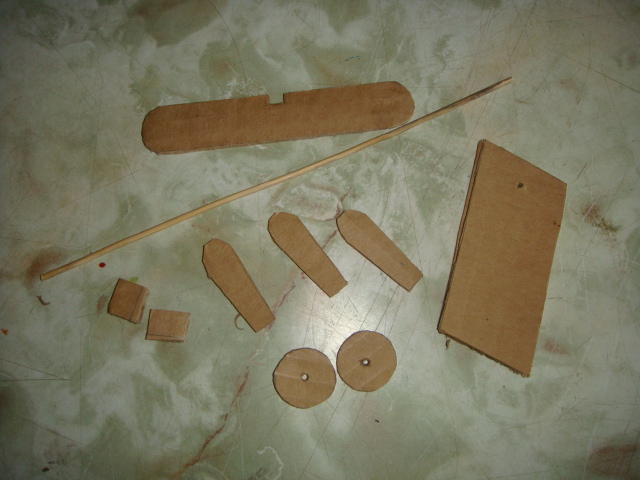
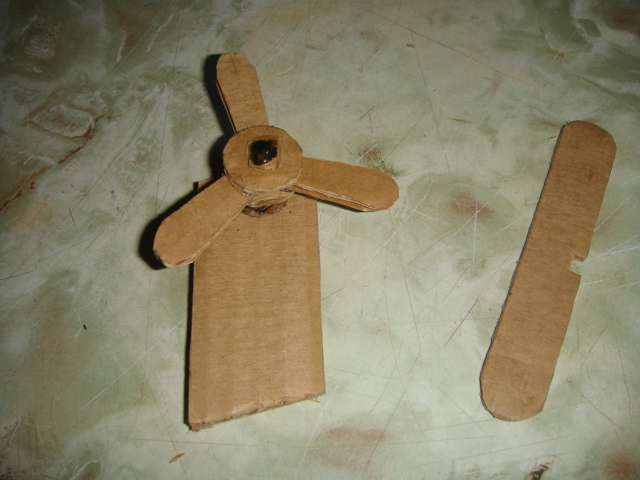
And to finish we will make the rear rotor which we will cut three rectangles of 5cms long and 1.5cms wide with reduction to 1cms, and the base of this a rectangle of 9cms high by 4cms wide and a stabilizing spoiler of 10cms of long by 2cms wide and we will fix everything and we will have our helicopter ready, I hope you liked it there, greetings until next time.


HELICOPTERO 012.JPG


HELICOPTERO 013.JPG


HELICOPTERO 018.JPG


HELICOPTERO 019.JPG


HELICOPTERO 020.JPG


HELICOPTERO 022.JPG


HELICOPTERO 023.JPG


HELICOPTERO 026.JPG


HELICOPTERO 028.JPG


HELICOPTERO 029.JPG


HELICOPTERO 032.JPG

Sort:  

Tremenda nave hiciste... Que modelo es?