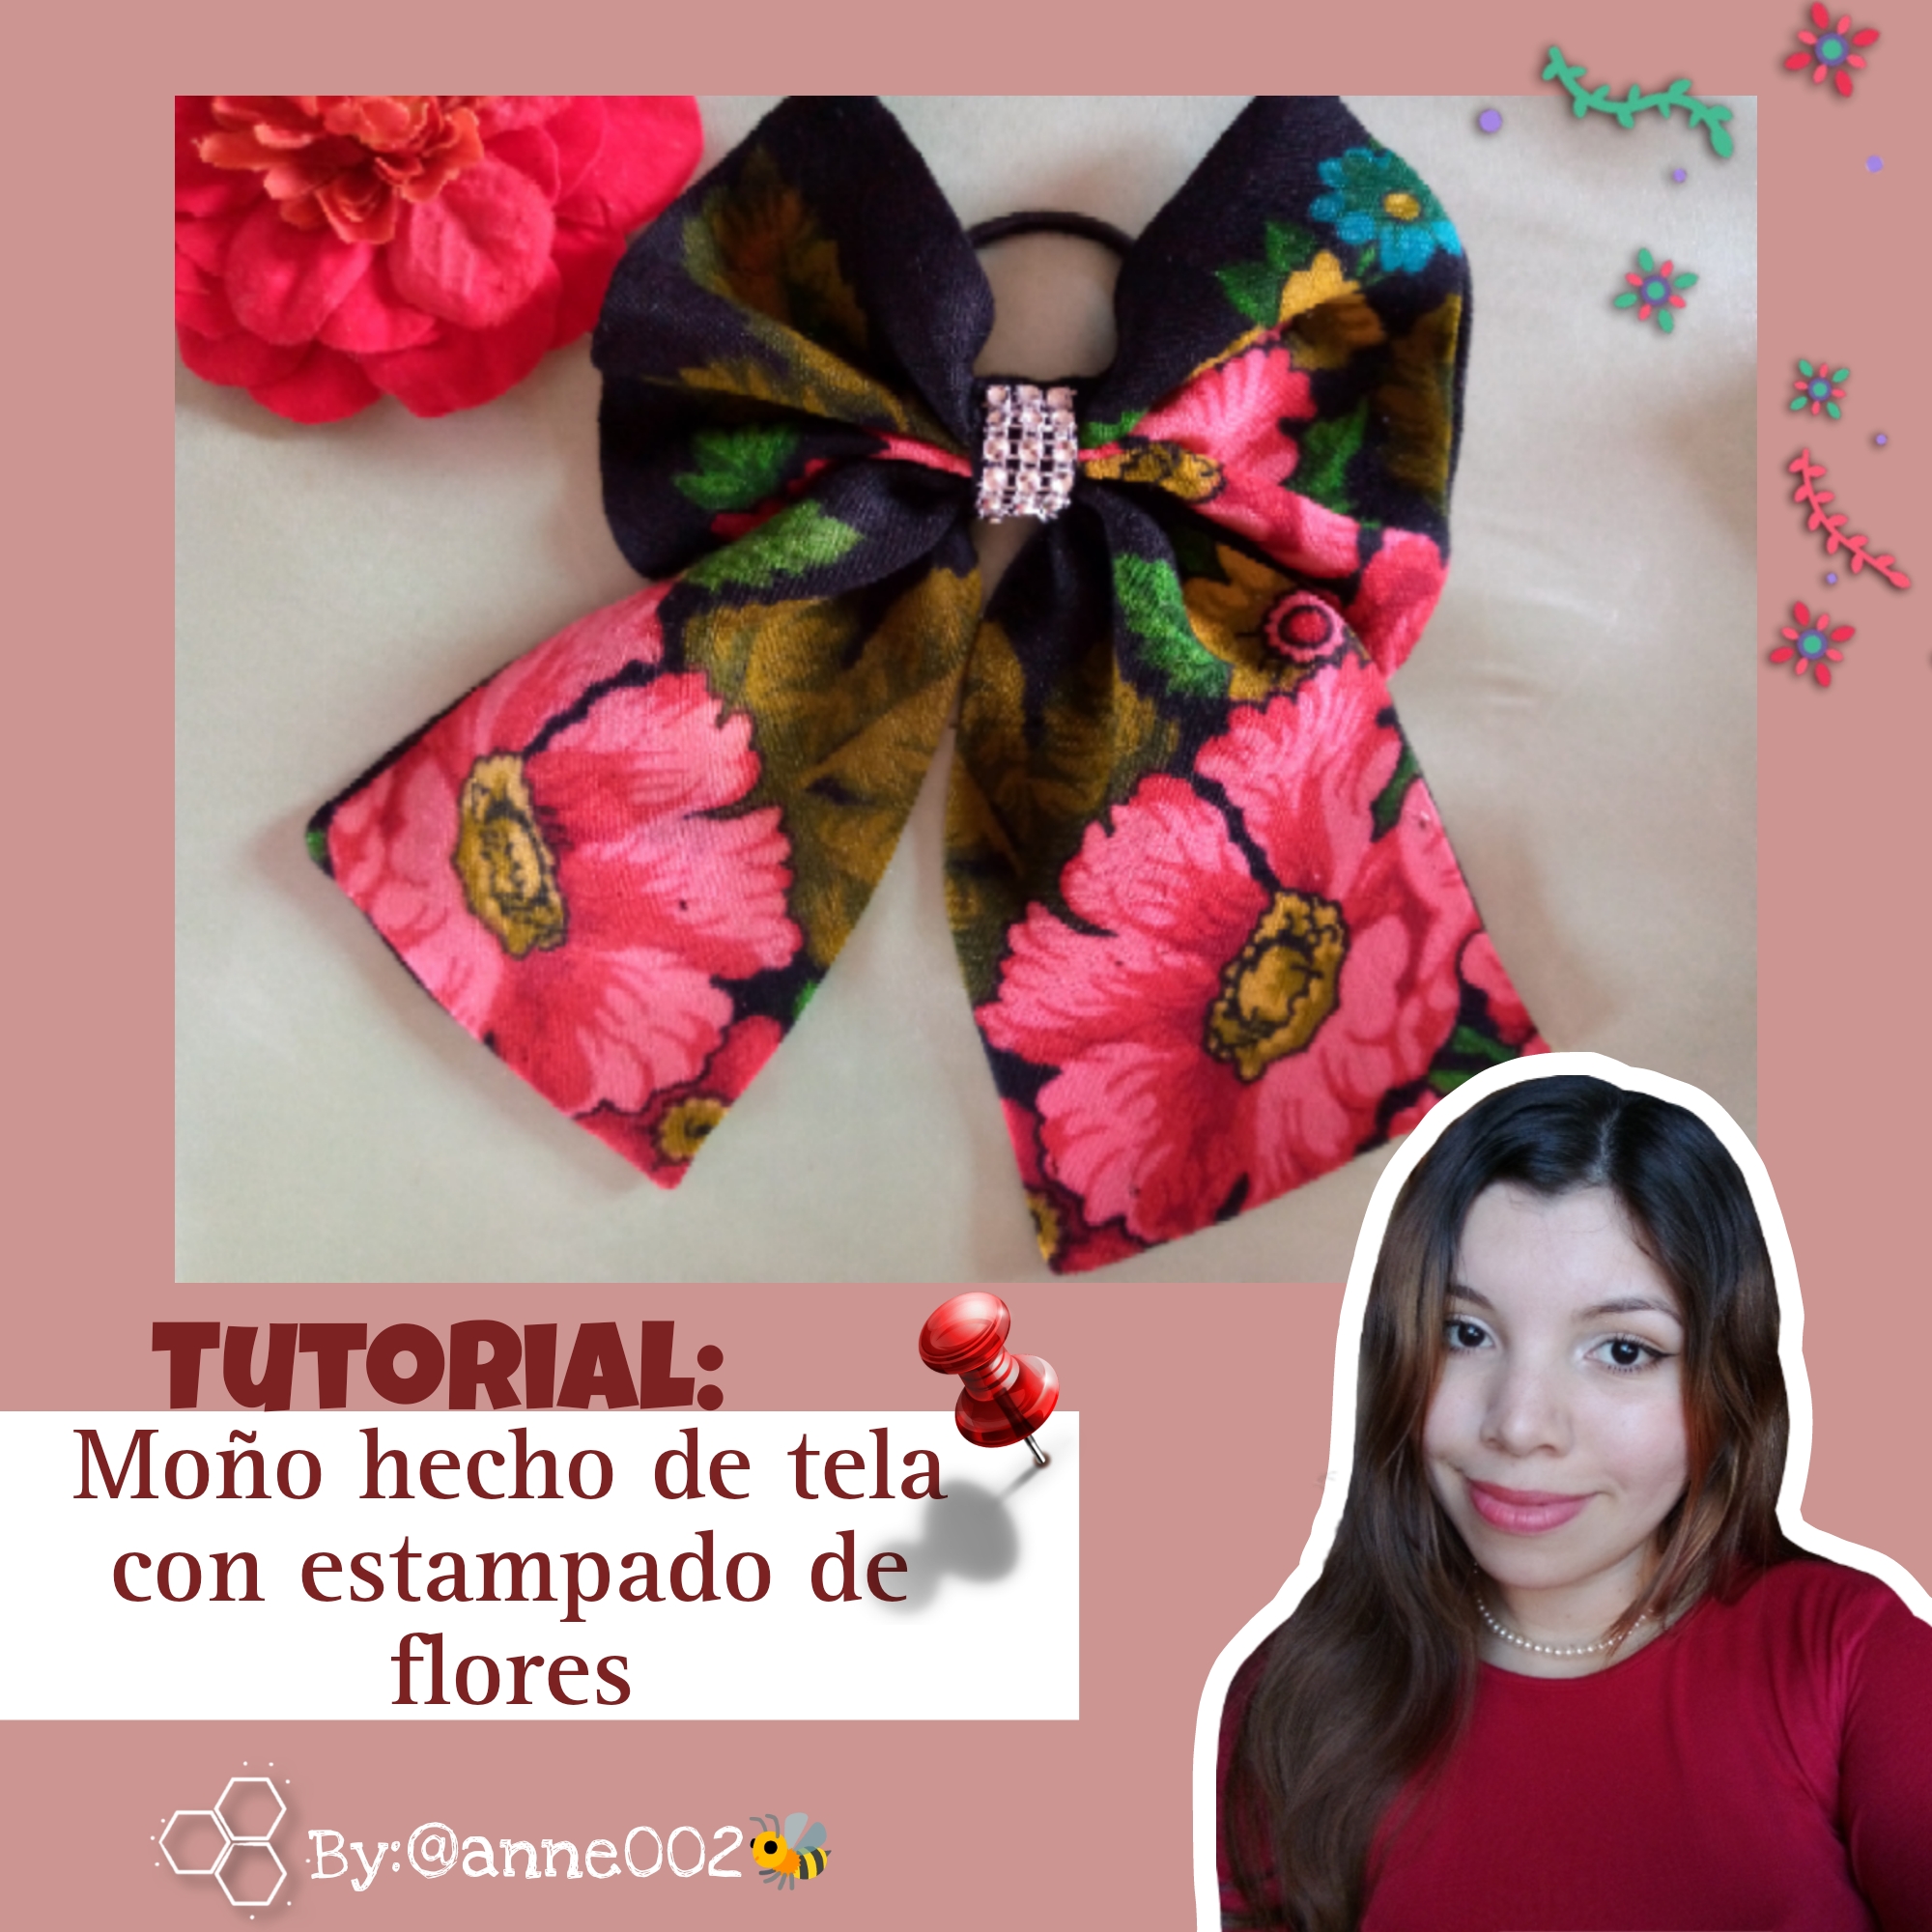

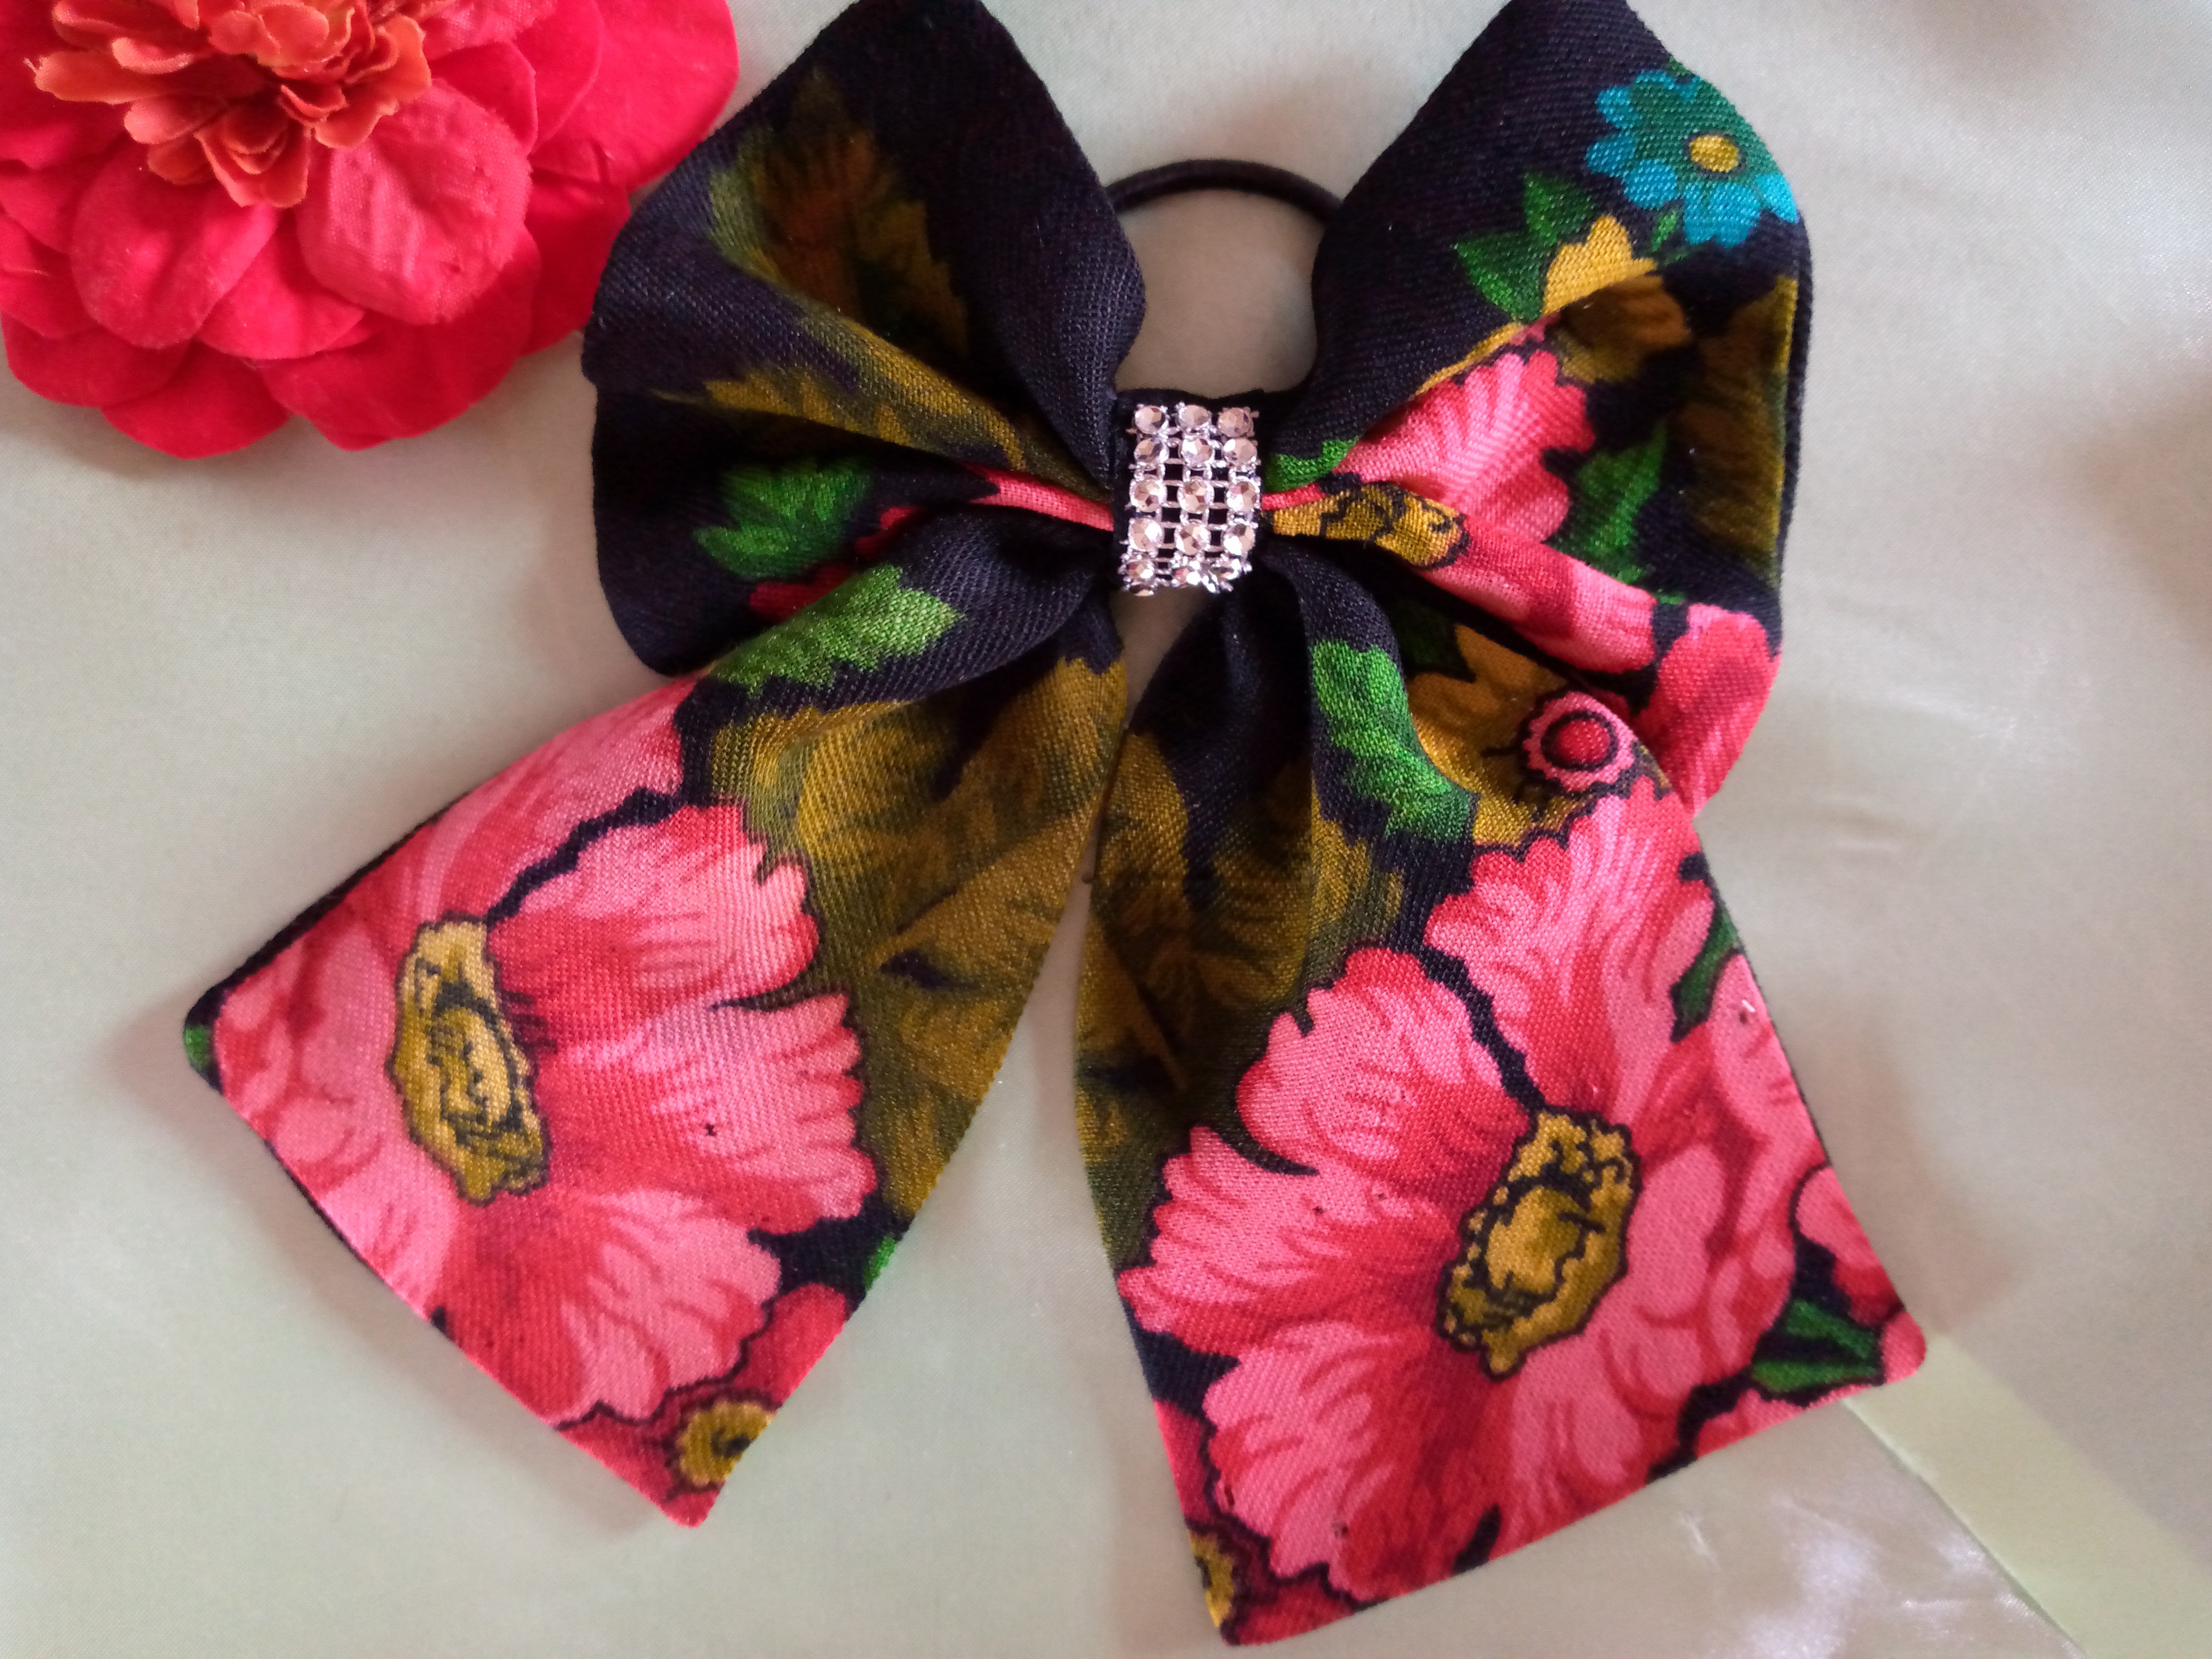
Do you like bows with printed fabric? Well, I love them and they are special for those meetings where you choose to wear styles with summer clothes although we are in the winter season but still the heat in our city cannot miss the bows Made of printed fabric, they are a good option when we want to go out, whether to walk to the beach, to the market, to any place where we want to use them. This fabric with which I have made this cute bow is a fabric that has a very Mexican print. I don't know why. It is very similar to the dresses of the Mexican culture made with mandala flowers and many colors. I wanted to do it for myself and on this occasion I invite you to appreciate the step by step and since I have done it so simply you will love the result as much as you do. my so let's go because I already want to use it...
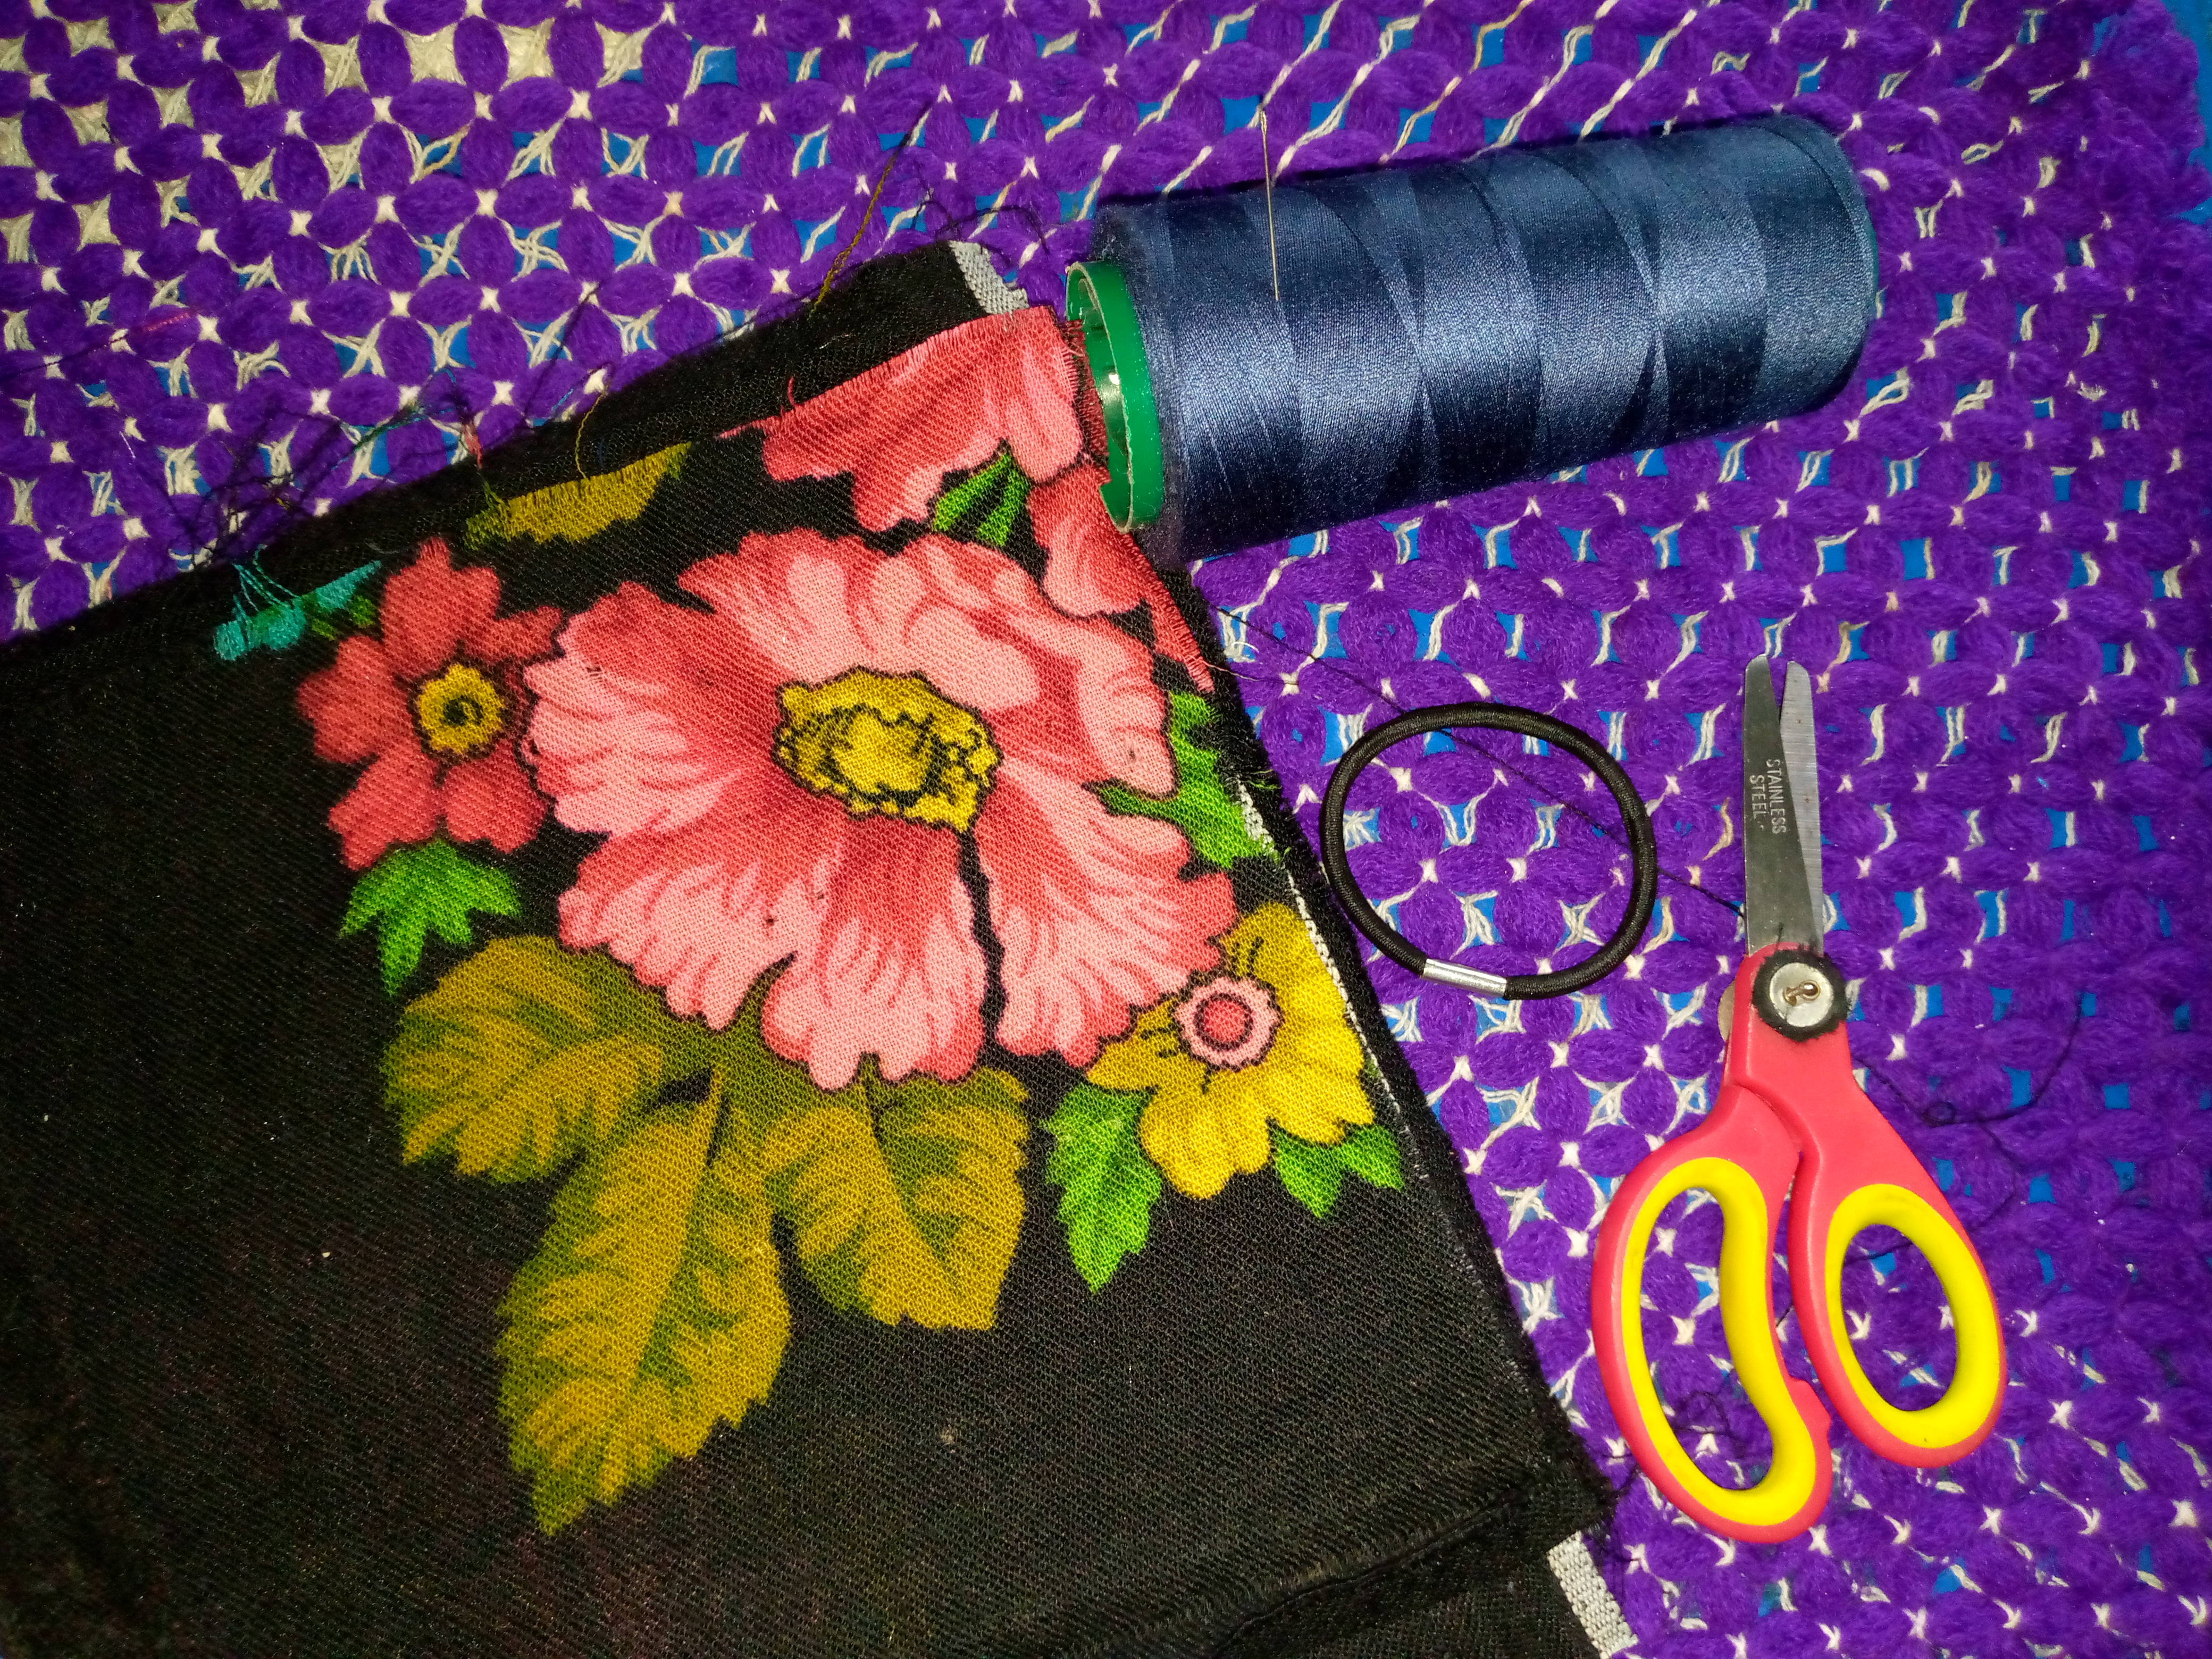

Materiales que usé :
Materials i used :

- Tela estampada
- Tijeras
- Hilo y aguja
- Plancha
- Máquina de coser
- Detalle plateado para adornar
- Gomita del cabello
- Printed cloth
- Scissors
- Thread and needle
- clothes iron
- Sewing machine
- Silver detail to decorate
- Hair gum

Pasos a seguir:
Steps to follow:

Paso 01
Step 01
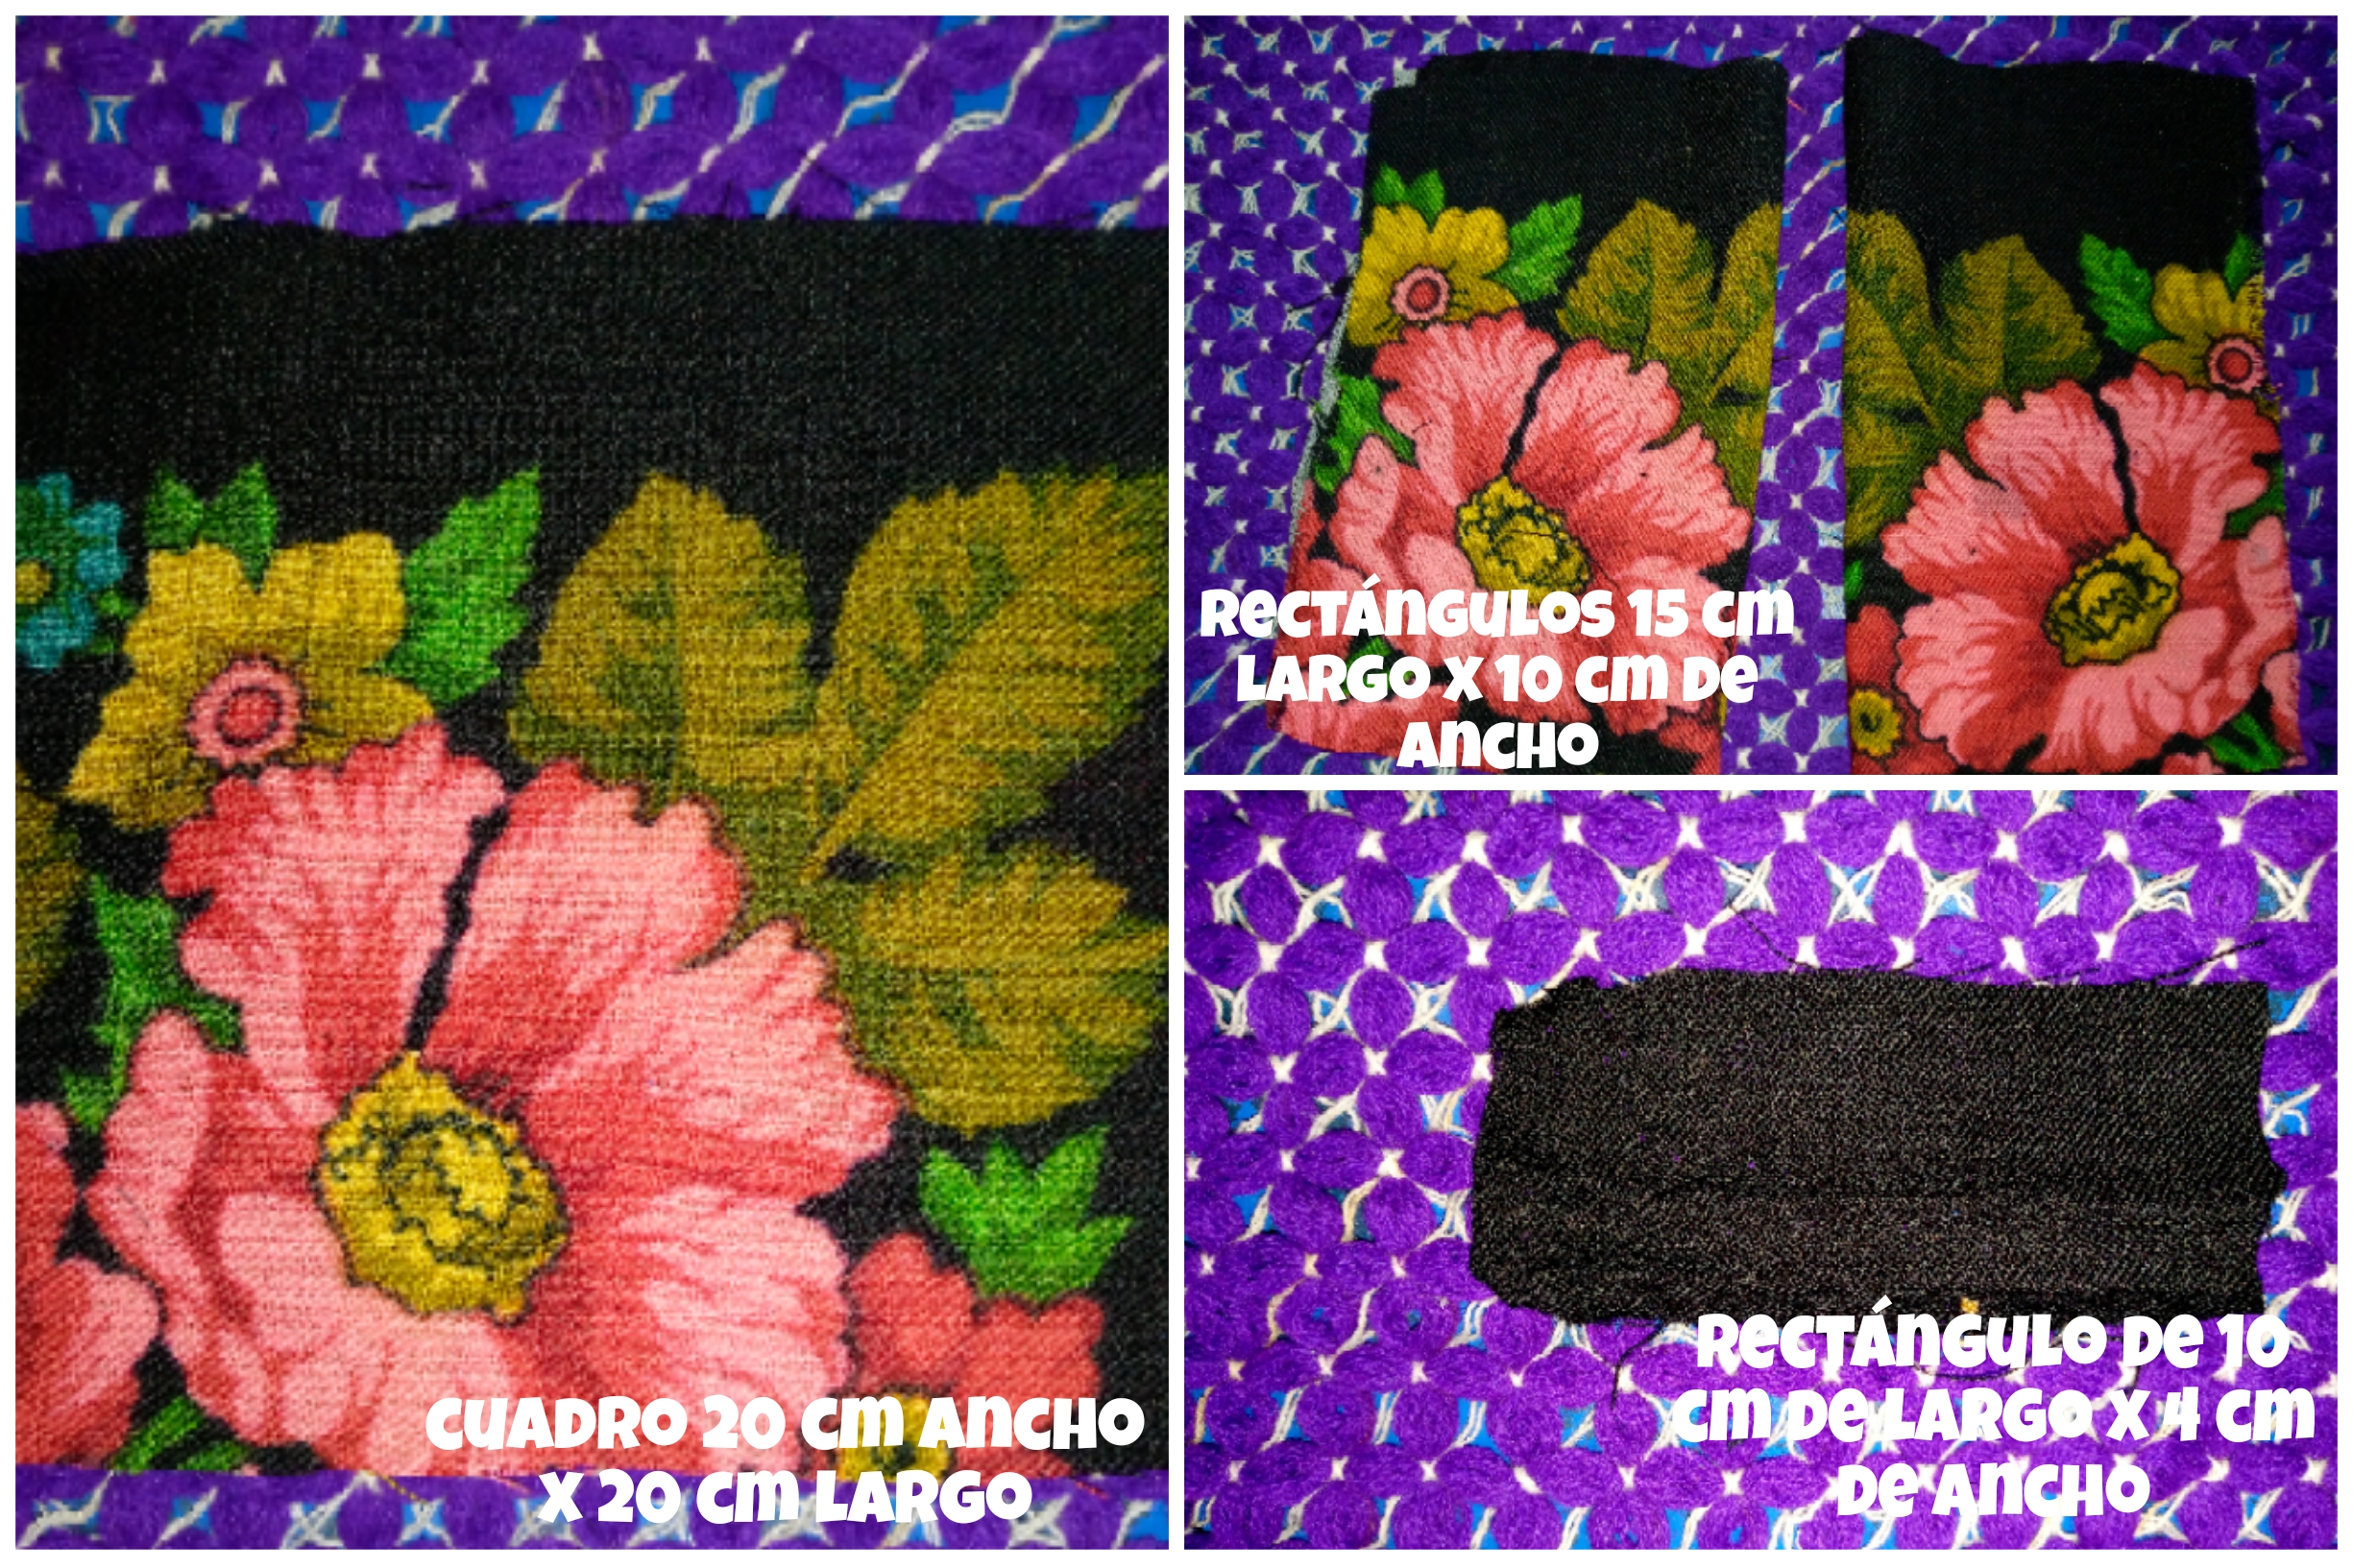
Well, my loves, I started by cutting the basic pieces of my bow, which is a square, two rectangles and a very small rectangle. The picture is made of a double piece of fabric and the rectangles are also in the following image, you can see the standard measurements that I have used to cut my bows pieces on the fabric.
Paso 02
Step 02
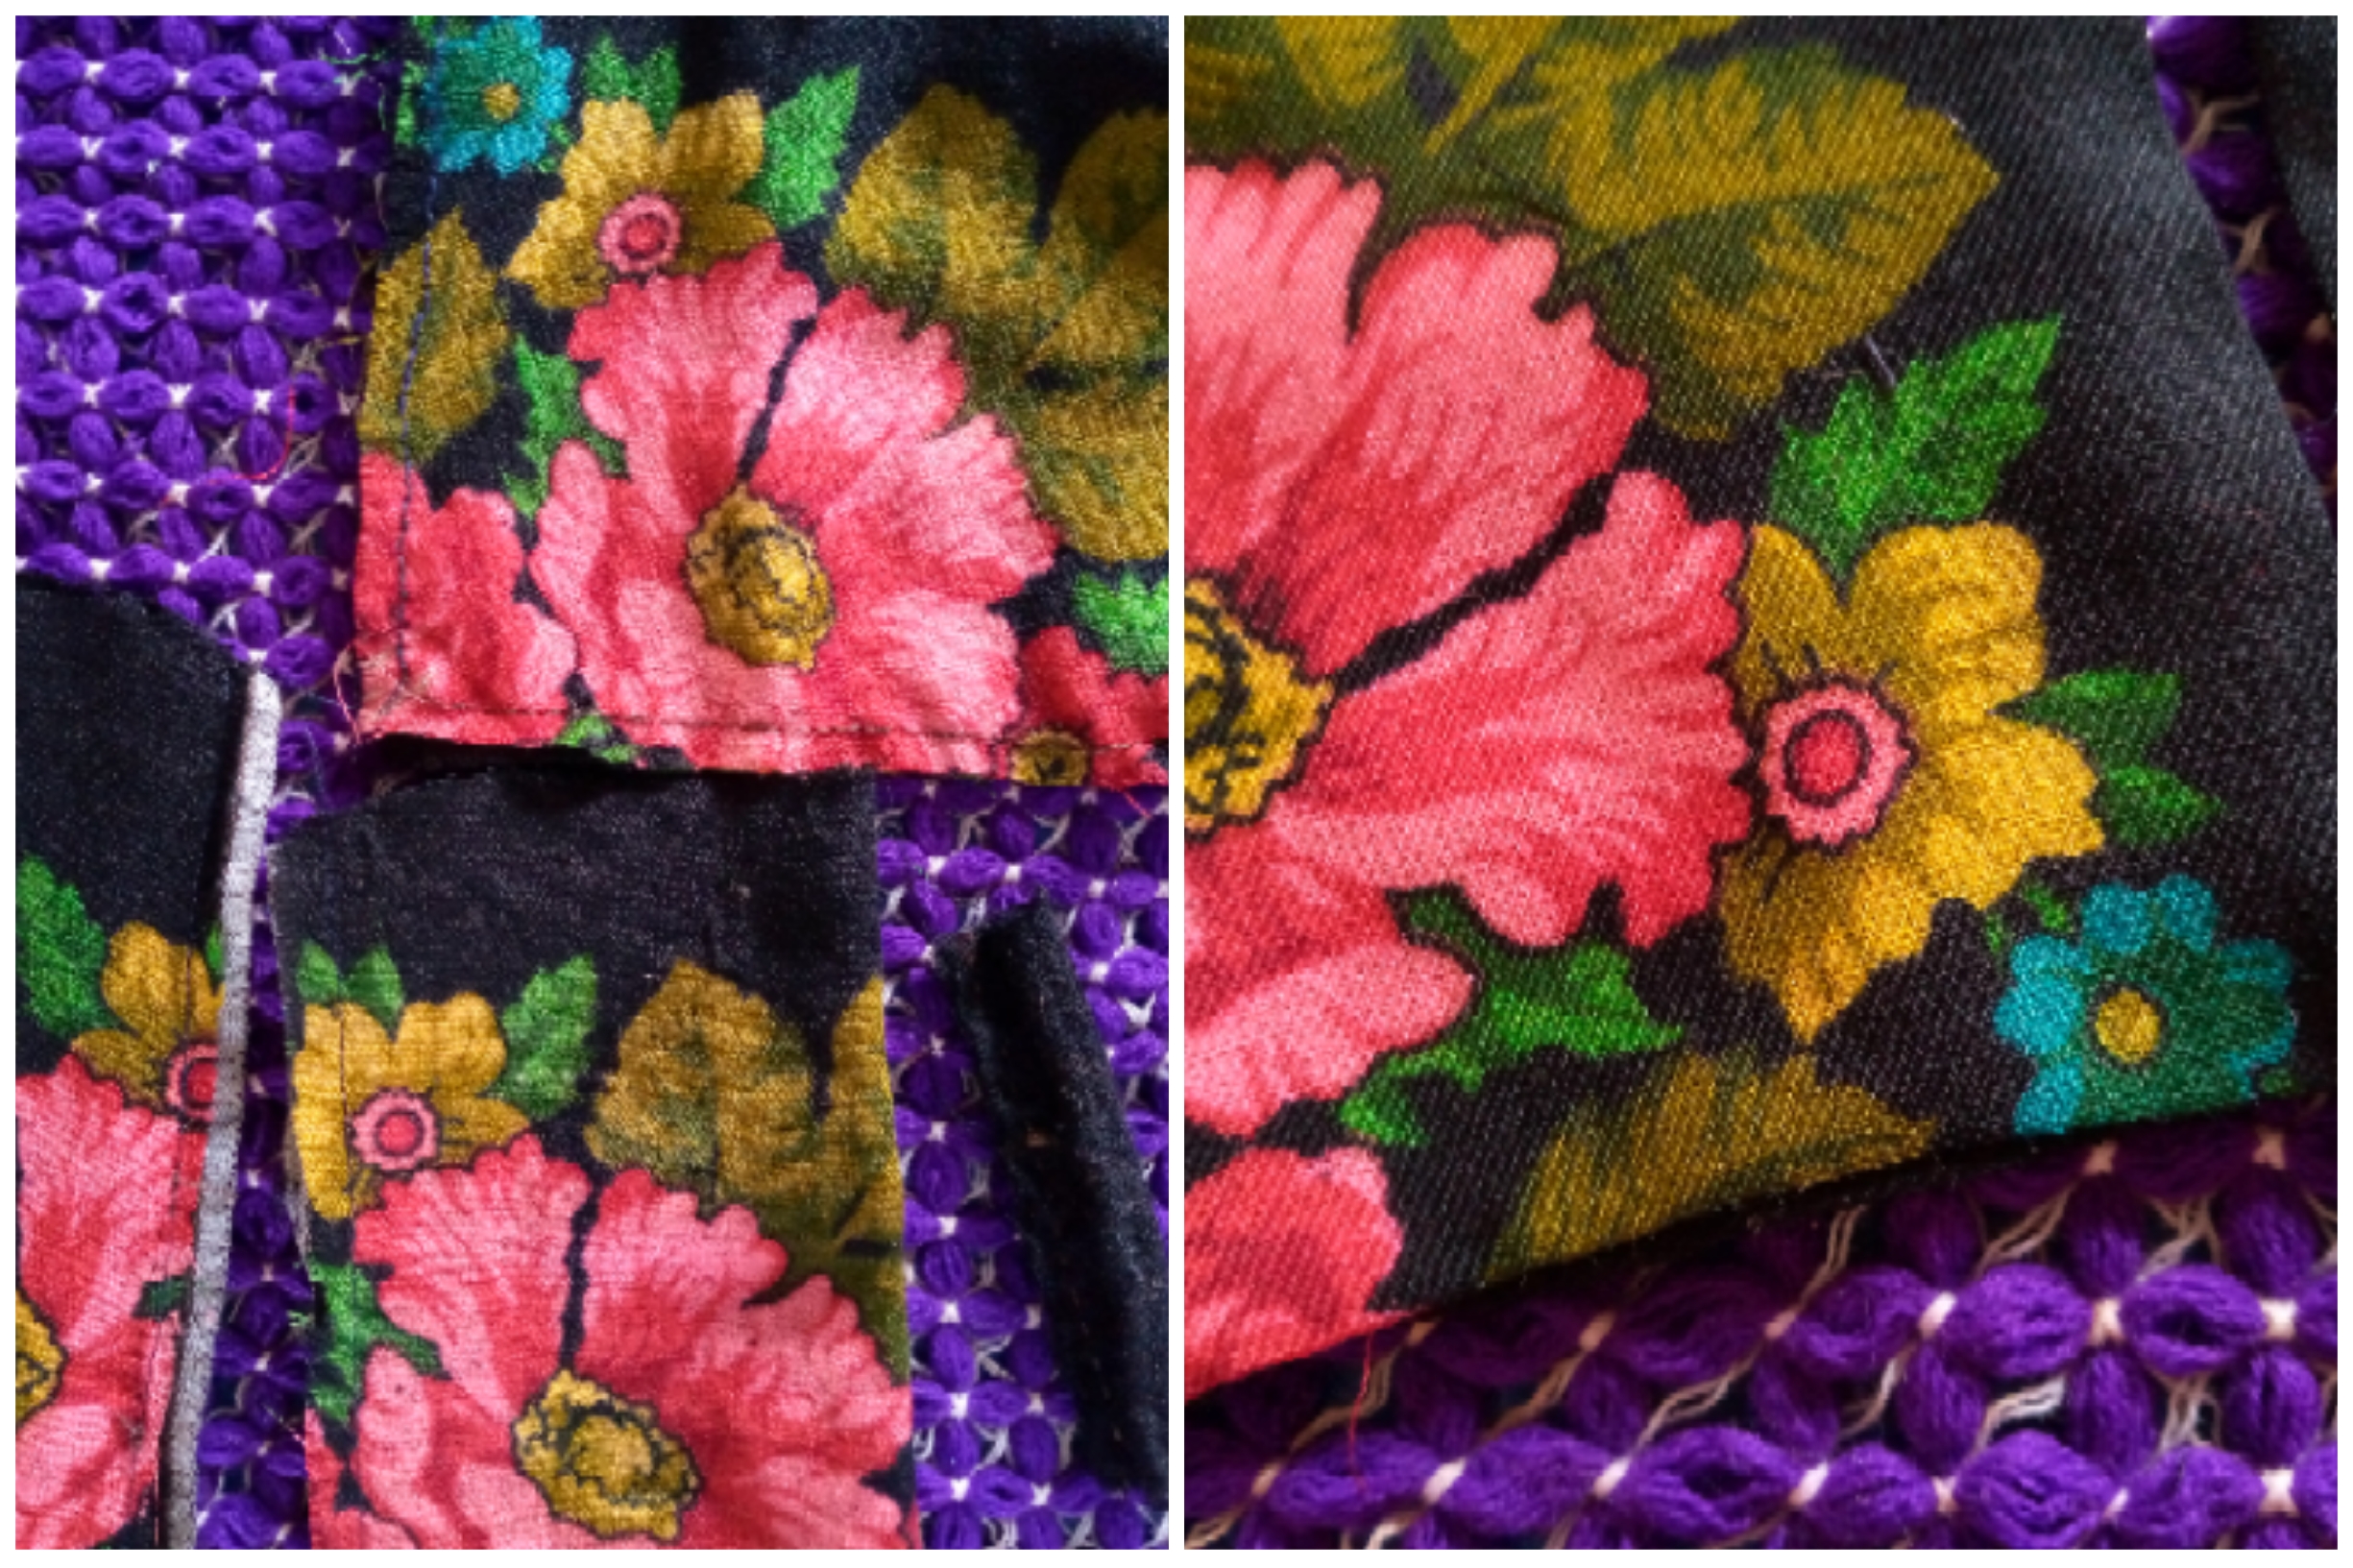
As the next step, basically what I did was sew on the bottom and turn the pieces on the upper side of my fabric. Always remember that the square that we will normally use is in the middle on the back, I make a small cut, which is where I go Let's turn the fabric, well done, having our pieces turned, I'm going to iron them from the top This is how our ironed pieces look.
Paso 03
Step 03
I proceed to fold the square of my fabric to mark the middle in that area I am going to sew by hand and pull the thread to gather and give the shape to my bow I am also going to join the two rectangles also with sewing and I proceed to gather in this way I'm going to sew and join the pieces.
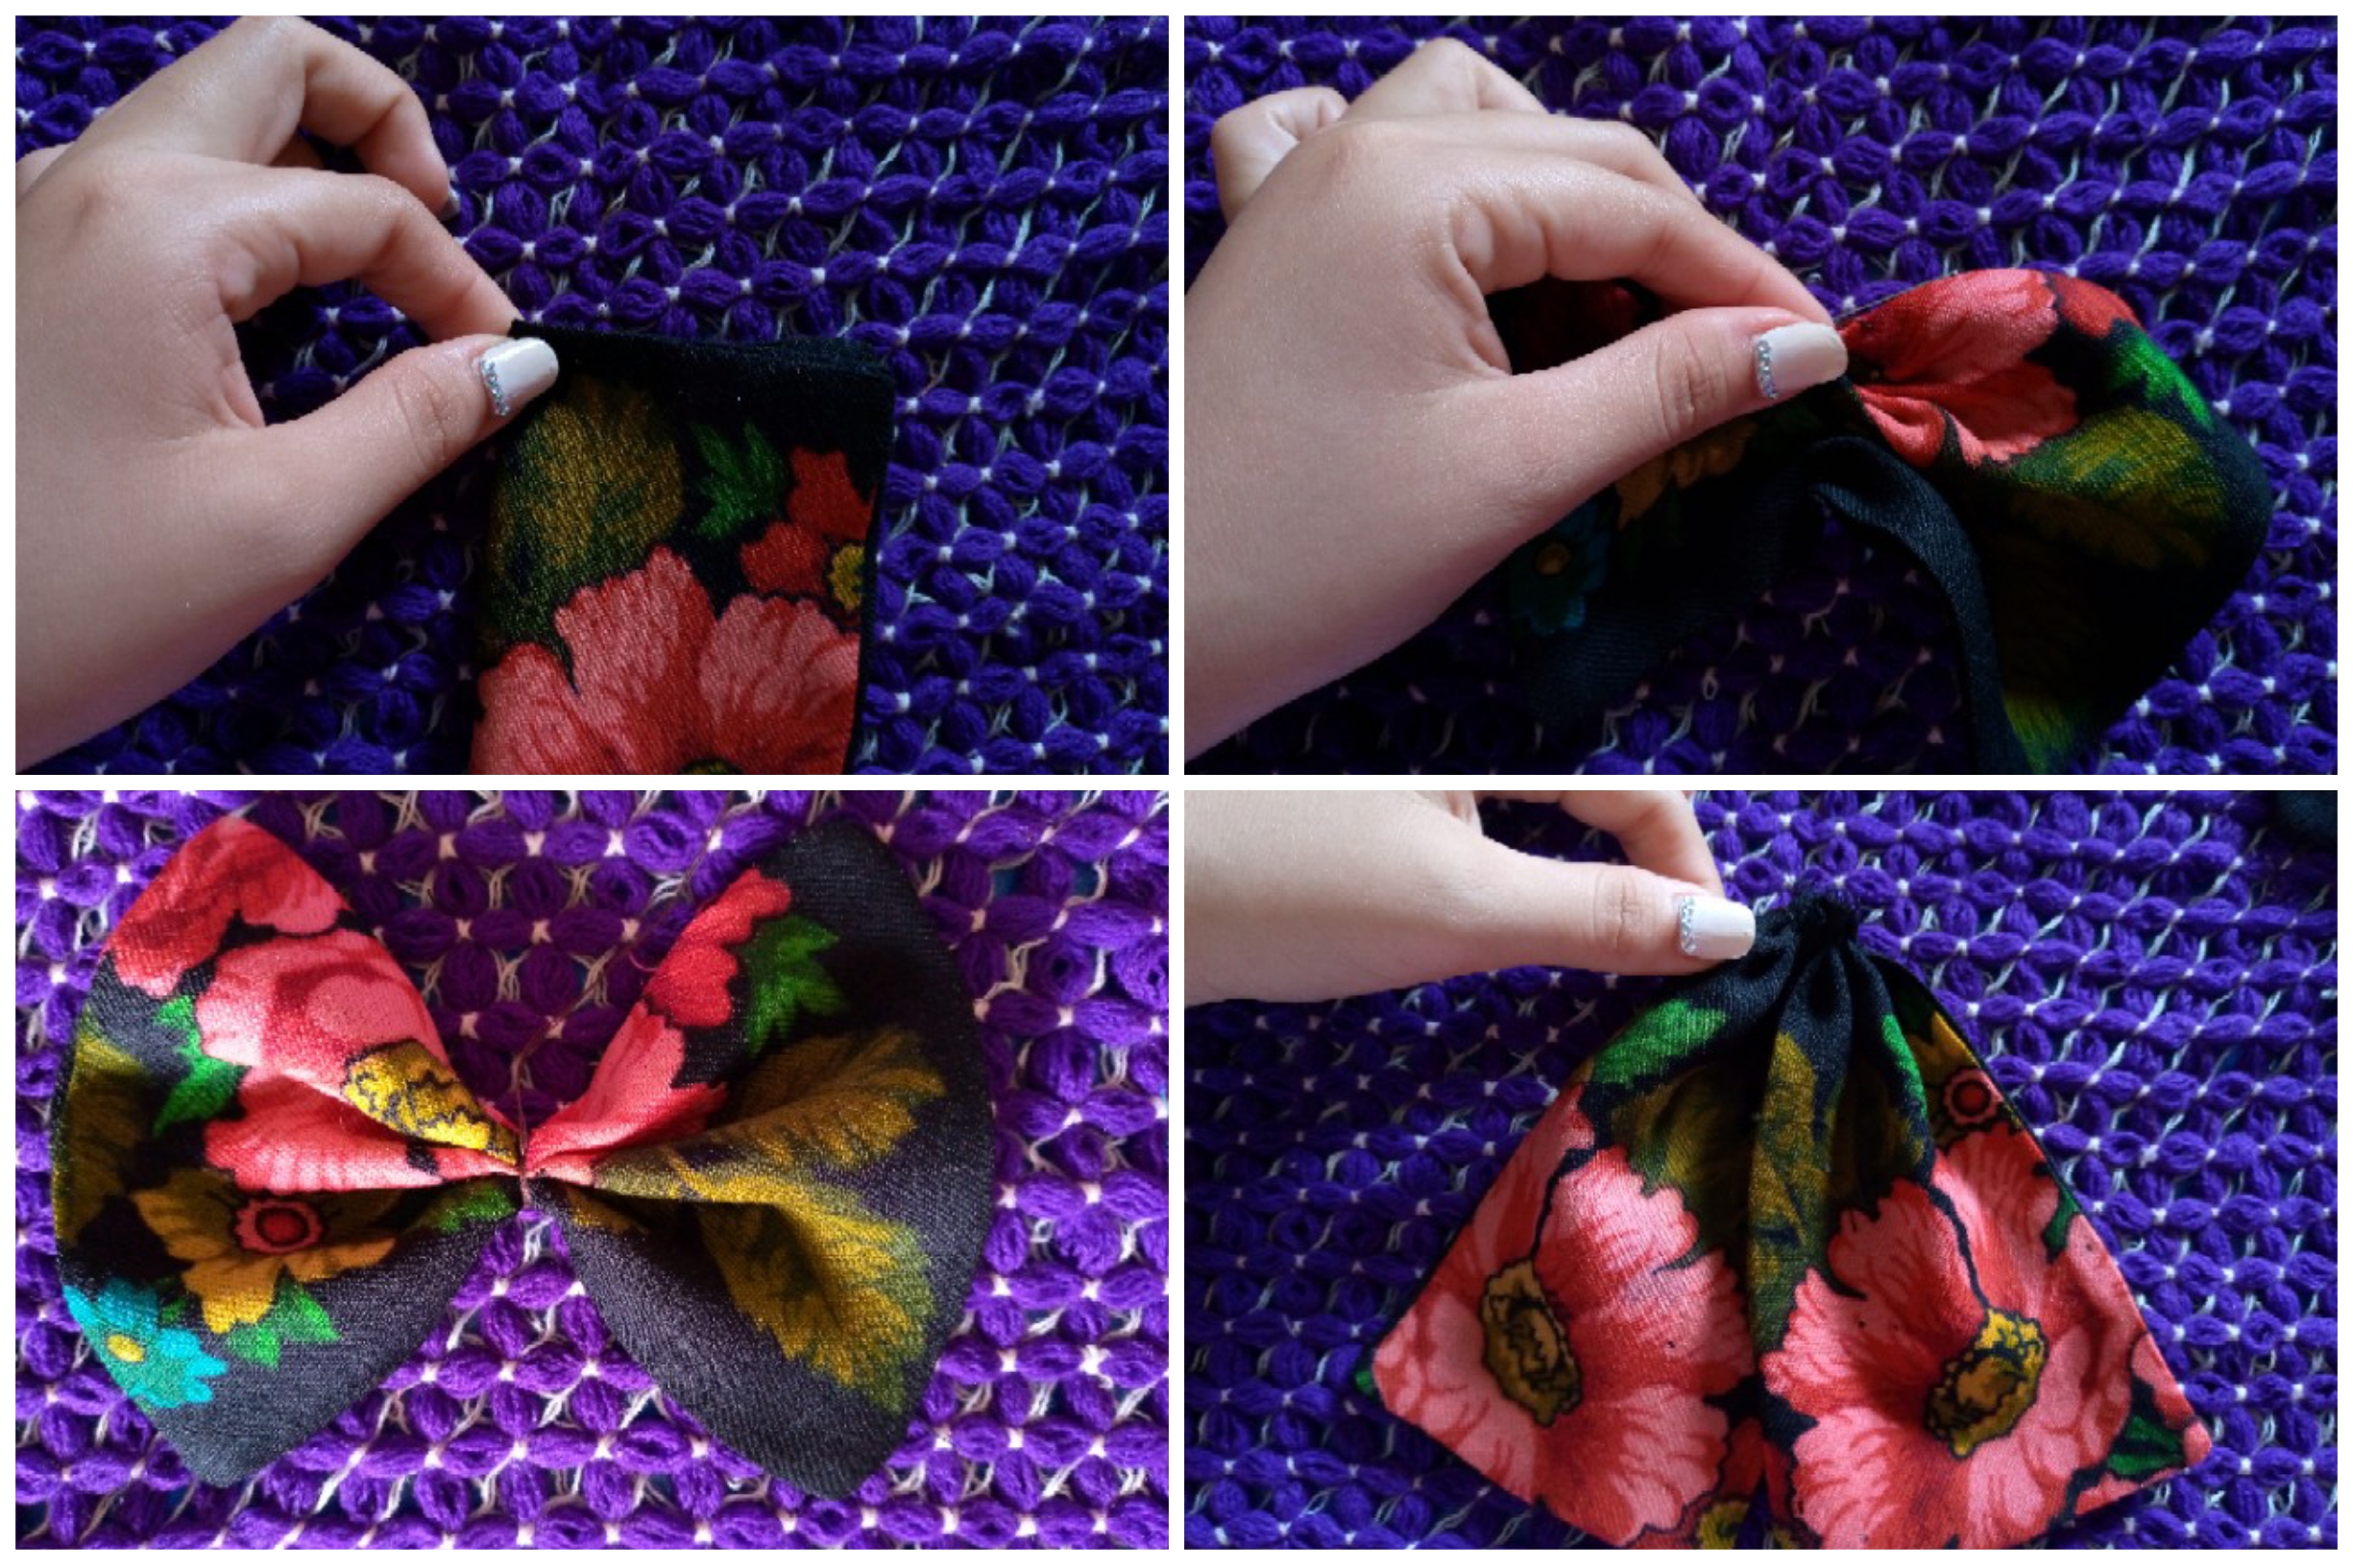
Paso 04
Step 04
I am going to join the piece with the two rectangles to the bottom part of the bow, I open in the middle of both pieces and I am going to make three turns with my thread and needle and pull to adjust the bow. I am going to join both pieces with the small rectangle in the middle and I'm going to sew the hair tie to the bun but on the back.
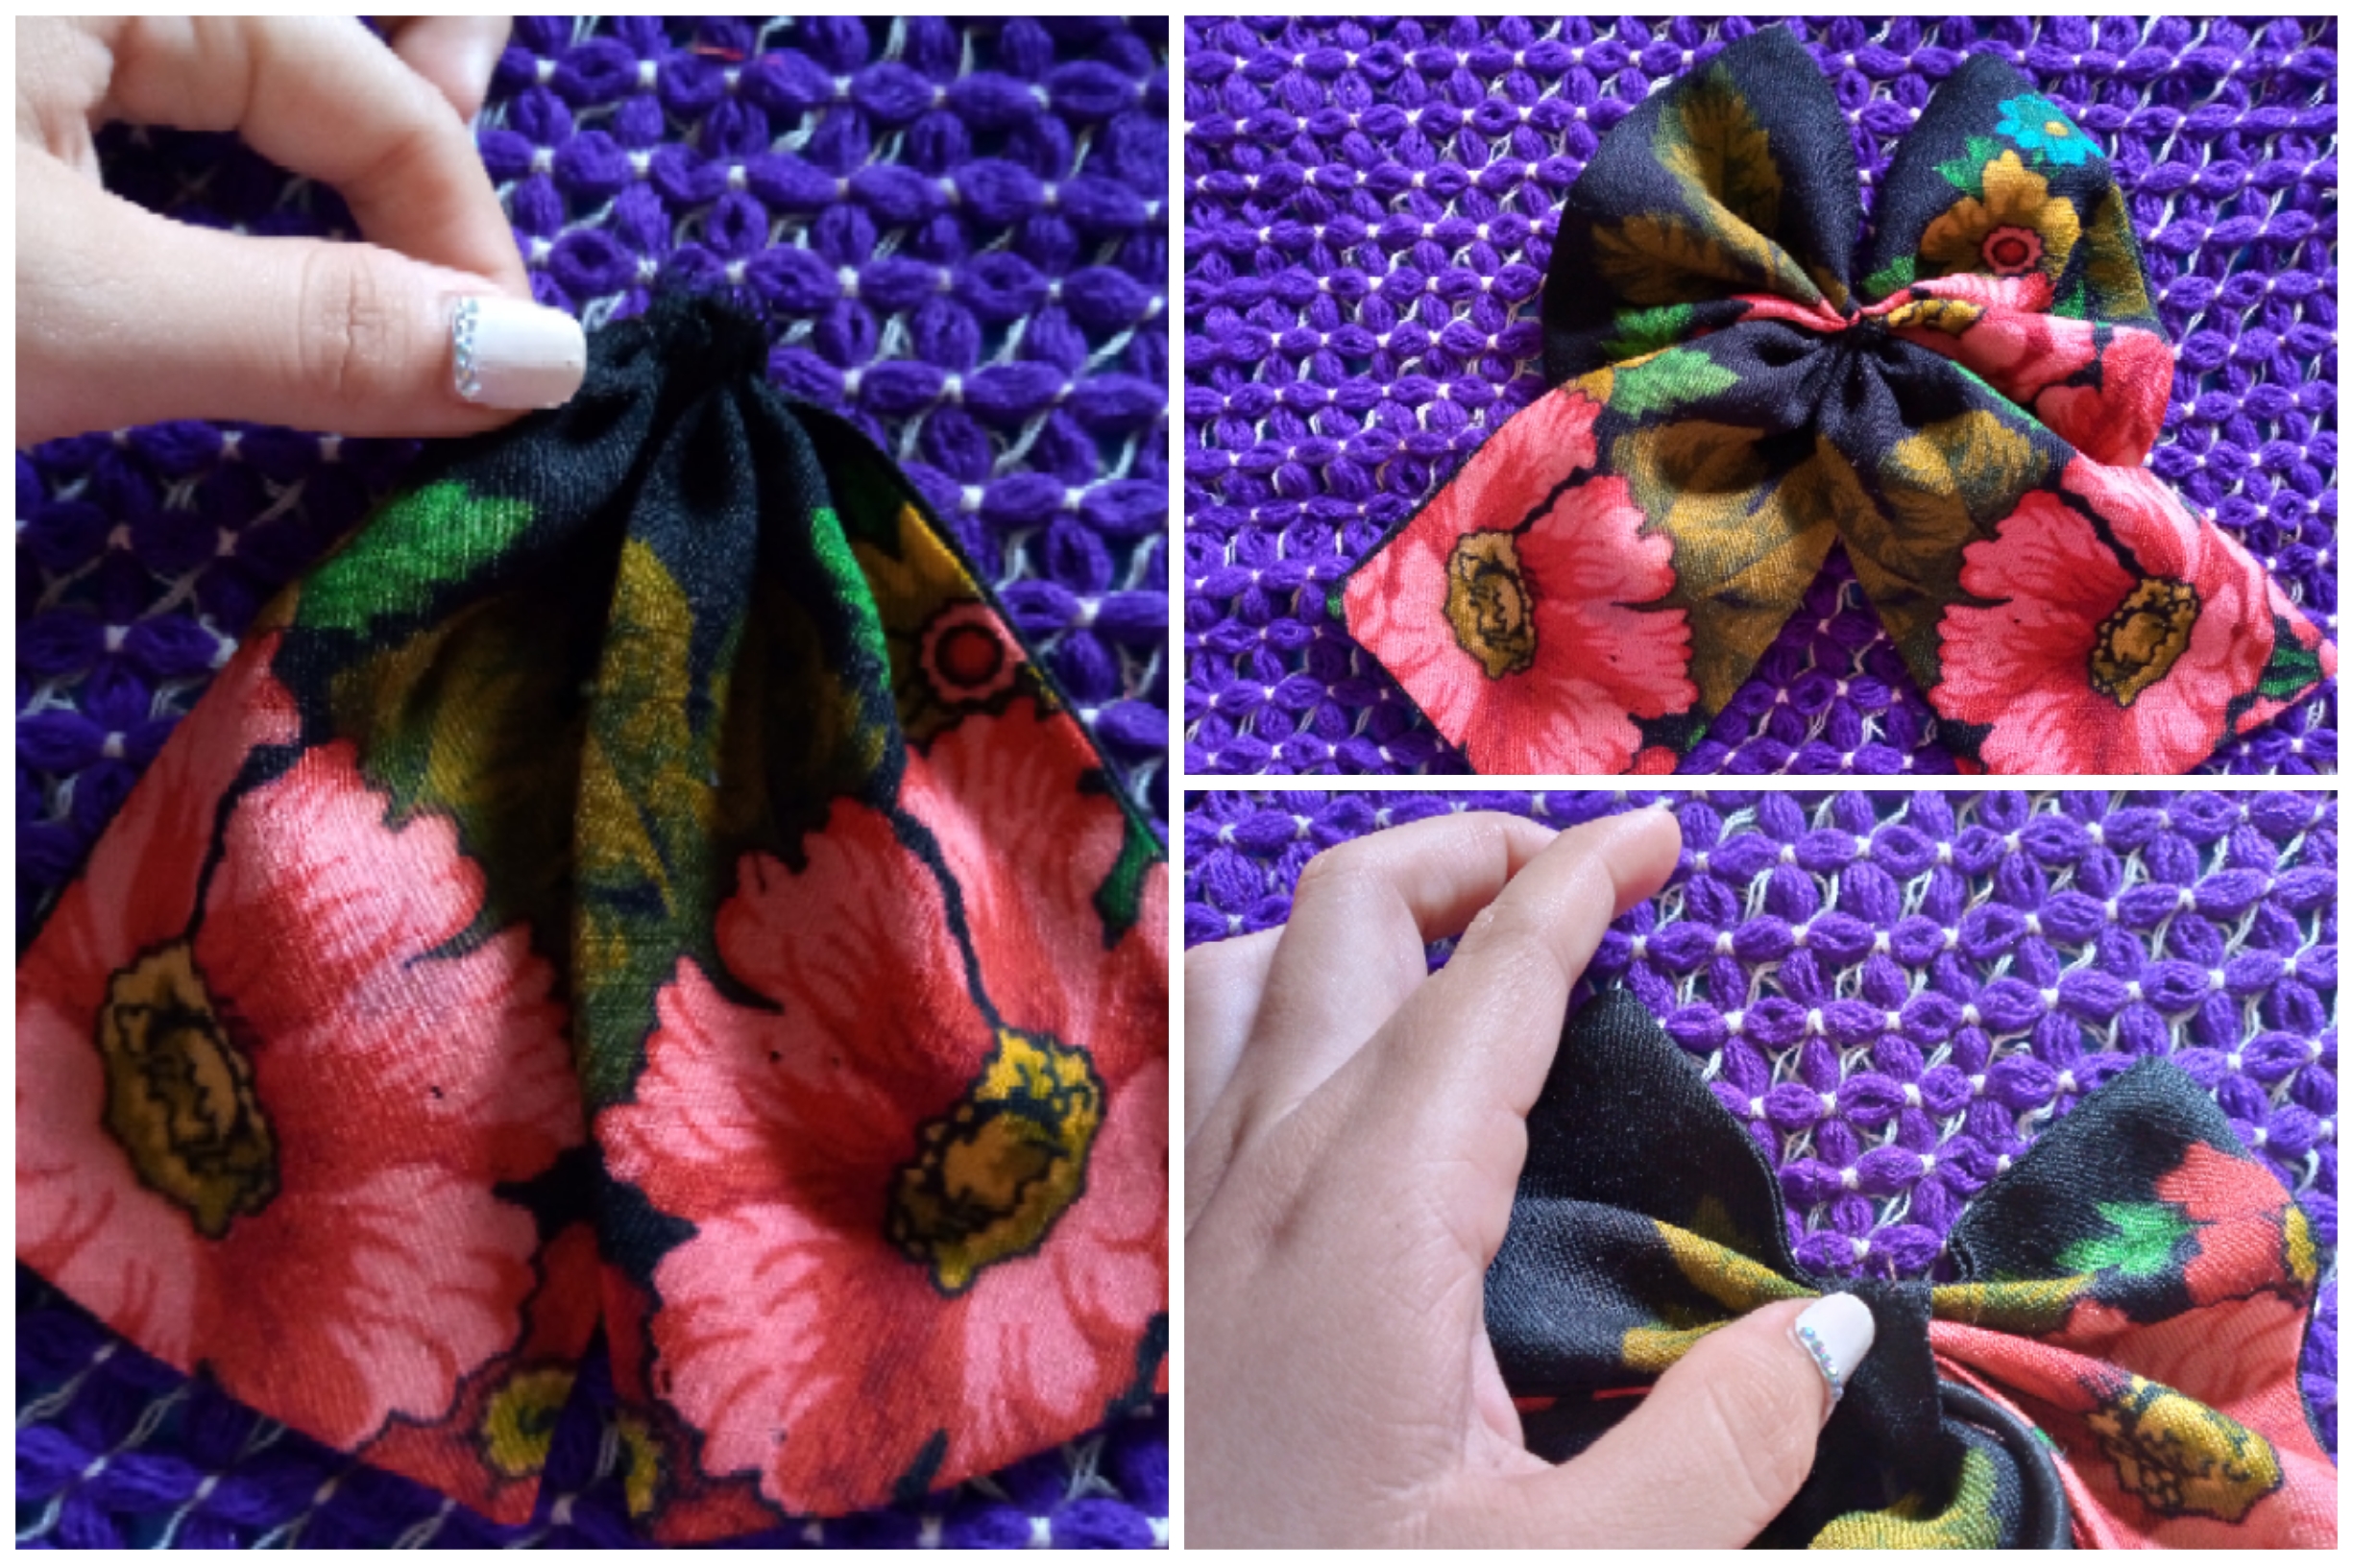
Paso 05
Step 05
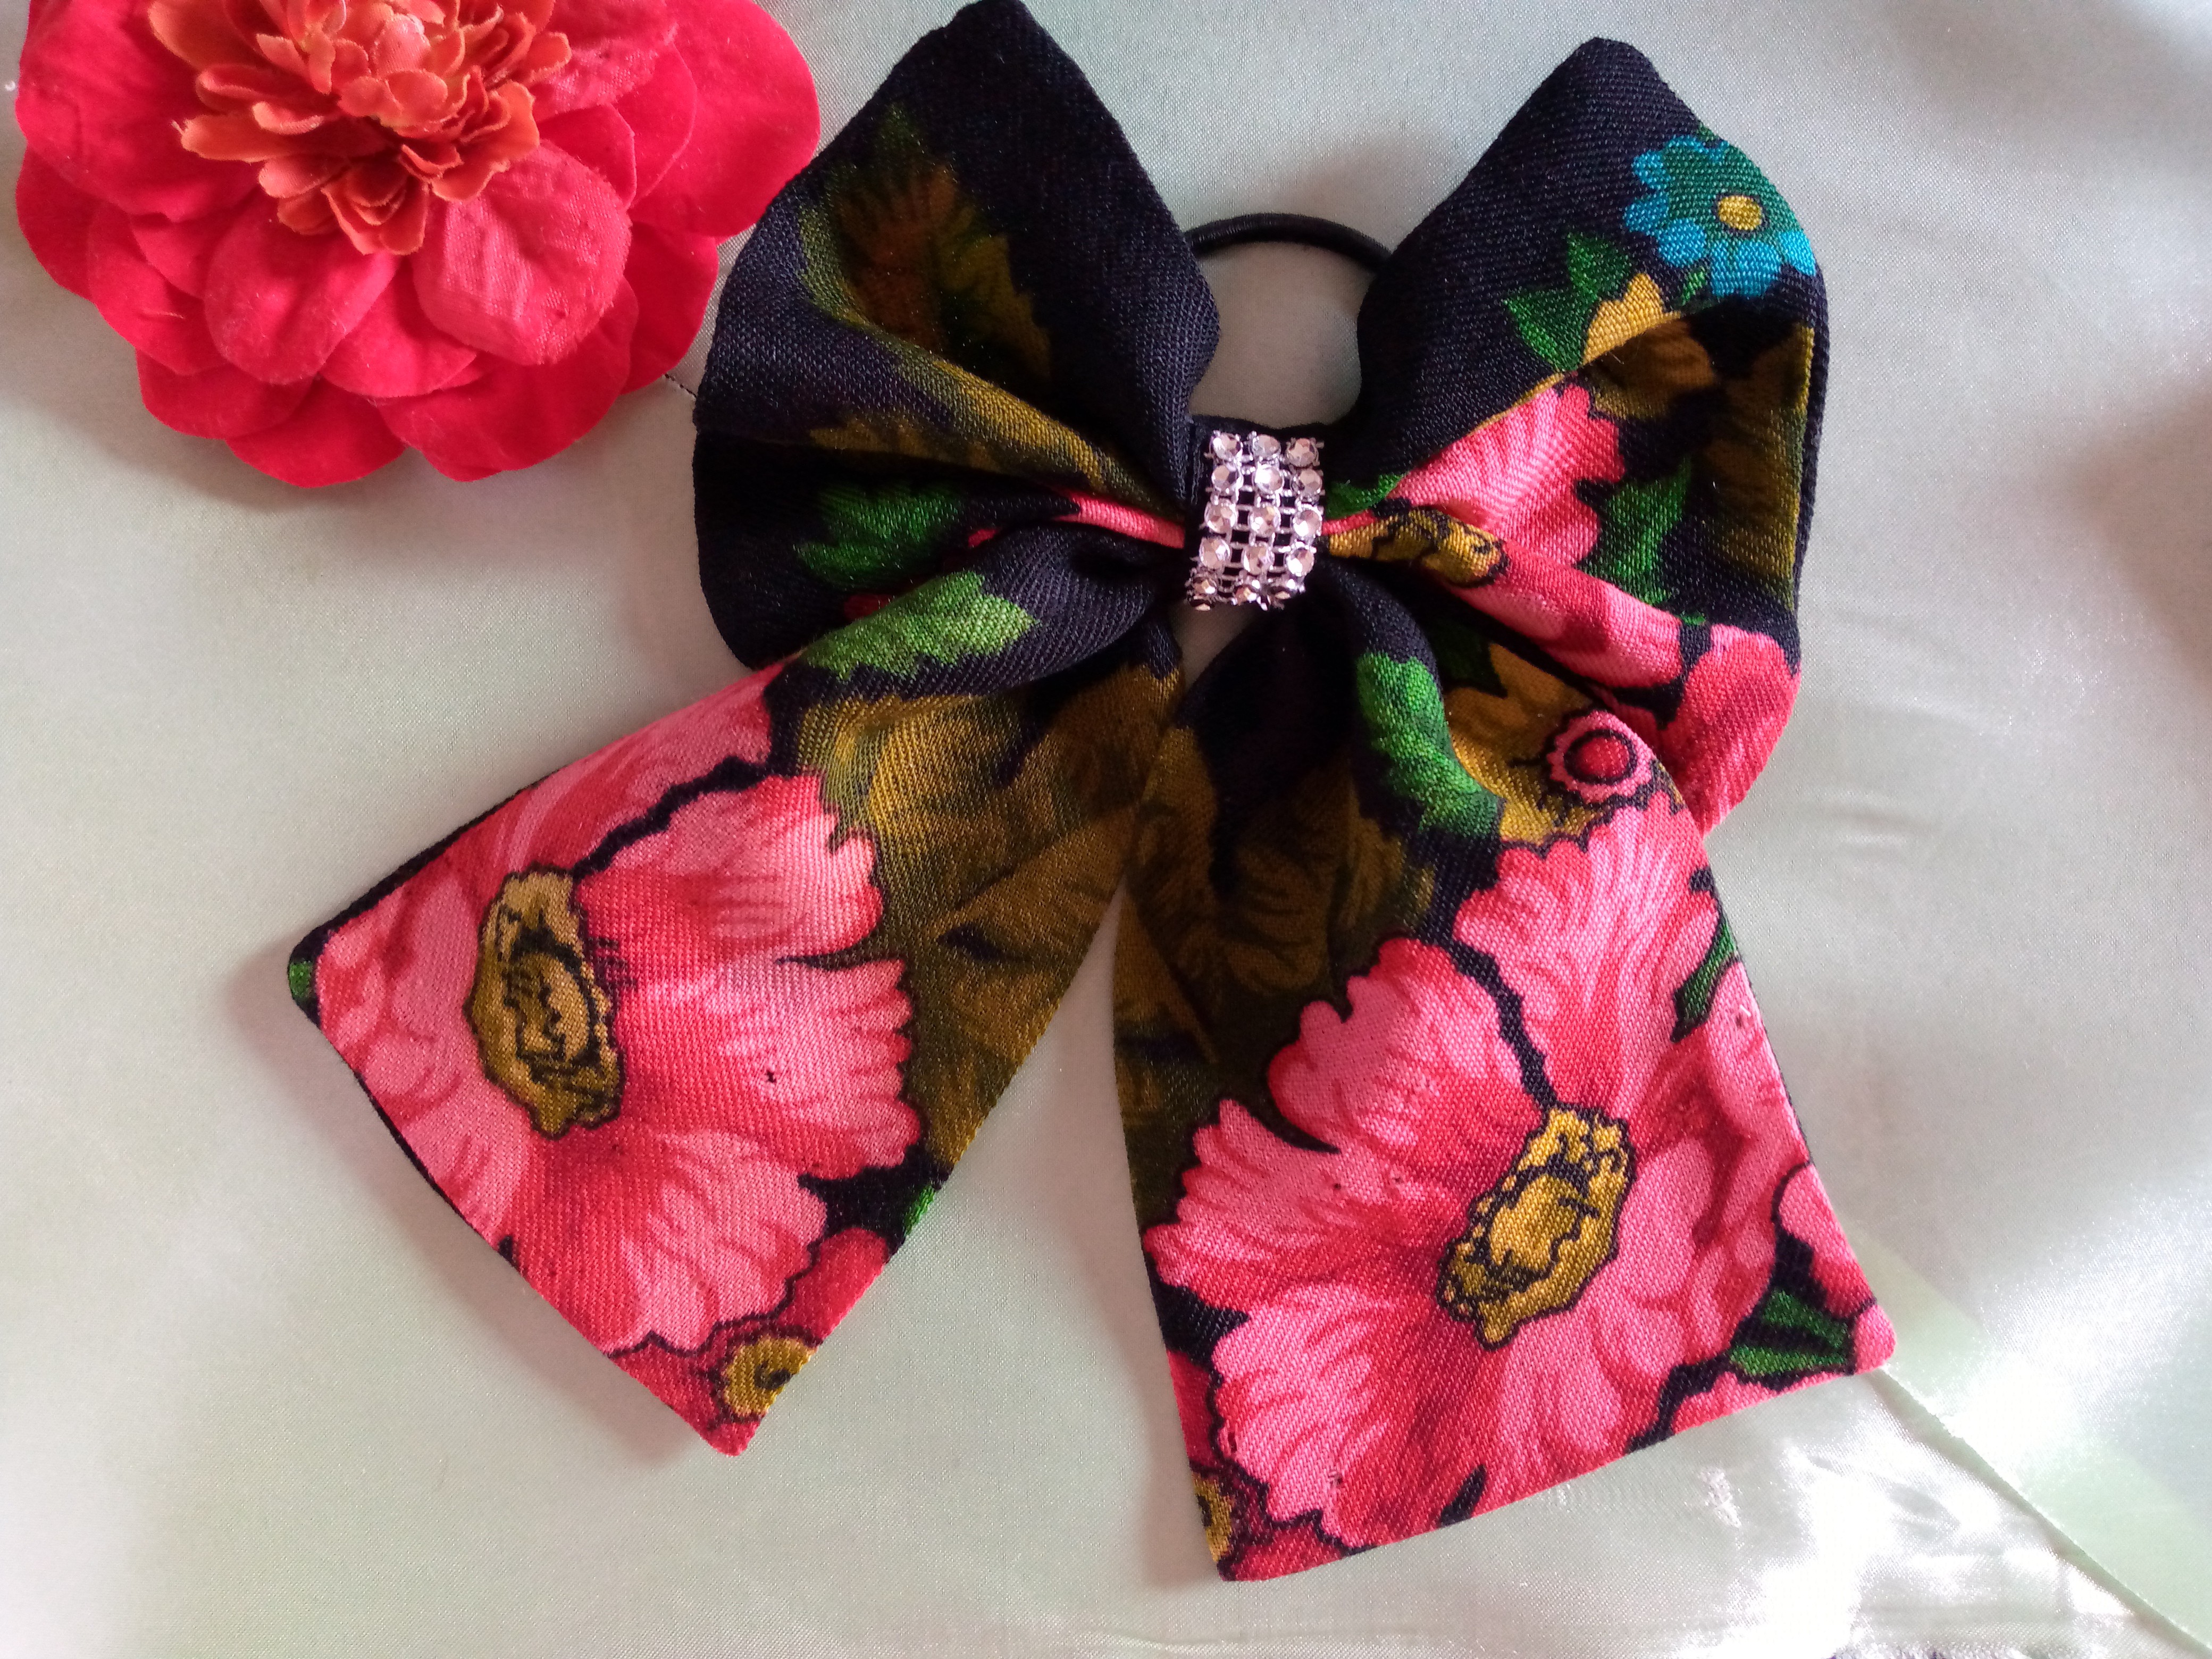
As a last step I am going to sew the silver detail in the center of the bow to give it a very elegant and beautiful touch. This is how I have finished it.
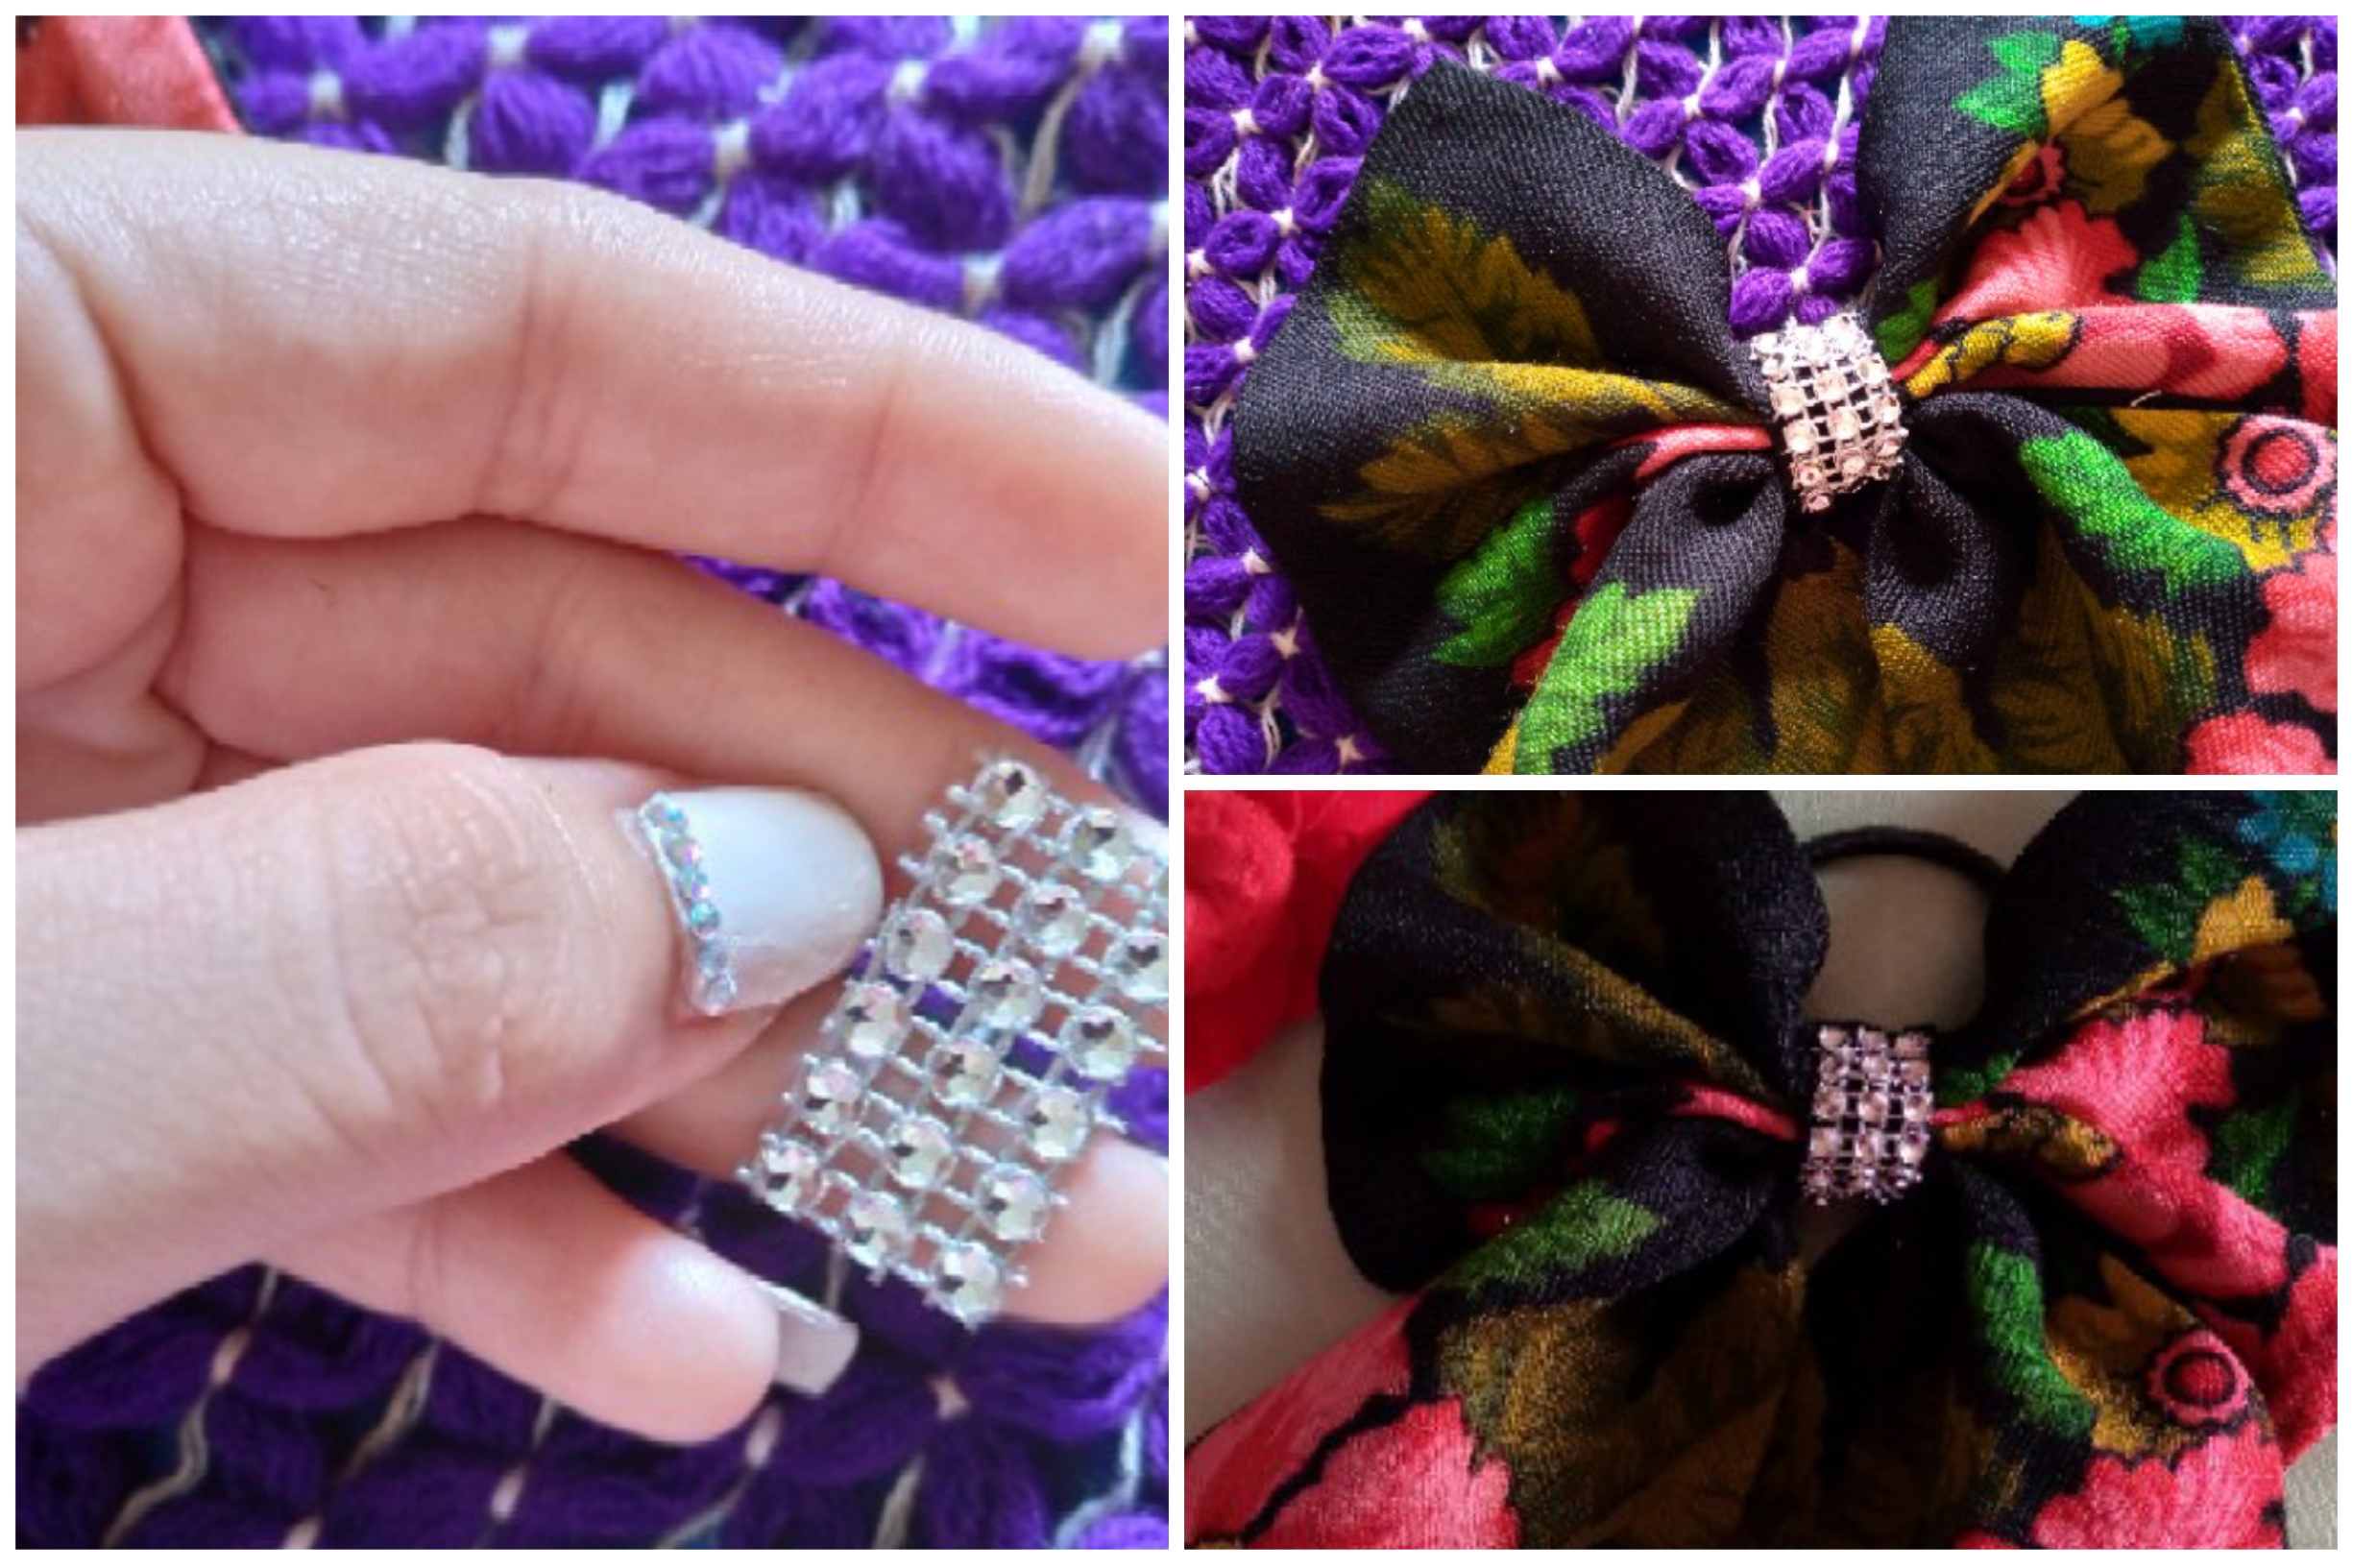

Resultado:
Resultado:

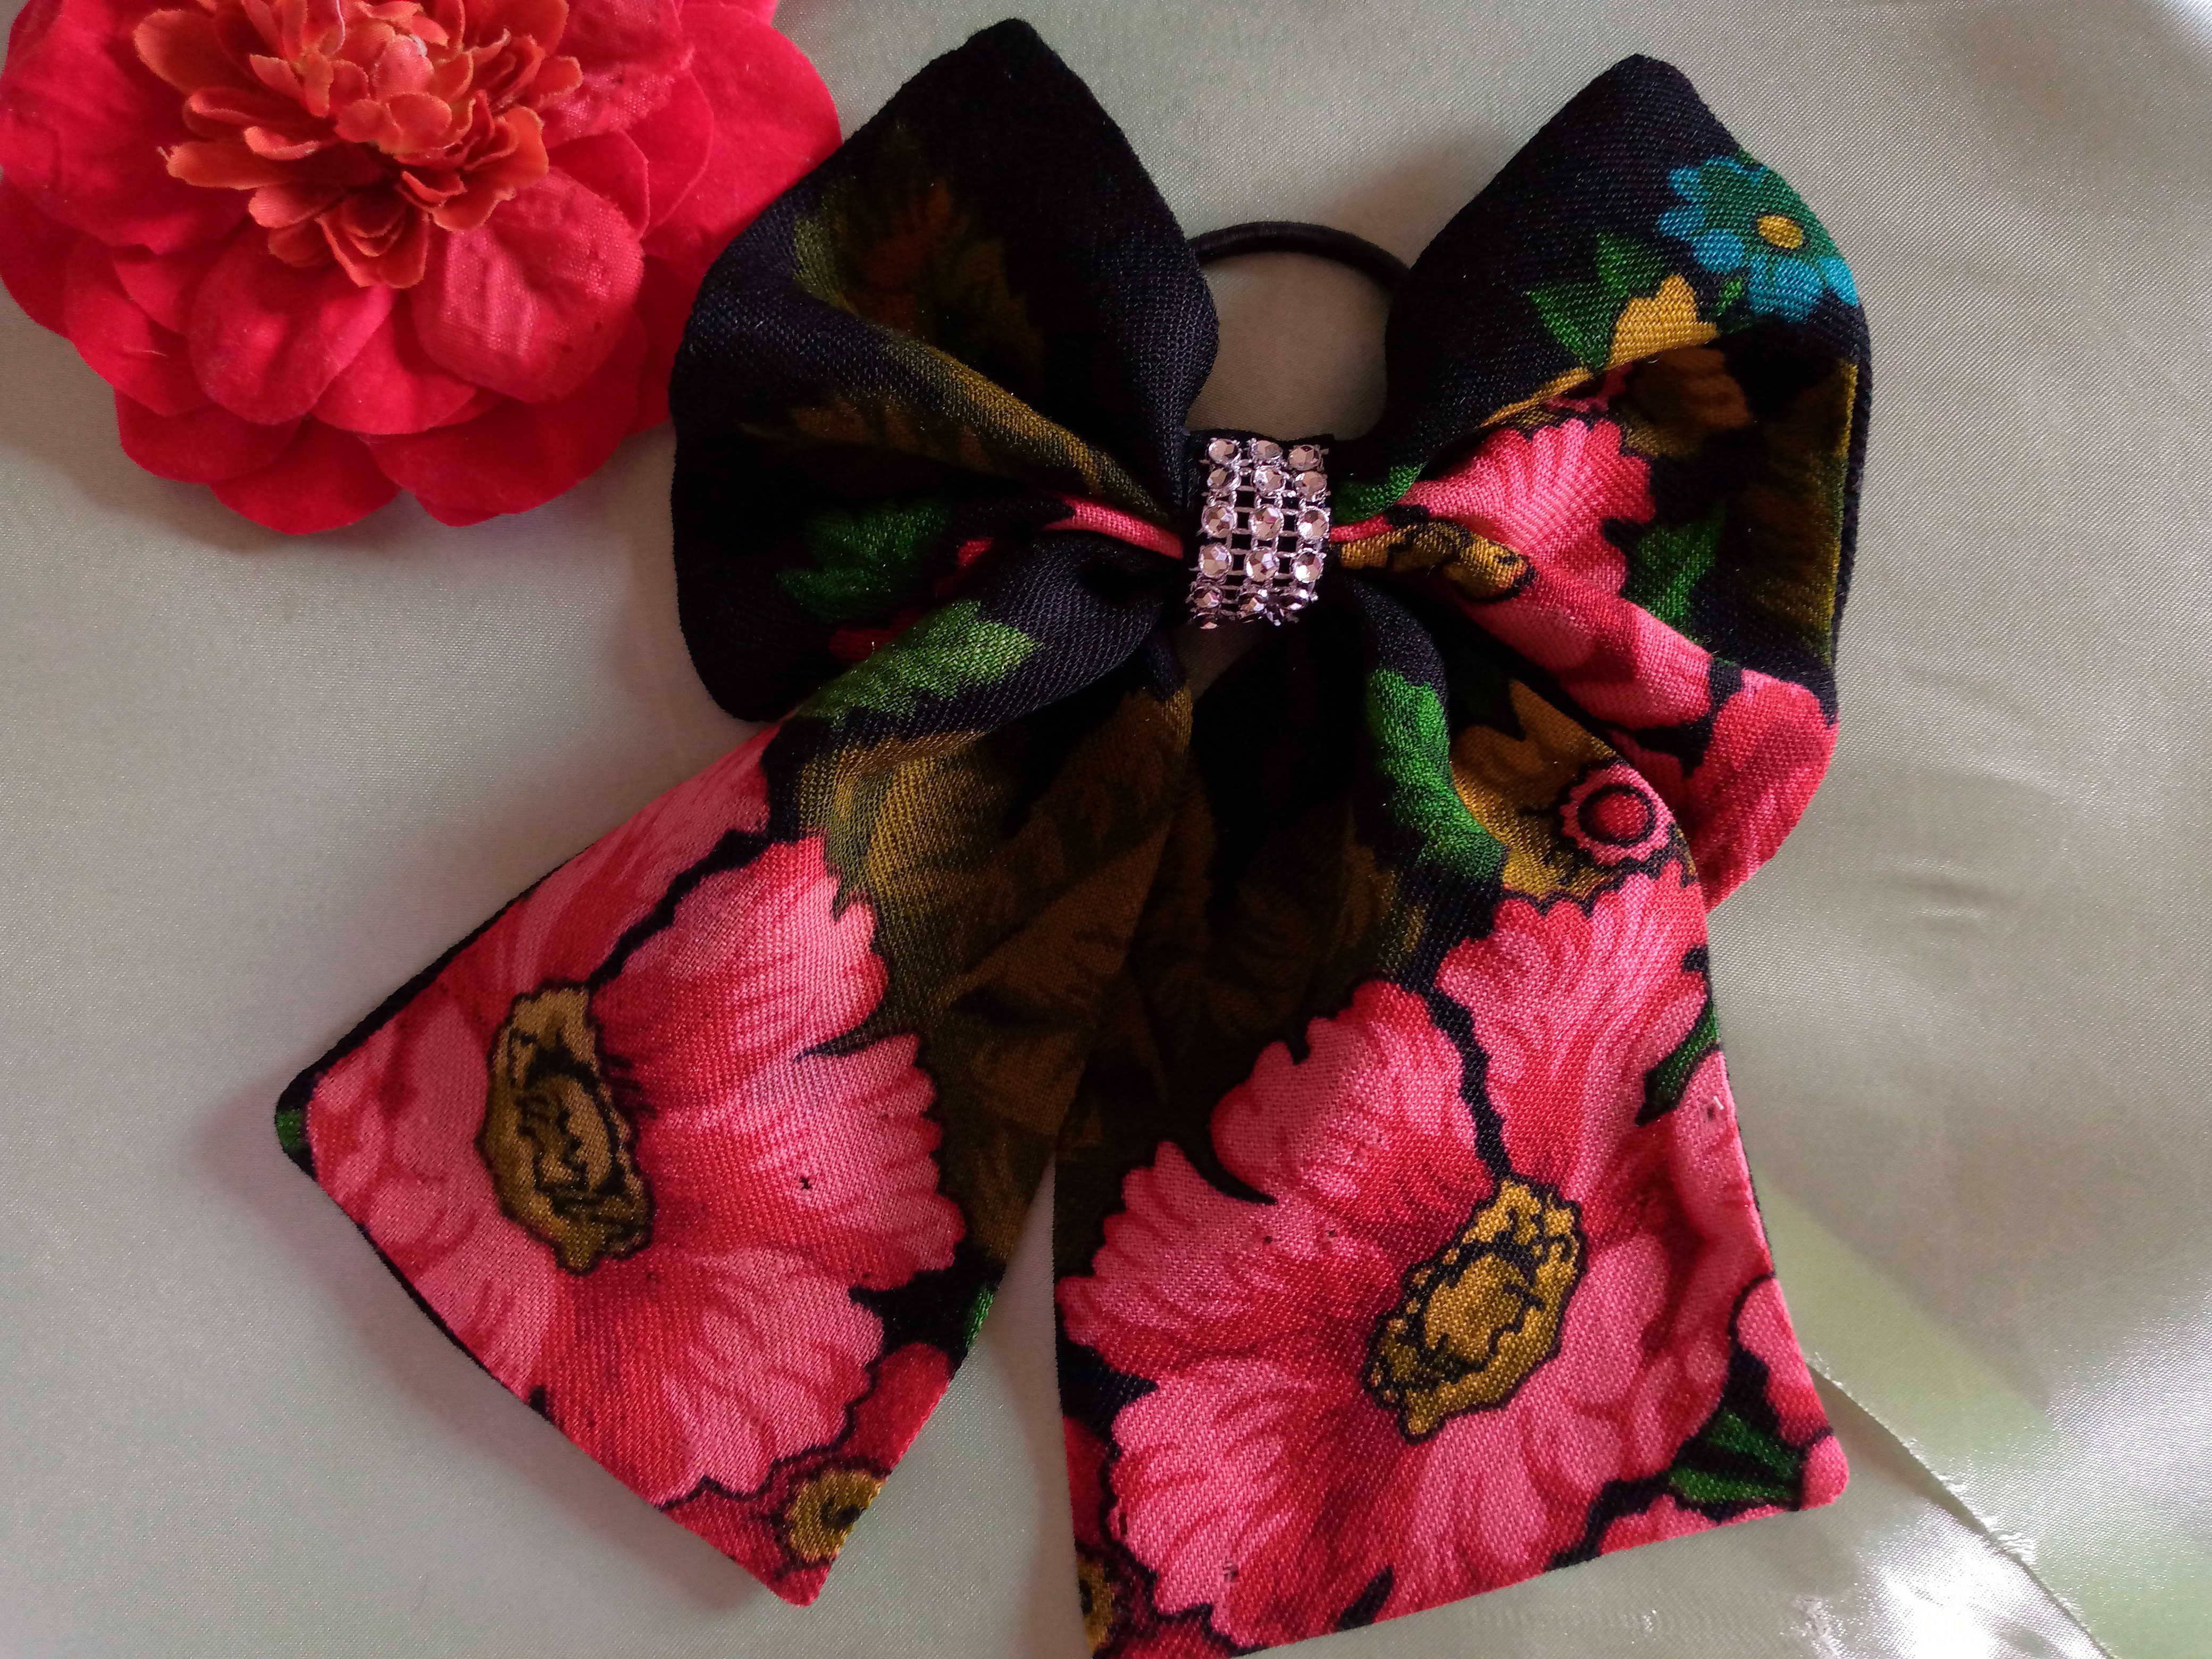
The truth is that I loved how it turned out, what did you think, what would you use this type of bow with and who would you give it to? ..I hope you liked it and that this tutorial has been very helpful to you when it comes to recycling scraps of fabric that you no longer use and that you don't really know what to do with them, I say goodbye to you my creative friends, wishing you a happy afternoon, greetings.

Qué genial moño nos has compartido, excelente trabajo, gracias por compartir.
Escrito por lionsaturbix / Written by lionsaturbix
¡¡¡Buen trabajo!!! Gracias por publicar tu excelente contenido en Hive Diy.
Muchas gracias por el inmenso apoyo saludos...👏🏻
Que lindo, me gusta el diseño de la tela que usaste 🤗
Feliz noche amiga @marile21... Gracias por tu hermoso comentario 🥰🥰
This is lovely🥰🥰🥰
Thank you very much beautiful 😍