(Span/Eng) Gabinete Para Especias Reciclado/ Recycled Spice Cabinet
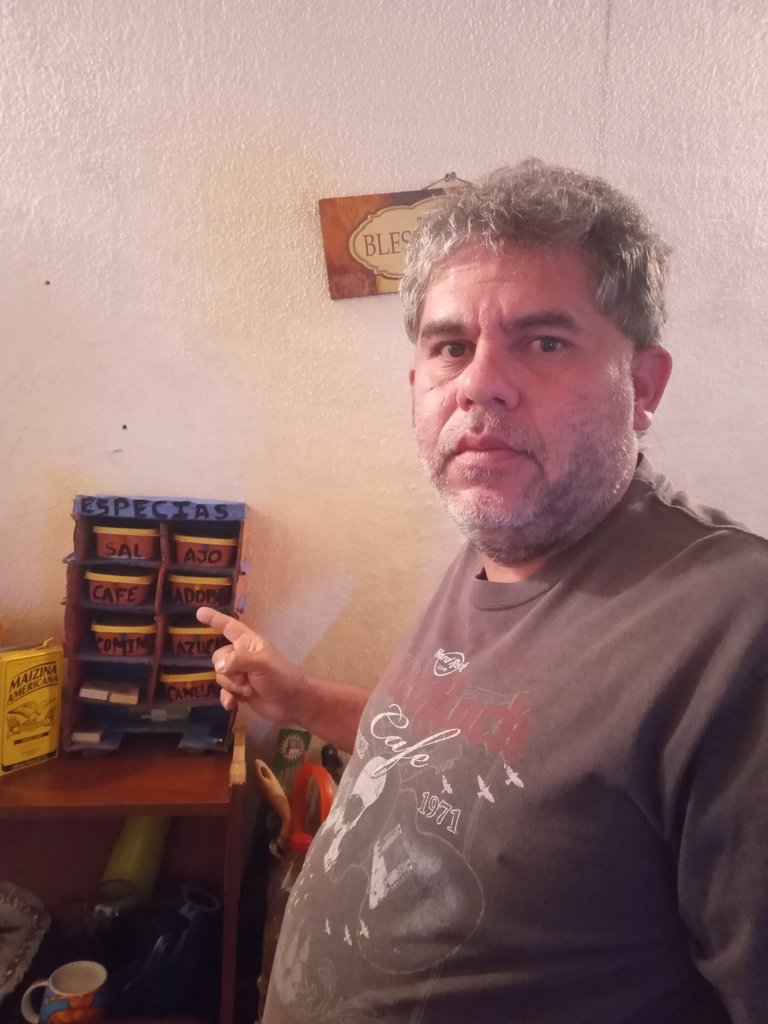
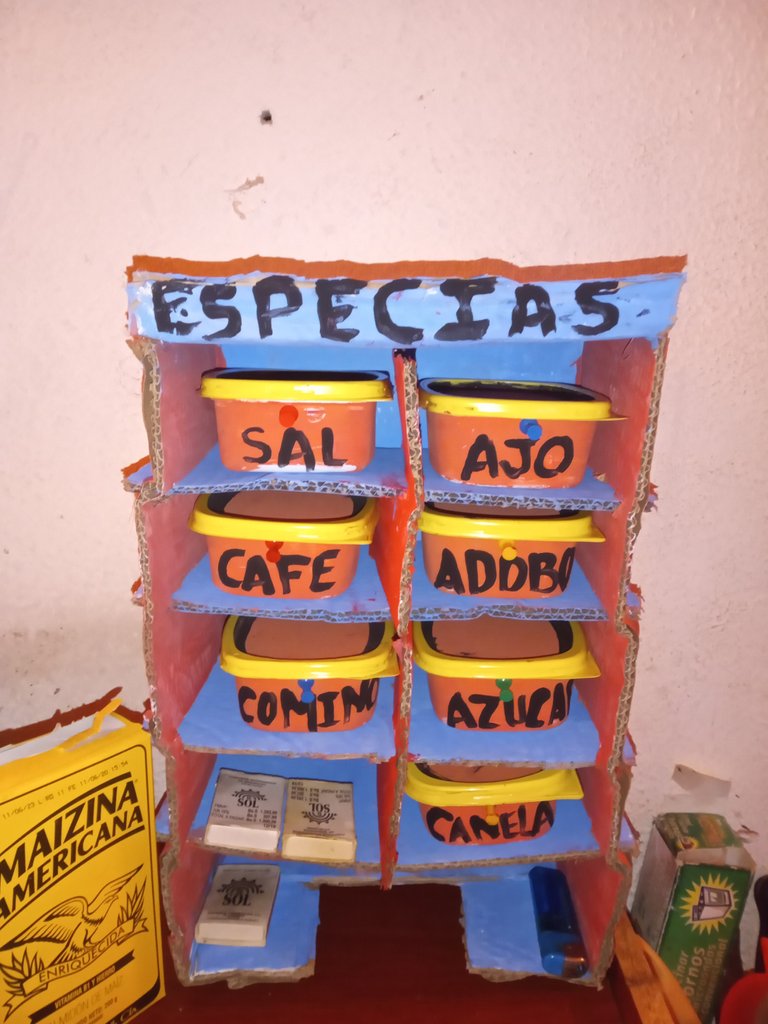
Este gabinete es elaborado reciclando cartón y la finalidad es que reusemos los envases de mantequilla para almacenar especias y condimentos en nuestras cocinas. Es una opción sencilla, con materiales económicos y que nos permite evitar la acumulación de envases, otorgándoles otro uso y por ende mayor vida útil.
Acá en Venezuela, le hemos dado múltiples usos a estos envases, entre ellos se usan para almacenar alimentos en la nevera, conservadores de alimentos portátiles, hacer hielo en neveras y así distintas opciones que nuestro ingenio nos ha proporcionado. Es por ello que dentro de lo que comparto contigo está la elaboración de este gabinete y el uso de los envases de mantequilla, en aras de organizar un poco más nuestros espacios, reciclar y por ende contribuir con la conservación ambiental-
Manos a la obra.

Materiales:
1 caja de cartón
Pinturas al frío.
Exacto
Tijeras
Silicon
Pistola de Silicon
Chinches
Envases de mantequilla de 250grs
Pinceles

Procedimiento:
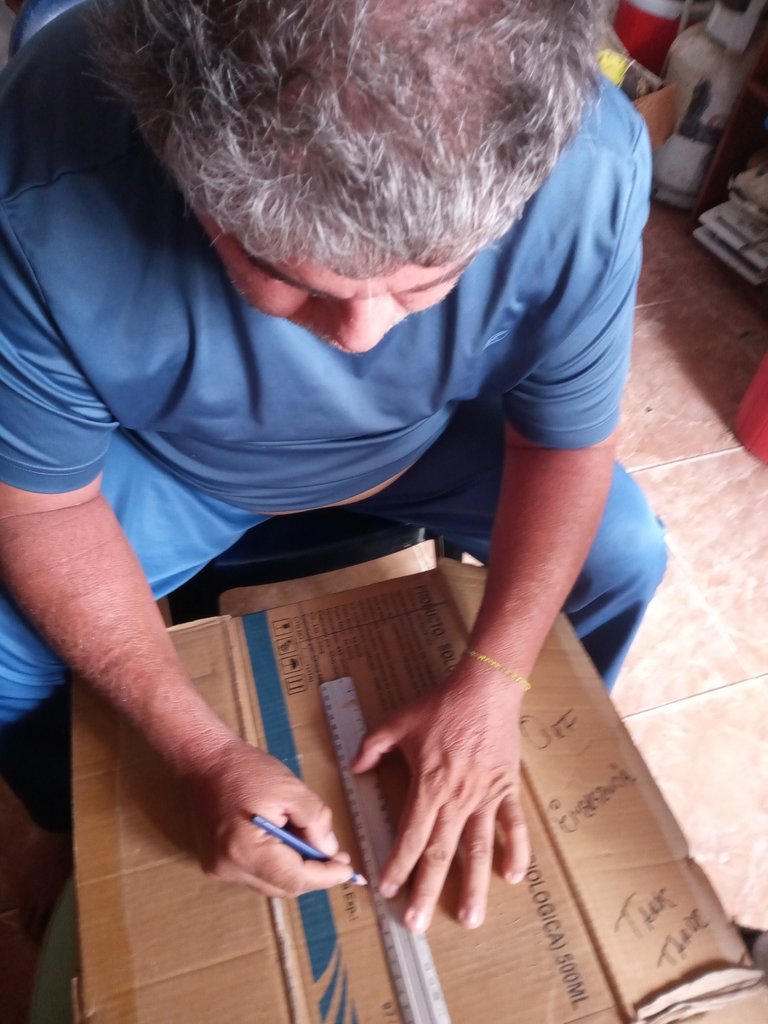
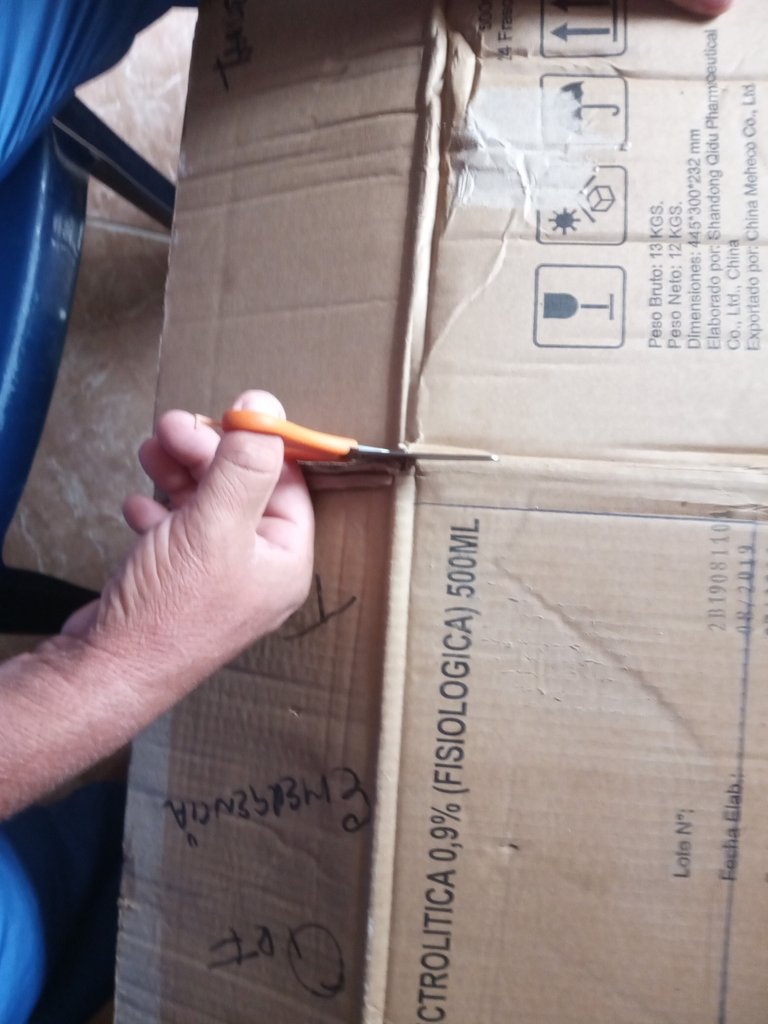
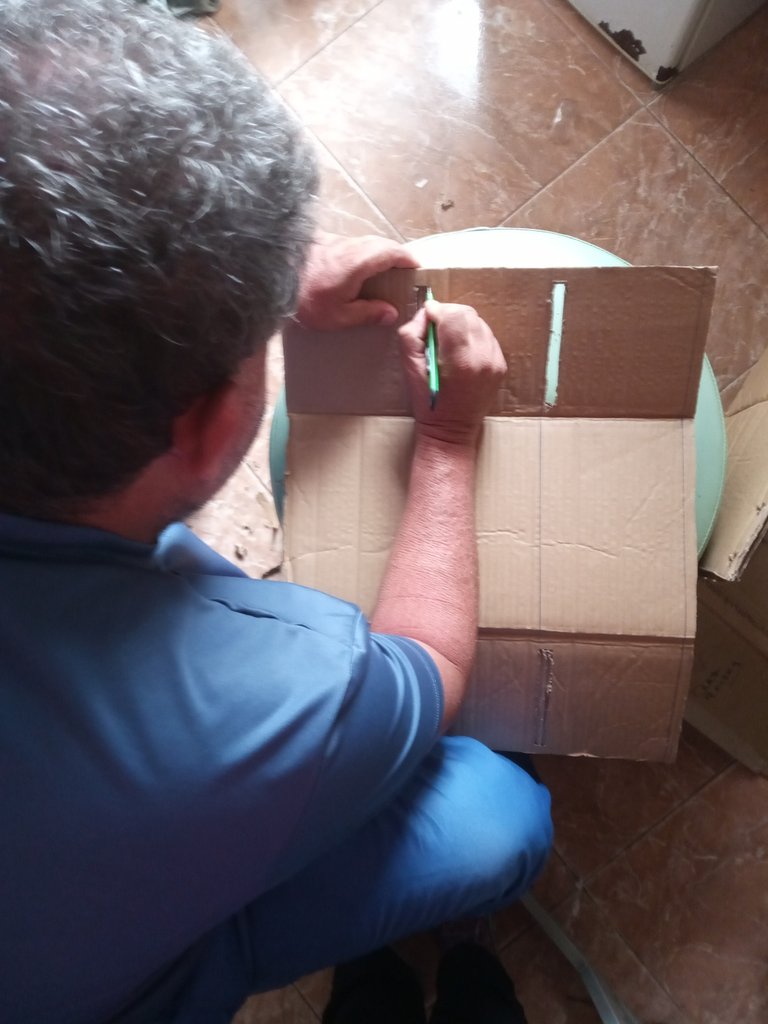
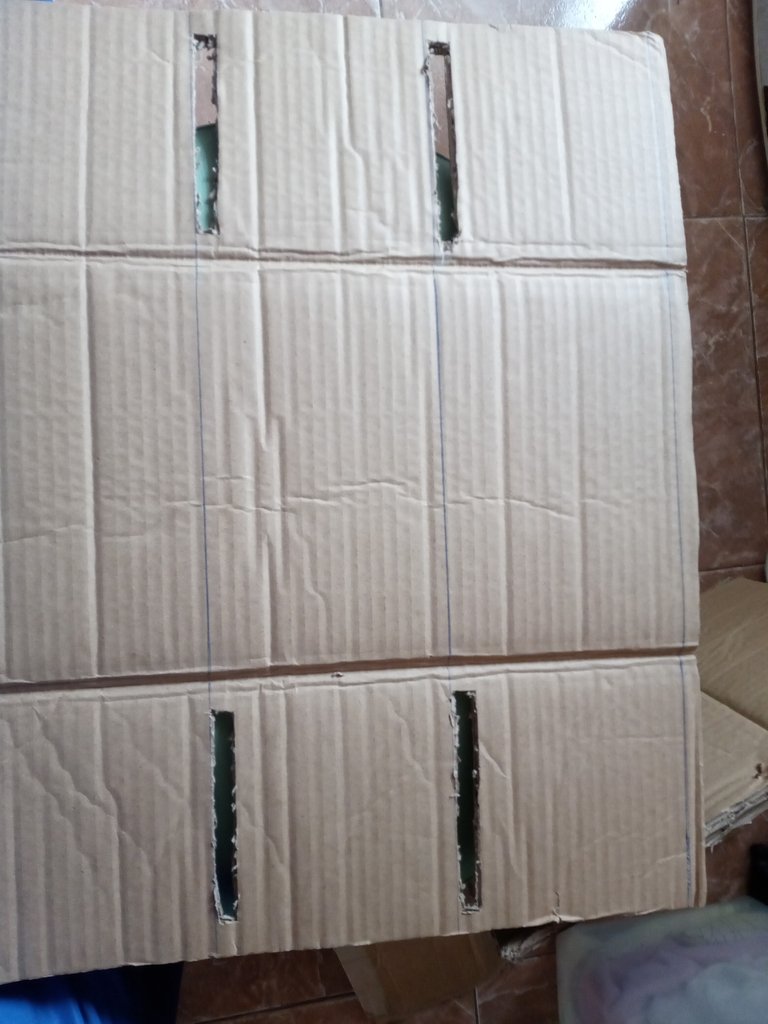
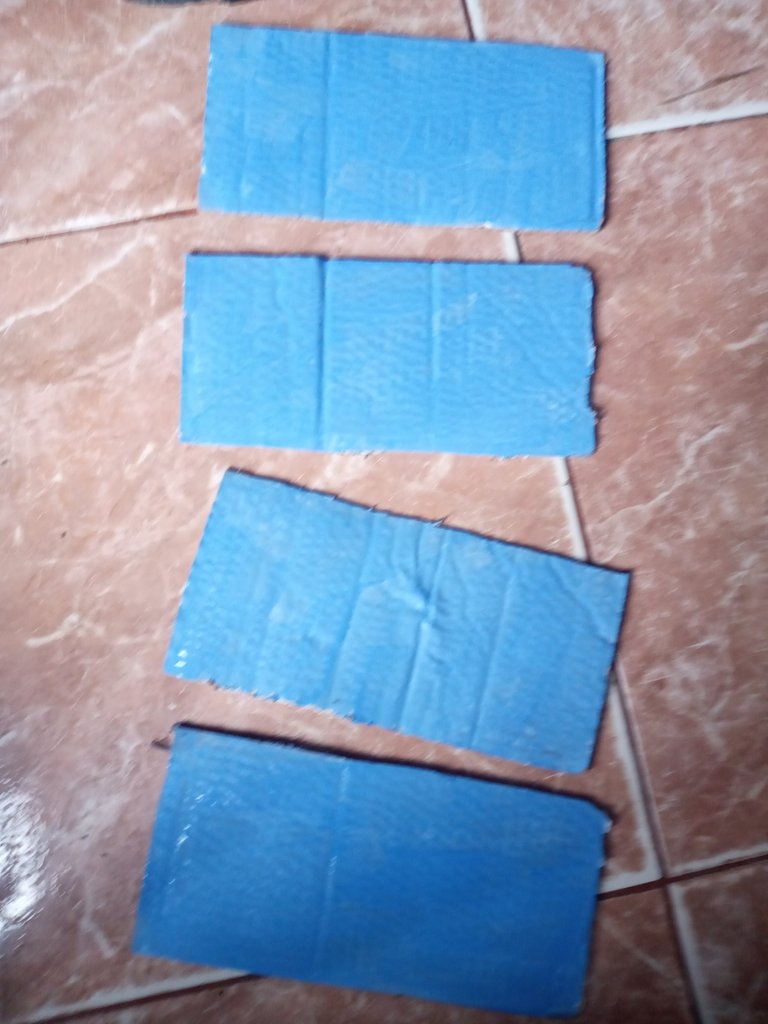
Luego medir en el cartón 4 rectangulos de 24cms de largo por 12 de ancho,estos seran los peldaños que se van a introducir en las aberturas previamente realizadas. Hay que señalar que entre peldaño debe existir una separación de aproximadamente 5 cms.
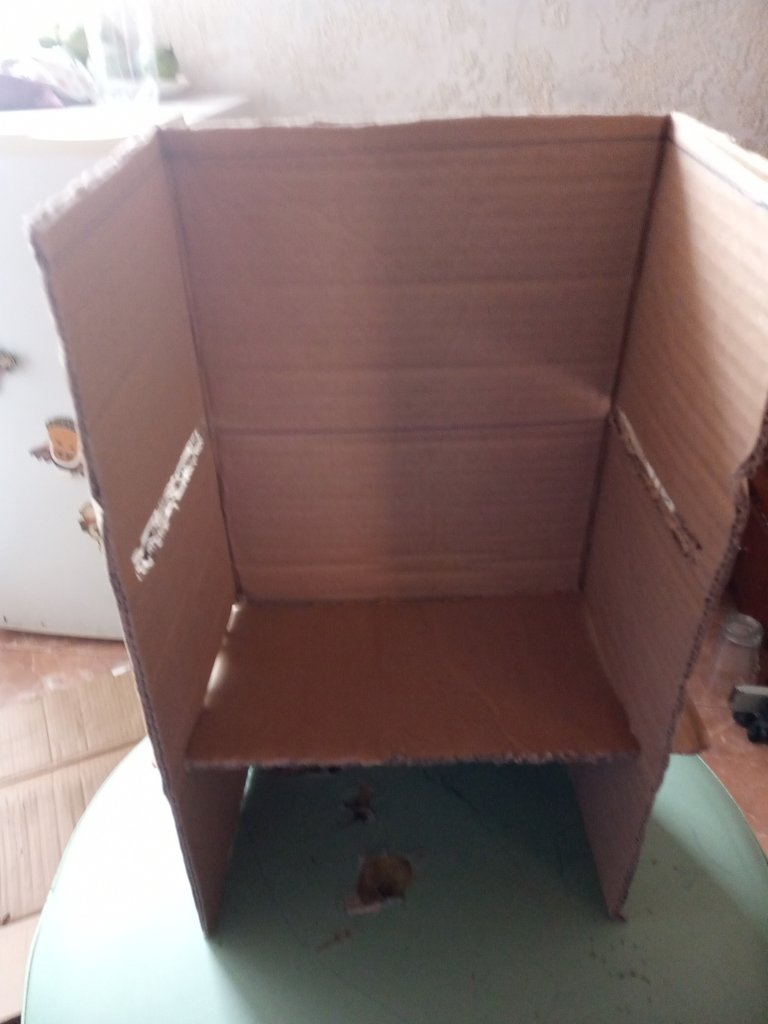
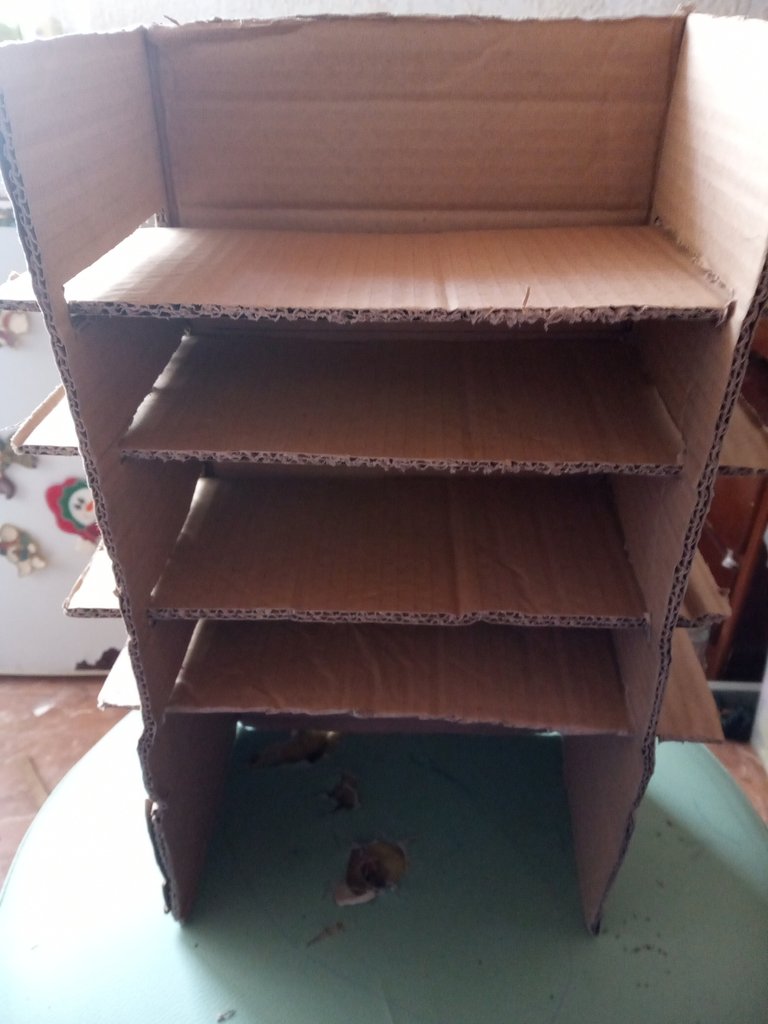
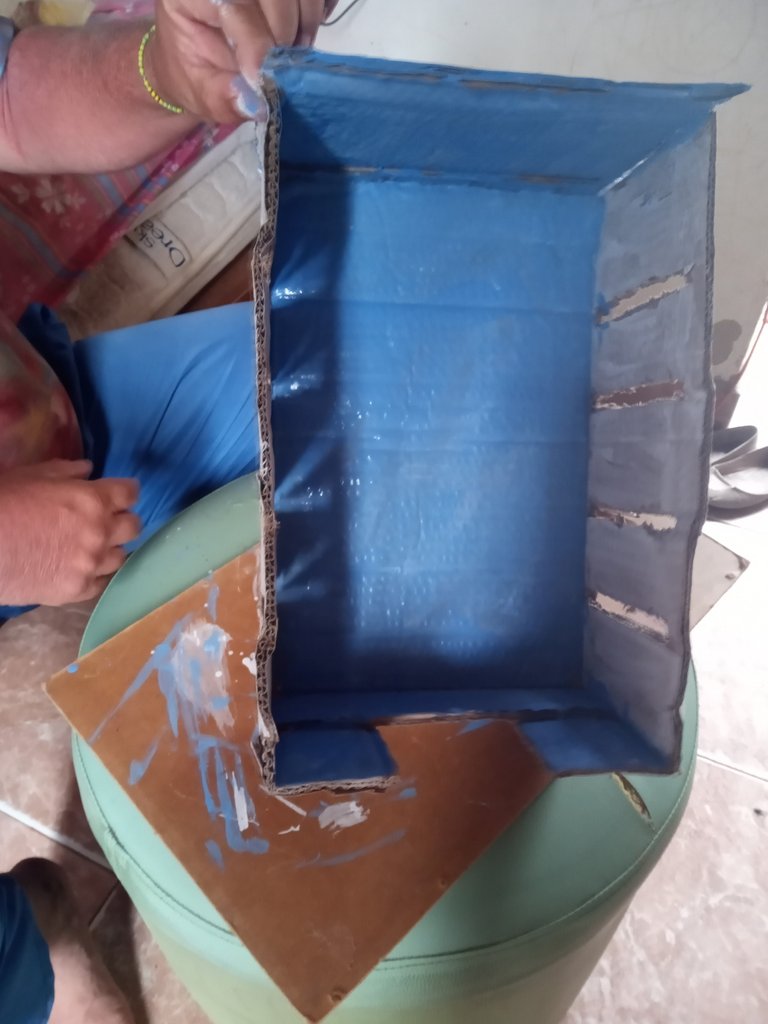
Doblar los extremos en la parte inferior, ya que servirán de soporte para el gabinete
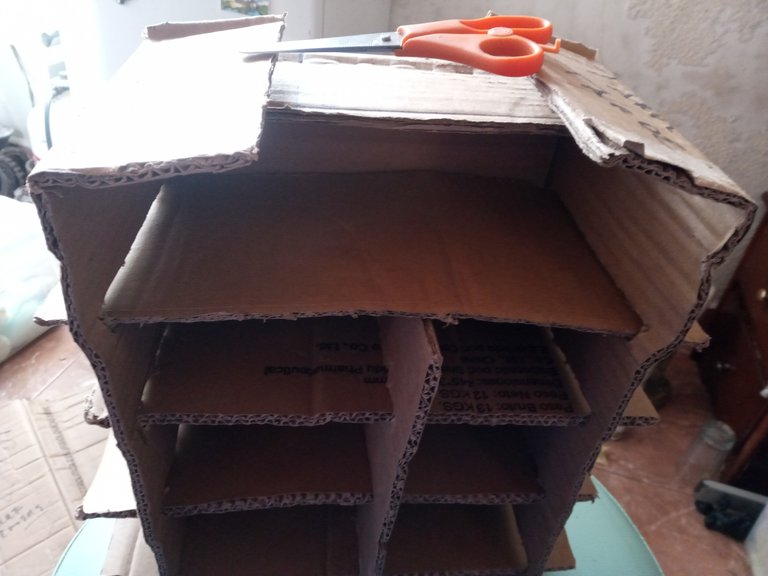
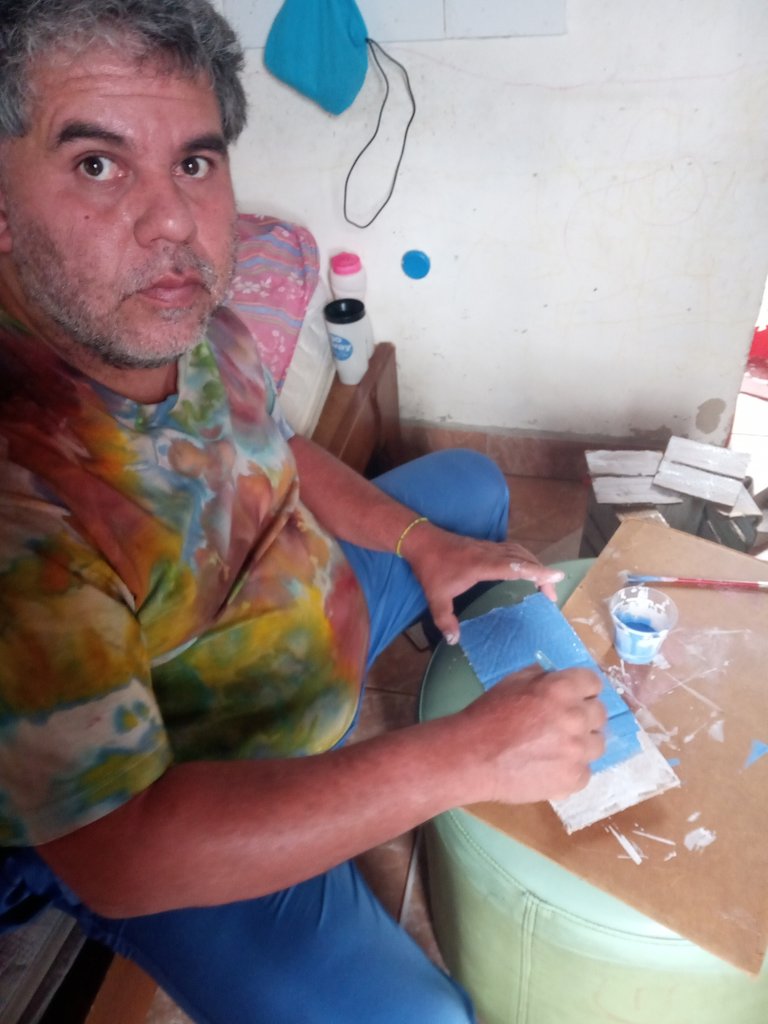
Proceder a pintar del color de tu preferencia las partes del gabinete y los envases de mantequilla, previamente lijados para que sea mas fácil que se adhiera la pintura en estos
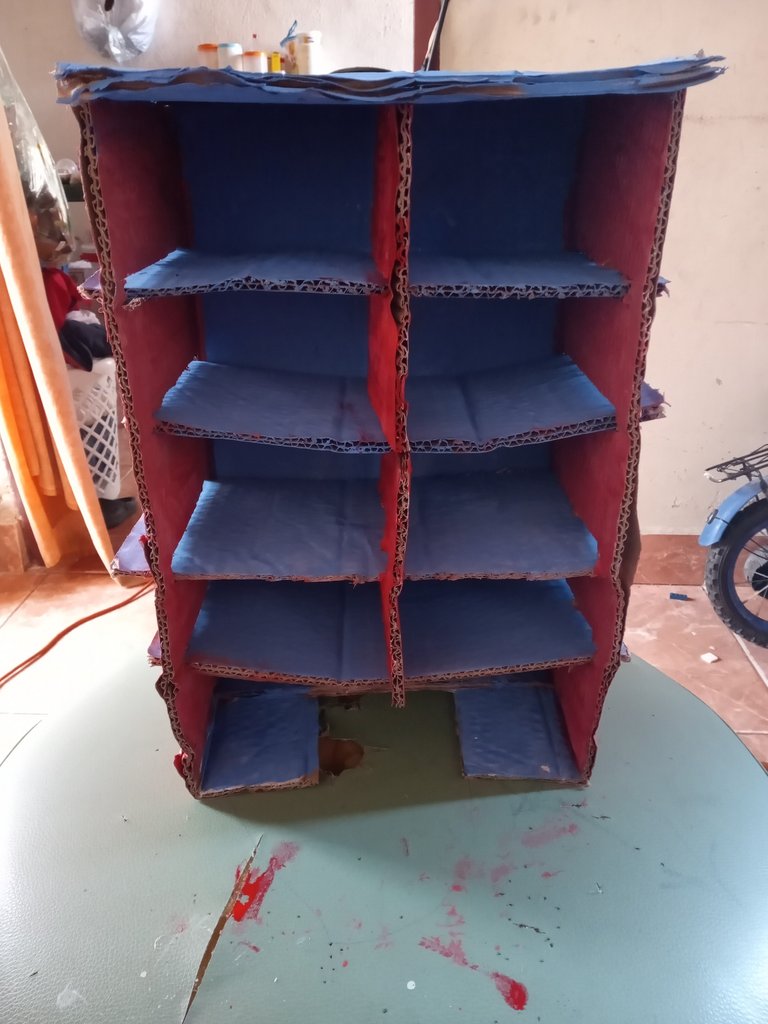
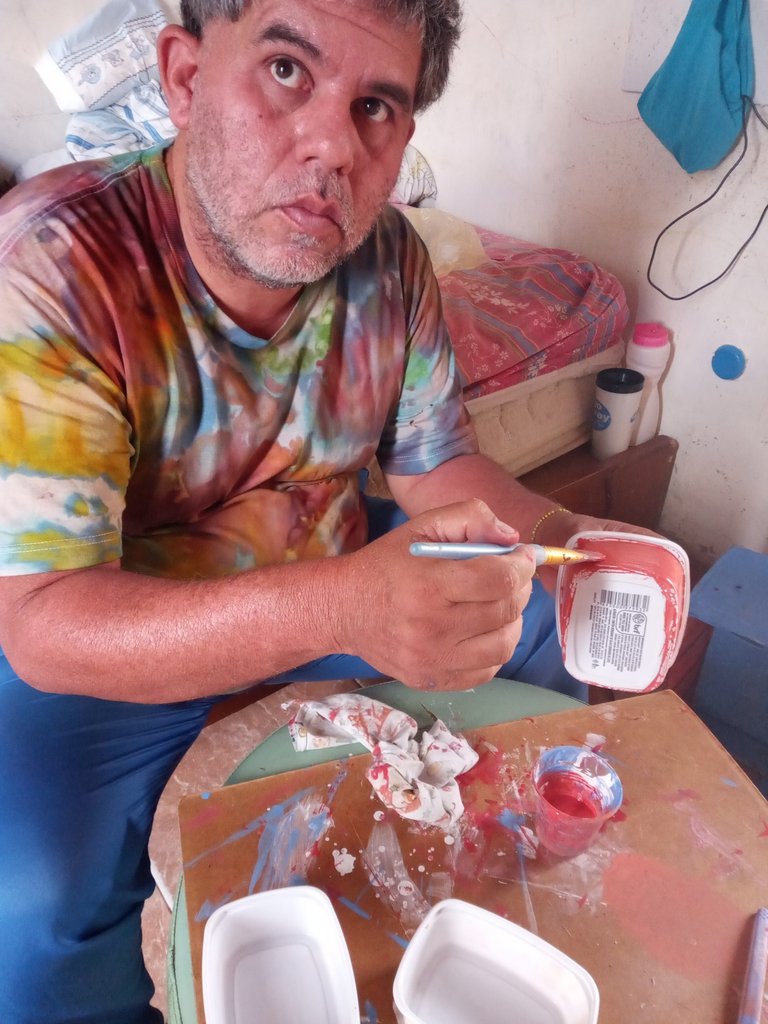
Para culminar el gabinete, escribir con un pincel fino las distintas especies que colocaras en los envases y colocale un chinche a cada uno que te será útil a la hora de sacar cada envase y utilizarle. Así que listo nuestro gabinete. disfrútalo
Espero que te haya gustado este post.

Las fotografías fueron tomadas con un Motorola E6s.
El traductor empleado fue Deepl.com
Gracias por estar allí.


English Version
Recycled Spice Cabinet

This cabinet is made by recycling cardboard and the purpose is that we reuse the butter containers to store spices and condiments in our kitchens. It is a simple option, with economic materials and that allows us to avoid the accumulation of containers, giving them another use and therefore a longer life.
Here in Venezuela, we have given multiple uses to these containers, among them they are used to store food in the refrigerator, portable food preservatives, to make ice in refrigerators and thus different options that our ingenuity has provided to us. That is why within what I share with you is the elaboration of this cabinet and the use of the butter containers, in the interest of organizing a little more our spaces, to recycle and therefore to contribute with the environmental conservation-
Let's get to work.

Materials:
1 cardboard box
Paintings to the cold.
Exactly
Scissors
Silicon
Silicon Gun
Bedbugs
Butter containers of 250grs
Brushes

Procedure:
Take the cardboard and with the help of a ruler, measure 30cms high by 22cms wide. then cut with the scissors, which will be the base of our cabinet


Use the exact one to make two slots of approximately 1cm width, in the sides of the cabinet, which will serve to support each step of the cabinet


Then measure in the cardboard 4 rectangles of 24cms long by 12 wide, these will be the steps that will be introduced in the openings previously made. It should be noted that between steps there should be a separation of approximately 5 cm.


Bend the ends at the bottom, as they will serve as support for the cabinet

Proceed to paint the parts of the cabinet and the butter containers in the color of your preference, previously sanded to make it easier for the paint to adhere to these


To finish the cabinet, write with a fine brush the different species that you will place in the containers and place a thumbtack on each one that will be useful when you take out each container and use it. So our cabinet is ready. Enjoy it

I hope you liked this post.

The pictures were taken with a Motorola E6s.
The translator used was Deepl.com
Thank you for being there.

super stuff man. Love the creativity.