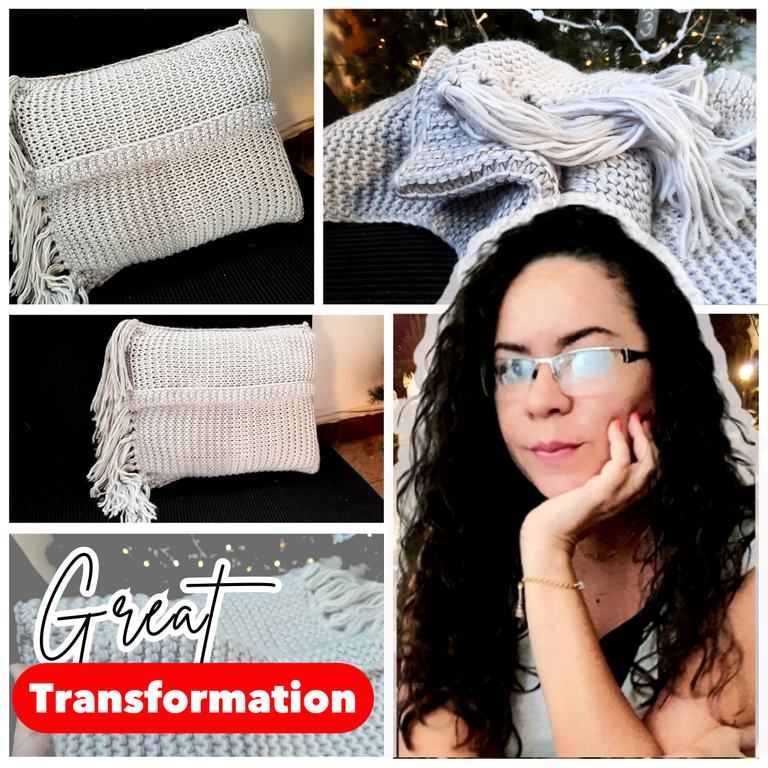
Hace unos días en una de nuestras salidas a los centros comerciales entramos a "Mr Price", una cadena de tienda que ofrece prendas de vestir y calzado a muy buenos precios, y aunque muy pocas veces encuentro algo que me guste, de vez en cuando me encuentro con tesoros, así que siempre entro a mirar, y me alegra haberlo hecho porque tenían unas súper ofertas en bufandas a las que seguro les daría un buen uso en casa, así que no dudé en llevar dos, y hoy les comparto lo que hice con una de ellas: un nuevo forro para cojin. Los invito a ver esta transformación.
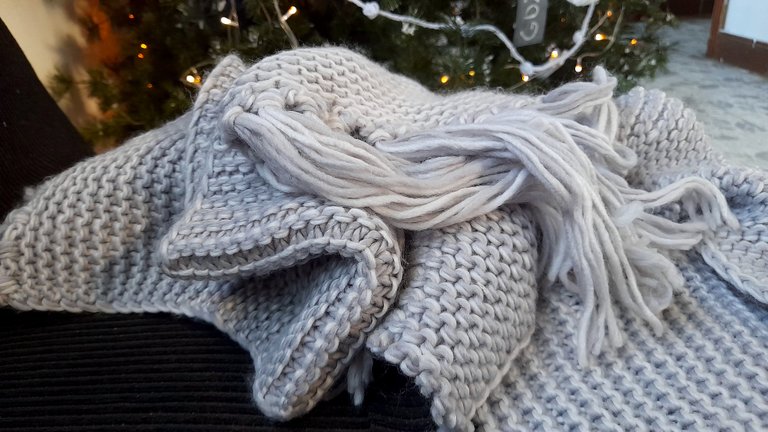
Como les comento, las bufandas tenían un precio increíble, solo 1$ y en su mayoría eran bufandas tejidas, en colores realmente lindos, pero también tenían en otros materiales, y al ser bastante grandes las podemos usar para lo que se nos ocurra, porque obviamente con el calor que hace en la isla no podemos darle el uso para el que fueron creadas, así que una la usé para un "camino de mesa" y la otra para dos proyectos, entre ellos el forro que les comparto hoy. Y sin más, vamos a los materiales y al paso a paso.
Materiales
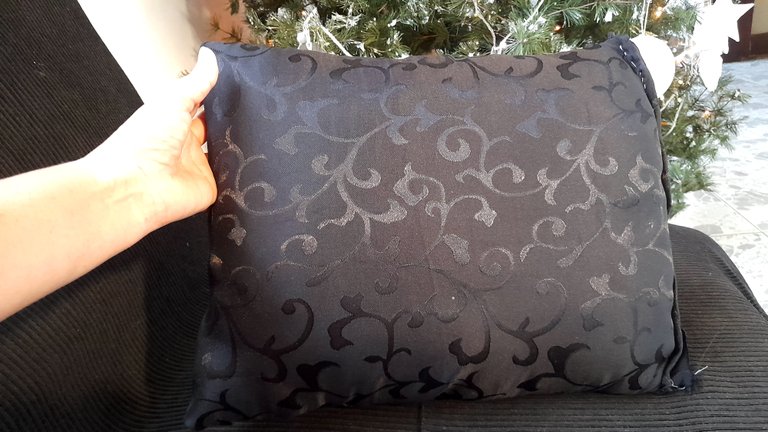
Cojín
Bufanda
Hilo y aguja
Silicón líquido
Paso a paso
Lo primero que hice fue cortar la bufanda tomando en cuenta el tamaño del cojin para el cual haría el forro. Este paso requiere mucho cuidado, porque recordemos que no se trata de tela, por lo que puede deshacerse si no tenemos cuidado.
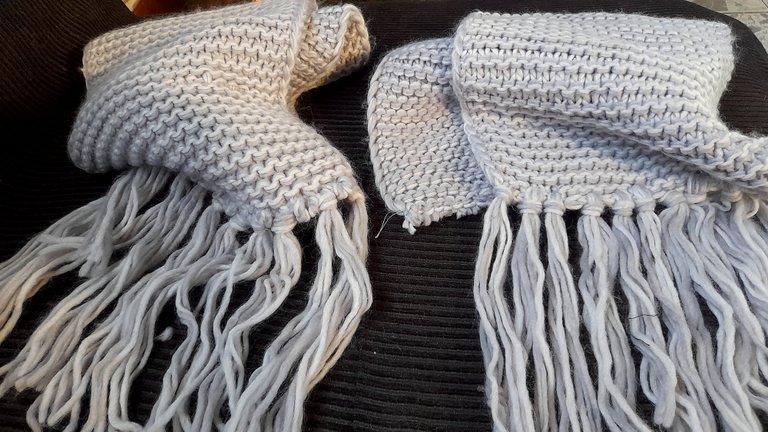
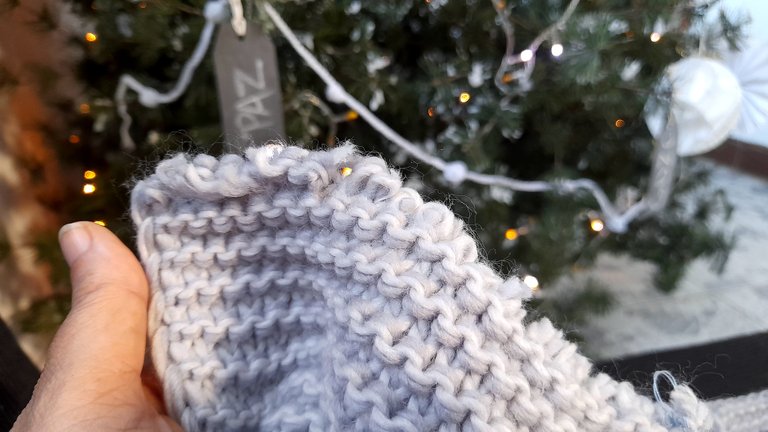
El siguiente paso fue coser los bordes por donde corté la bufanda para evitar que los hilos se soltaran. Como ven en la imagen no hice ningún doblez, solo cosí por encima para asegurar los puntos.
Lo que sigue fue unir las dos piezas que recorté, porque aunque la bufanda era bastante larga no era muy ancha, así que tocaba unir dos partes para lograr el ancho del cojín, cosa que hice supernoniendo una pieza sobre la otra, de manera que me dieran como resultado el ancho del cojín para luego coser y terminar con una pieza.
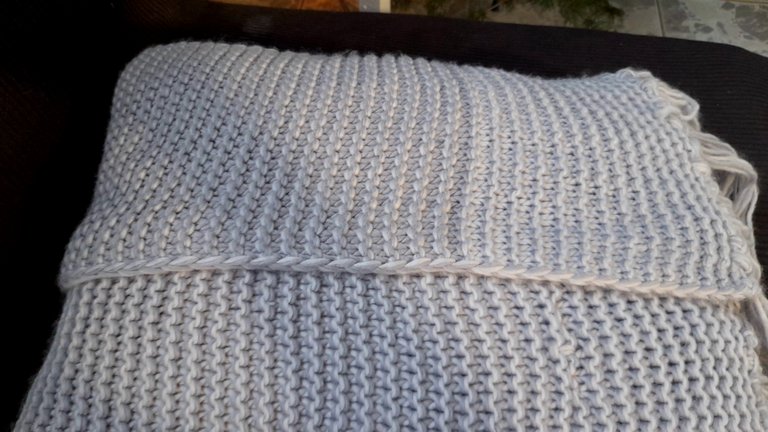
Listo ese paso, como quedó una especie de solapa decidí darle un toque más especial al forro, así que la doblé hacia arriba y la pegué con silicón líquido.
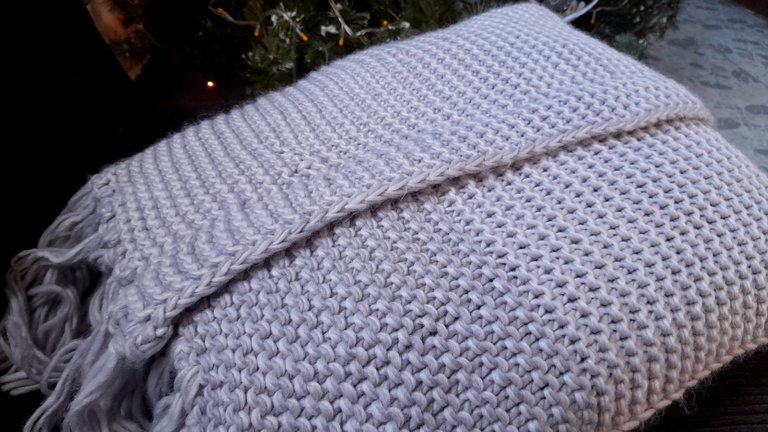
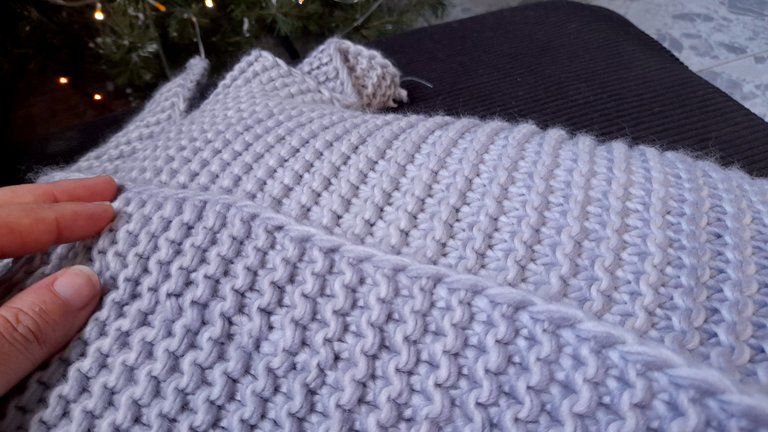
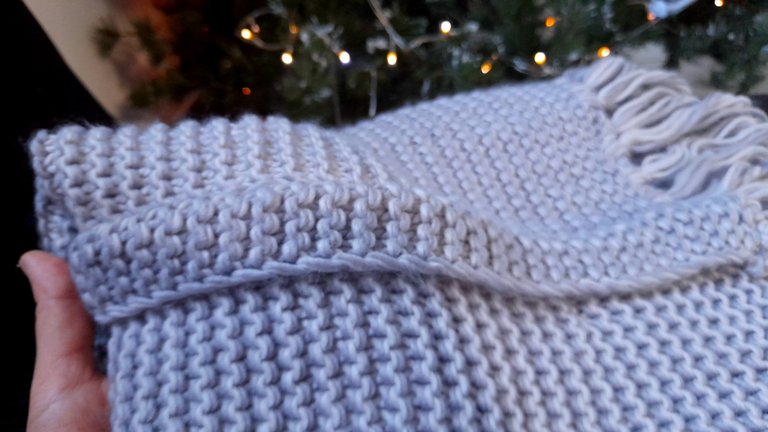
Una vez que secó, estaba listo para seguir cosiendo, y esta vez sería la costura lateral, que por la forma en que corté la bufanda sólo sería un lado, en este caso donde están los flecos de lana que por supuesto dejaría ya que le dan un toque muy especial, así que uní los dos lados con mucho cuidado y realicé puntadas pequeñas para que no se notaran.
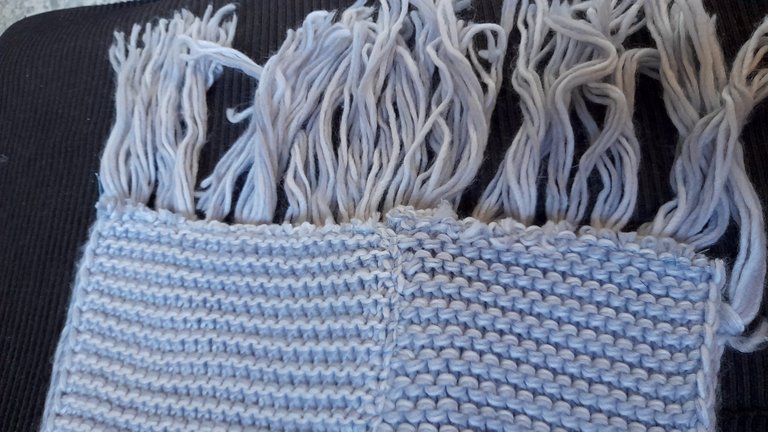

Listo este paso, lo siguiente fue meter el cojin en el nuevo forro y coser la bufanda por la parte superior e inferior, y se preguntarán el porqué no realicé este paso sin poner el forro en el cojin, y la respuesta es que si lo hacía de esta manera afectaría el tamaño del mismo ya que al ser tejida estira un poco, pero al coserla se pierde este efecto, por lo menos en el borde que estamos cosiendo, lo que modificaría el tamaño, así que la mejor manera, por lo menos para mí, es realizar la costura con el forro en el cojin.
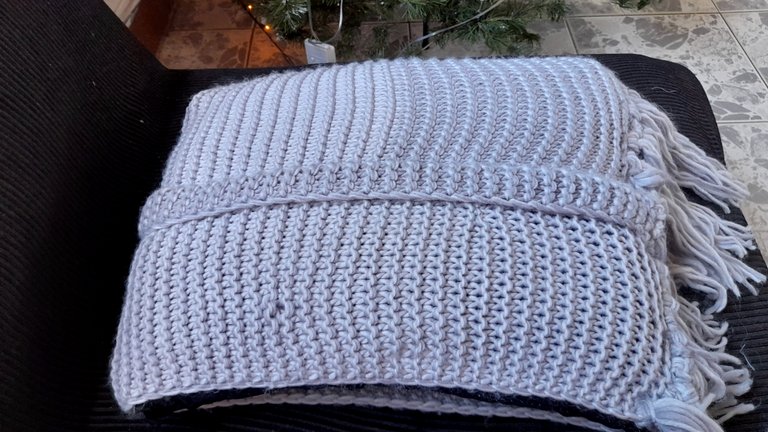
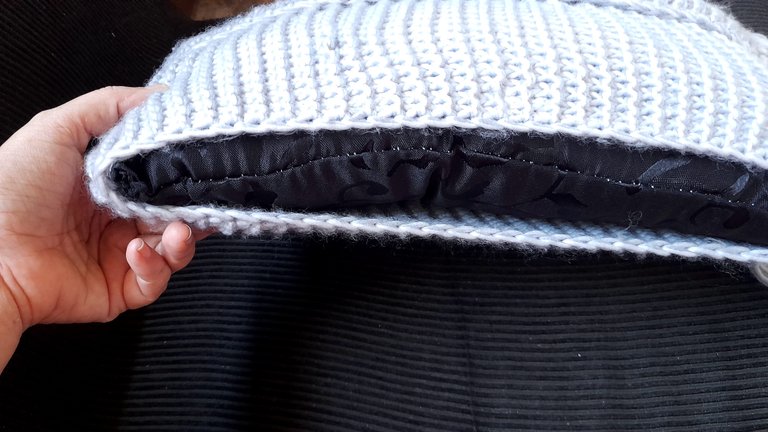
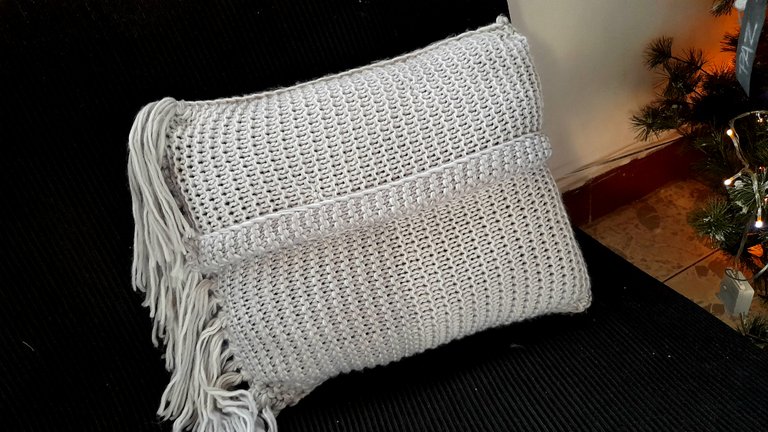
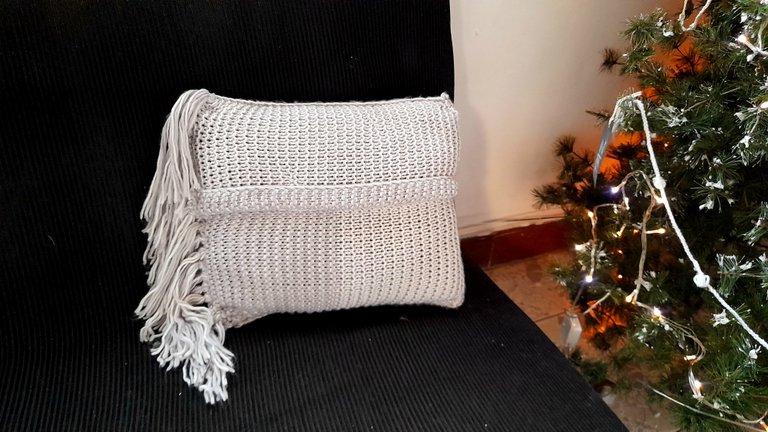
Una vez listo este paso, ya estaba terminado mi cojin con una apariencia mucho más linda, una transformación increíble con tan solo 1$. ¿A ustedes qué les pareció? Yo lo amé, y por supuesto estoy pensando en qué otras cosas puedo usar esas bellas bufandas.

A few days ago in one of our outings to the malls we went to "Mr Price ", a chain store that offers clothing and footwear at very good prices, and although very rarely I find something I like, from time to time I find treasures, so I always go in to look, and I'm glad I did because they had some great deals on scarves that I would surely give them a good use at home, so I did not hesitate to take two, and today I share with you what I did with one of them: a new cushion lining. I invite you to see this transformation.

As I said, the scarves had an incredible price, only 1$ and most of them were knitted scarves, in really nice colors, but they also had other materials, and being quite large we can use them for whatever we can think of, because obviously with the heat on the island we can not give them the use for which they were created, so I used one for a "table runner " and the other for two projects, including the lining that I share with you today. And without further ado, let's go to the materials and the step by step.
Materials
Cushion
Scarf
Thread and needle
Liquid silicone
Step by step
The first thing I did was to cut the scarf taking into account the size of the cushion for which I would make the lining. This step requires a lot of care, because remember that this is not fabric, so it can fall apart if we are not careful.


The next step was to sew the edges where I cut the scarf to prevent the threads from unraveling. As you can see in the picture I didn't make any folds, I just sewed over the top to secure the stitches.

The next step was to join the two pieces I cut out, because although the scarf was quite long it was not very wide, so I had to join two parts to achieve the width of the cushion, which I did by superimposing one piece over the other, so that I got the width of the cushion and then sew and finish with one piece.

Ready is done, as it was a kind of flap I decided to give a special touch to the lining, so I folded it up and glued it with liquid silicone.


Once it dried, I was ready to continue sewing, and this time it would be the side seam, which by the way I cut the scarf would only be one side, in this case where the wool bangs are, which of course I would leave since they give it a very special touch, so I joined the two sides very carefully and made small stitches so they wouldn't be noticed.


Ready this step, the next thing was to put the cushion in the new lining and sew the scarf at the top and bottom, and you may wonder why I didn't do this step without putting the lining in the cushion, and the answer is that if I did it this way it would affect the size of it since it stretches a little when it is knitted, but sewing it loses this effect, at least on the edge that we are sewing, which would modify the size, so the best way, at least for me, is to sew the seam with the lining in the cushion.


Once this step was done, my cushion was finished with a much nicer look, an amazing transformation with only 1$. What did you think? I loved it, and of course I'm thinking about what else I can use these beautiful scarves for.

How nice for you to repurpose the scarf fabric into a more functional item, it elevated the pillow look, and I like this new look
How cute, thank you very much. We don't use scarves here because it's so hot on the island, but I found a nice use for it.
Hugs
Wow, this is pretty. I like how you made this with just 1$. That was a really nice upcycling project. Great job.
Thank you so much. I am glad you like it. I love it 💗
You’re welcome
The detailed tutorial was very helpful. Keep staying creative.
Thank you so much
Quedó lindo el cojín Ami, es verdad allí venden cosas un poco extrañas, Jejeje, sin embargo muchas son de buena calidad, y algunas se pueden modificar, me pasó con un pantalón que modifique que compré allí. Pero realmente tuviste una vision con la bufanda, y quedó bien bonita.
Exacto amiga, uno debe comprar ahí con la mente abierta pensando en qué toca transformarlo casi que obligado jajaja pero como son cosas baratas vale la pena.
Thanks ♥️
Tú tienes una creatividad INCREÍBLE!!! Un día de estos tienes que venir a visitarme a para que me ayudes a ver como puedo decorar la casa ajaja, me encantó ami. Te quedó súper lindo 😍
Mi amiga la súper creativa! Nunca dejas de sorprender con tus ideas mi Rosita. Quedó Muy lindo 💕
Que creativa esta mujer valeee jajaja te quedo bello ese forro amii, que bueno que entraste por esas bufandas jeje yo ahi nunca consigo nada que me guste tampoco 😂😂
Wuao amiga! Qué gran idea! Te quedó muy bonito ese cojín 🥰