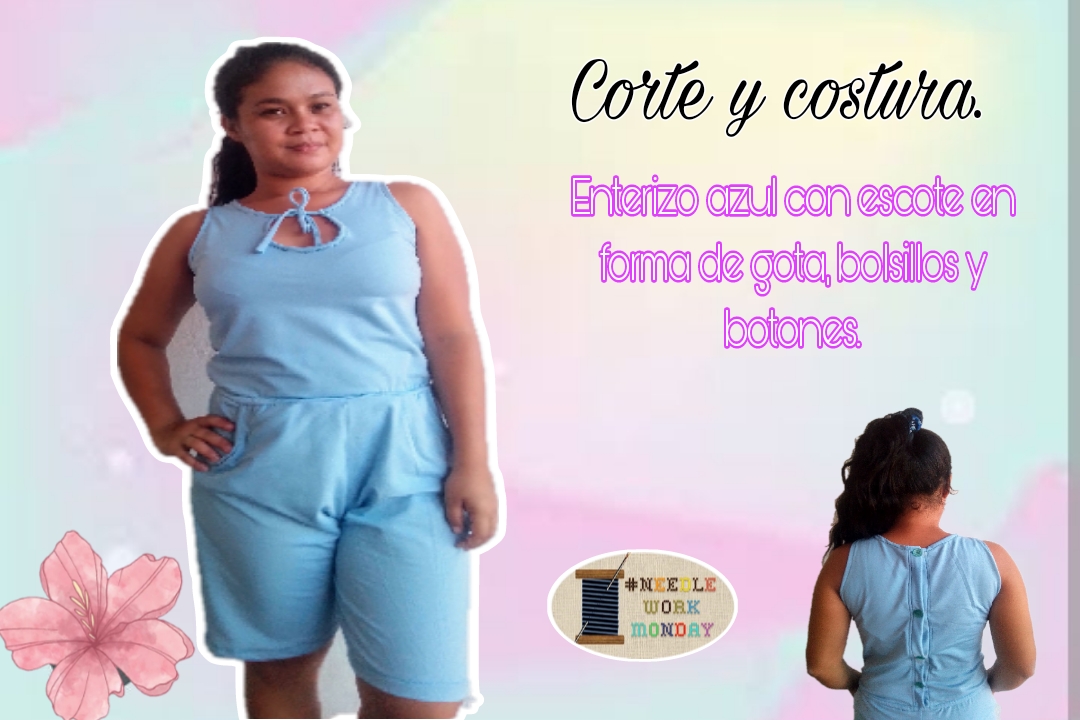
Feliz comienzo de semana mi linda familia de #Needleworkmonday, espero estén muy bien y en bendición, les doy una cálida bienvenida a este nuevo tutorial de corte y costura.
Estos días sin decirles mentiras, he tenido muchísimo trabajo, tanto que me cuesta un poco descansar y terminar rapido; también es porque me gusta darme el tiempo para que todo me salga bien, pero el tiempo no está a mi favor pues mis clientas están un poco exigentes este mes. El día de hoy me agrada haber podido terminar uno para mostrales, aunque me haya tomado todo el día de ayer hacerlo. En esta ocasión les he traído la confección de un bonito enterizo para damas, una pieza hecha en una suave tela de algodón en color azul cielo. Cuenta con detalles muy lindos como lo son un escote delantero en forma de gota, botones traseros y bolsillos internos. El modelo y diseño fueron escogidos por mi clienta y a mí me encantó, primero porque tenía bolsillos, algo he venido practicando mucho y segundo porque llevo mucho tiempo que no hacía un enterizo. Si te gusta acompañame, te invito a ver si proceso.
Happy start to the week my beautiful #Needleworkmonday family, I hope you are well and blessed, I warmly welcome you to this new cutting and sewing tutorial.
These days, without telling you lies, I have had a lot of work, so much so that it is difficult for me to rest and finish quickly; It's also because I like to give myself time for everything to go well, but time is not in my favor because my clients are a little demanding this month. Today I'm glad I was able to finish one to show you, even though it took me all day yesterday to do it. On this occasion I have brought you the making of a beautiful onesie for ladies, a piece made of a soft cotton fabric in sky blue. It has very cute details such as a drop-shaped front neckline, back buttons and internal pockets. The model and design were chosen by my client and I loved it, first because it had pockets, something I have been practicing a lot and second because it has been a long time since I made a jumpsuit. If you like it, come with me, I invite you to see if I process.
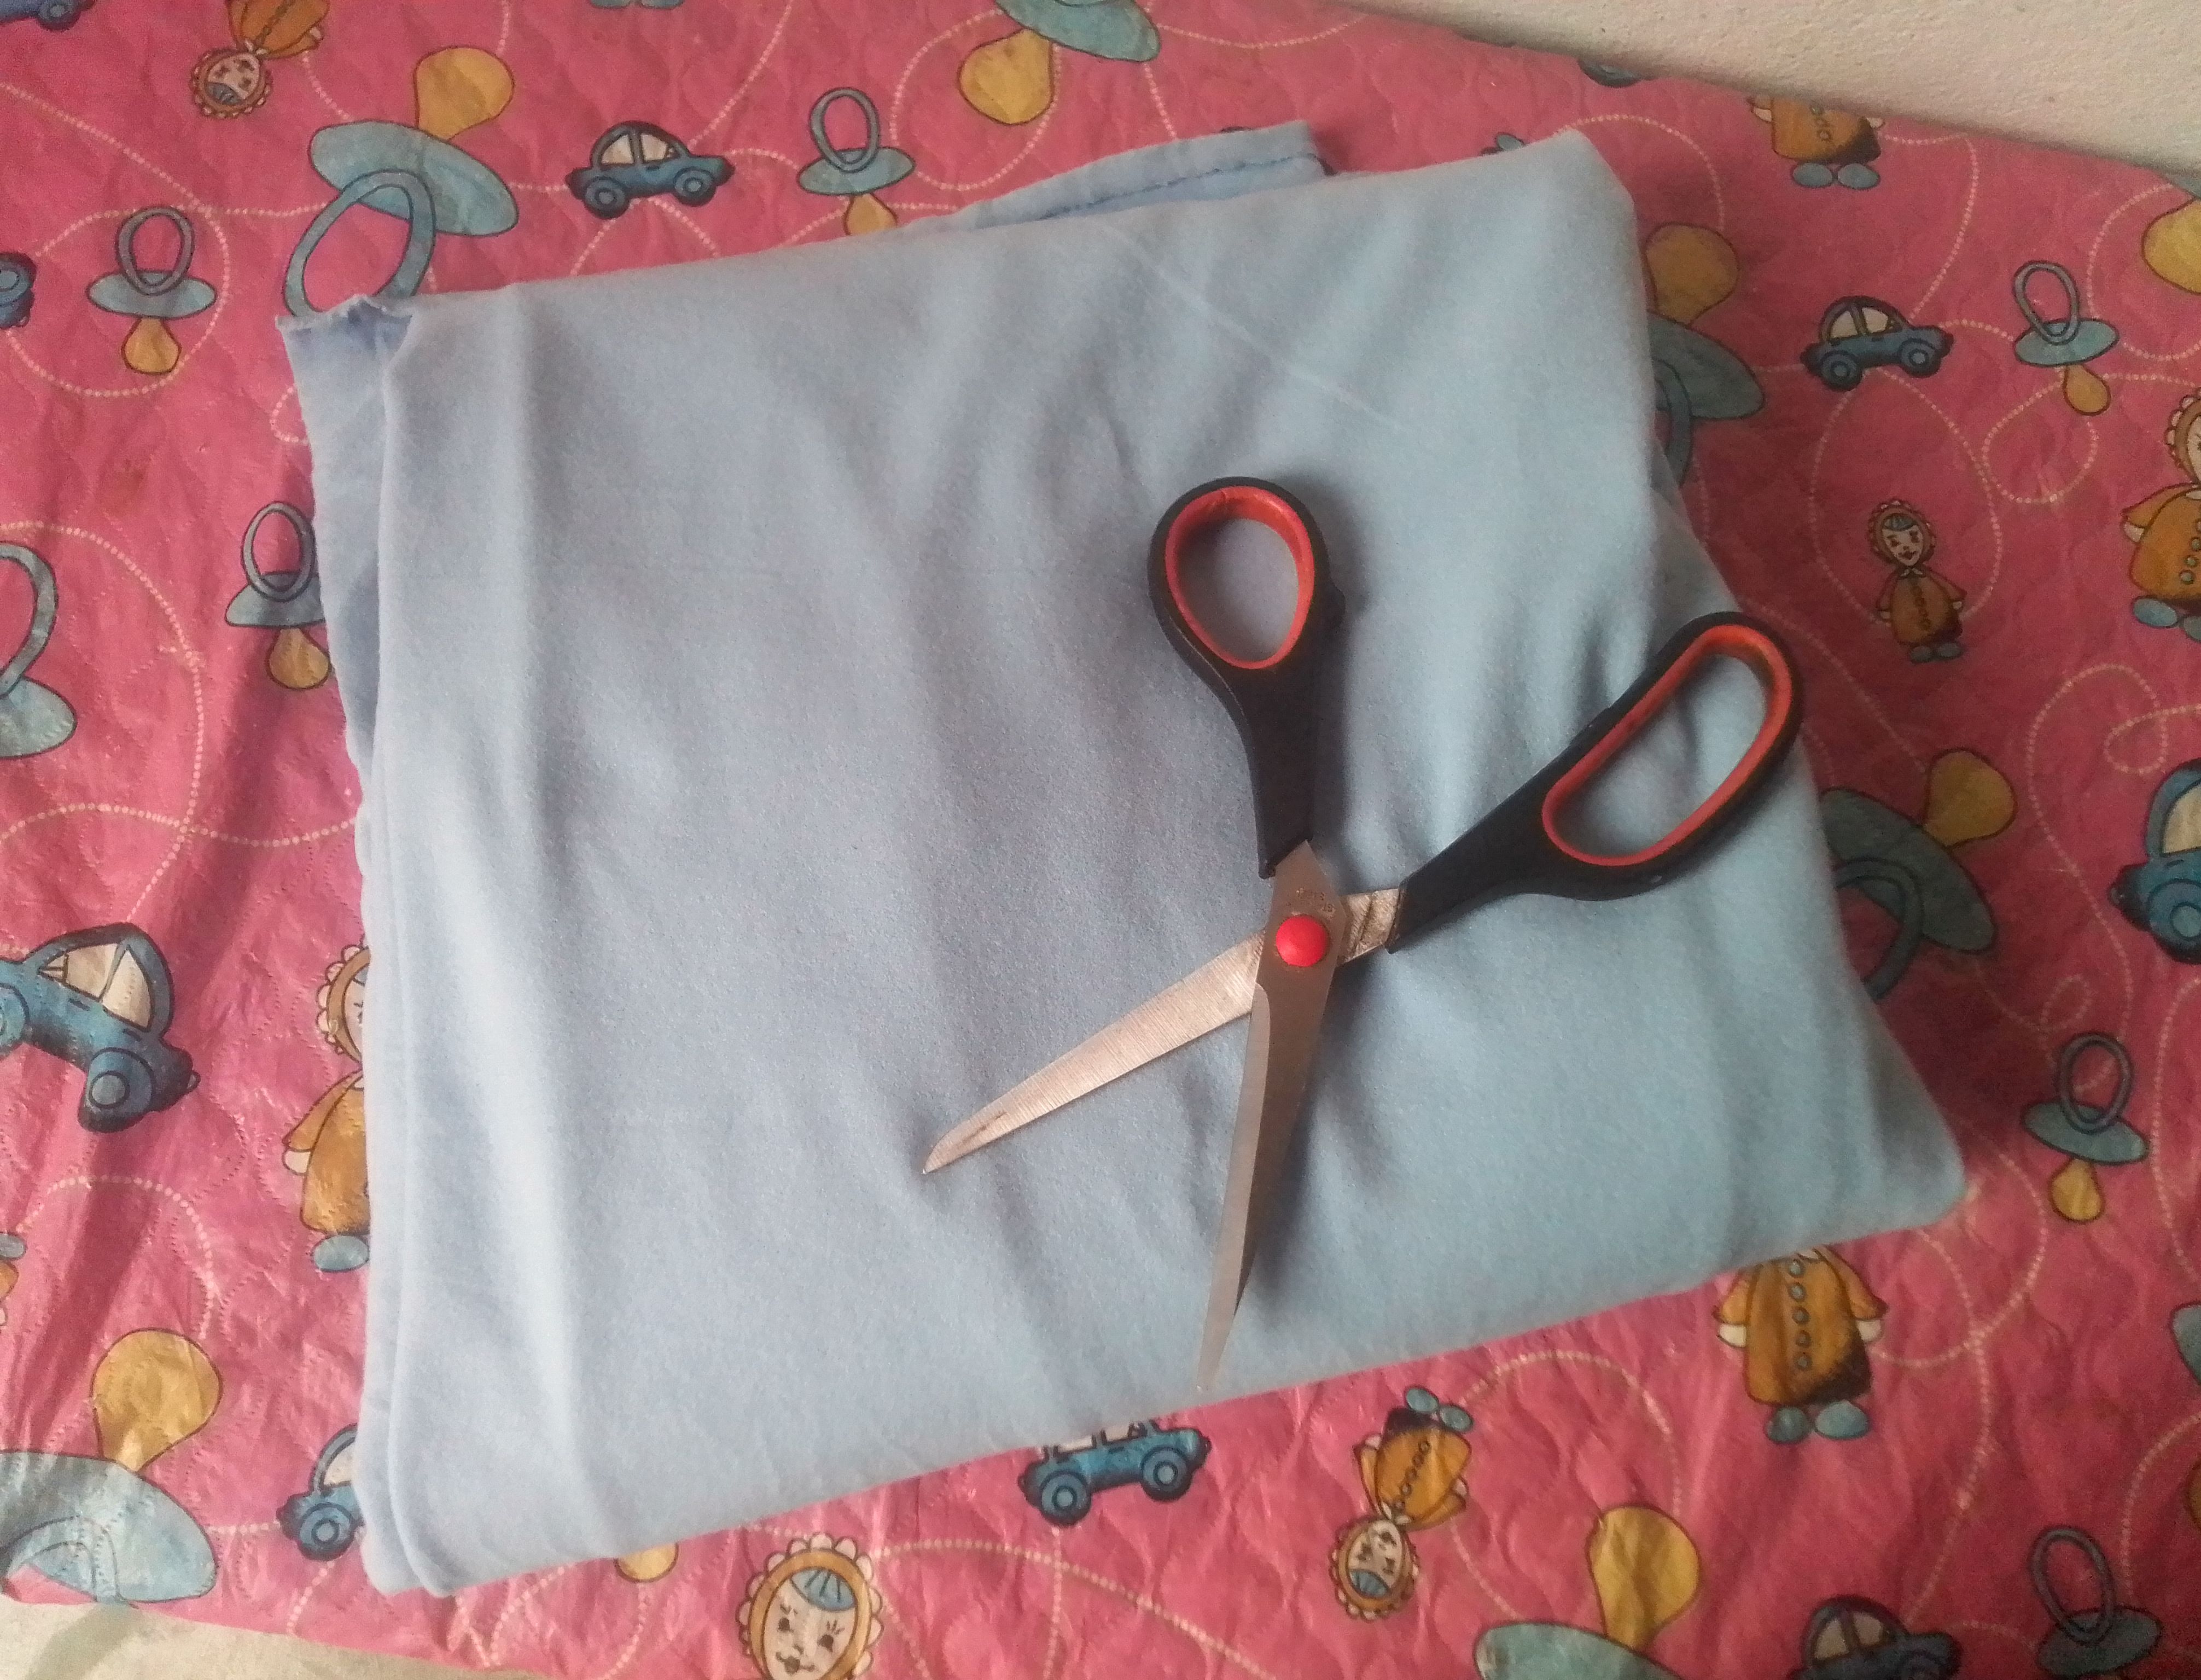
Materiales que necesitas:
- Tela gruesa de algodón 1 metro.
- Hilo y aguja.
- Goma elástica.
- Tijeras.
- Alfileres.
- Botones.
- Thick cotton fabric 1 meter.
- Thread and needle.
- Elastic rubber.
- Scissors.
- Pins.
- Buttons.
(PROCEDIMIENTO)
Paso 01
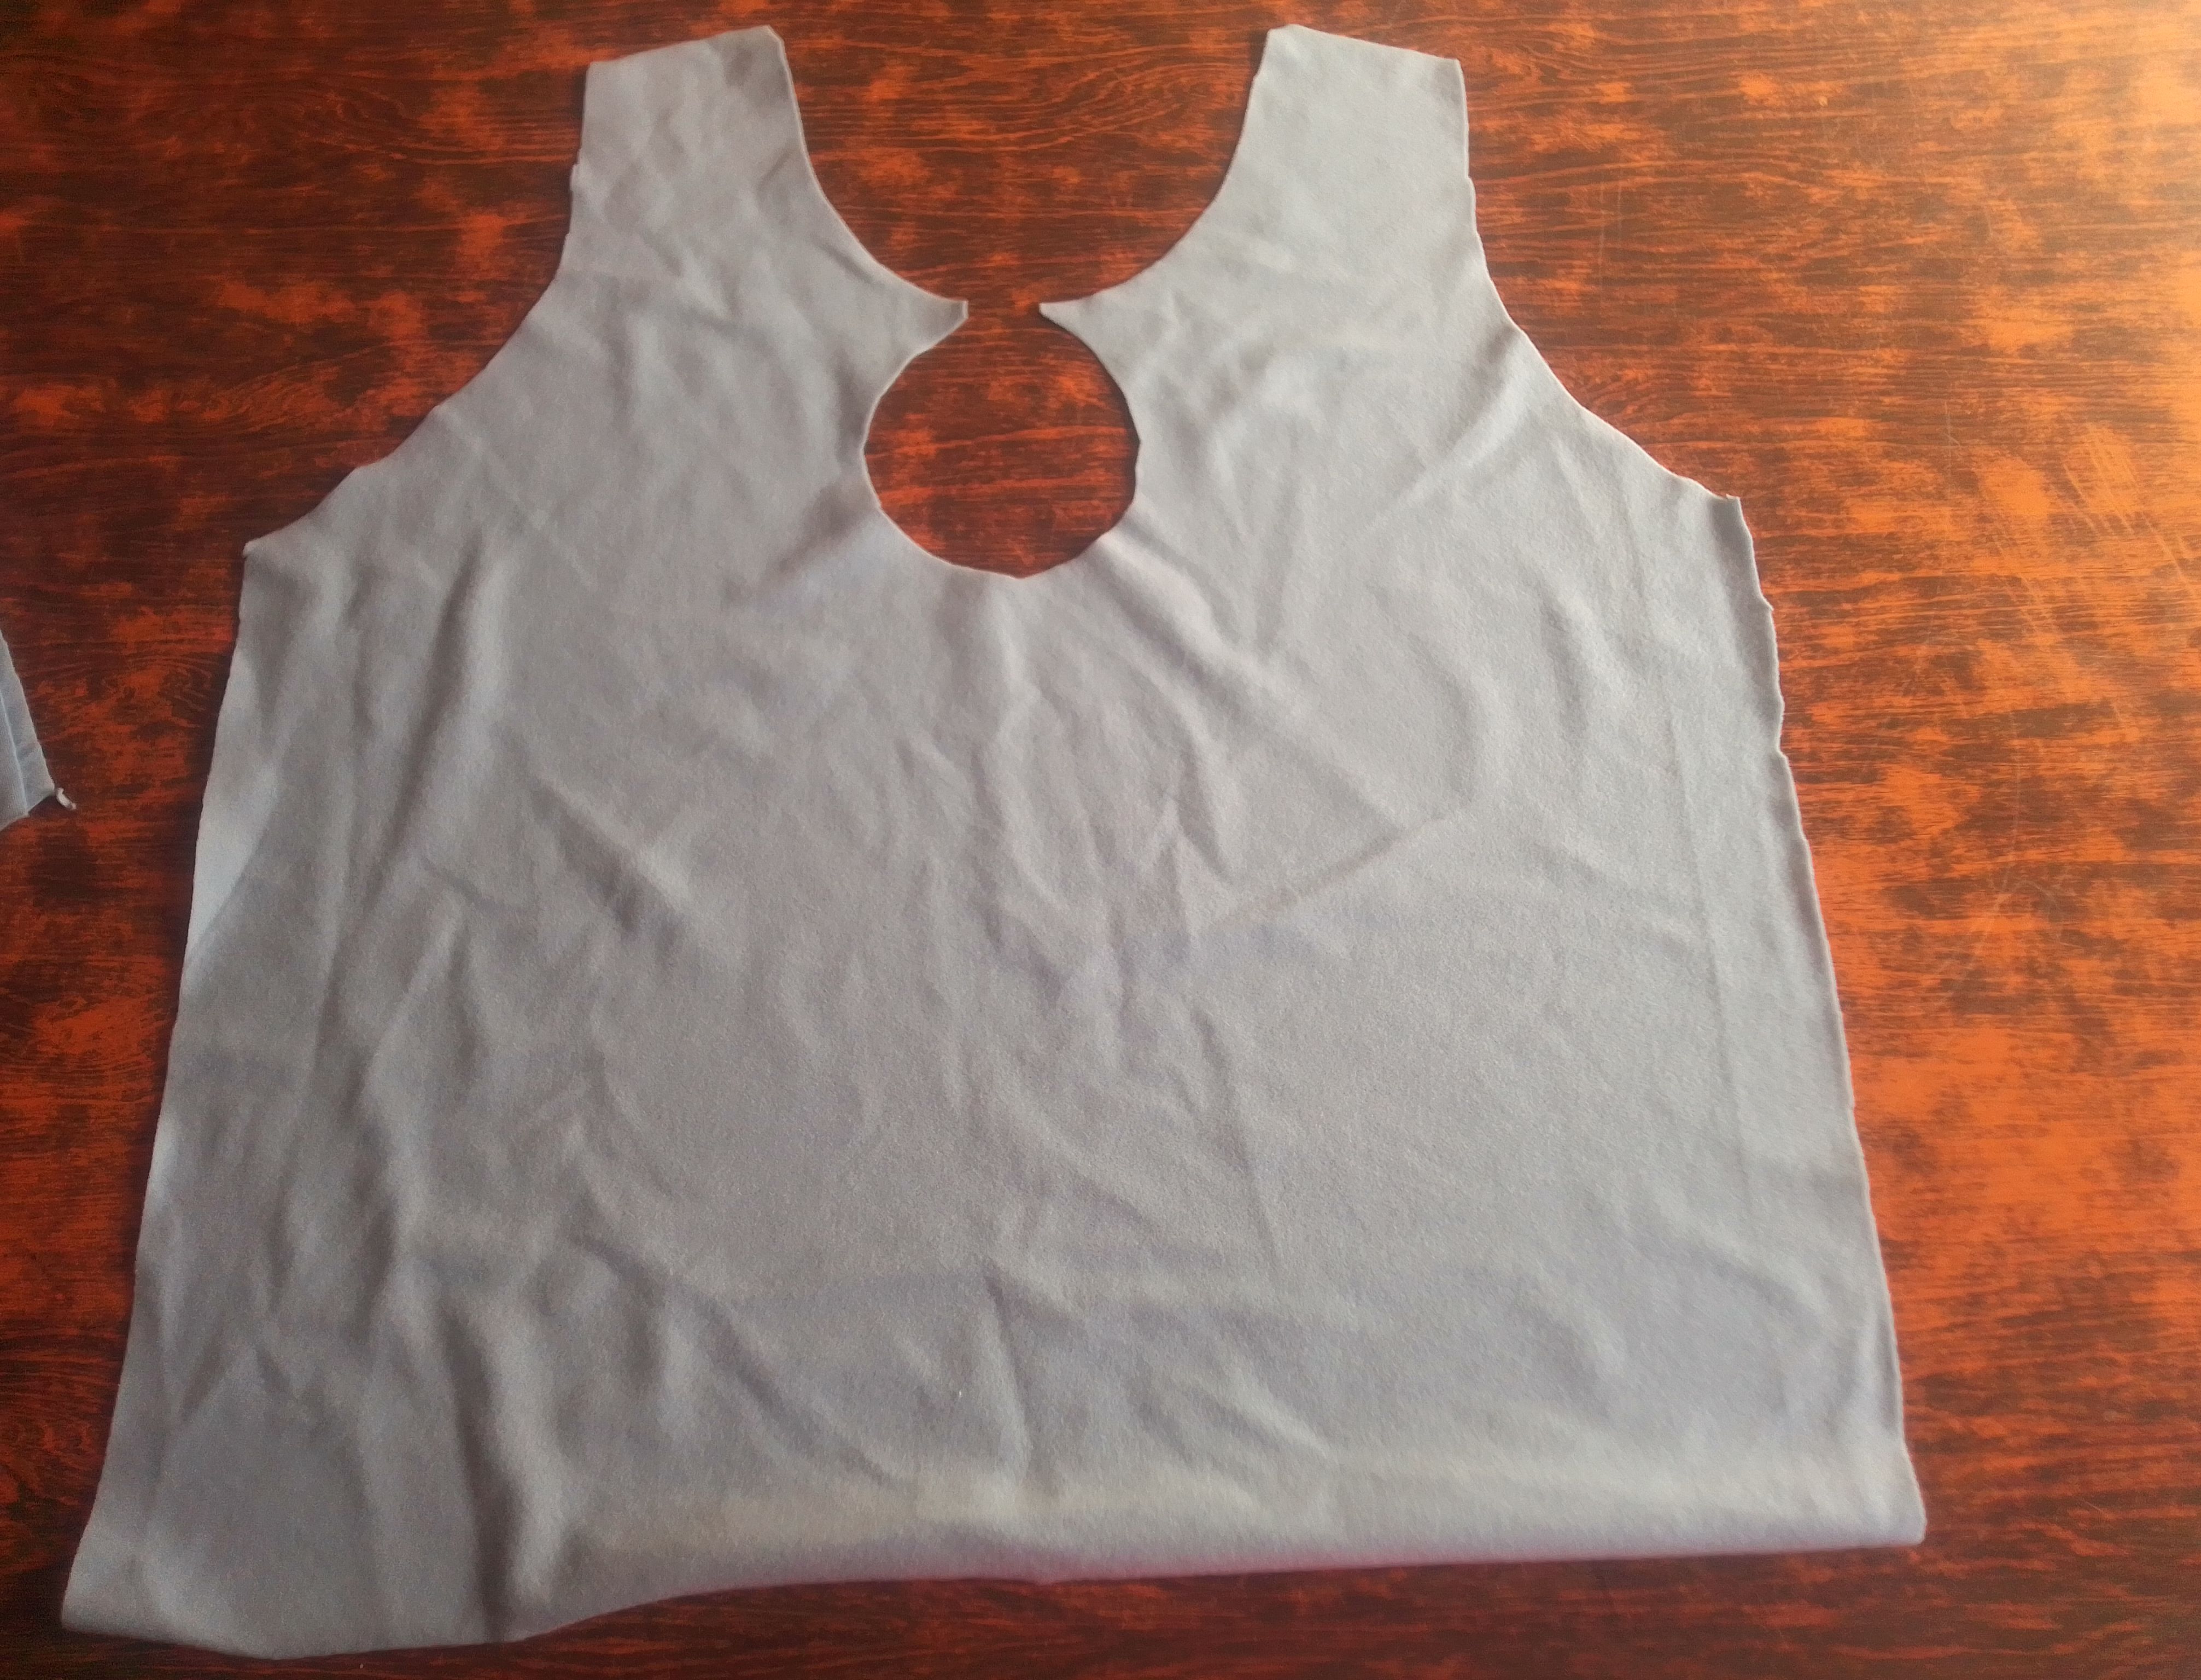
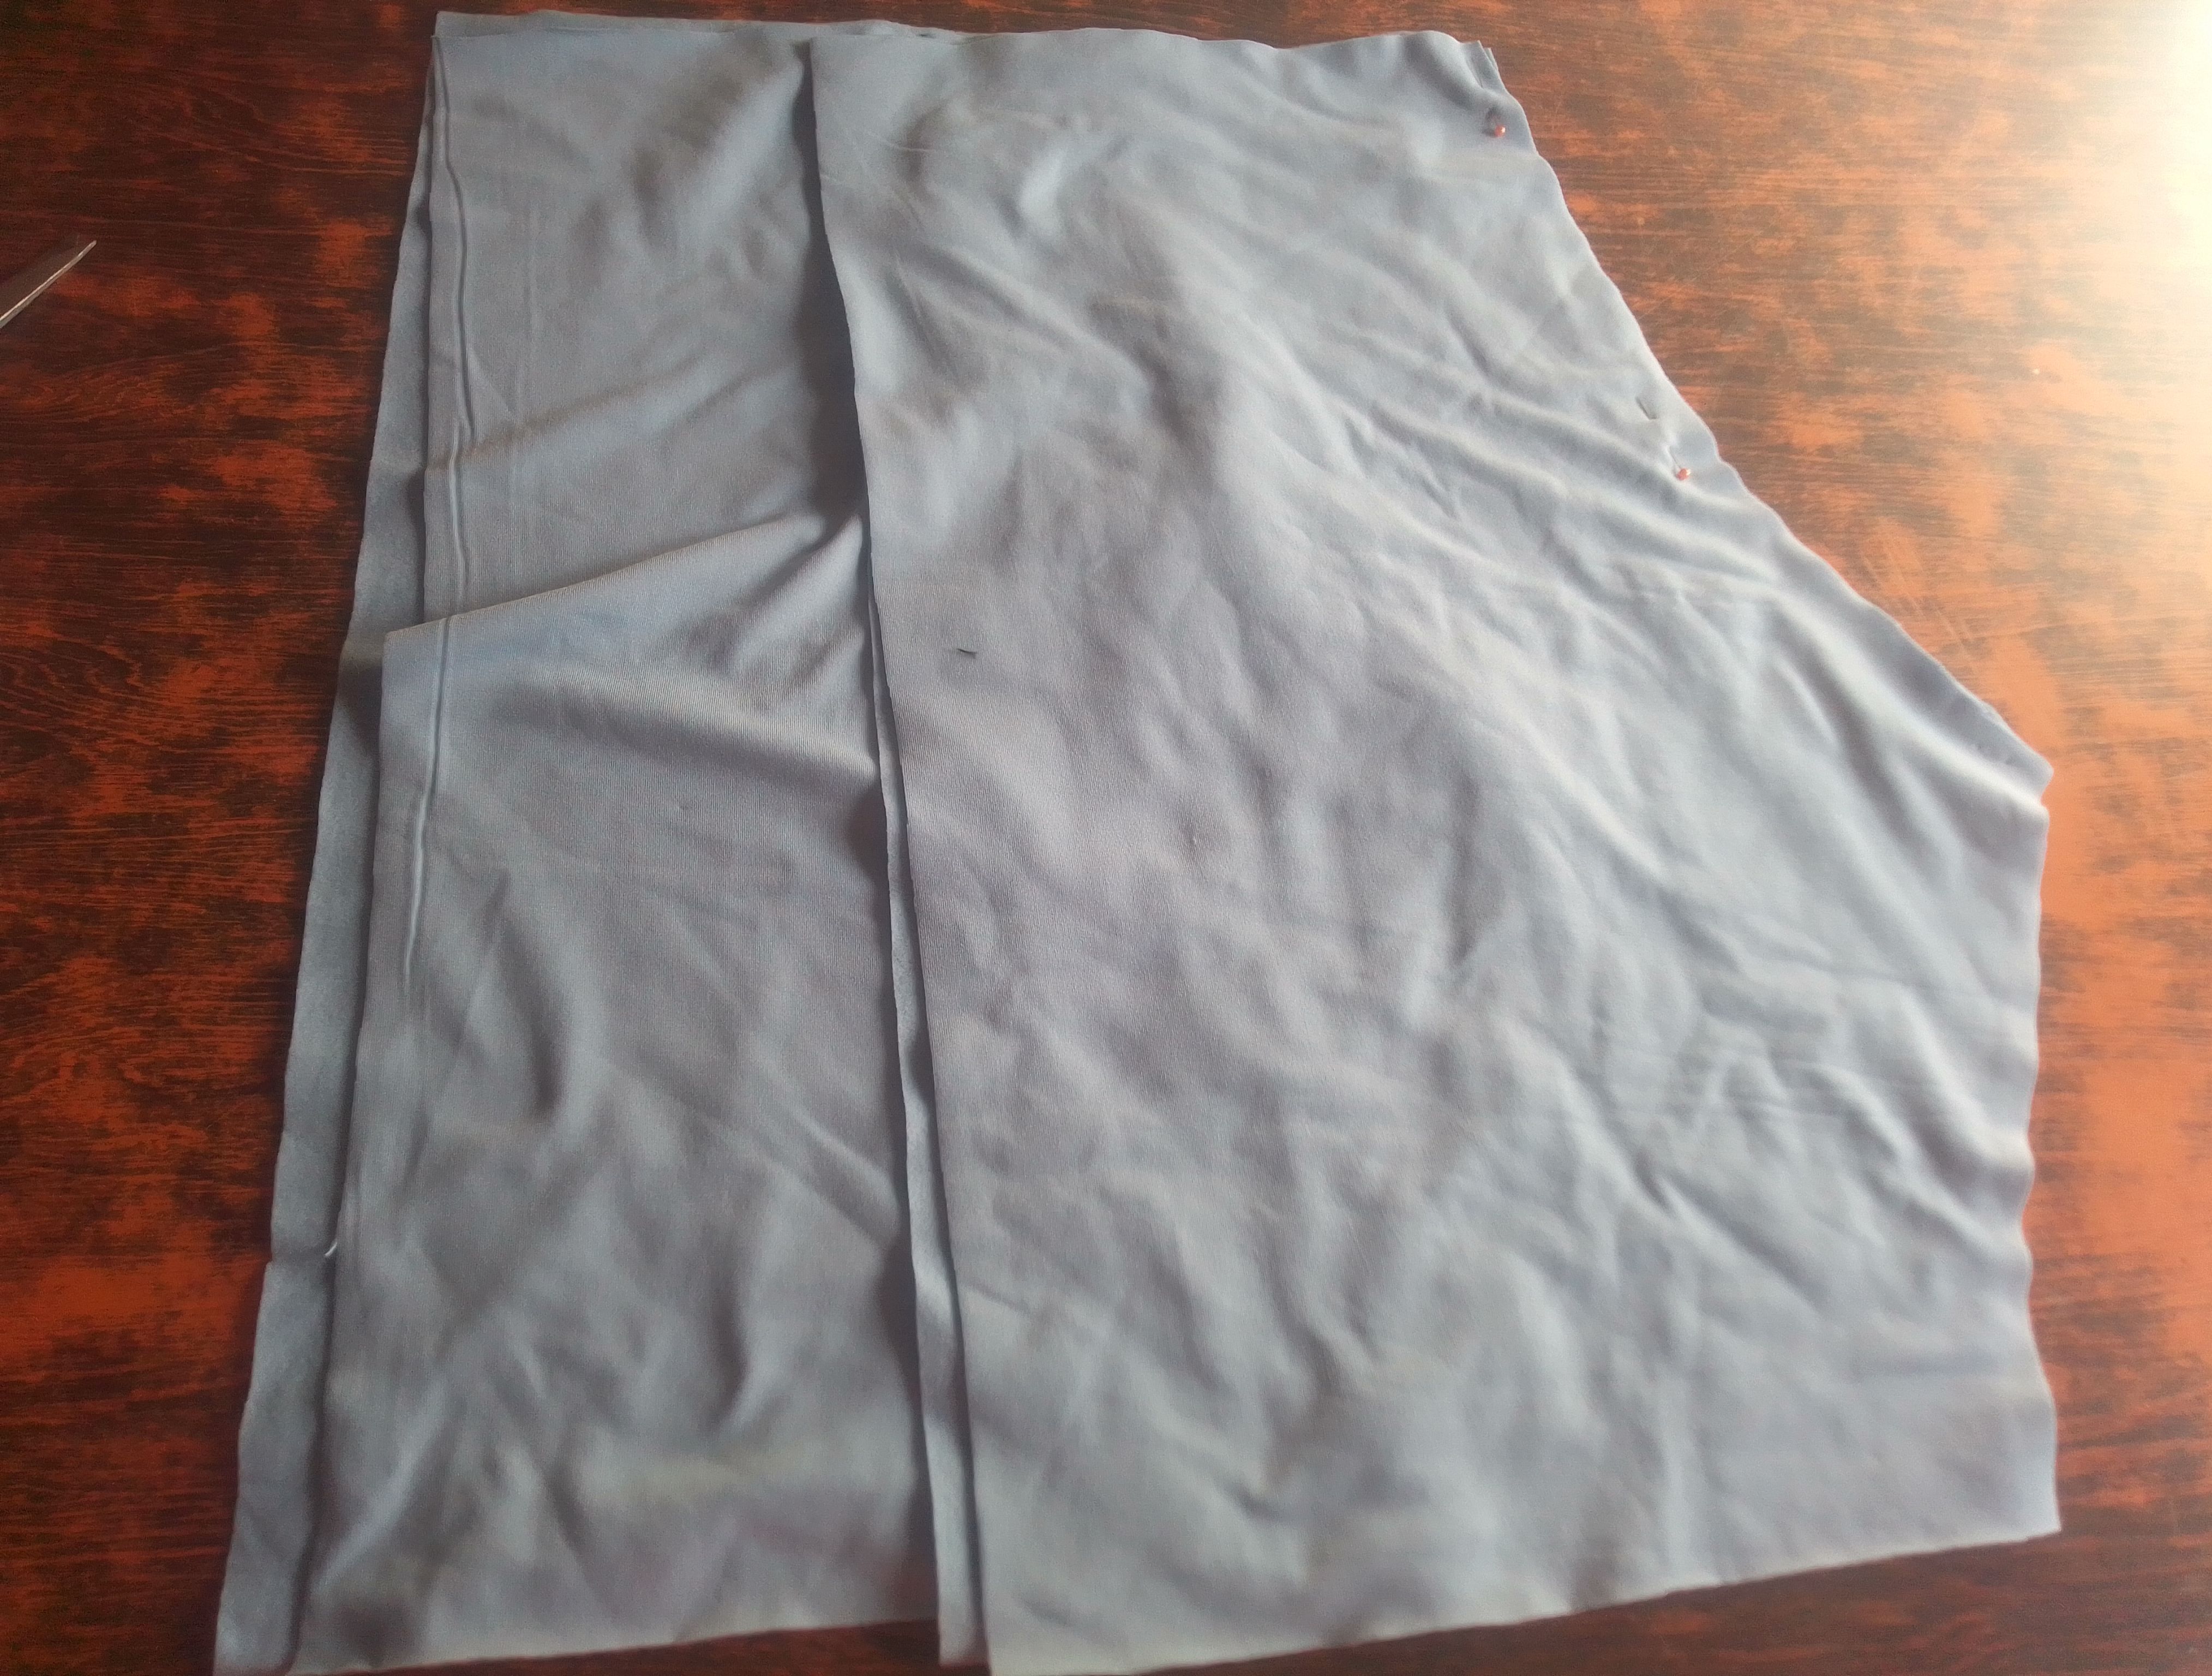
El primer paso que daremos, es cortar las piezas. Estás son dos piezas delanteras y dos traseras para la parte inferior, es decir la del shorts. Una pieza delantera de la parte de arriba a la que le haremos un corte en forma de gota en la parte del busto y una pieza trasera que separaremos en dos partes. También voy a cortar cuatro piezas de tela en forma cuadrada para los dos bolsillos.
Step 01
The first step we will take is to cut the pieces. These are two front pieces and two back pieces for the bottom part, that is, the part of the shorts. A front piece of the top to which we will make a drop-shaped cut in the bust part and a back piece that we will separate into two parts. I'm also going to cut four square-shaped pieces of fabric for the two pockets.
Paso 02
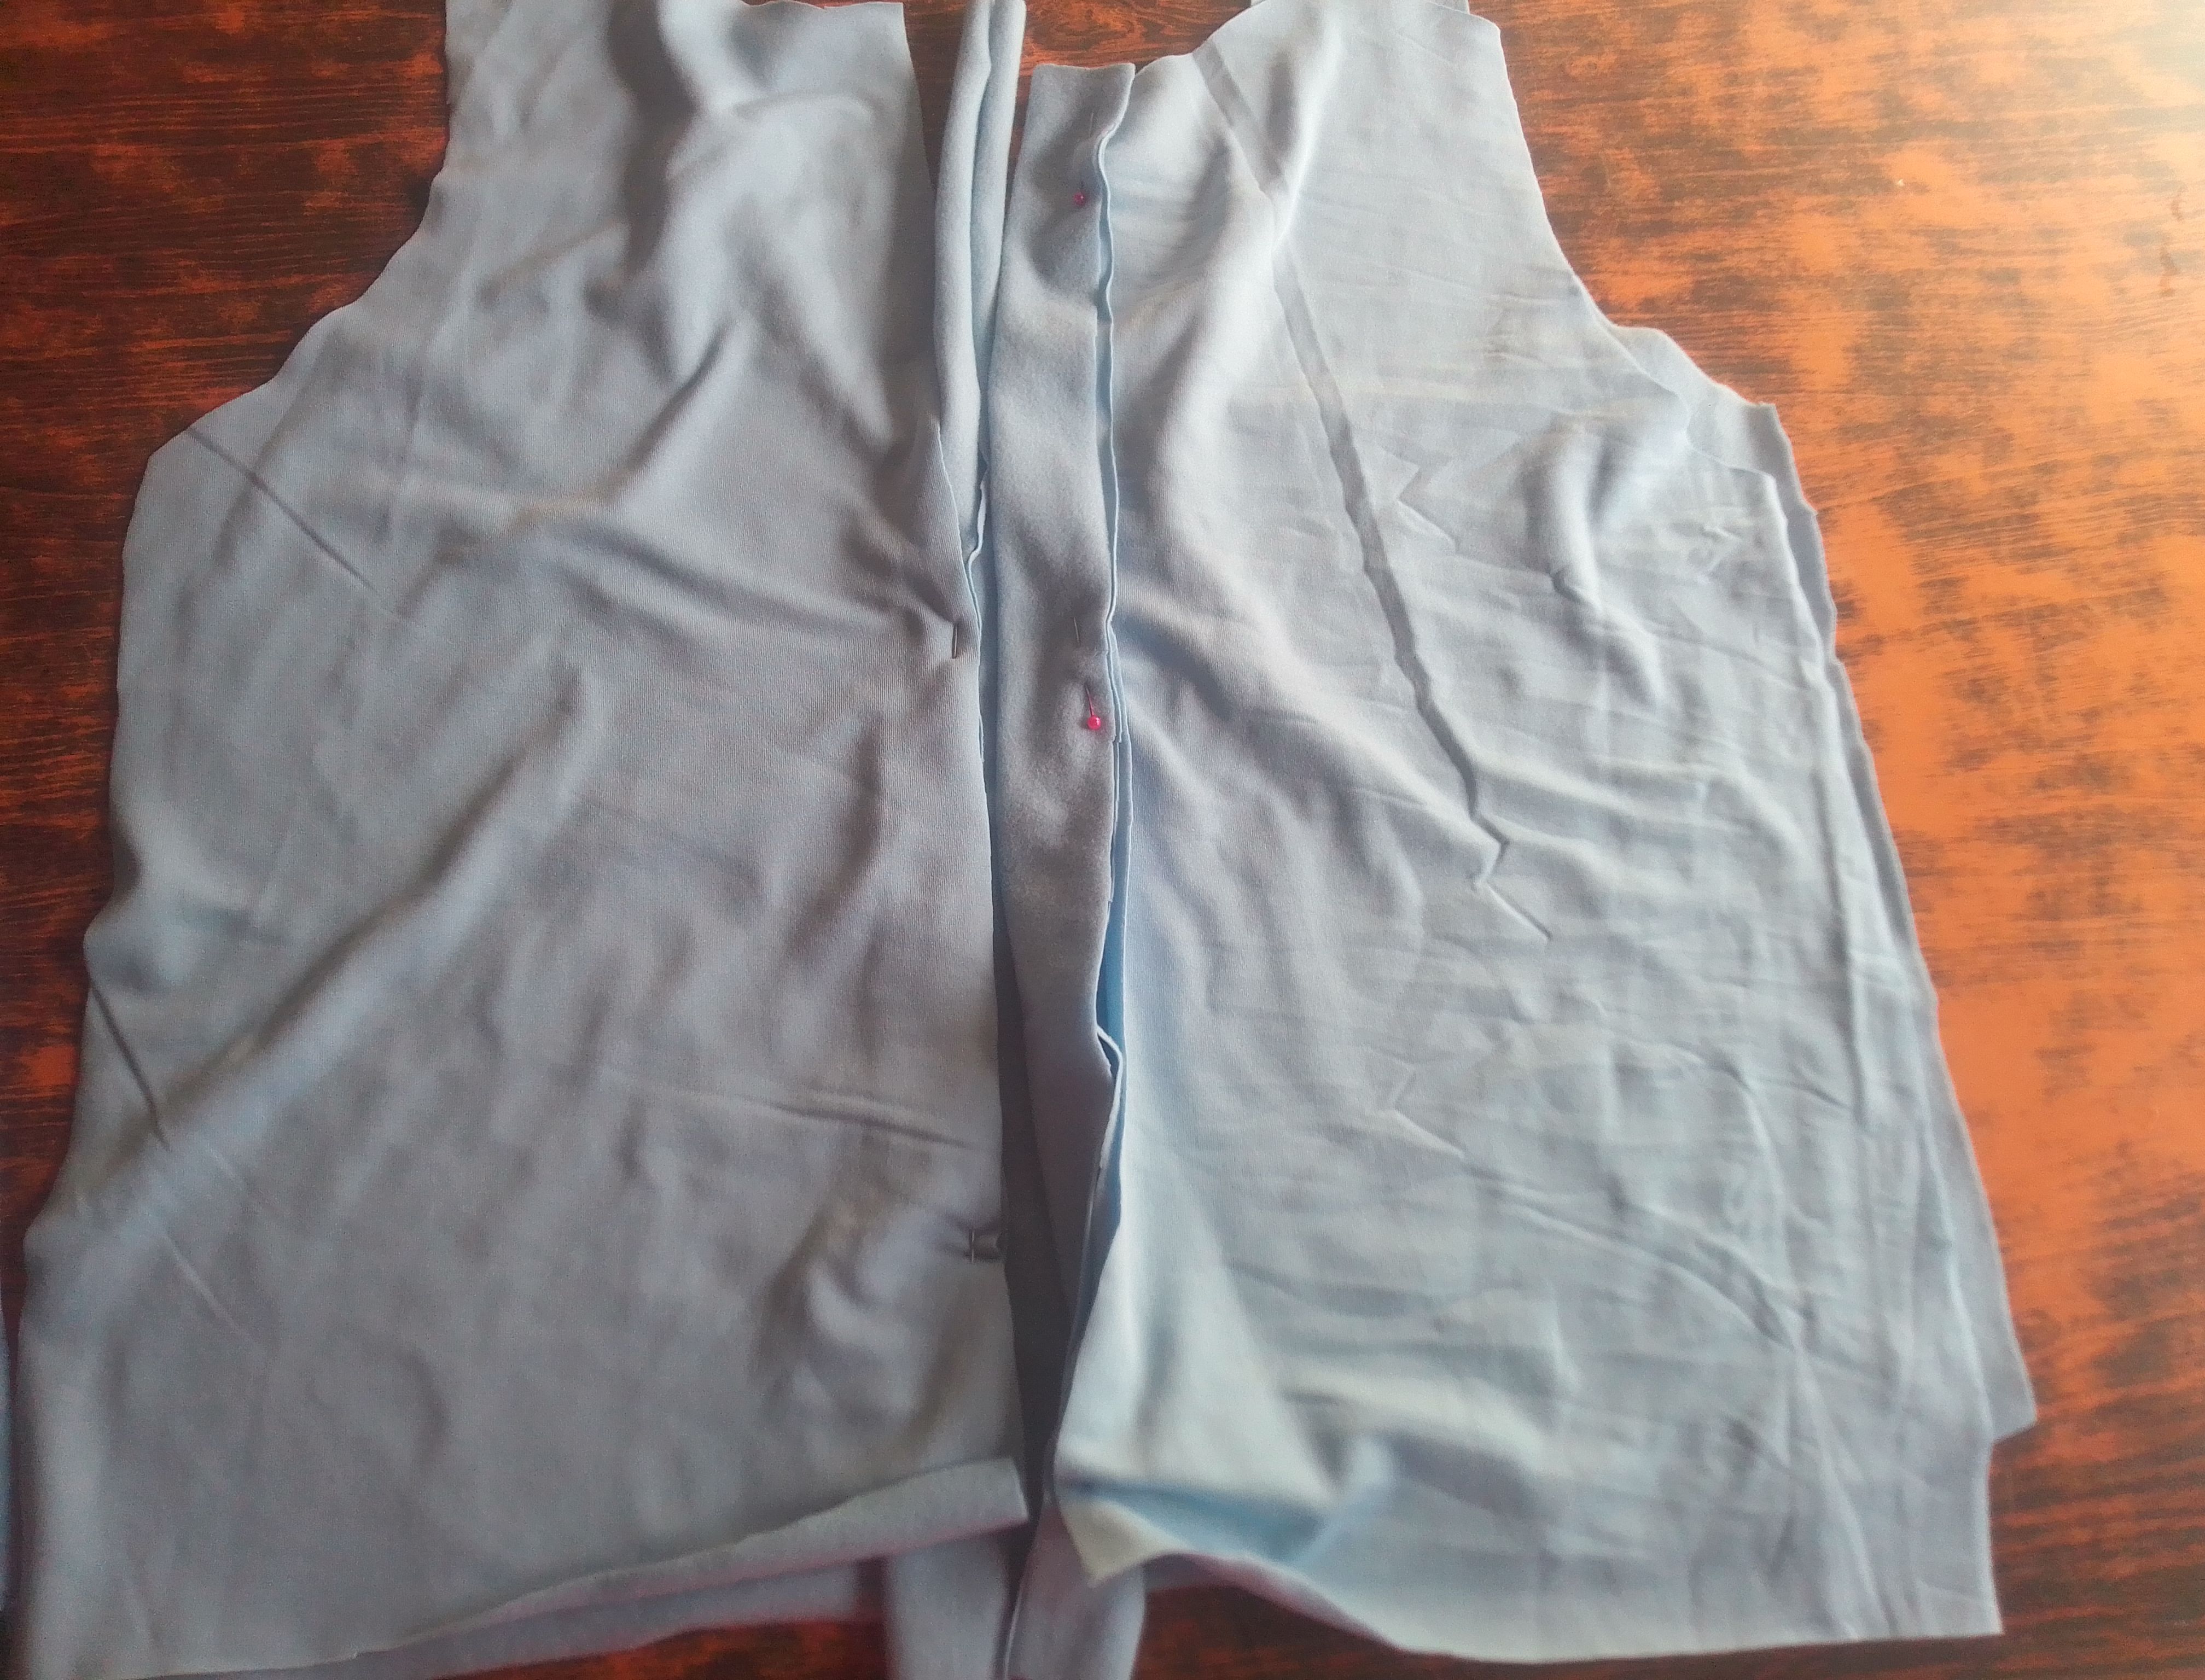
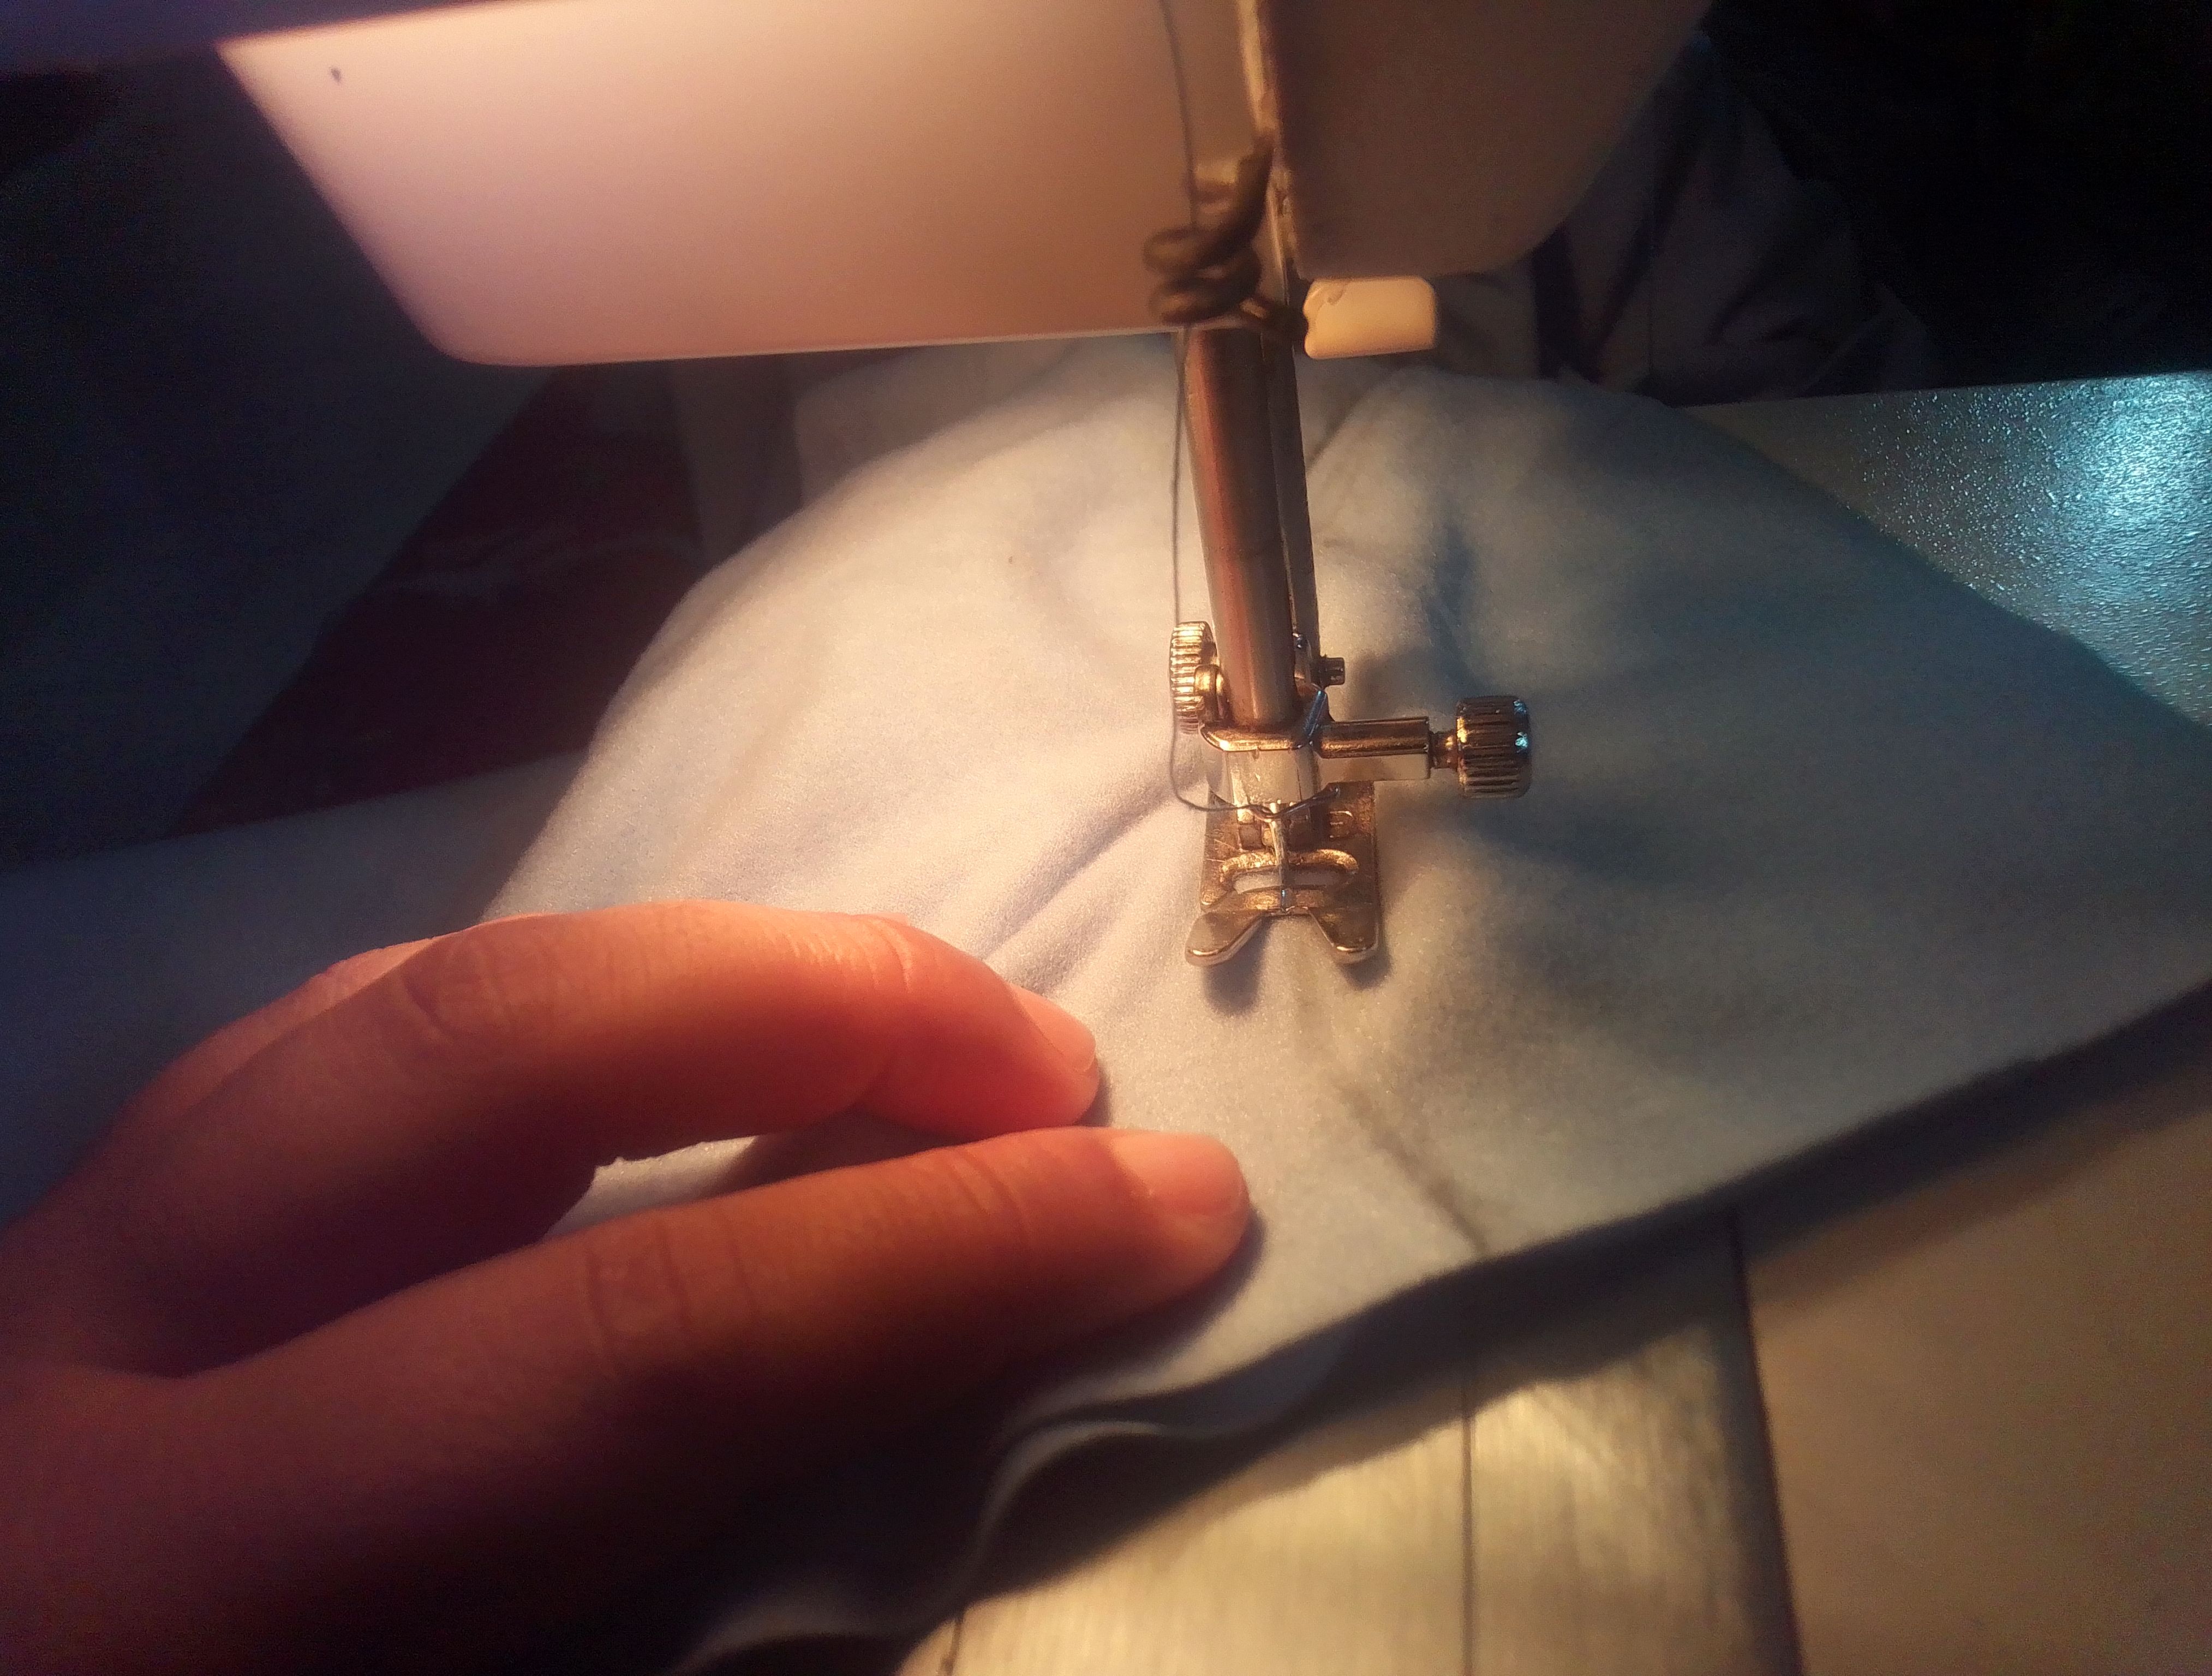
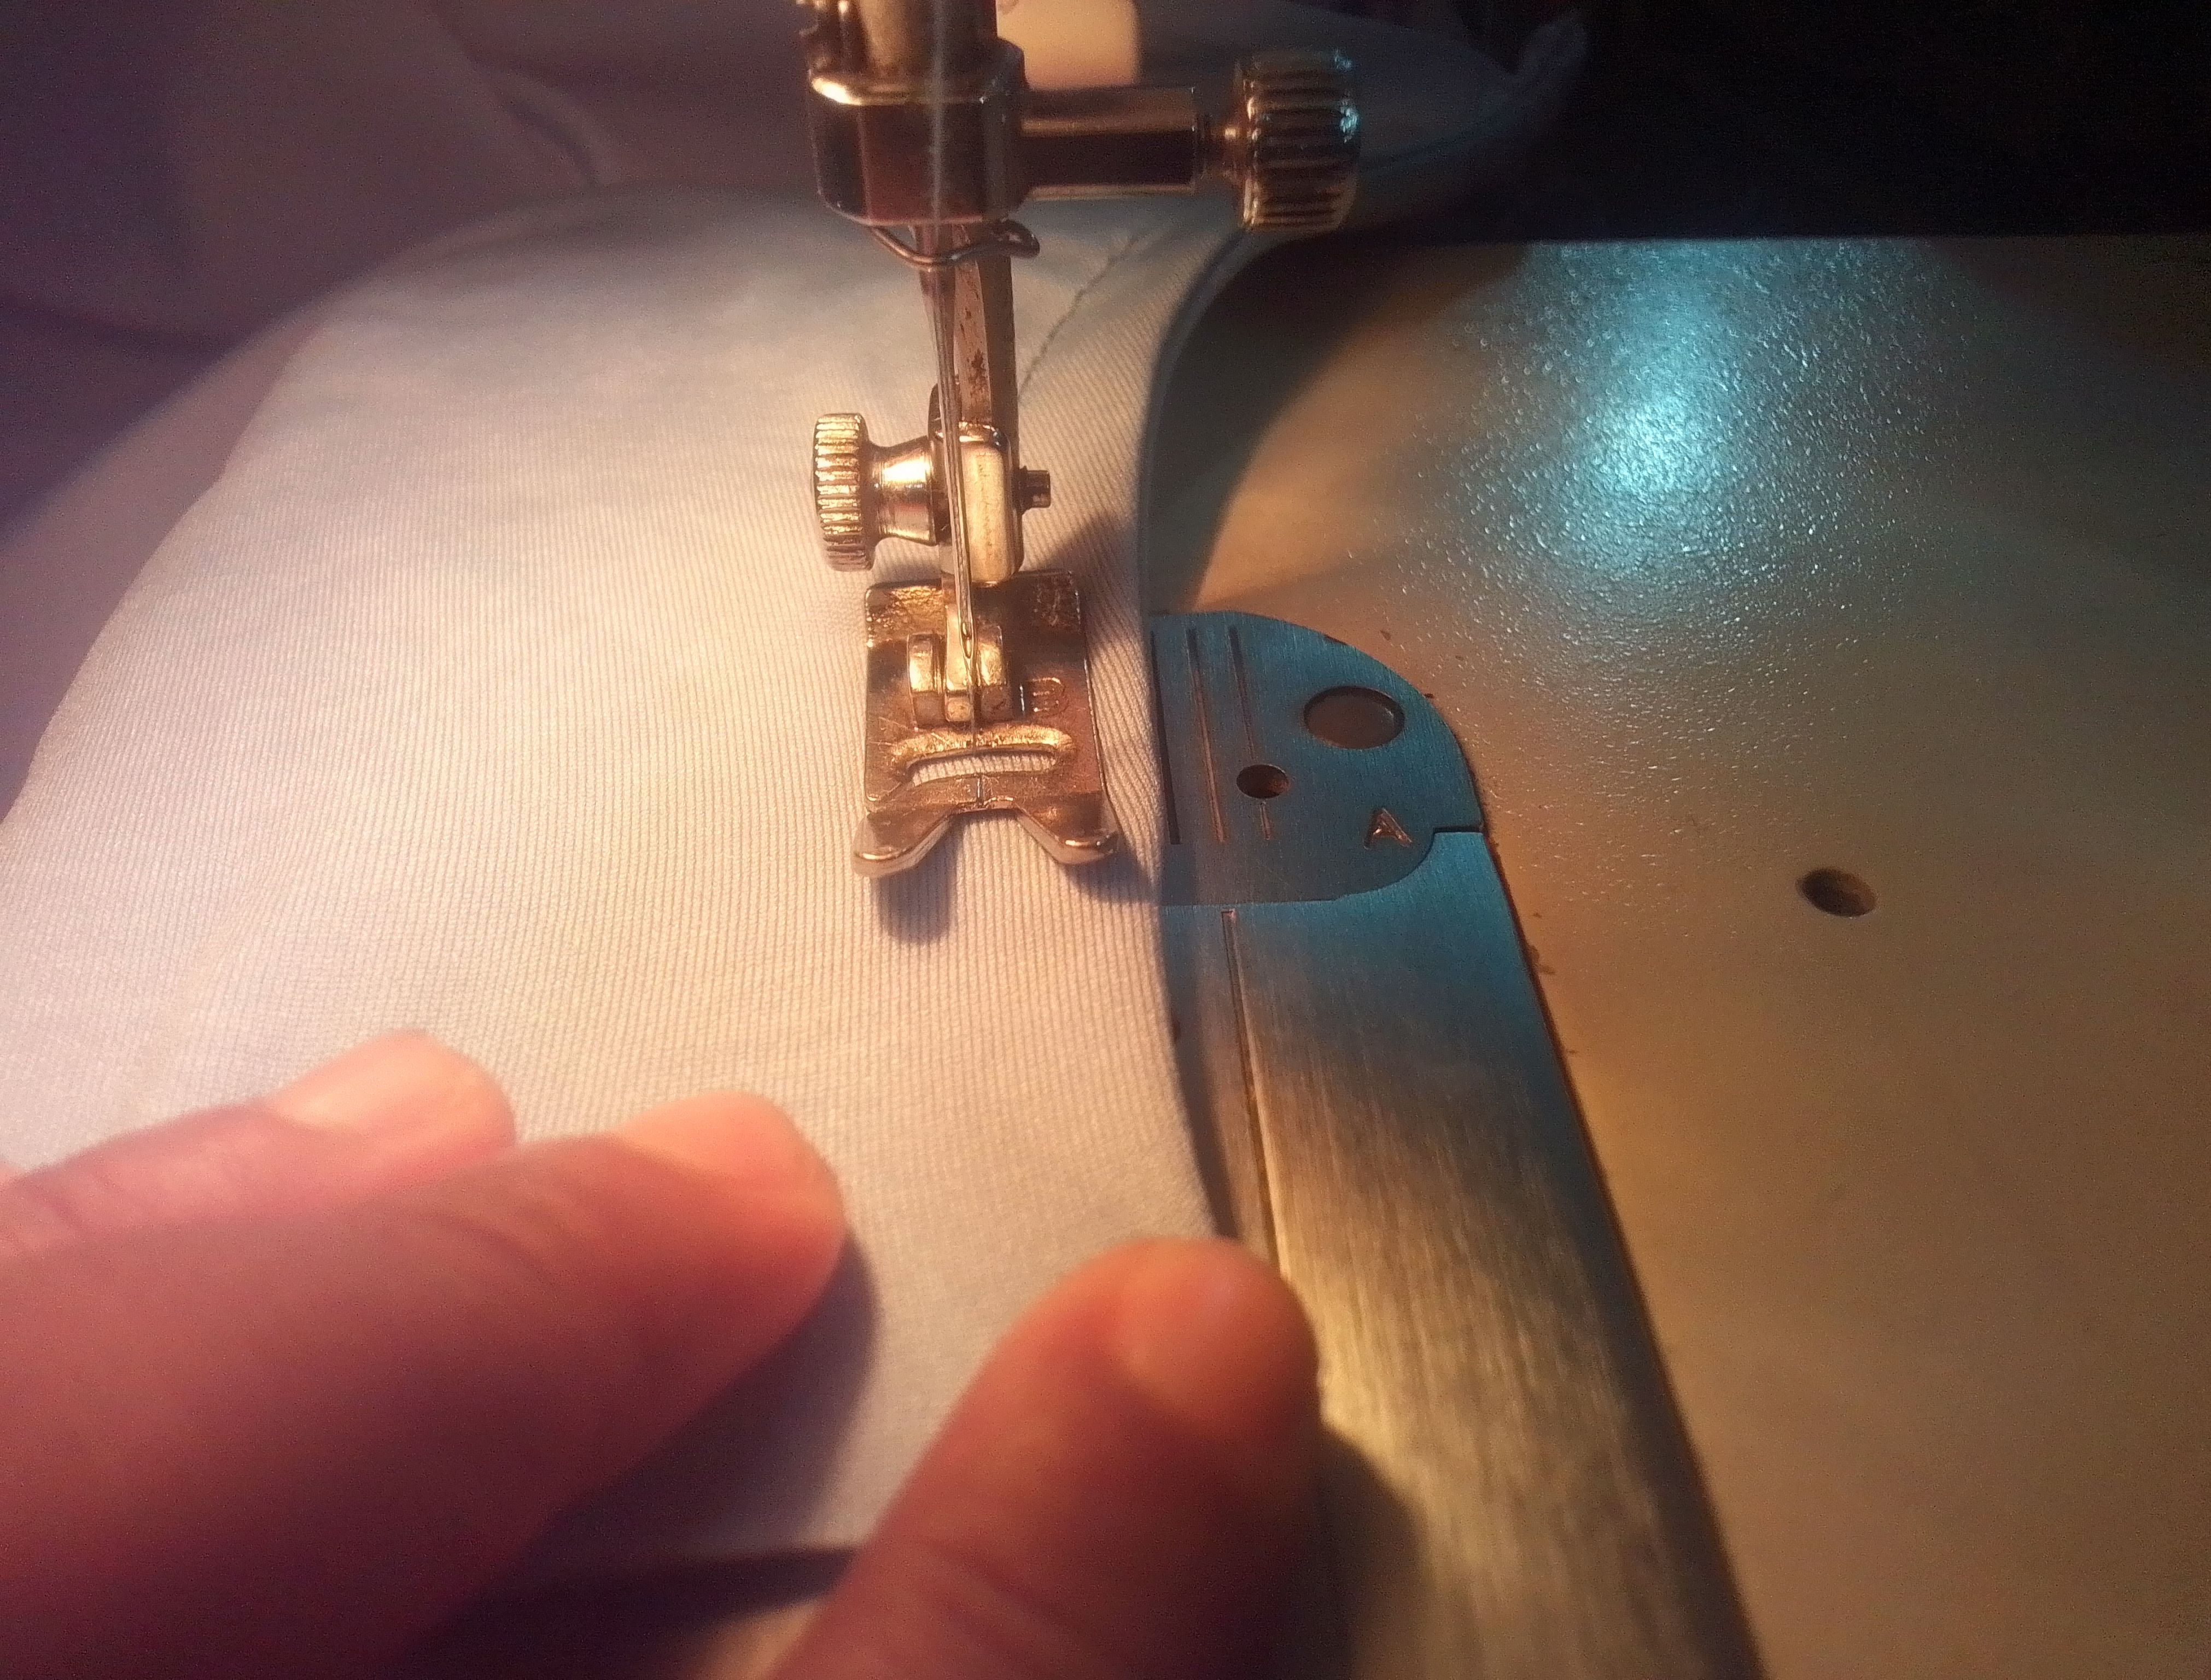
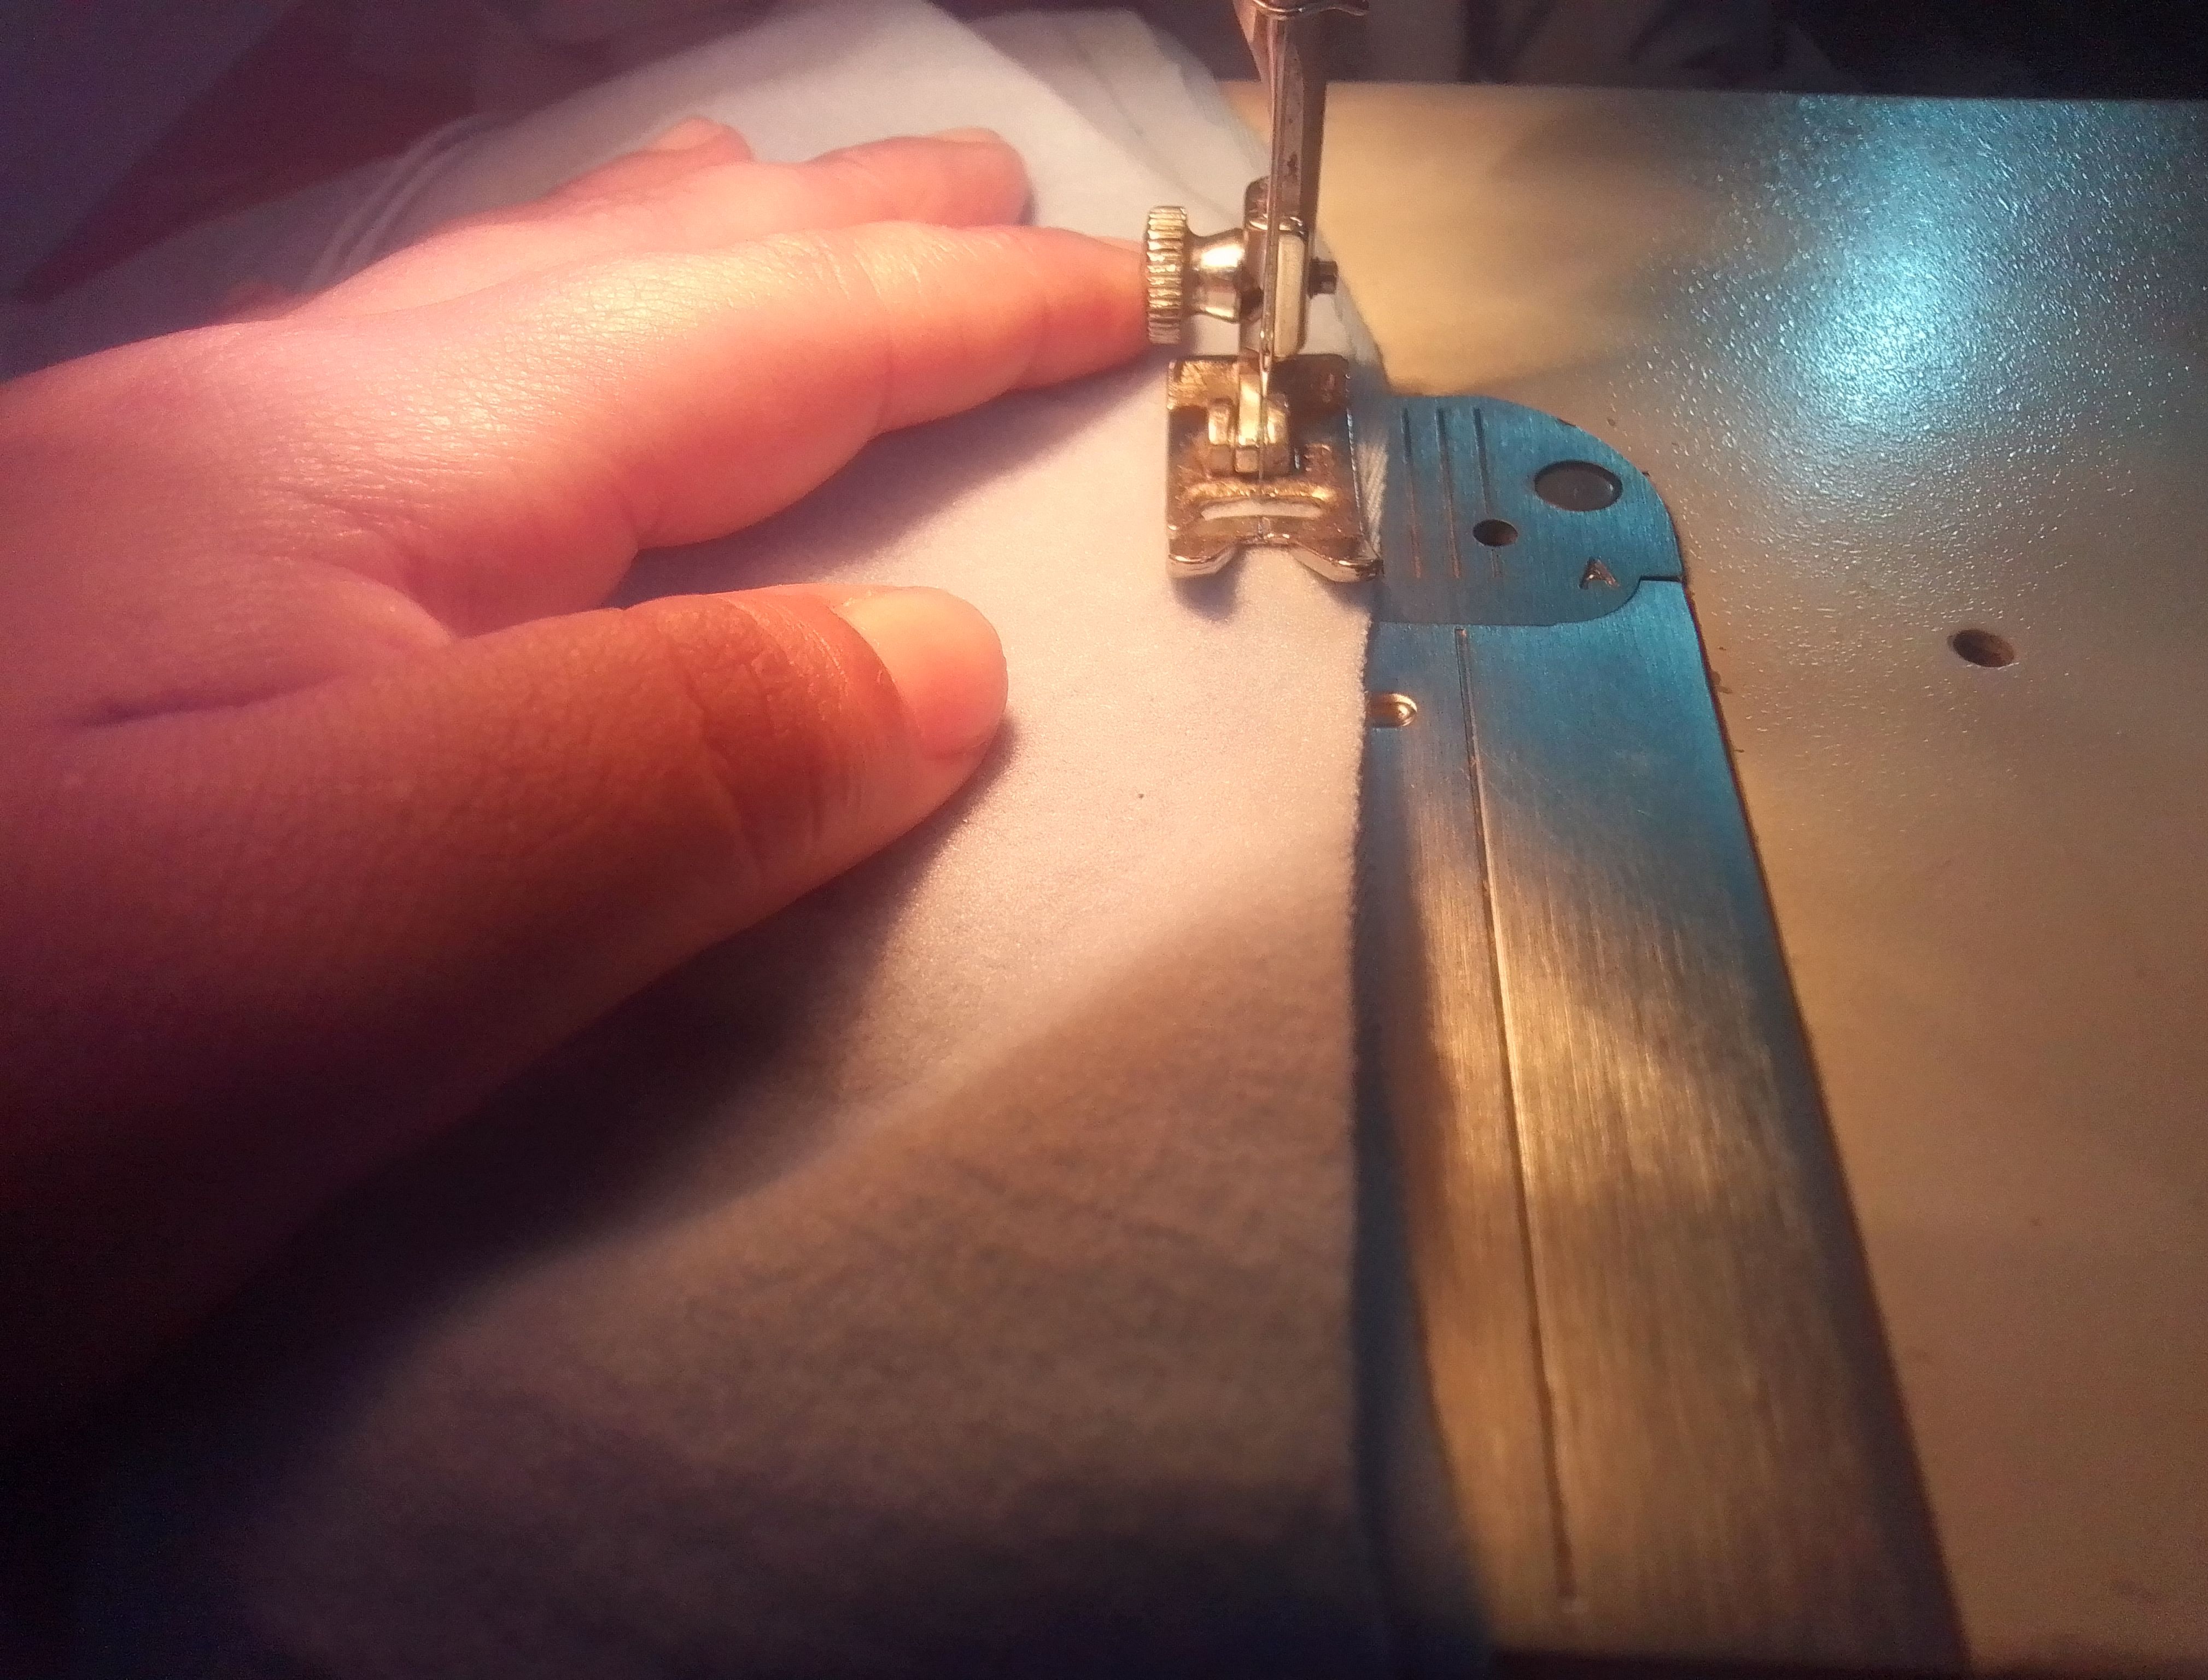
La primera costura que voy a hacer va a ser la curva de los bolsillos, colocando mi tela cuadrada enfrentando los derechos con una de las piezas delanteras. Corto el sobrante, giramos hacia atrás y hago pespunte. Montamos sobre este la otra pieza de tela y cosemos toda las orillas.
Step 02
The first seam I am going to make is going to be the curve of the pockets, placing my square fabric facing right sides with one of the front pieces. I cut off the excess, we turn back and I topstitch. We mount the other piece of fabric on top of it and sew all the edges.
Paso 03
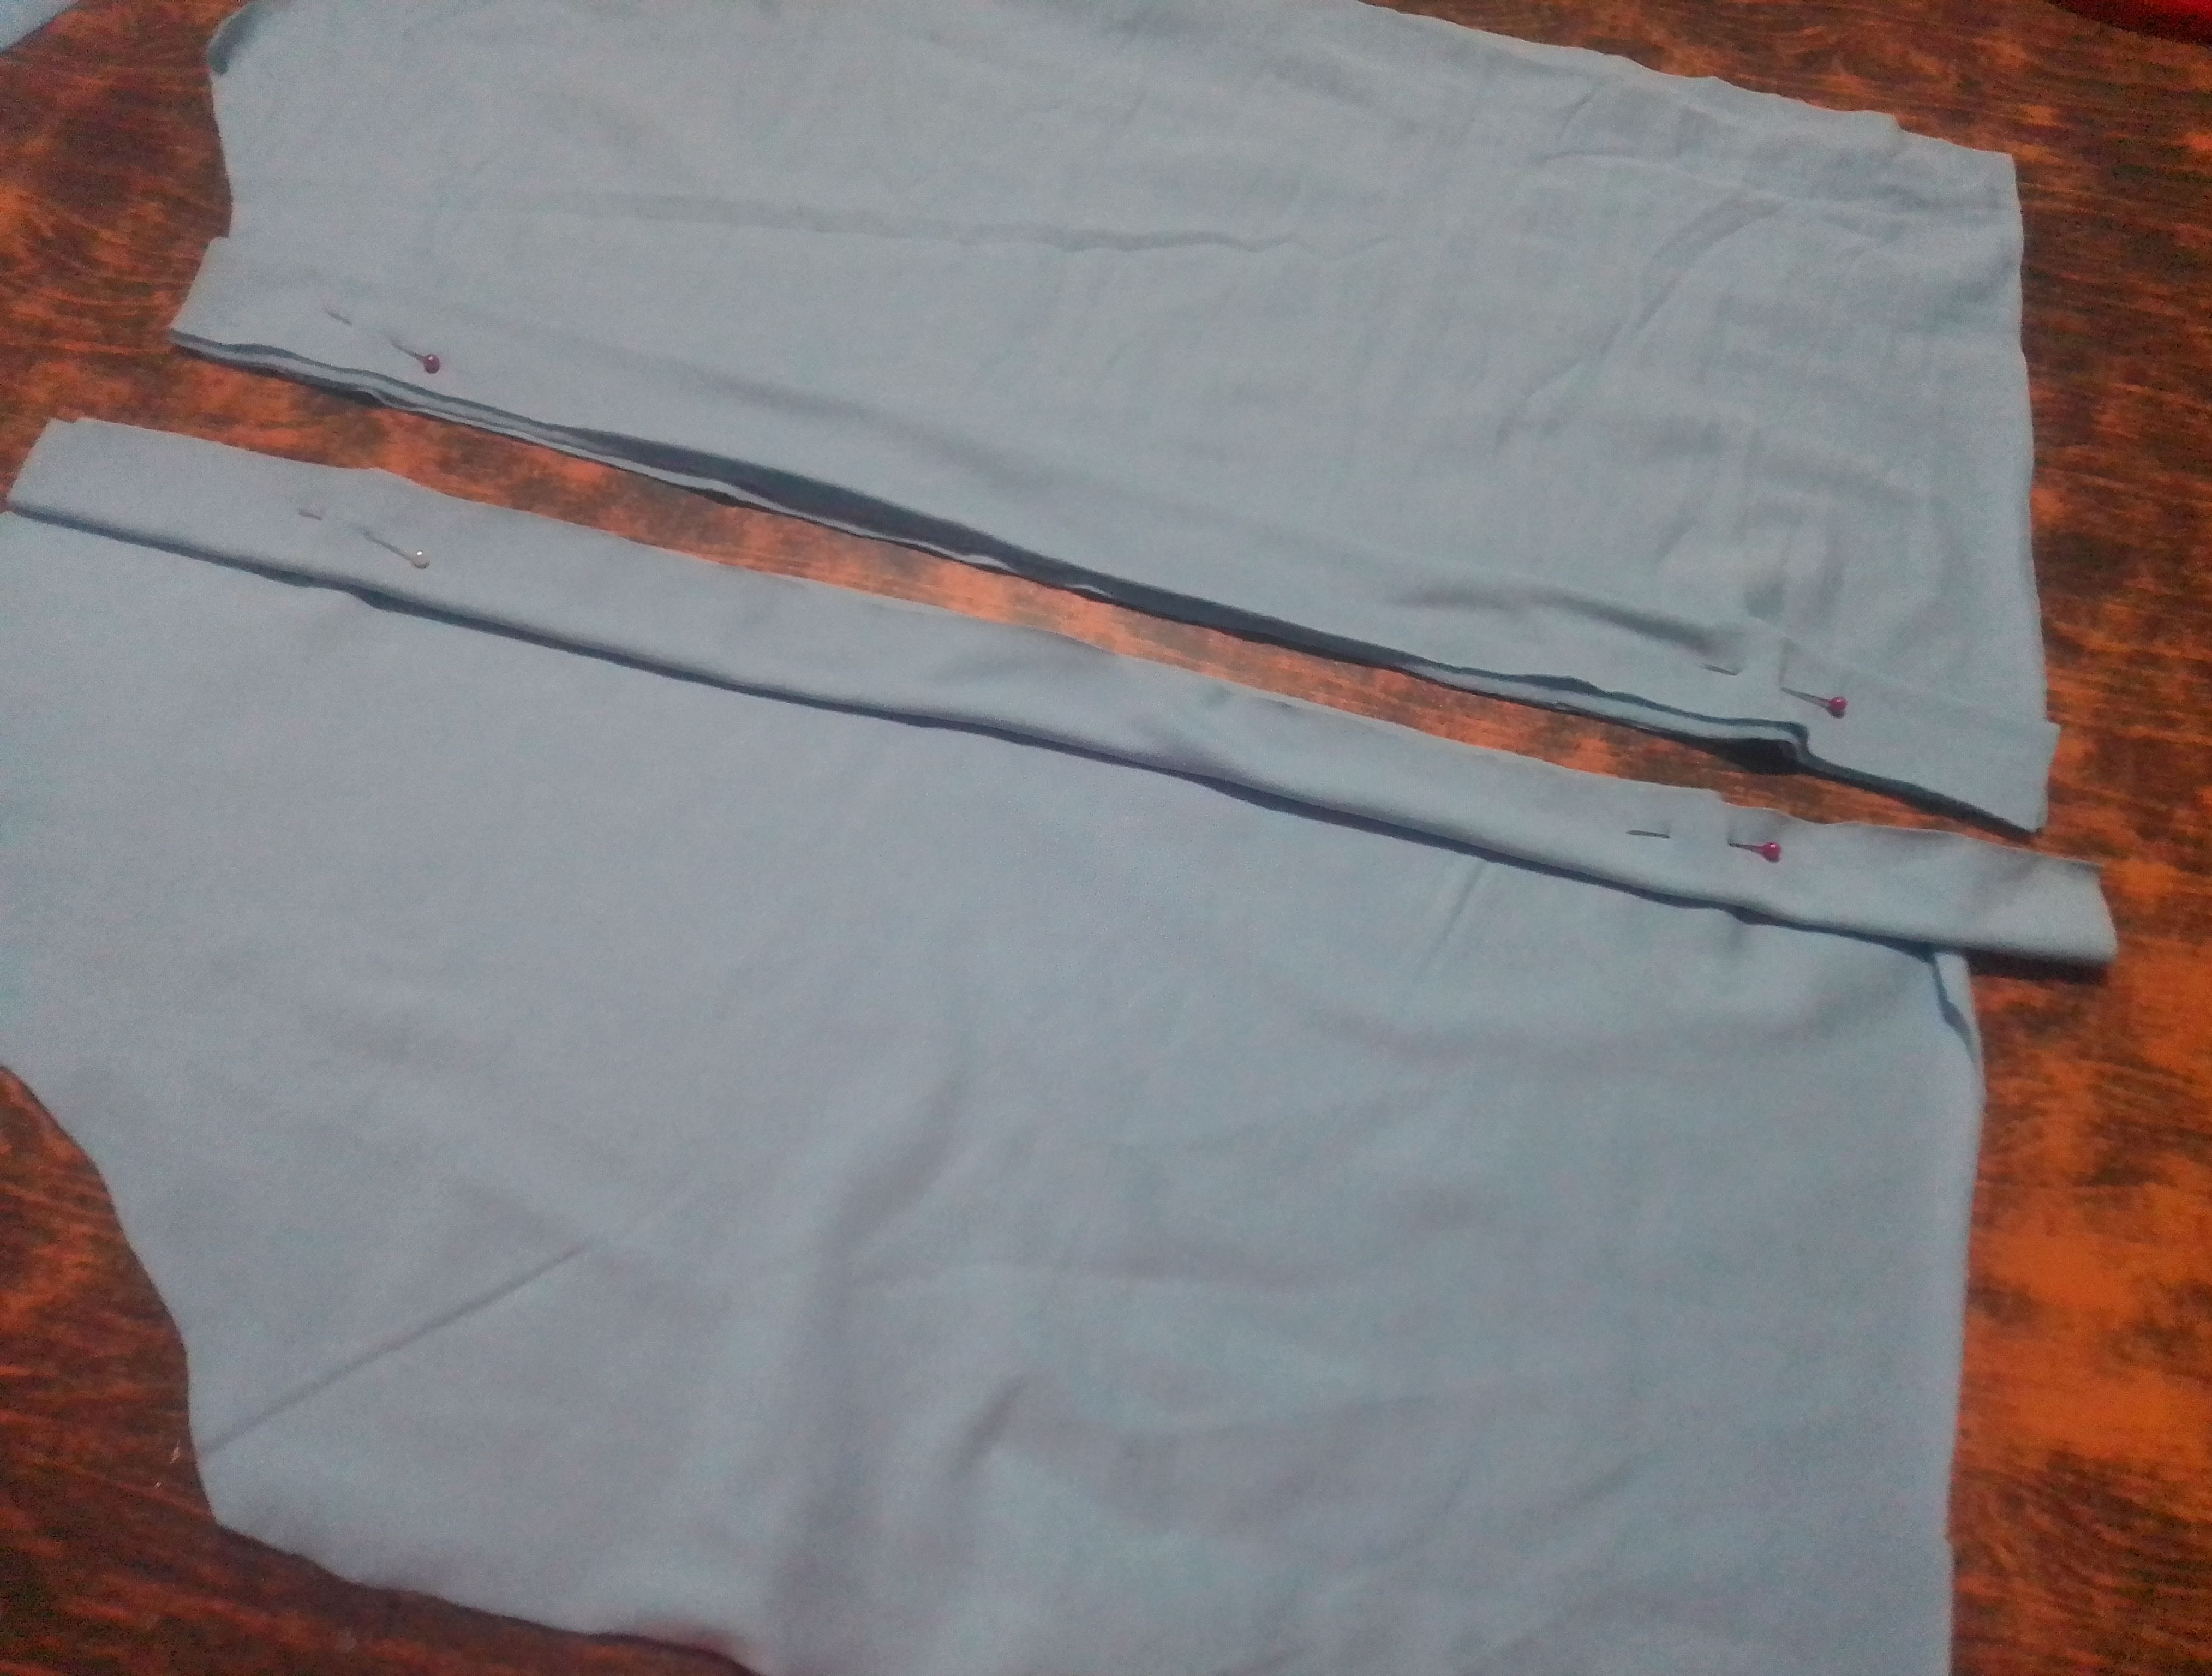
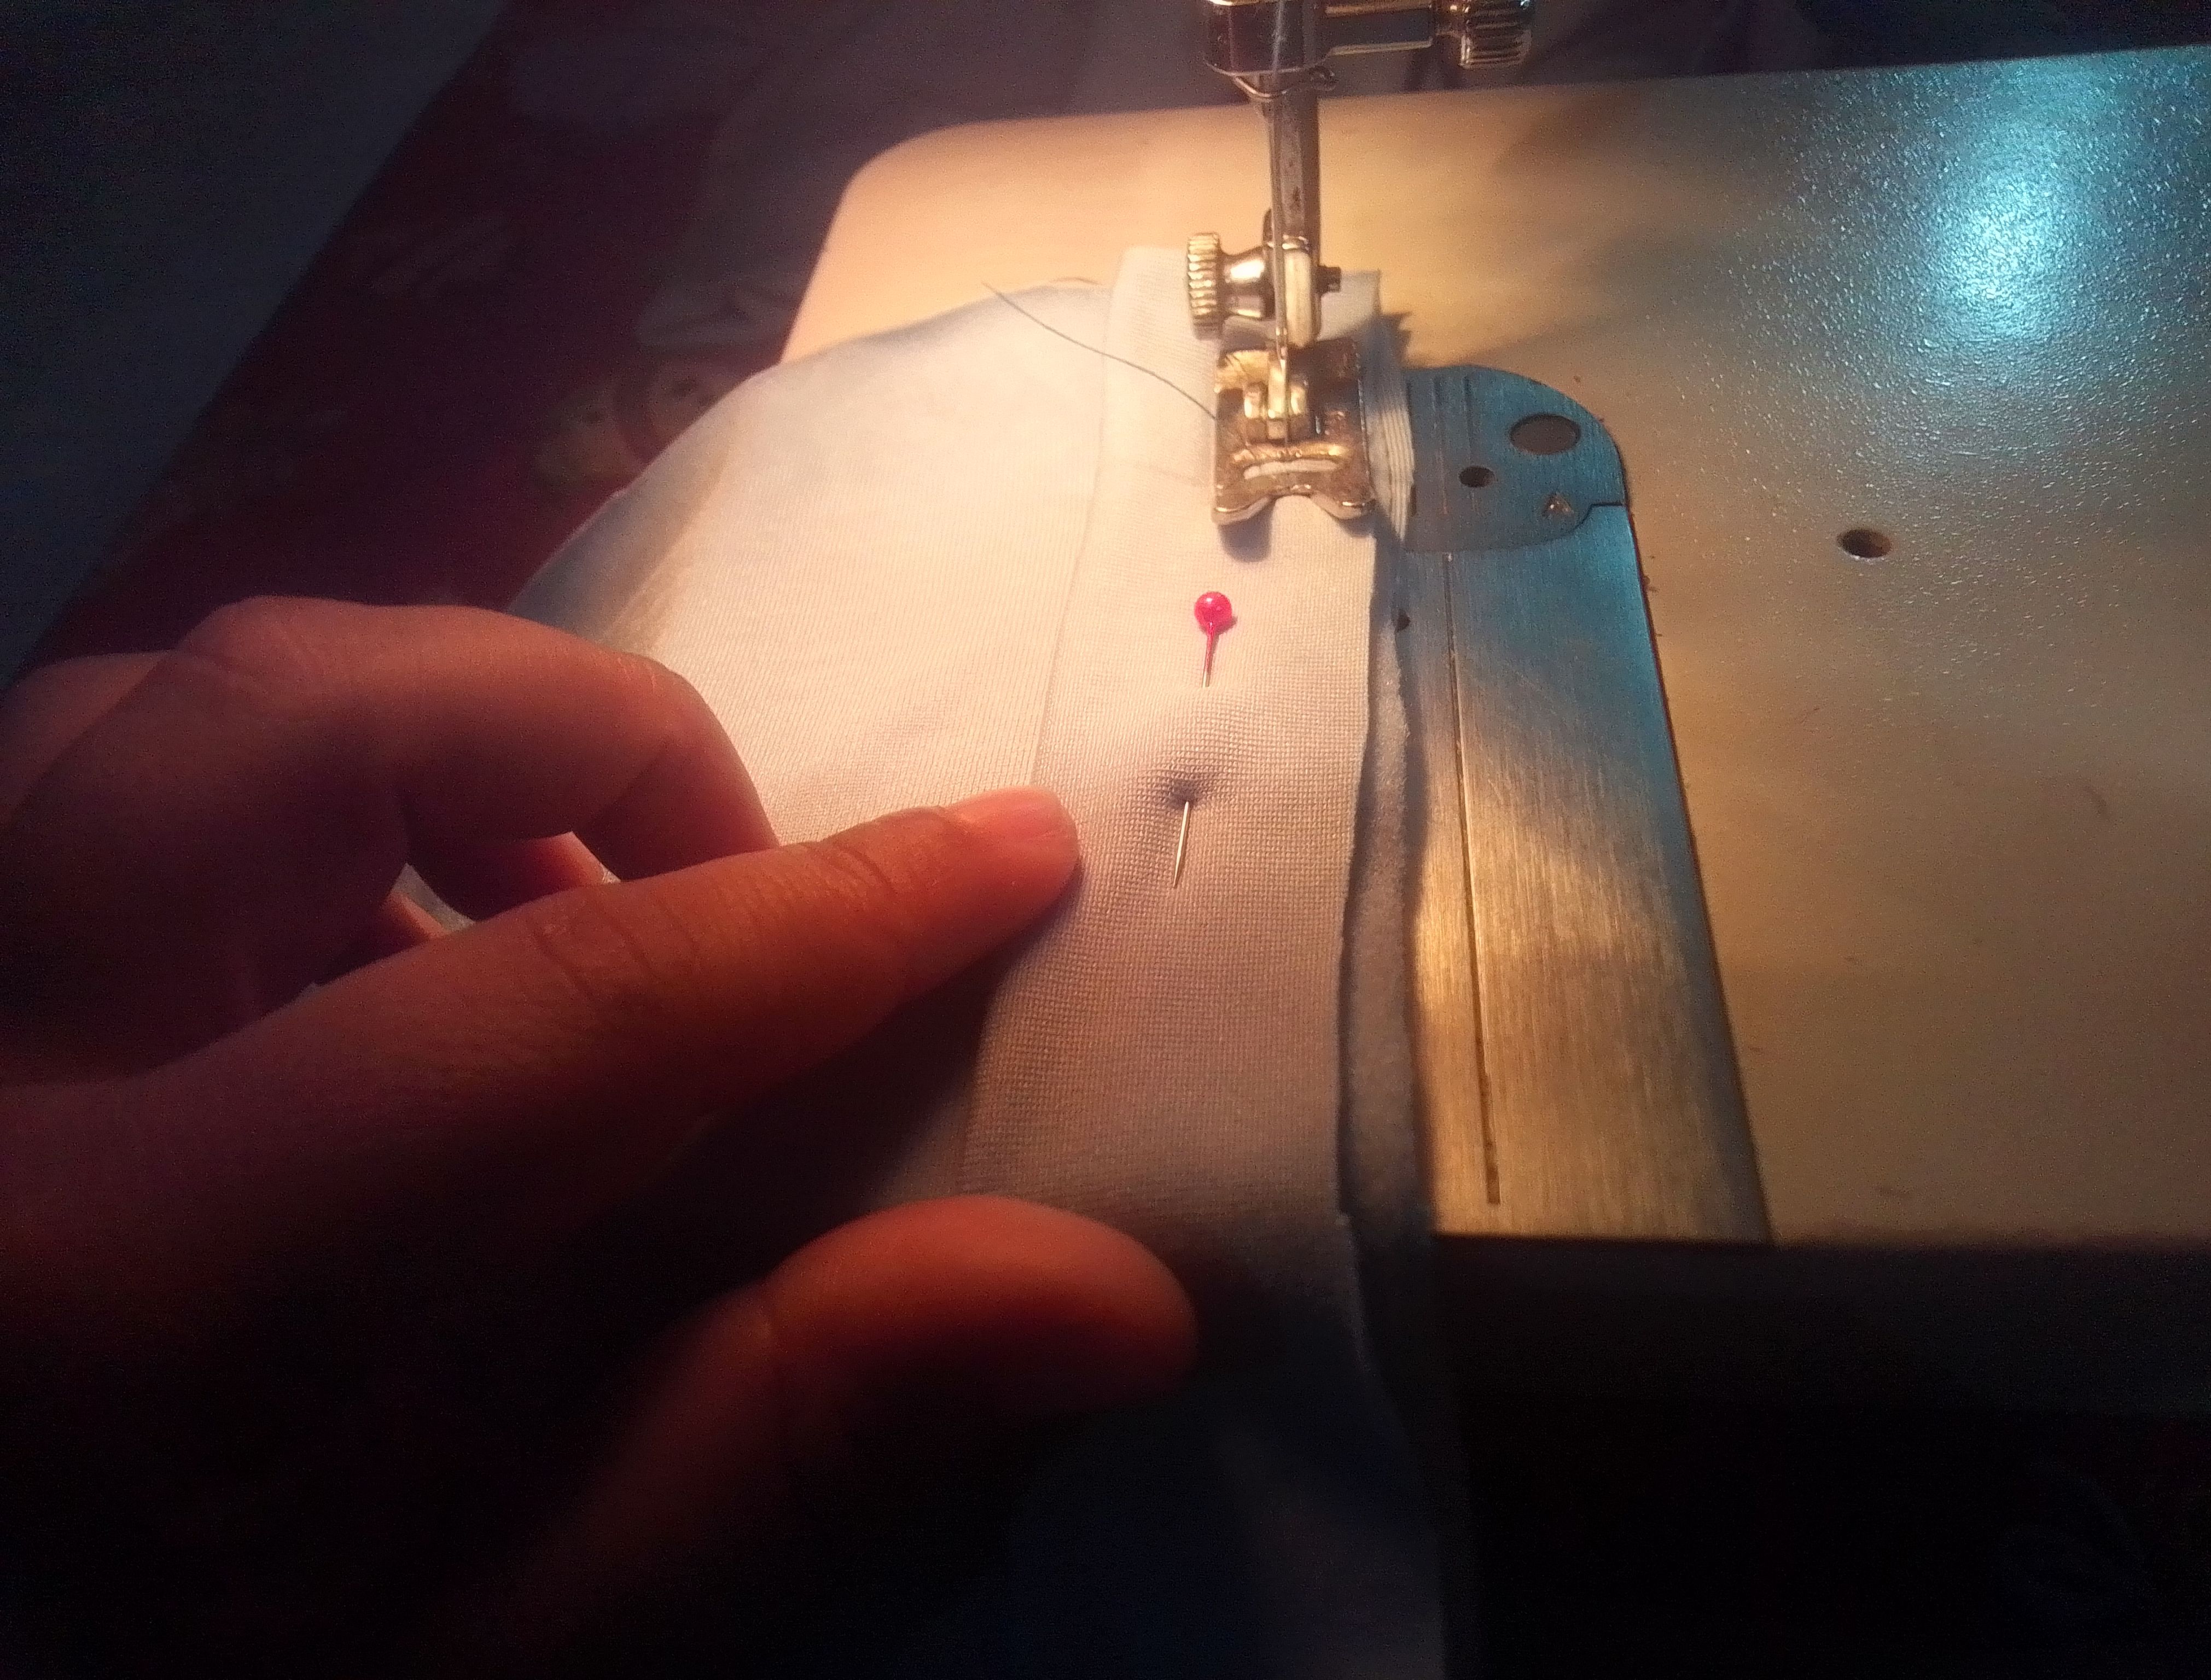
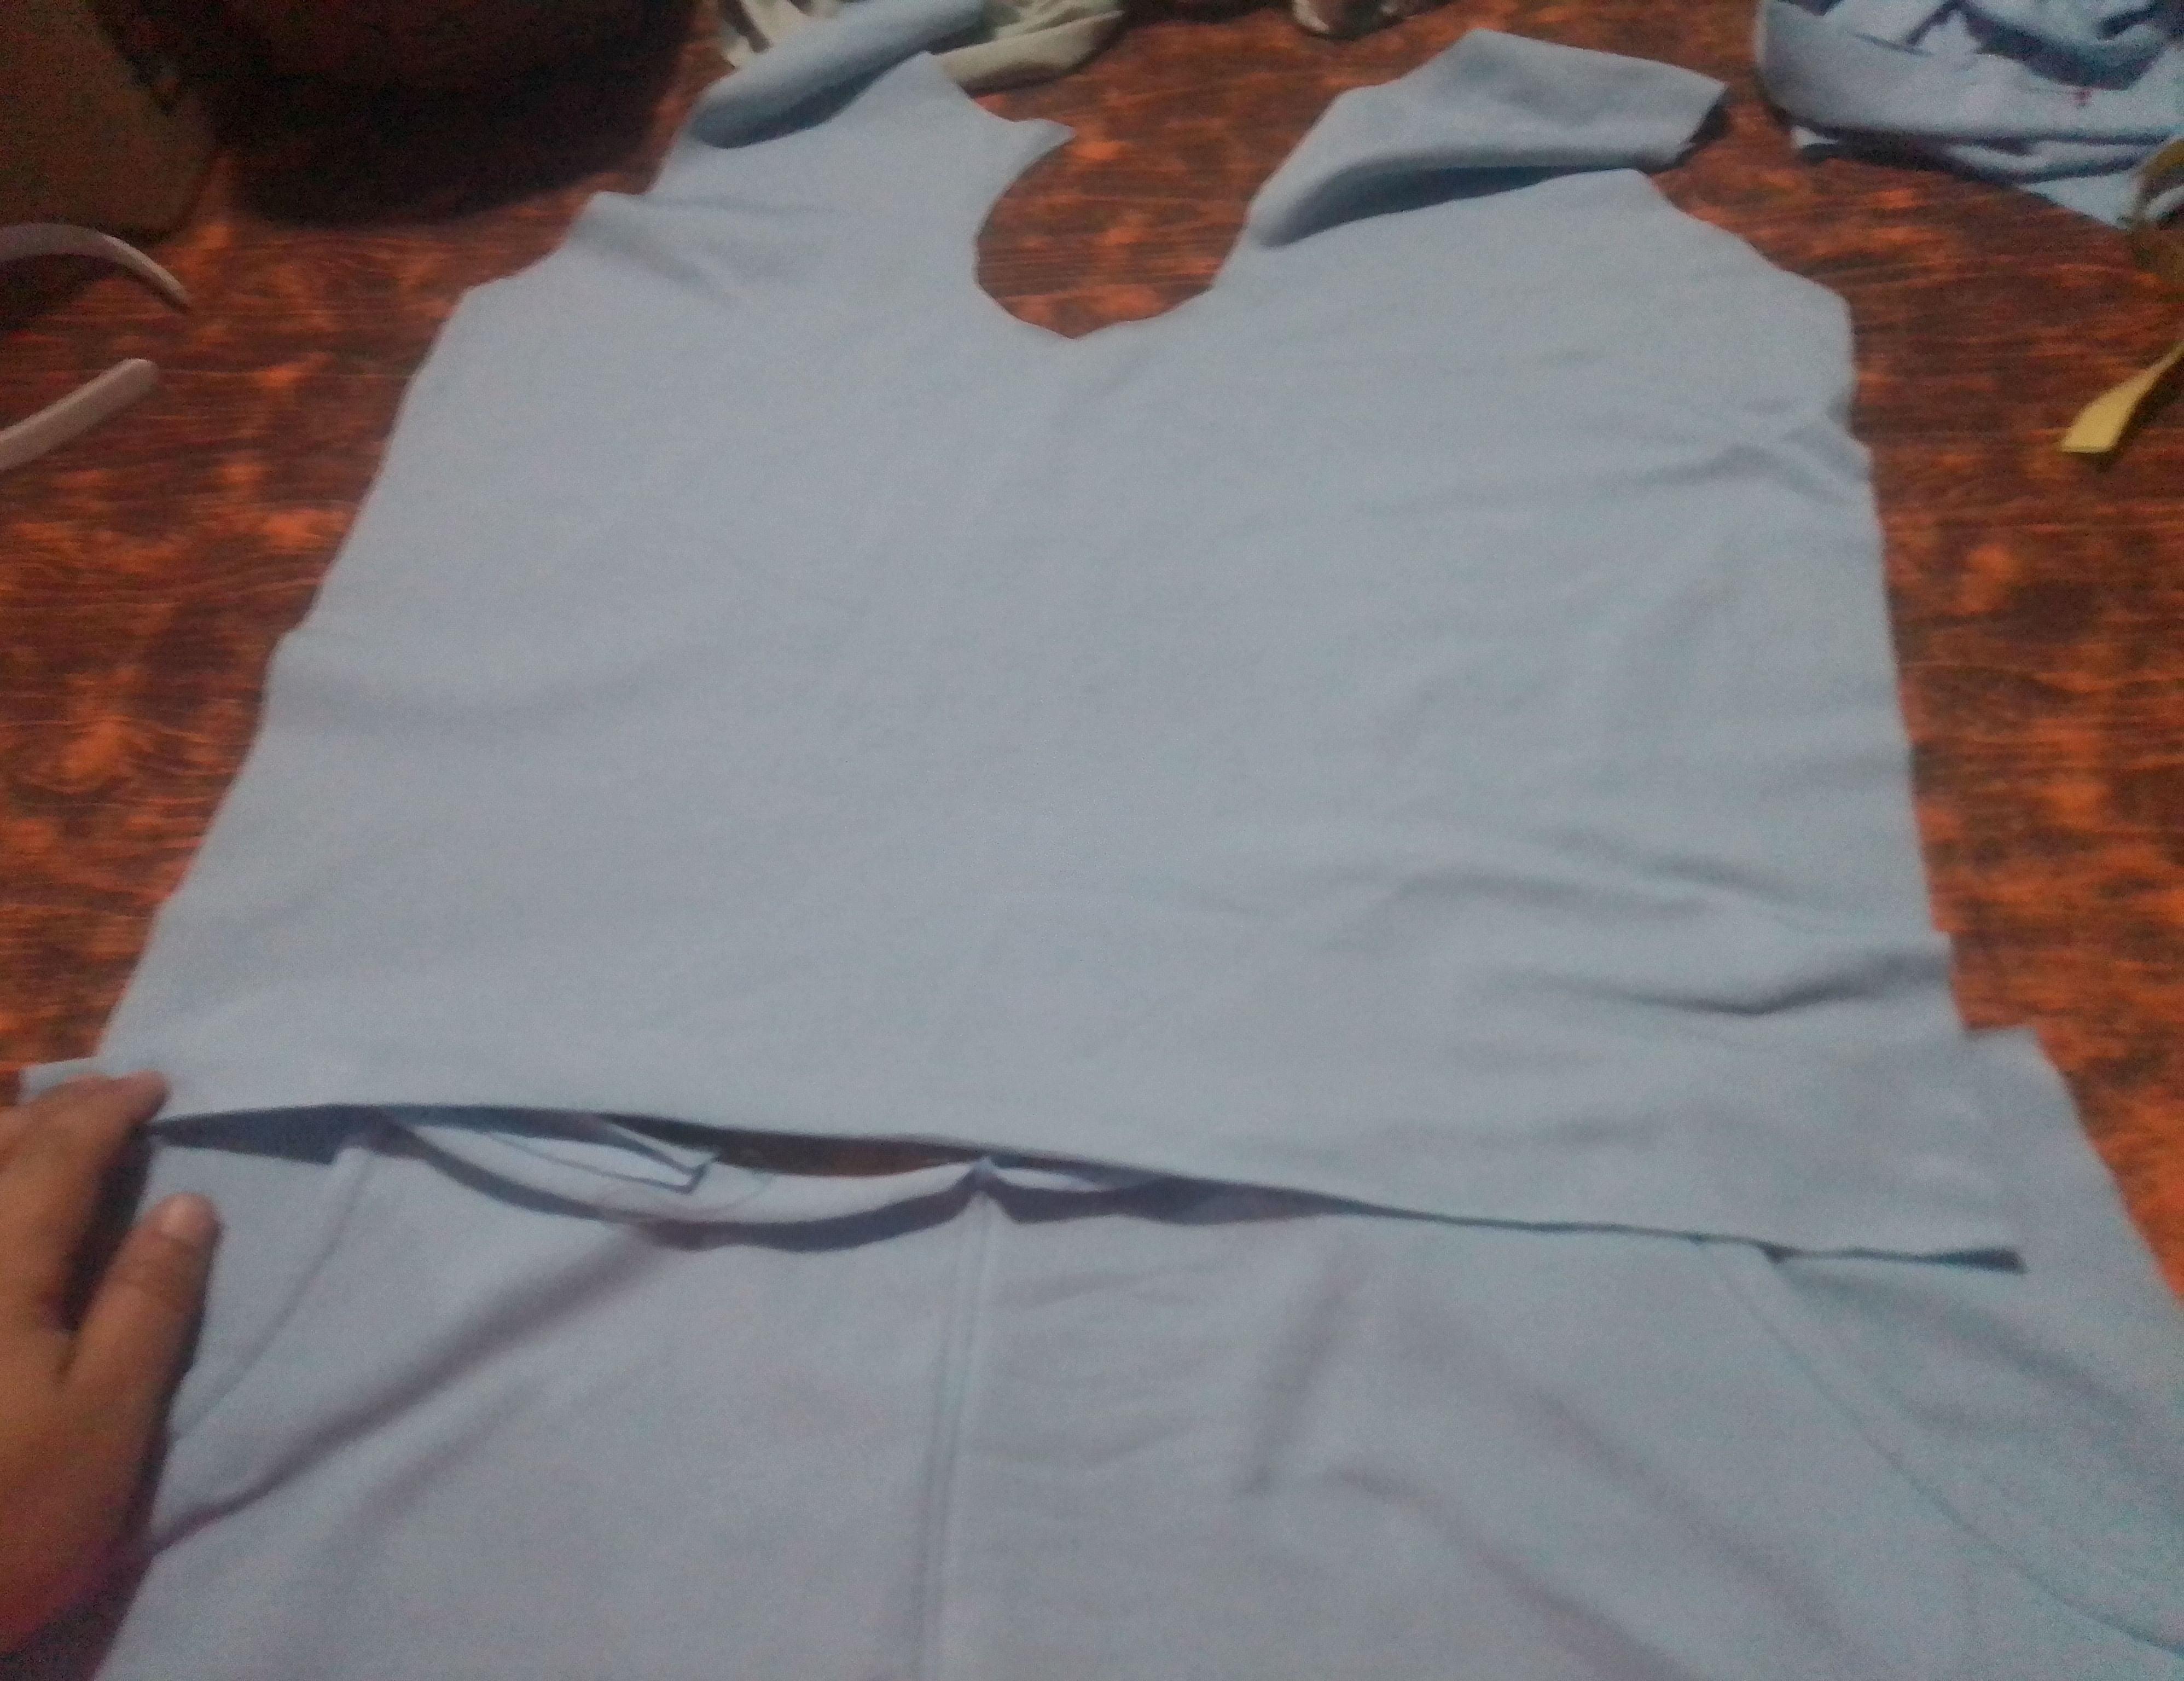
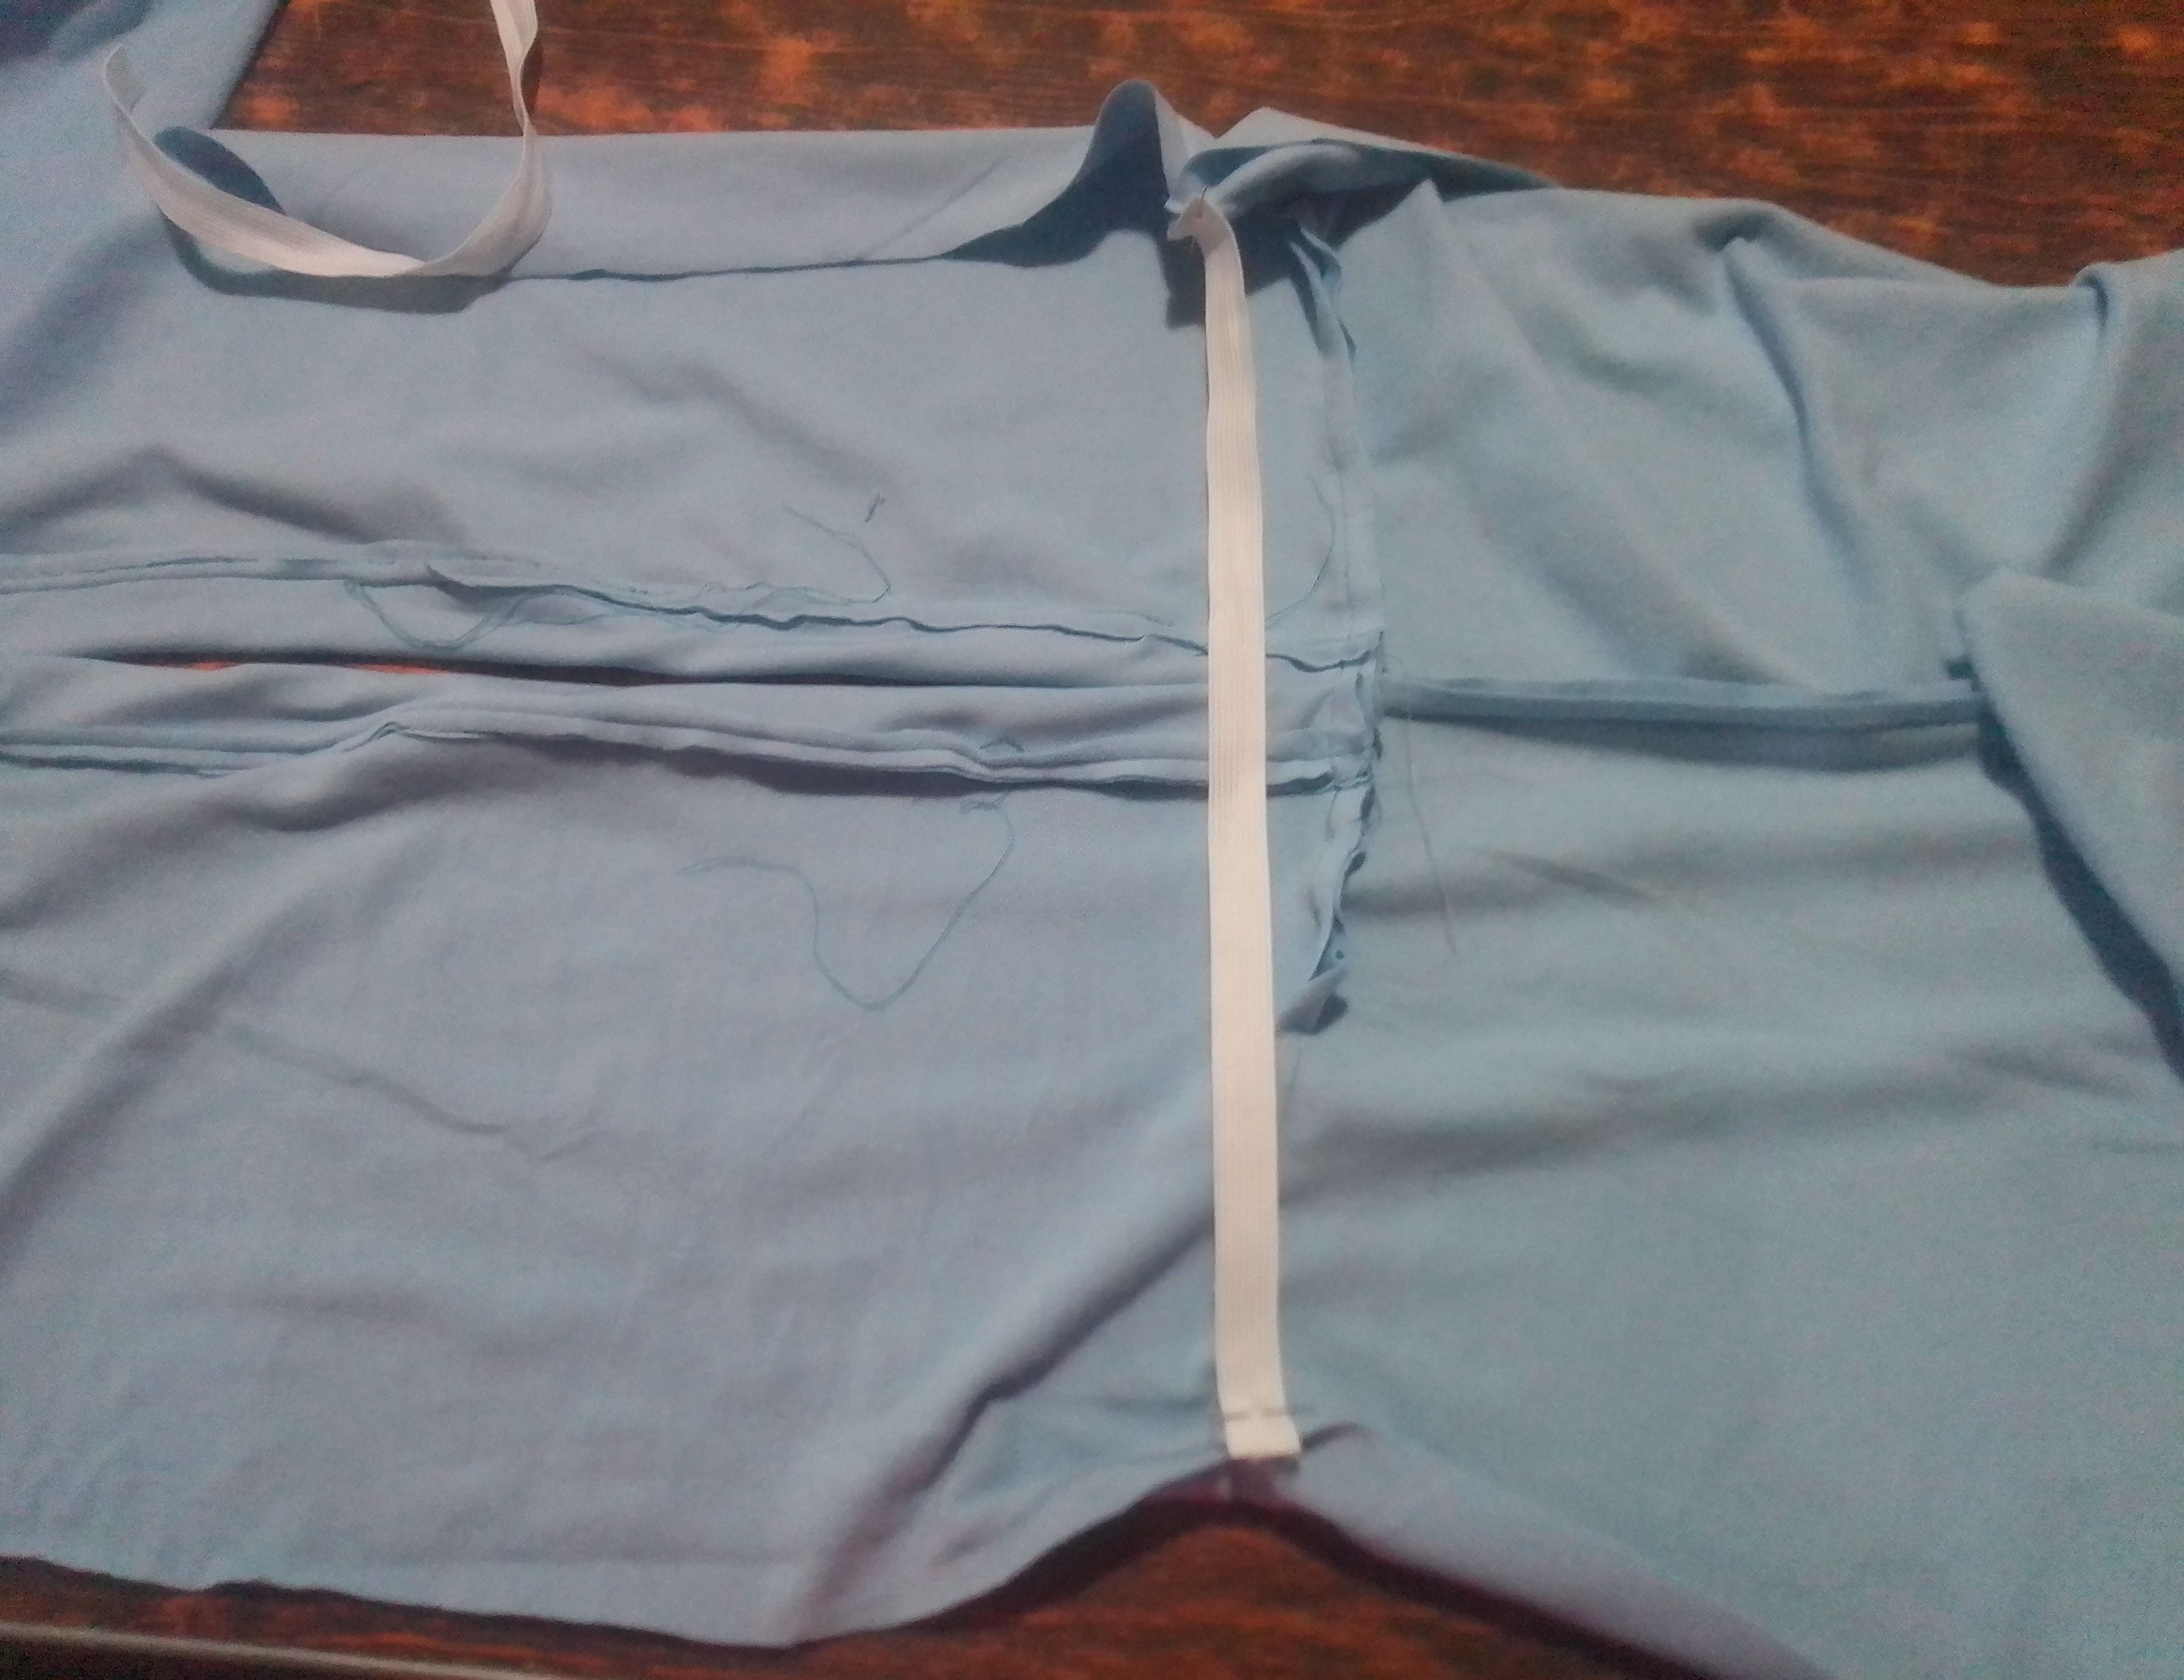
Ahora a la parte superior trasera le voy coser un bies o dobladillo un poco grueso en el borde que separamos. Listos mis bolsillos y los detalles de mi piezas superiores, voy a unir lo que es el tiro o fundillo de las piezas delanteras y traseras para luego unirlas con costura recta en el centro con las piezas superiores, en el cual voy a colocar después una elastica.
Step 03
Now I am going to sew a slightly thick bias or hem to the upper back part on the edge that we separated. Once my pockets and the details of my upper pieces are ready, I am going to join the inseam or hem of the front and back pieces and then join them with a straight seam in the center with the upper pieces, in which I will then place an elastic .
Paso 04
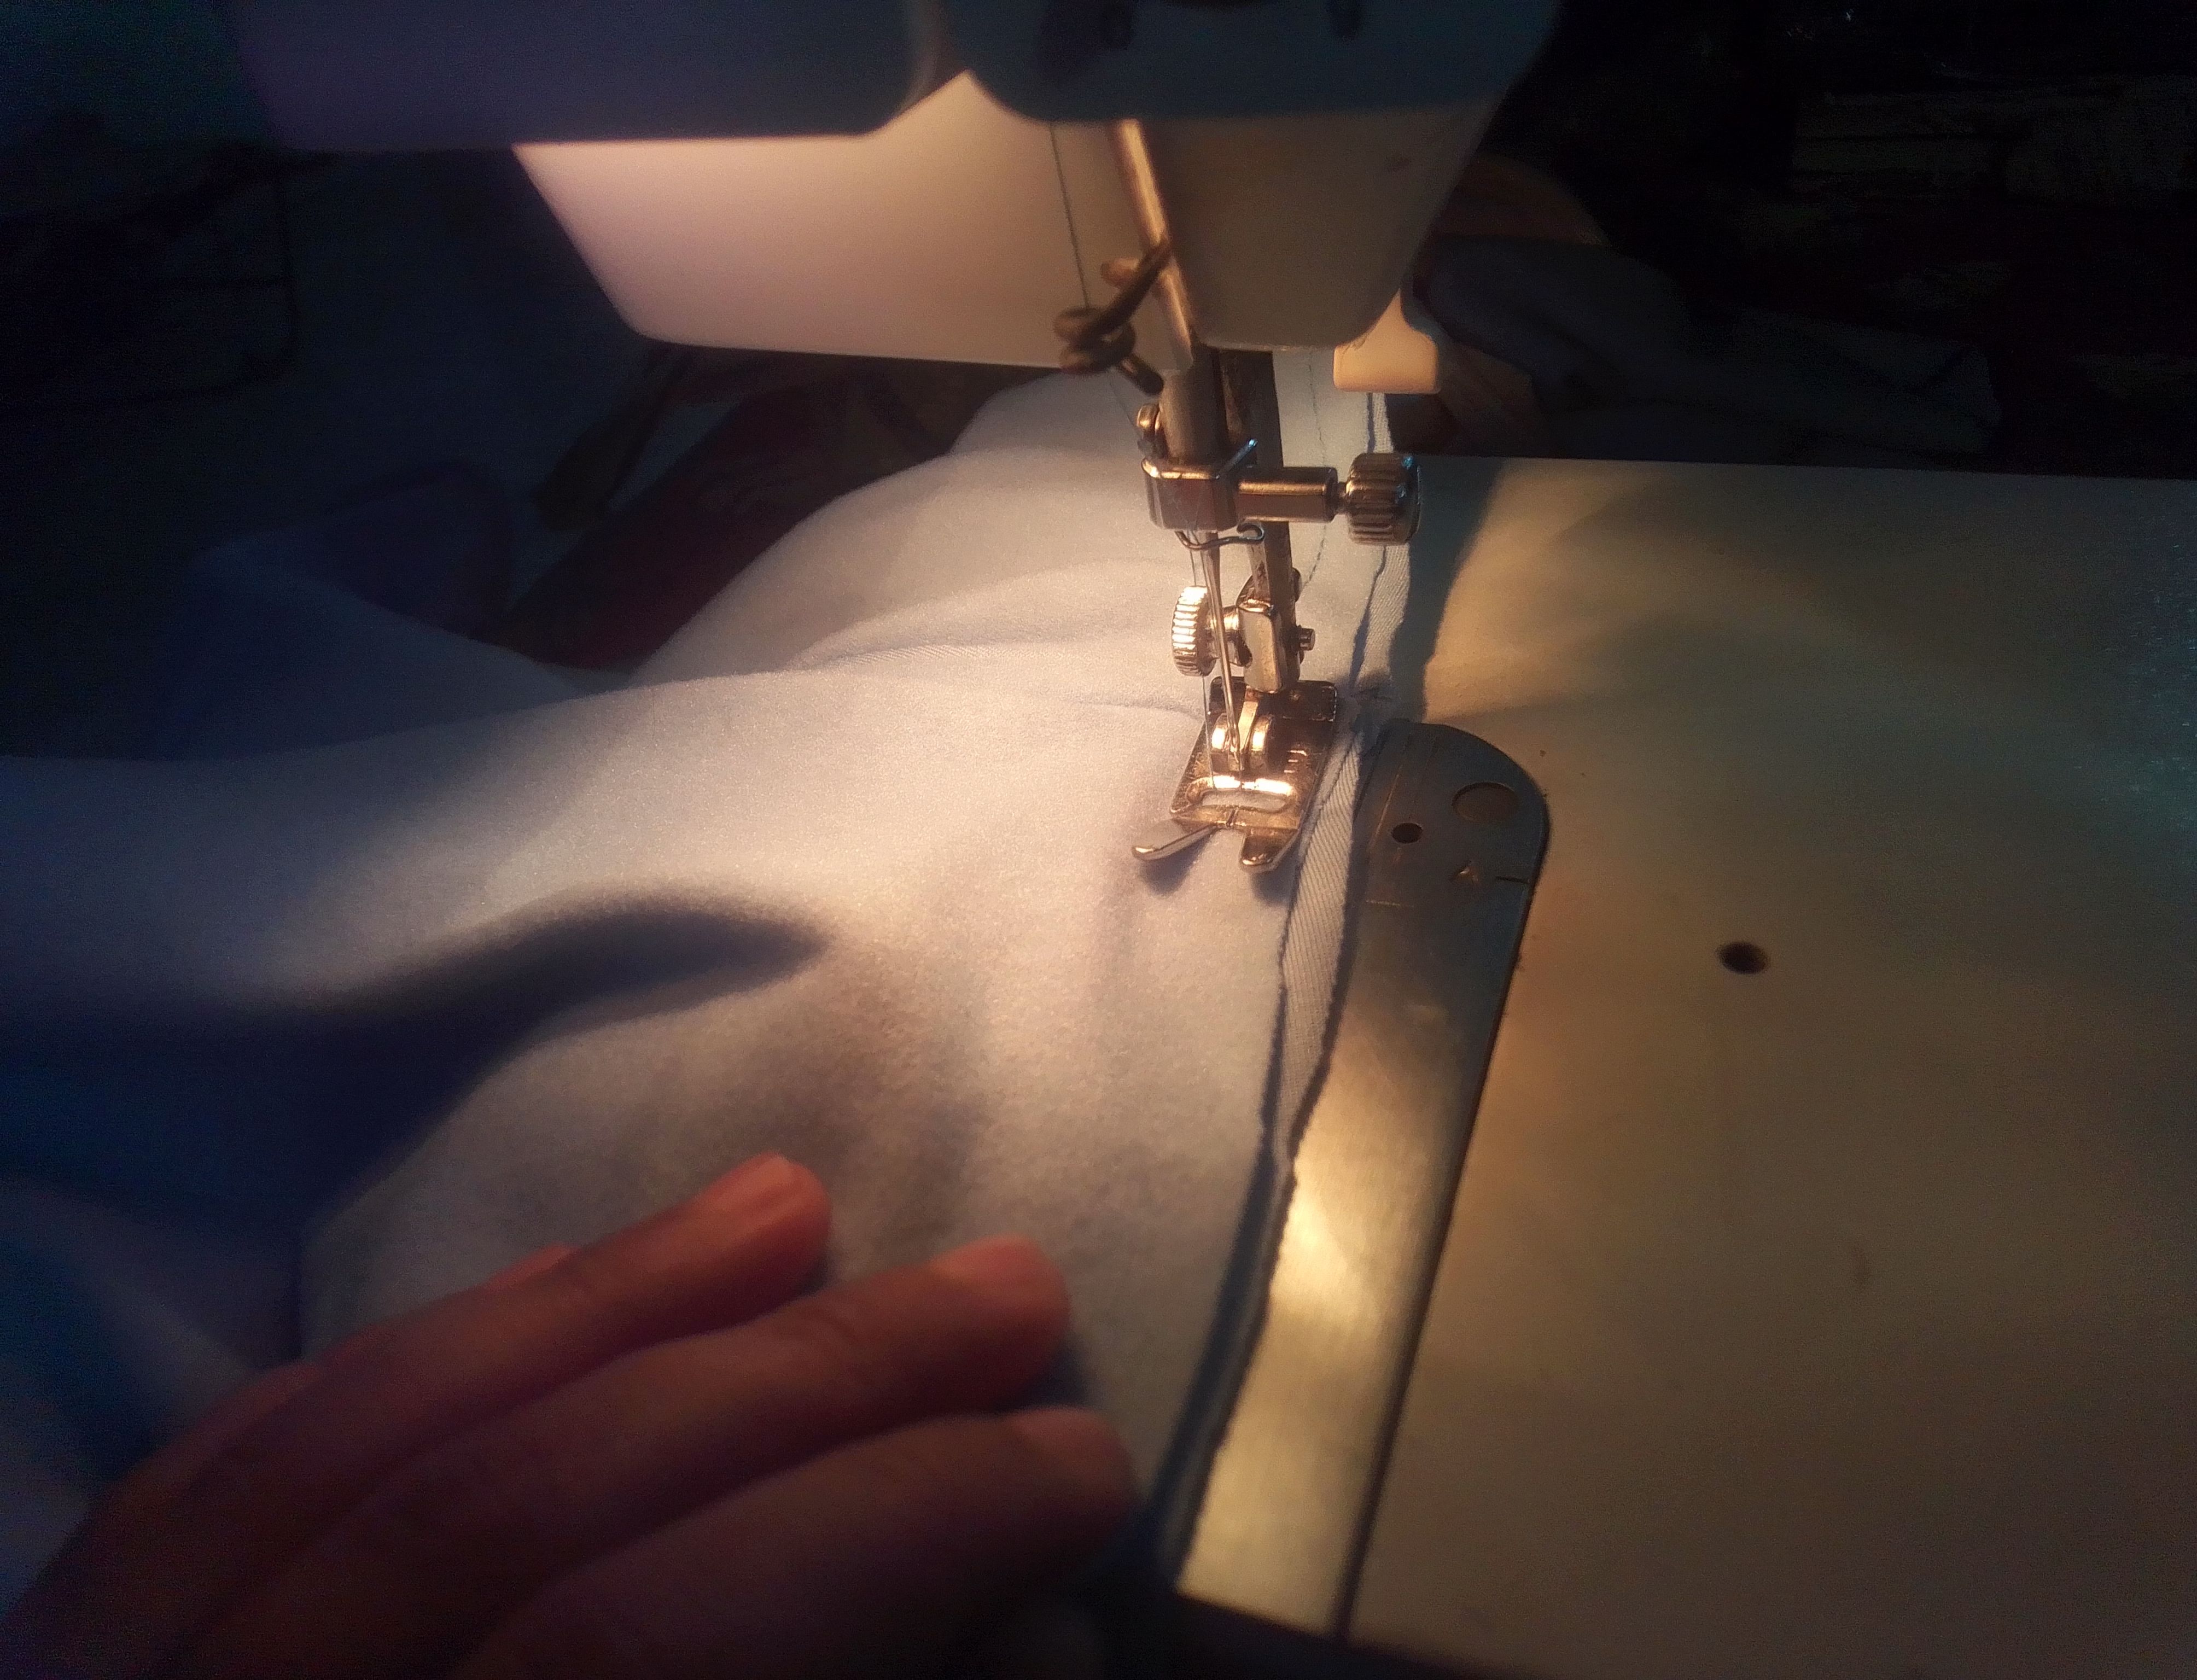
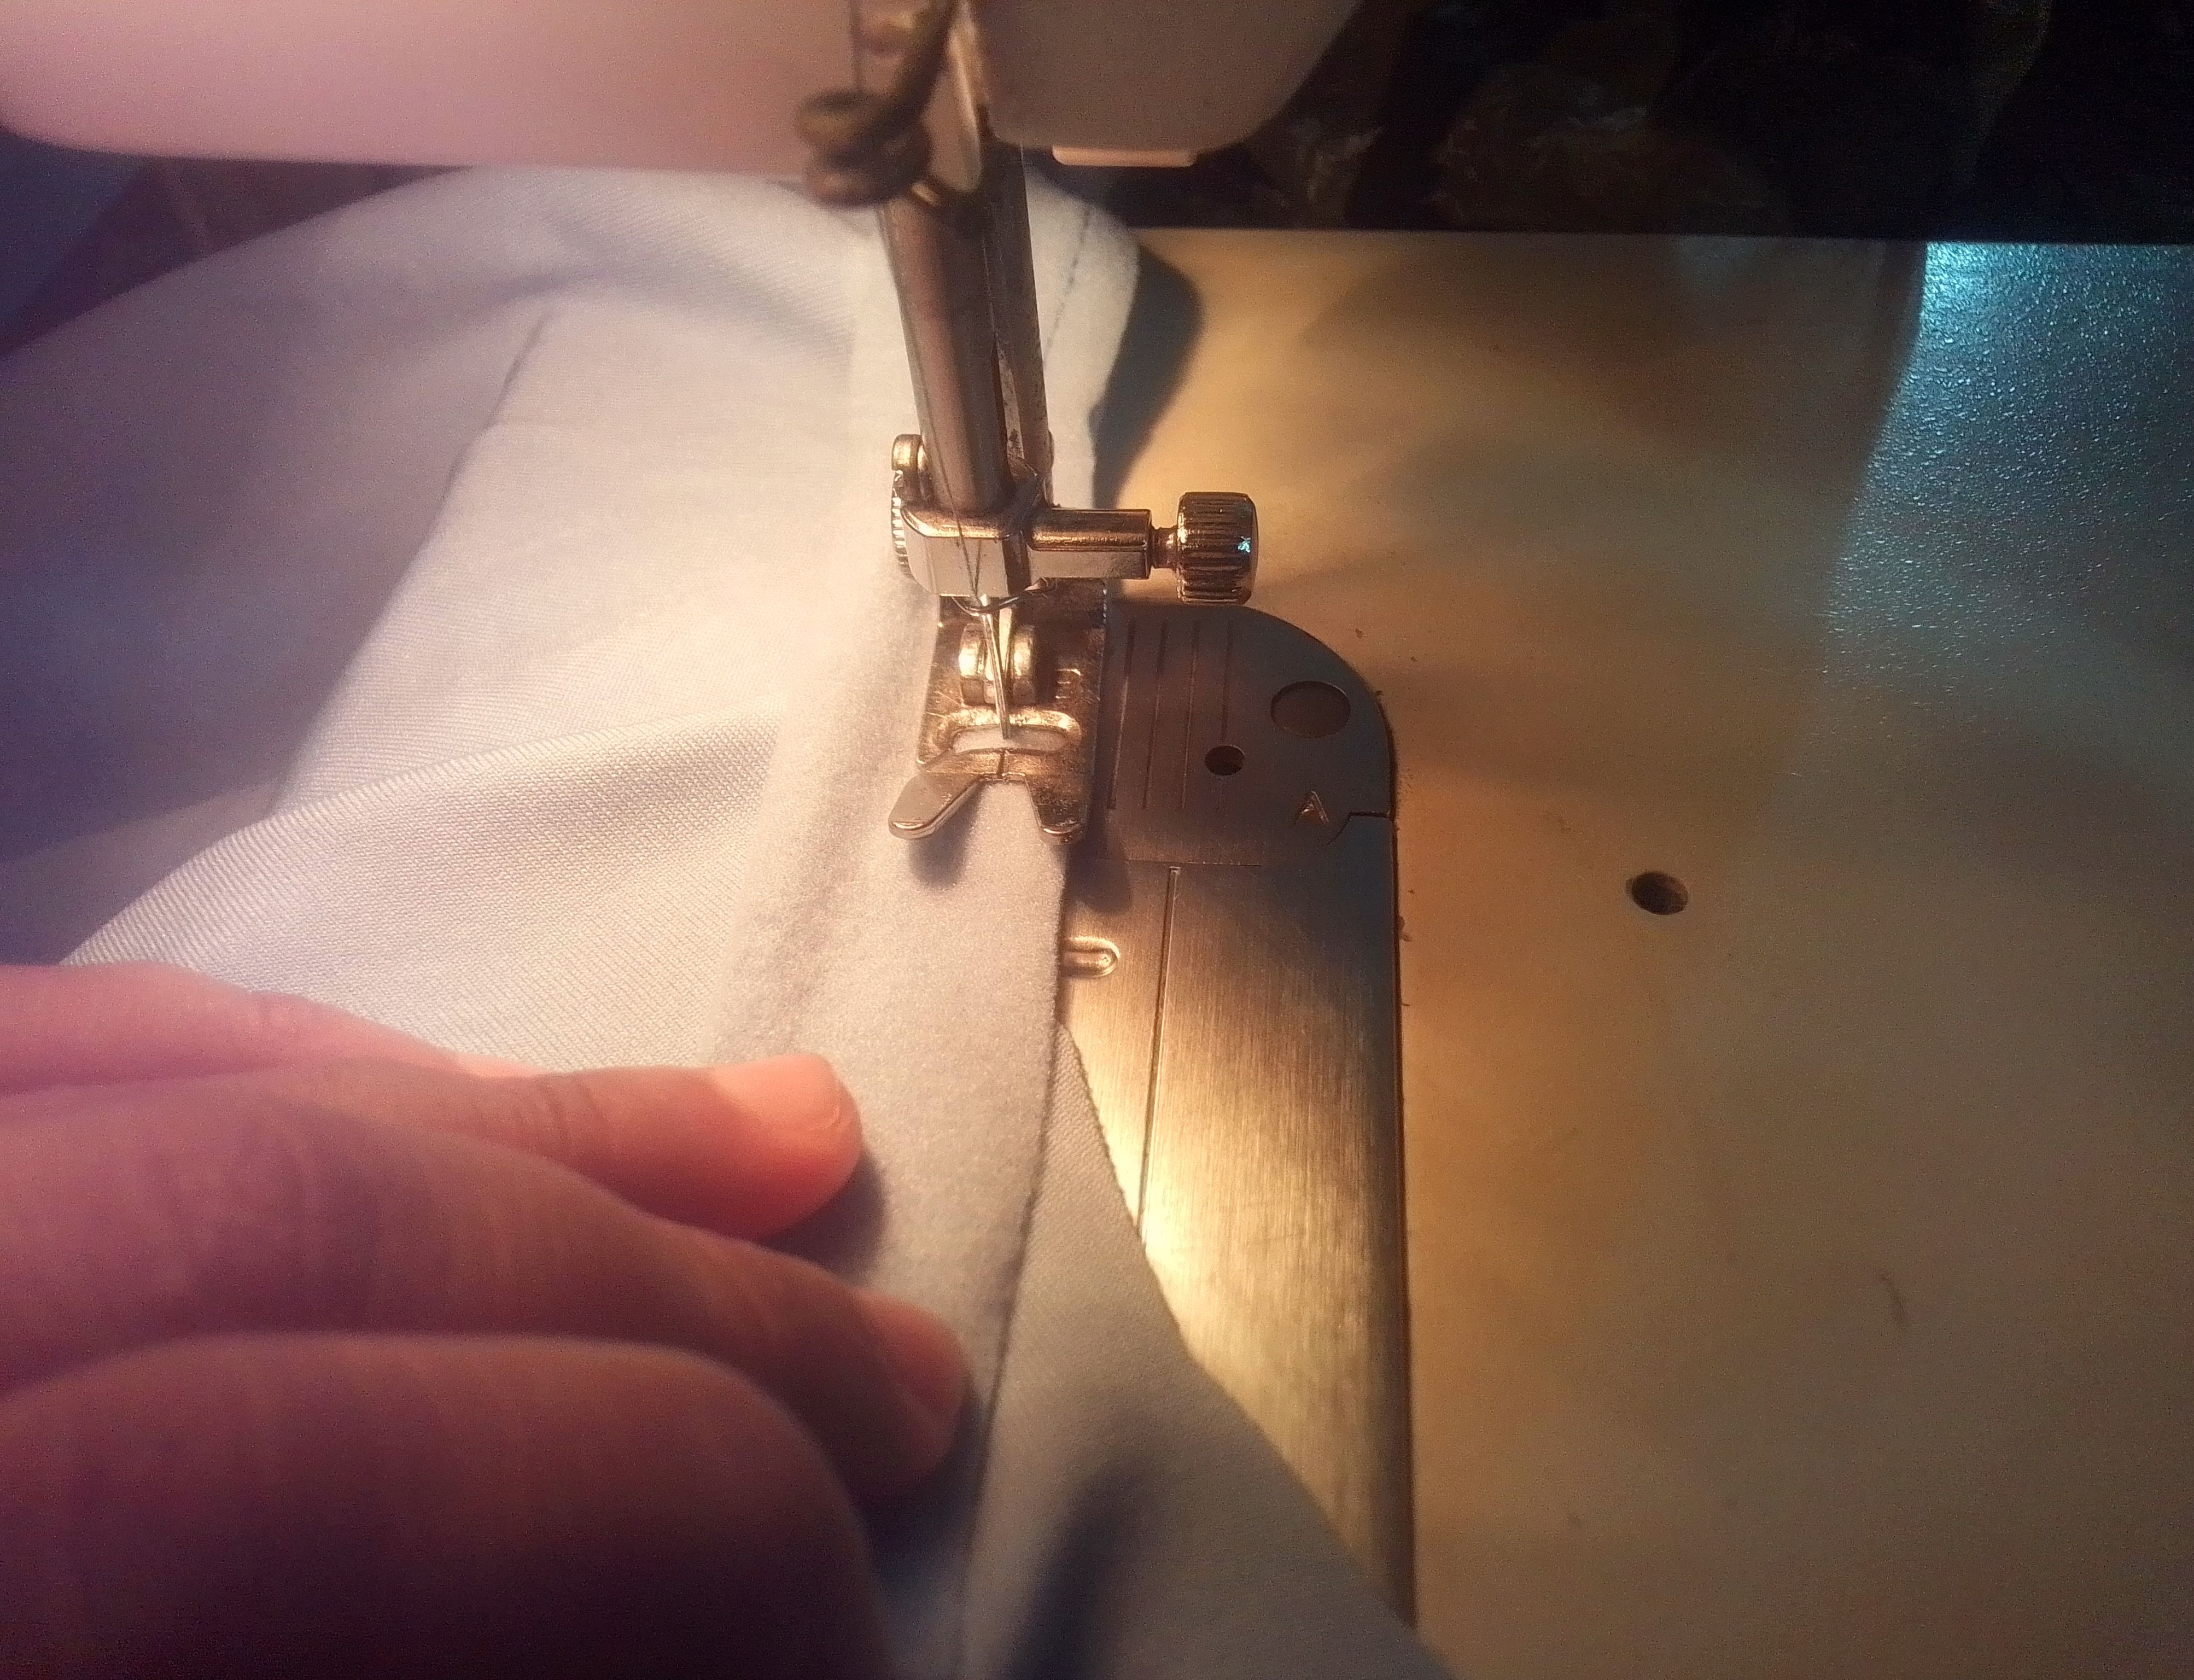
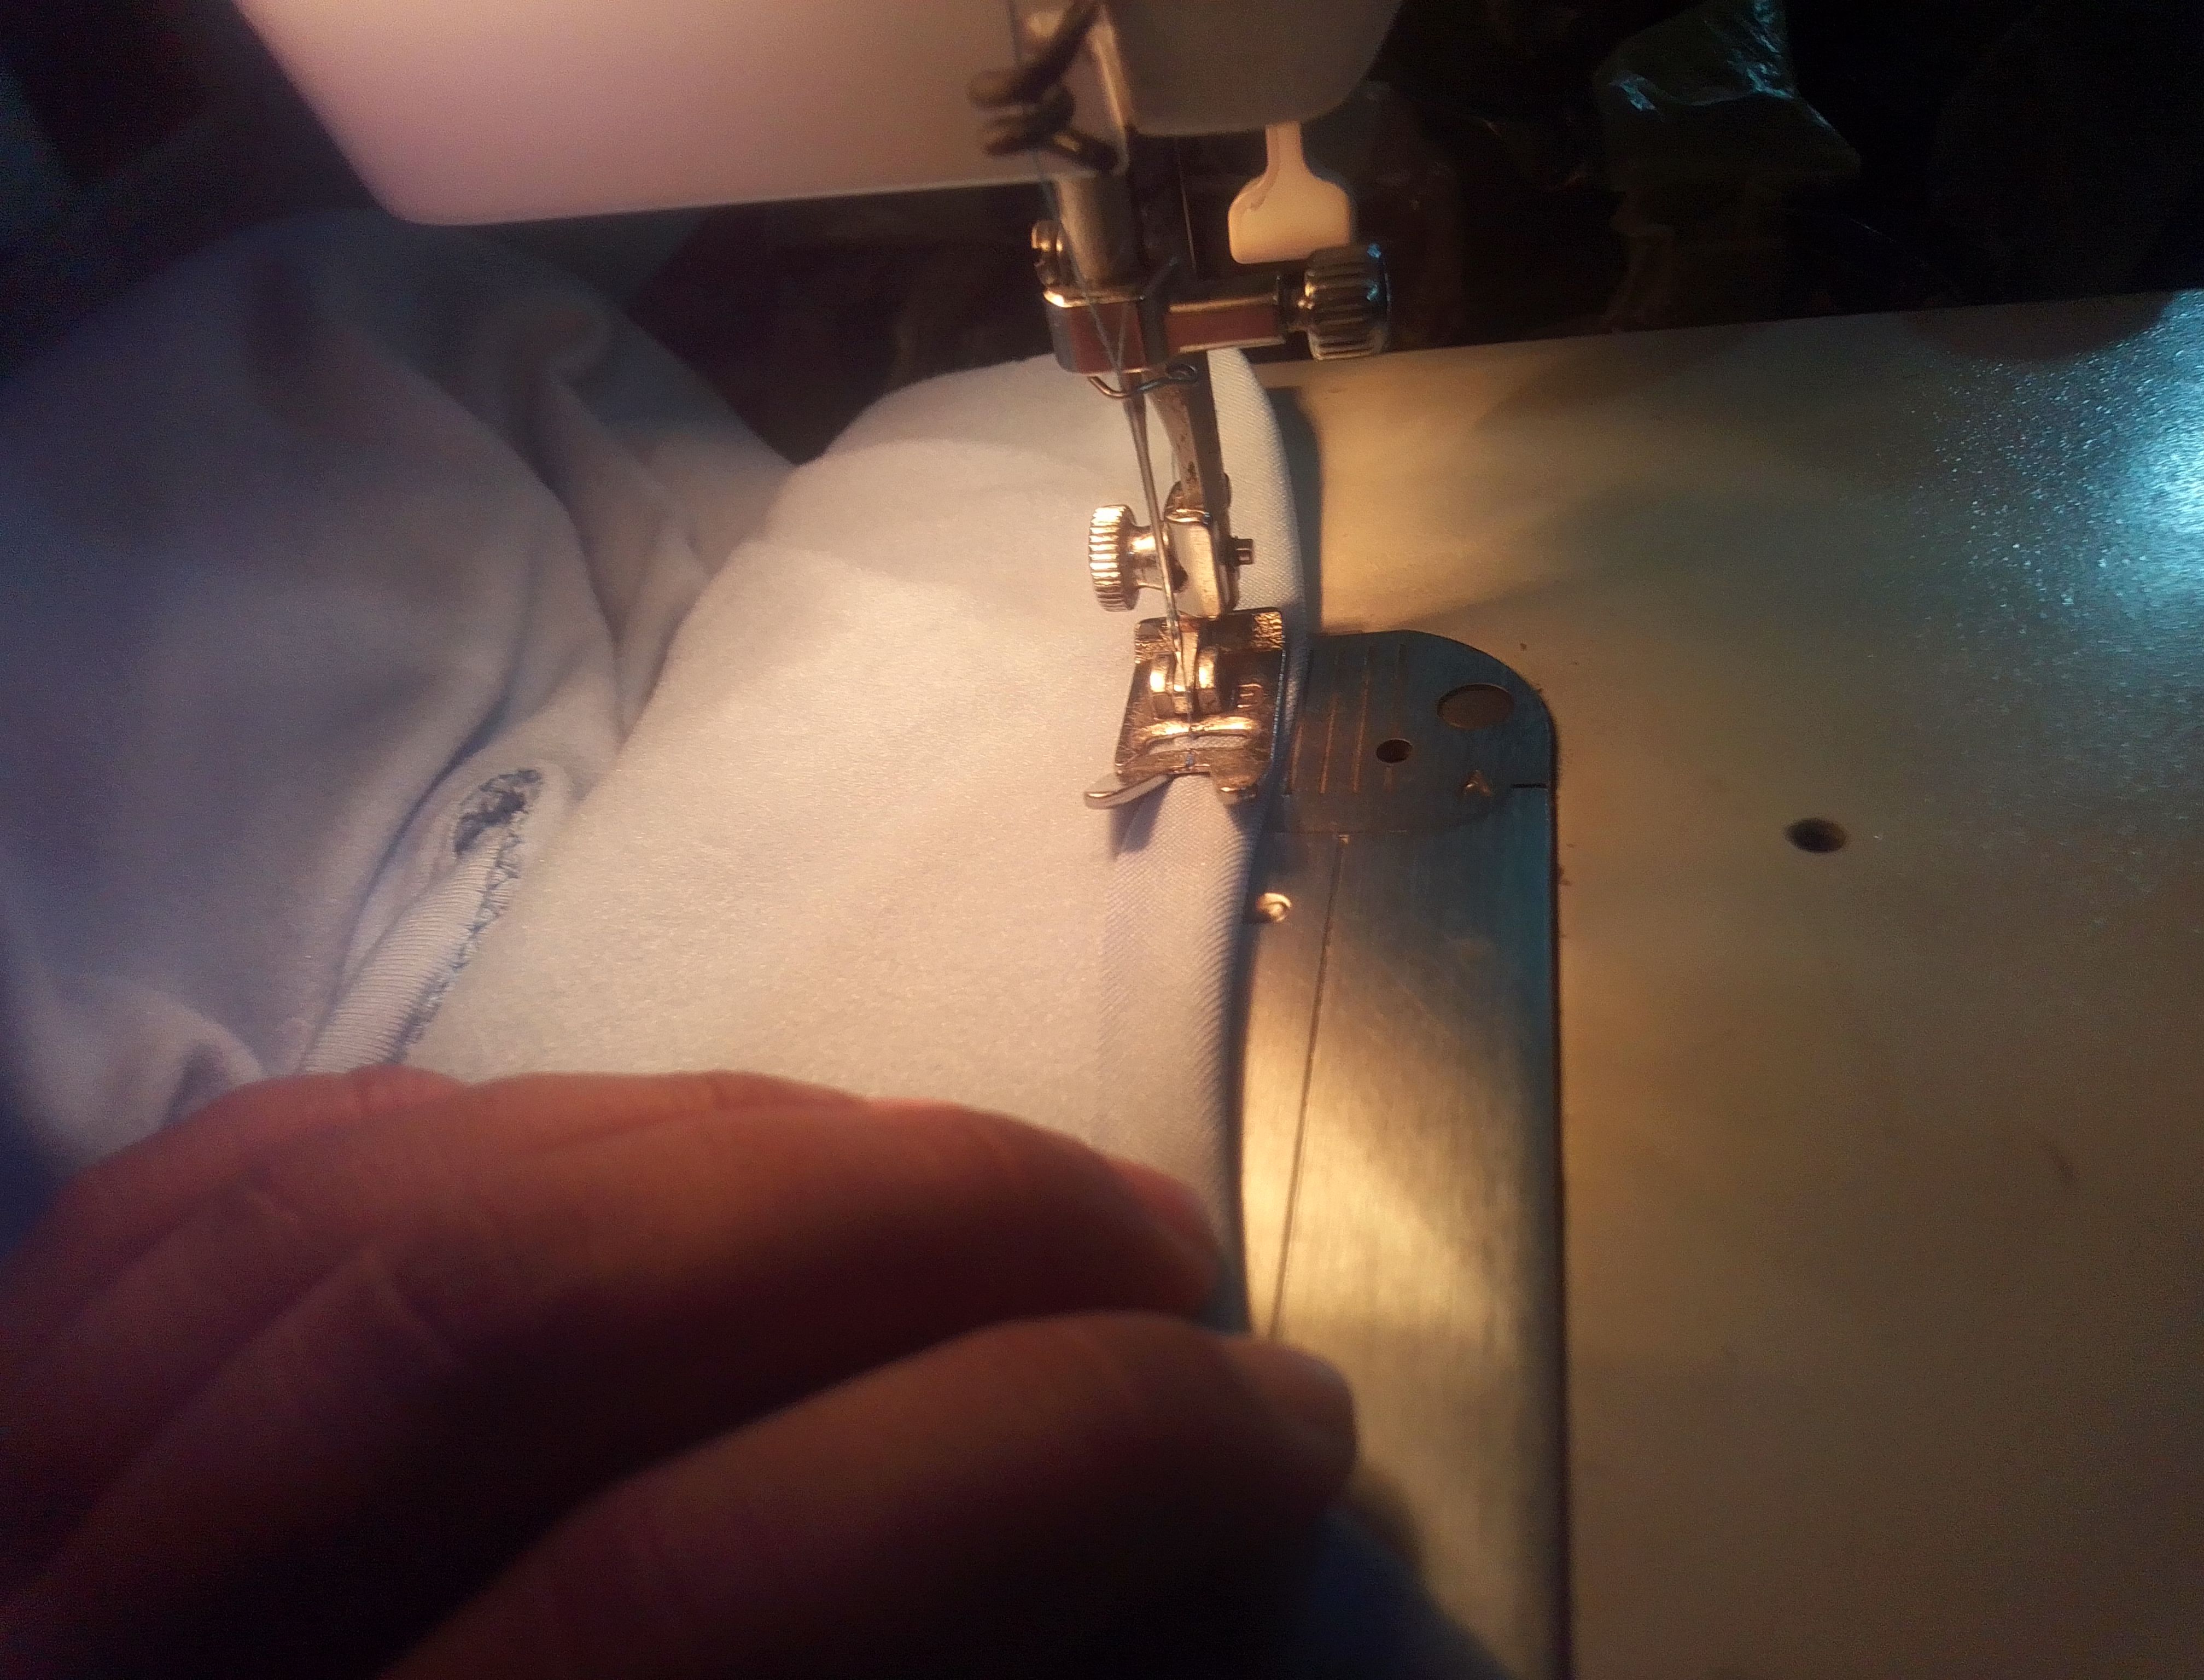
Ahora voy a unir, hombros , laterales y entrepiernas con costura recta y zigzag para asegurar. Luego voy hacer los dobladillo en la sisa y en la parte del cuello dándole forma al escote. Voy a terminar con el dobladillo de cada pierna y cosiendo los botones con sus respectivos ojales.
Step 04
Now I am going to join the shoulders, sides and crotches with straight and zigzag seams to secure. Then I'm going to hem the armholes and the neck, shaping the neckline. I'm going to finish hemming each leg and sewing the buttons with their respective buttonholes.

Resultado!
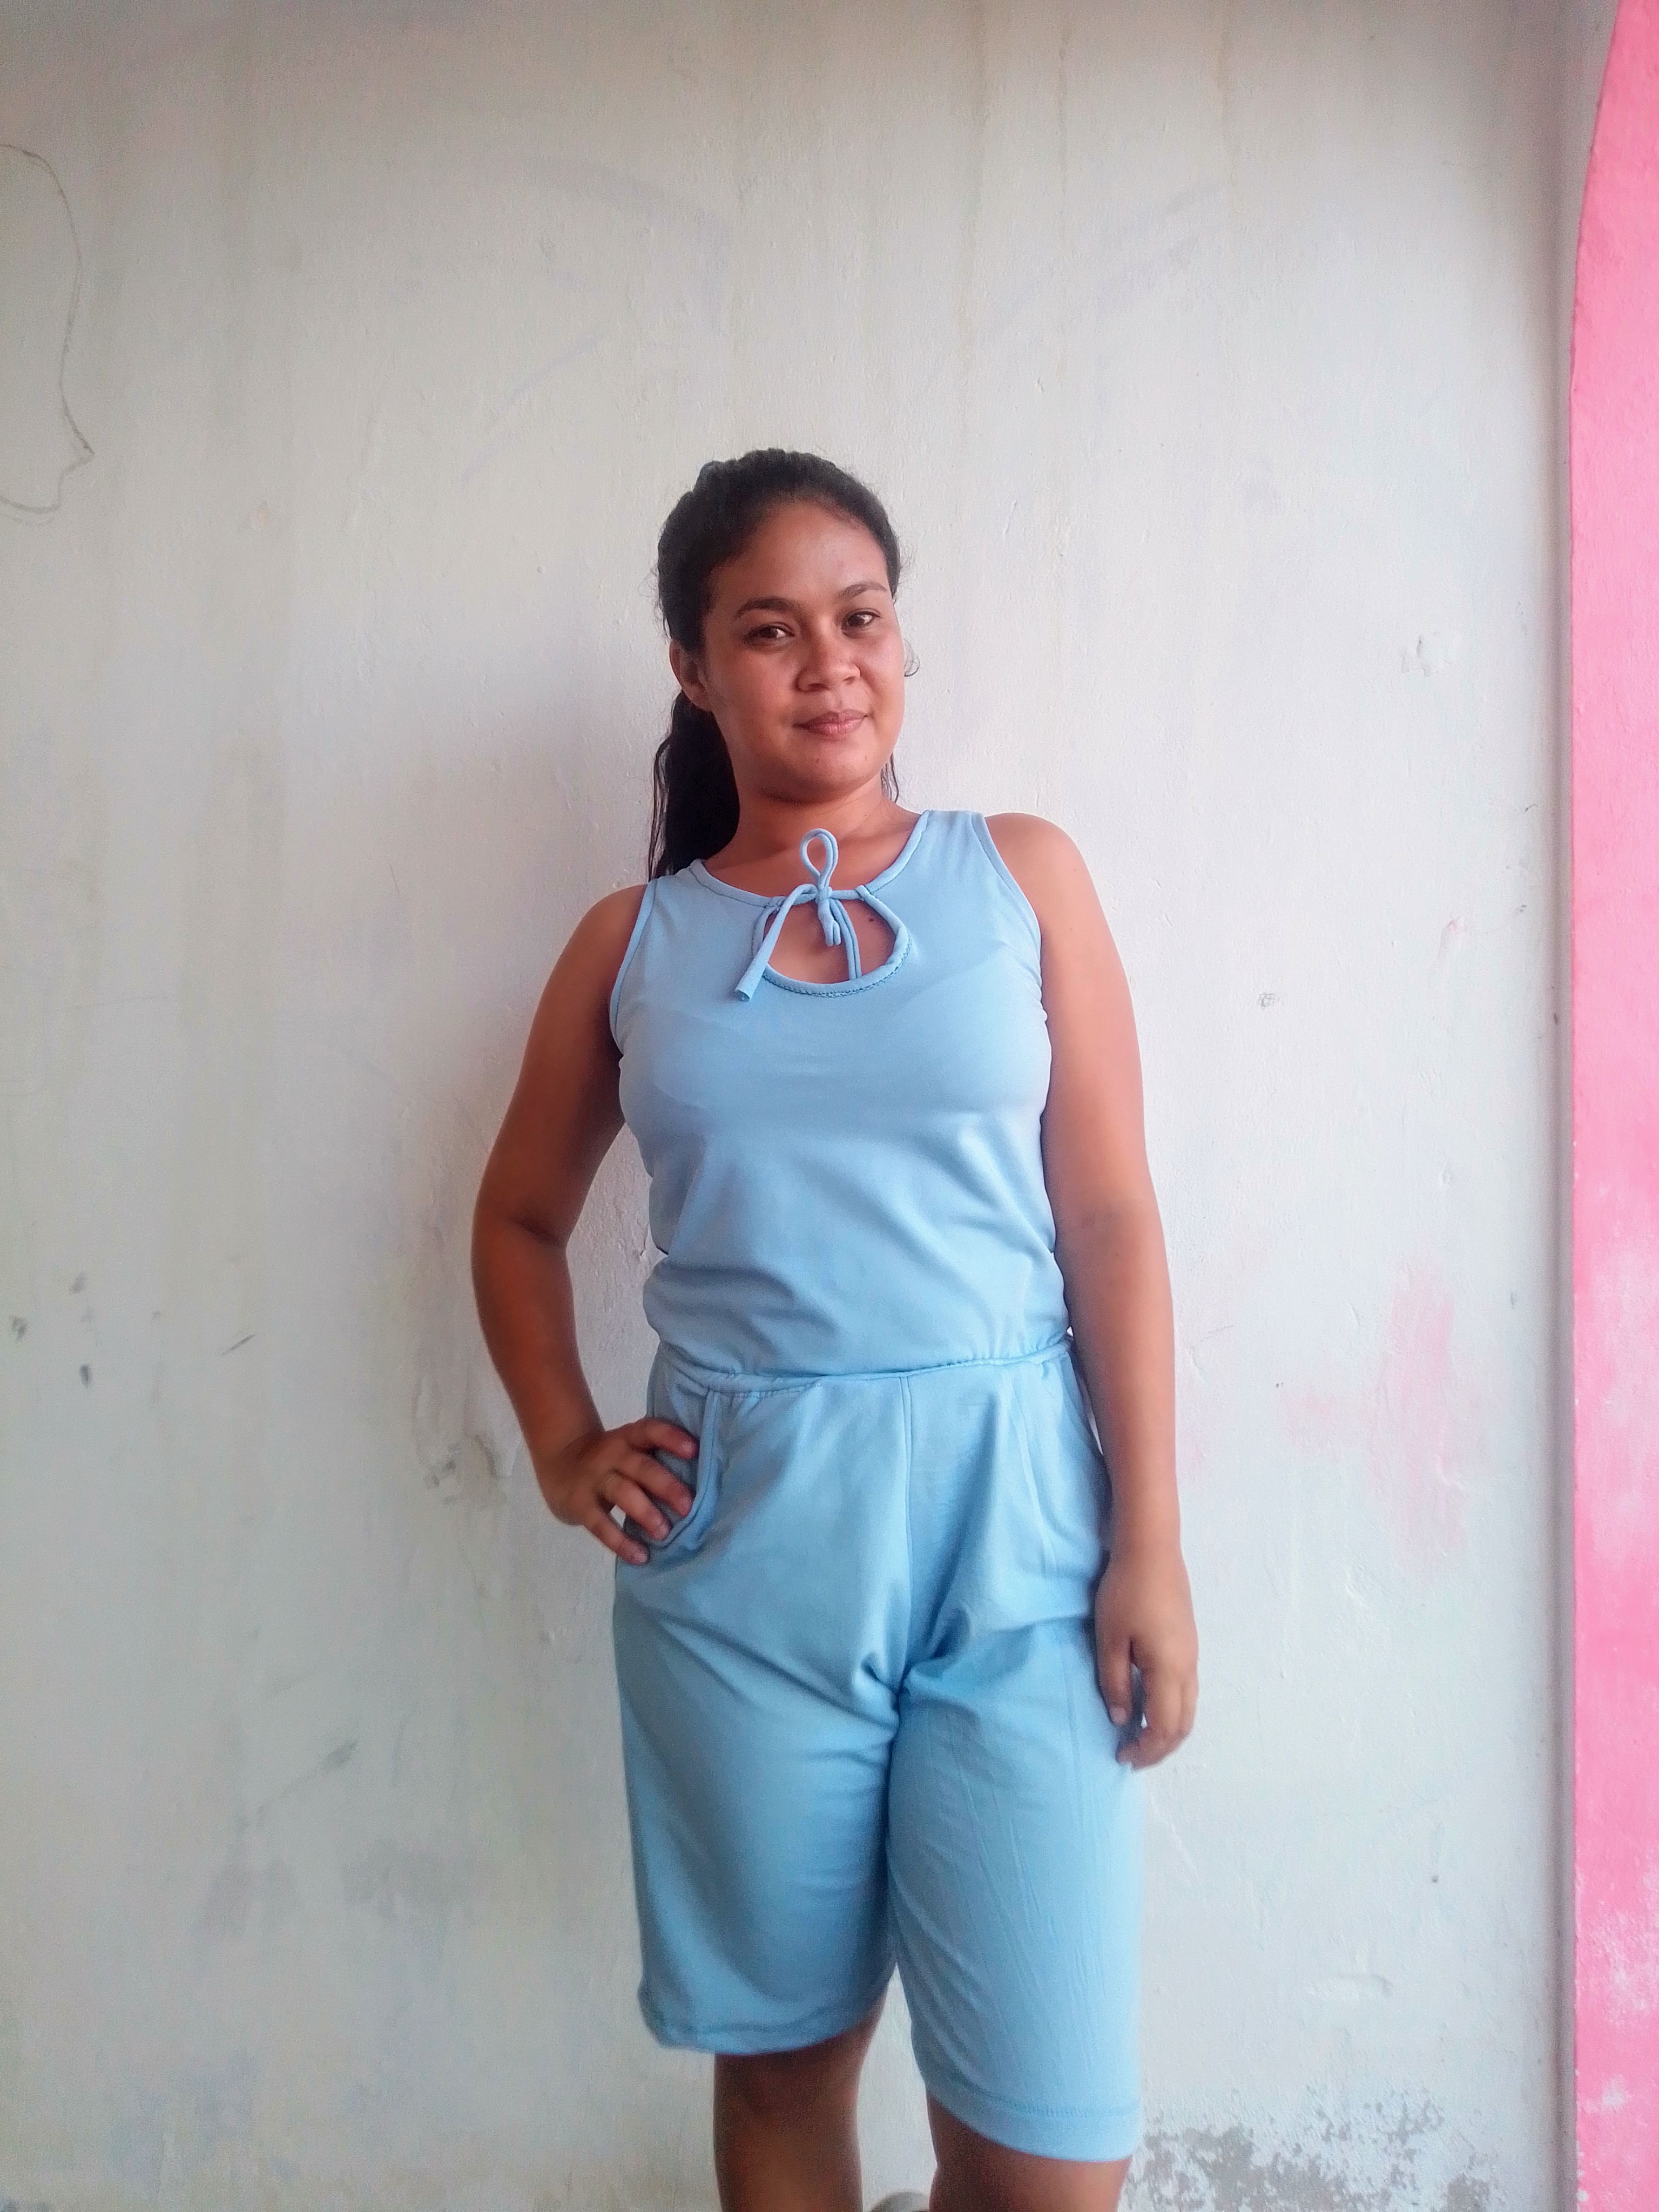
Y con esto hemos terminado, acá estoy yo haciendo de modelo, me queda un poquito grande porque no es mi talla pero todo sea para que ustedes aprecien este lindo y delicado resultado, pues la tela aunque es un poquito gruesa, es extremadamente suave.
And with this we have finished, here I am acting as a model, it is a little big on me because it is not my size but everything is so that you can appreciate this beautiful and delicate result, because the fabric although It's a little thick, it's extremely soft.

Muchísimas gracias por haber llegado hasta aquí, aprecio mucho su tiempo tan valioso.. No olvides decirme que les parece.. Tengas todos una excelente semana, hasta pronto!
Thank you very much for coming this far, I really appreciate your valuable time. Don't forget to tell me what you think. Have a great week everyone, see you soon!
Se ve tan cómodo y coqueto, el color lo hace lucir romántico y me gusta ese estilo.
Es bueno que te tomes el tiempo para descansar, pues a la larga tu cuerpo te lo va a demandar, y aunque el trabajo siempre es muy necesario, tambien es importante mantener el equilibrio entre ambos.
Saludos y muchas bendiciones.
Holaa mi bella, feliz noche! Pues si tiene usted toda razón..! Muchas gracias por el consejo voy a tomarlo muy en cuenta.. ! También me alegra que guste mi trabajo de hoy..Saludos..!
Corte y costura de enterizo azul con escote en forma de gota, bolsillos y botones//Cutting and sewing of a blue onesie with a drop-shaped neckline, pockets and buttons.¡Lindo tutorial para aprender a coser un enterizo bello! #tutorial #hive #posh
Gracias por el apoyo