Hola gente bonita de Hive, hoy paso por aquí para mostrarles el paso a paso de mis nuevos empaques, este es el paso que se me ha hecho más complicado en todo este proceso, después de muchos prototipos creo que encontré el correcto.
Hello lovely people of Hive, today I'm here to show you the step-by-step instructions for my new packaging, This is the step that has been most complicated for me in this whole process, after many prototypes I think I found the right one.
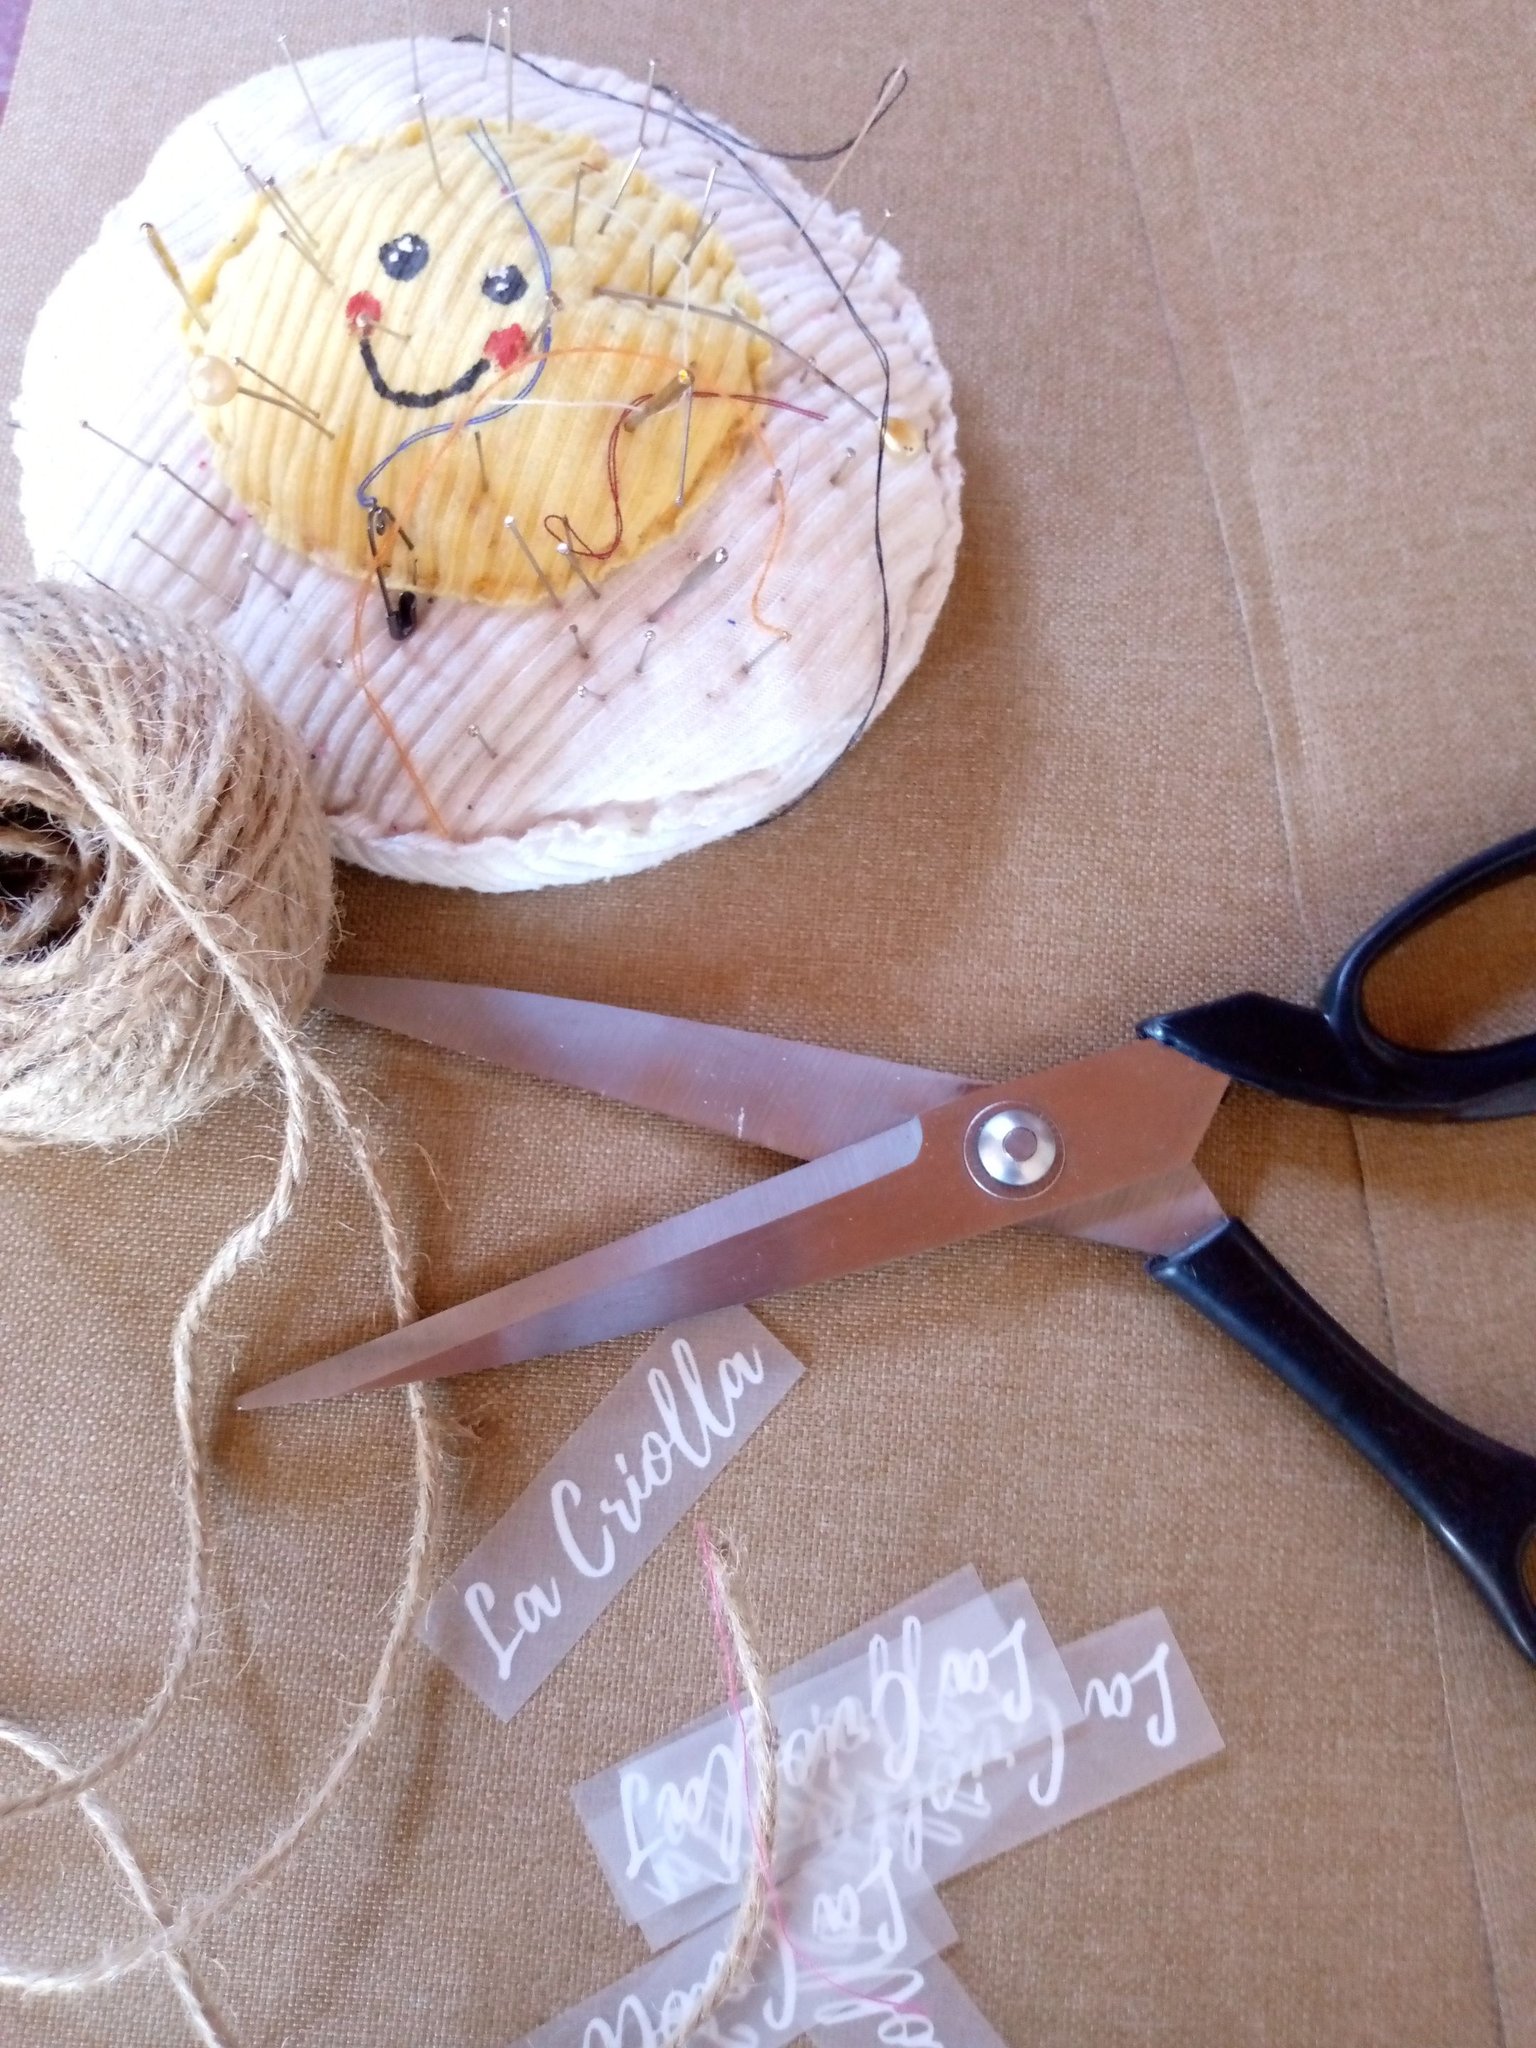
Vamos a necesitar:
✓tela (yo usé está de tapicería)
✓tijeras
✓Mecatillo
✓etiquetas para identificar
✓Maquina de coser o aguja e hilo.
✓Fabric (I used upholstery fabric)
✓Scissors
✓String
✓Tags for identification
✓Sewing machine or needle and thread
Lo primero que haremos será cortar rectángulos en la tela seleccionada.
De 30 x 15cm o el tamaño que desees.
The first thing we'll do is cut rectangles out of the selected fabric.
30 x 15 cm or whatever size you want.

Luego vamos a coser un dobles en las dos partes superiores (por dónde entrarán las tiras).
Then we are going to sew a double fold on the two upper parts (where the strips will enter).
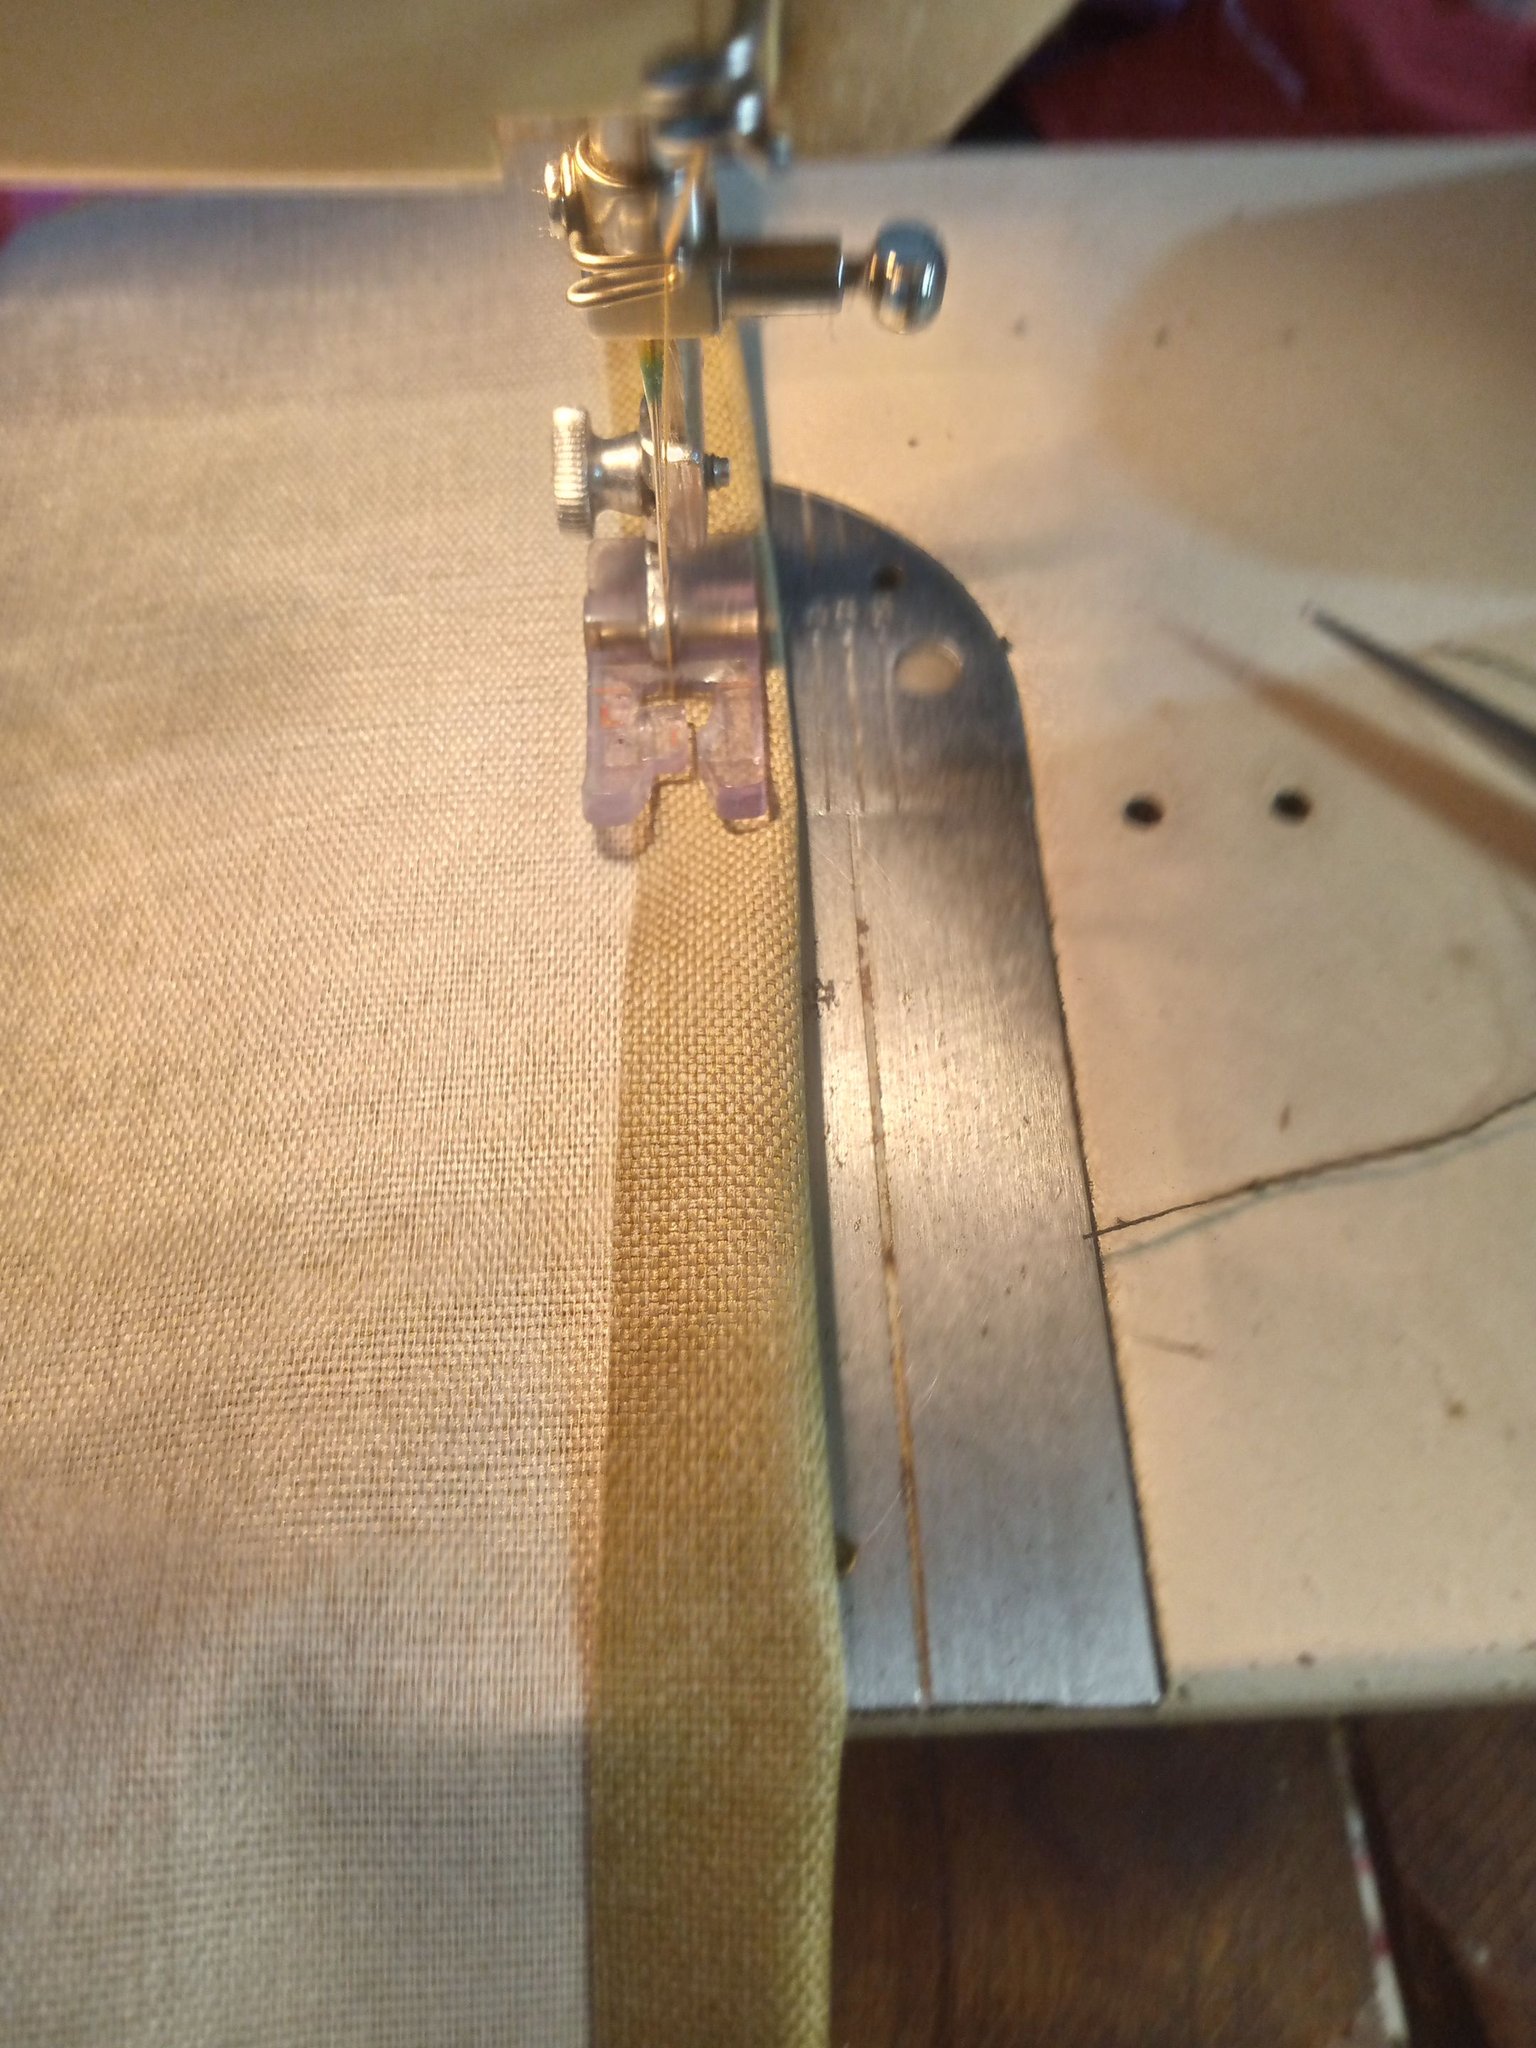
Ahora unimos y cosemos por ambos lados, dejando libre el dobles antes realizado.
Now we join and sew on both sides, leaving the previously made fold free.

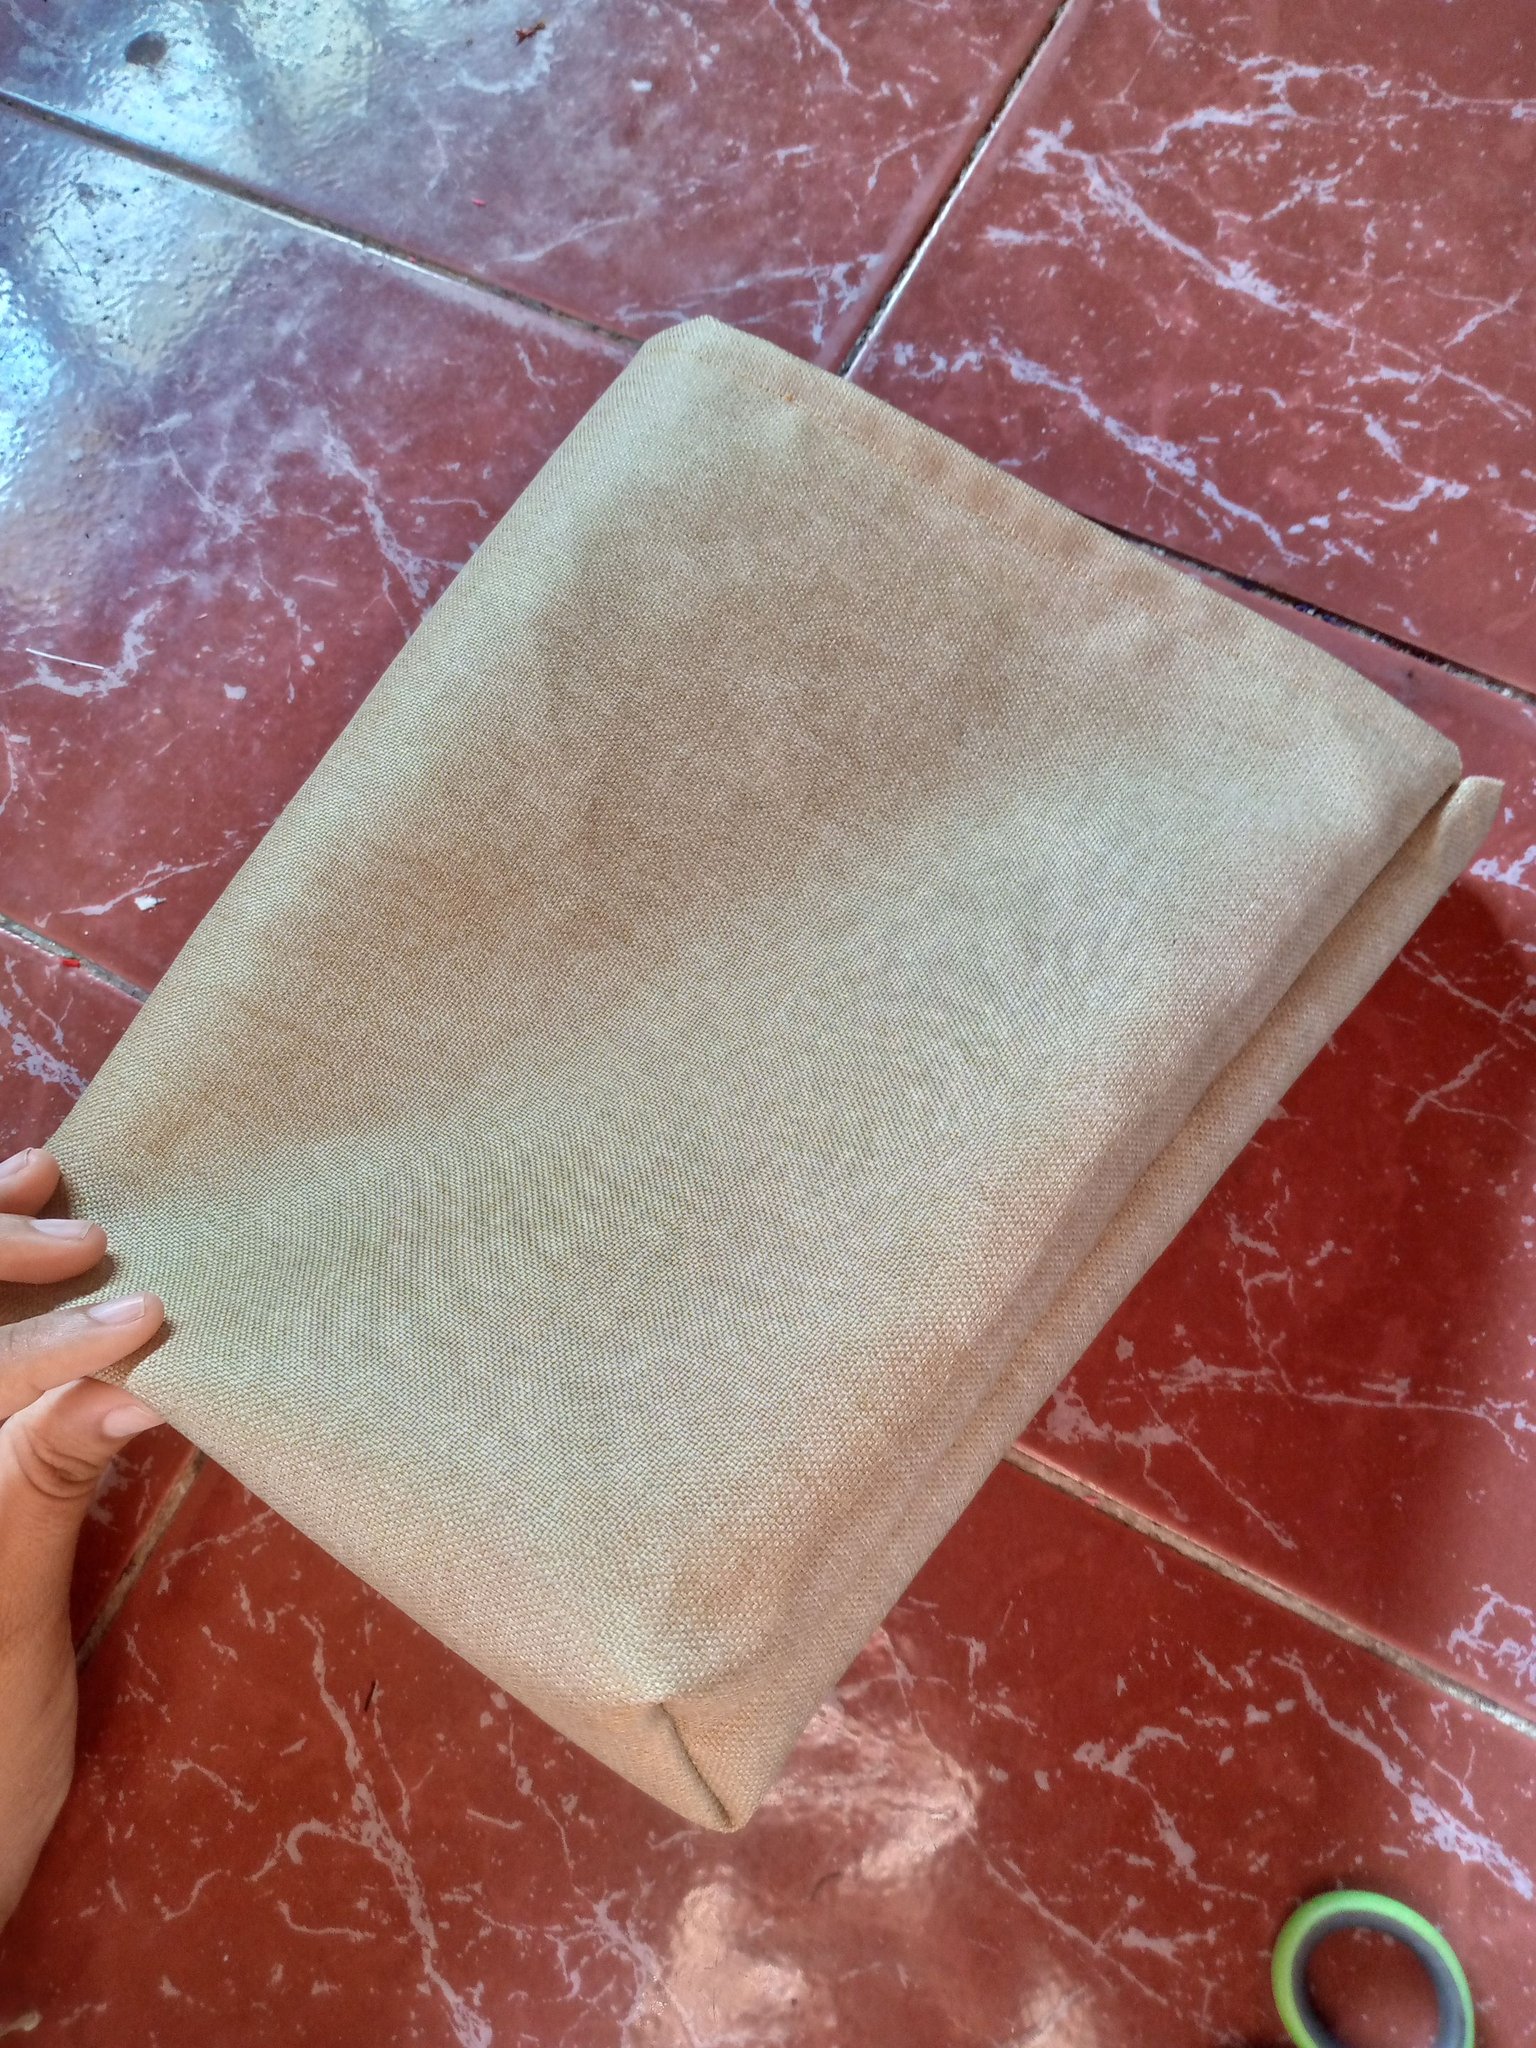
Una vez listo, vamos a coser en la parte inferior dejando libre las puntas, para darle profundidad, de esta forma:
Once ready, we will sew on the bottom part leaving the tips free, to give it depth, like this:

Ahora cortamos el sobrante de ambos lados (arriba y abajo)
Now we cut off the excess on both sides (top and bottom)

Al voltear quedará de esta forma:
When you turn it over it will look like this:
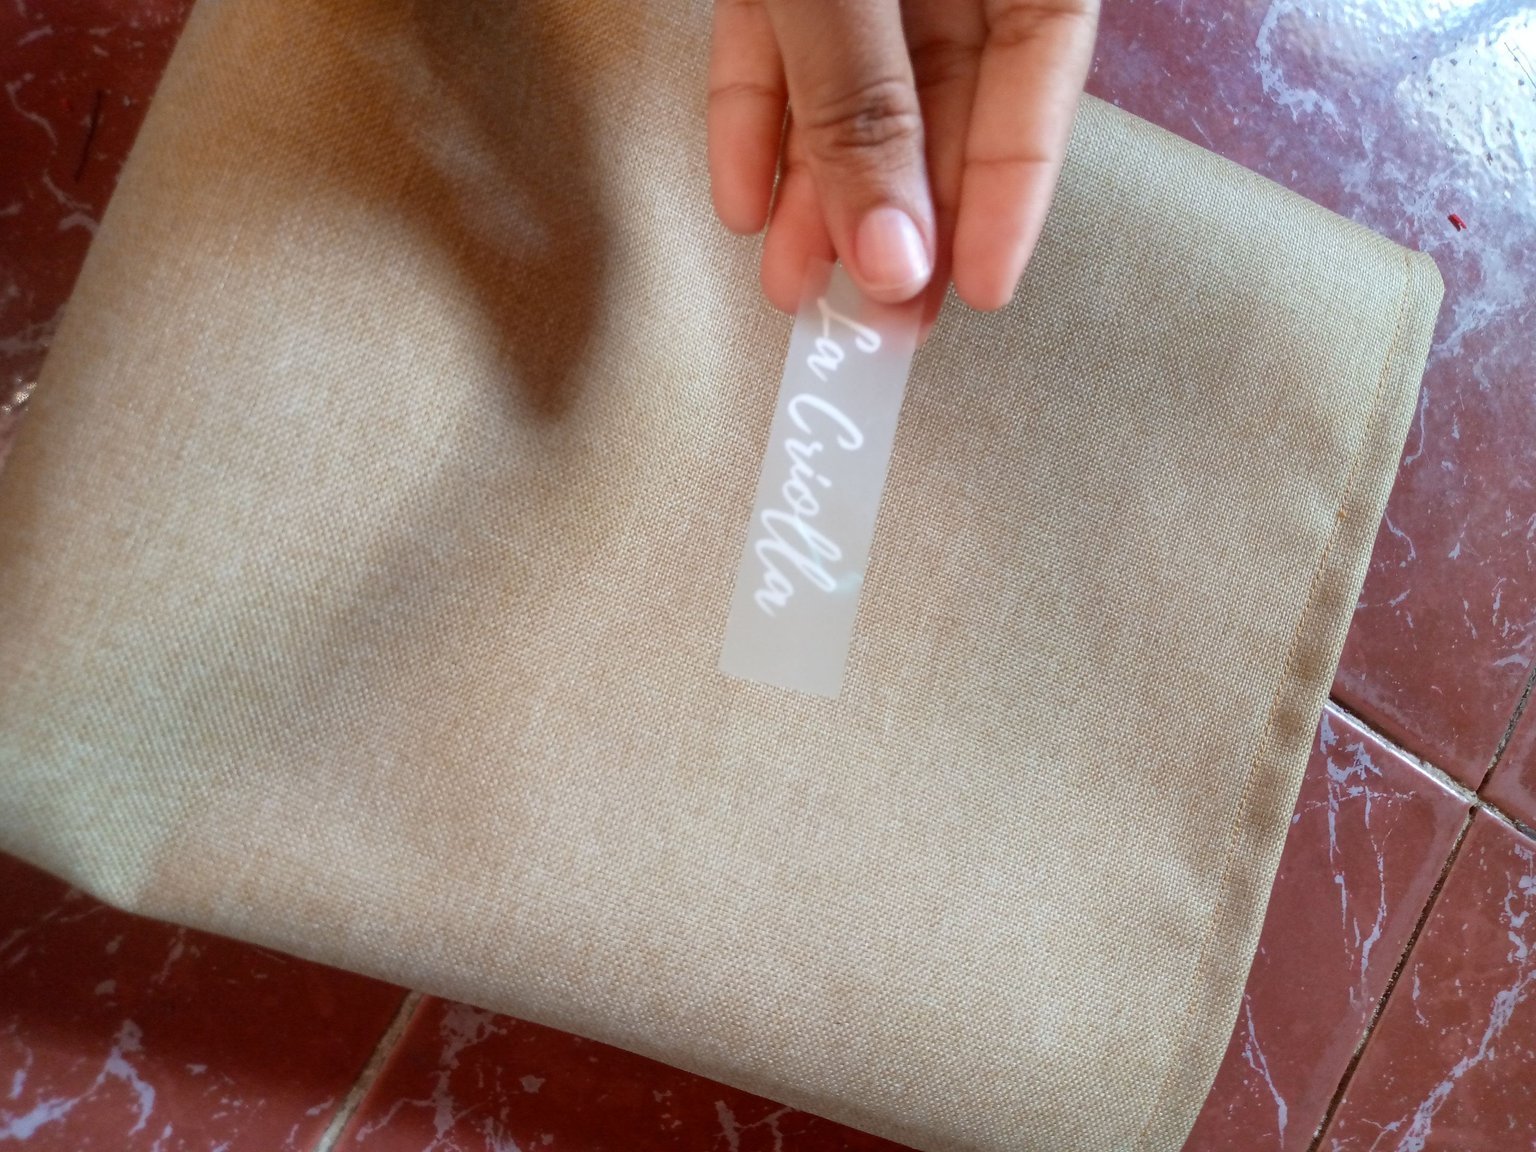
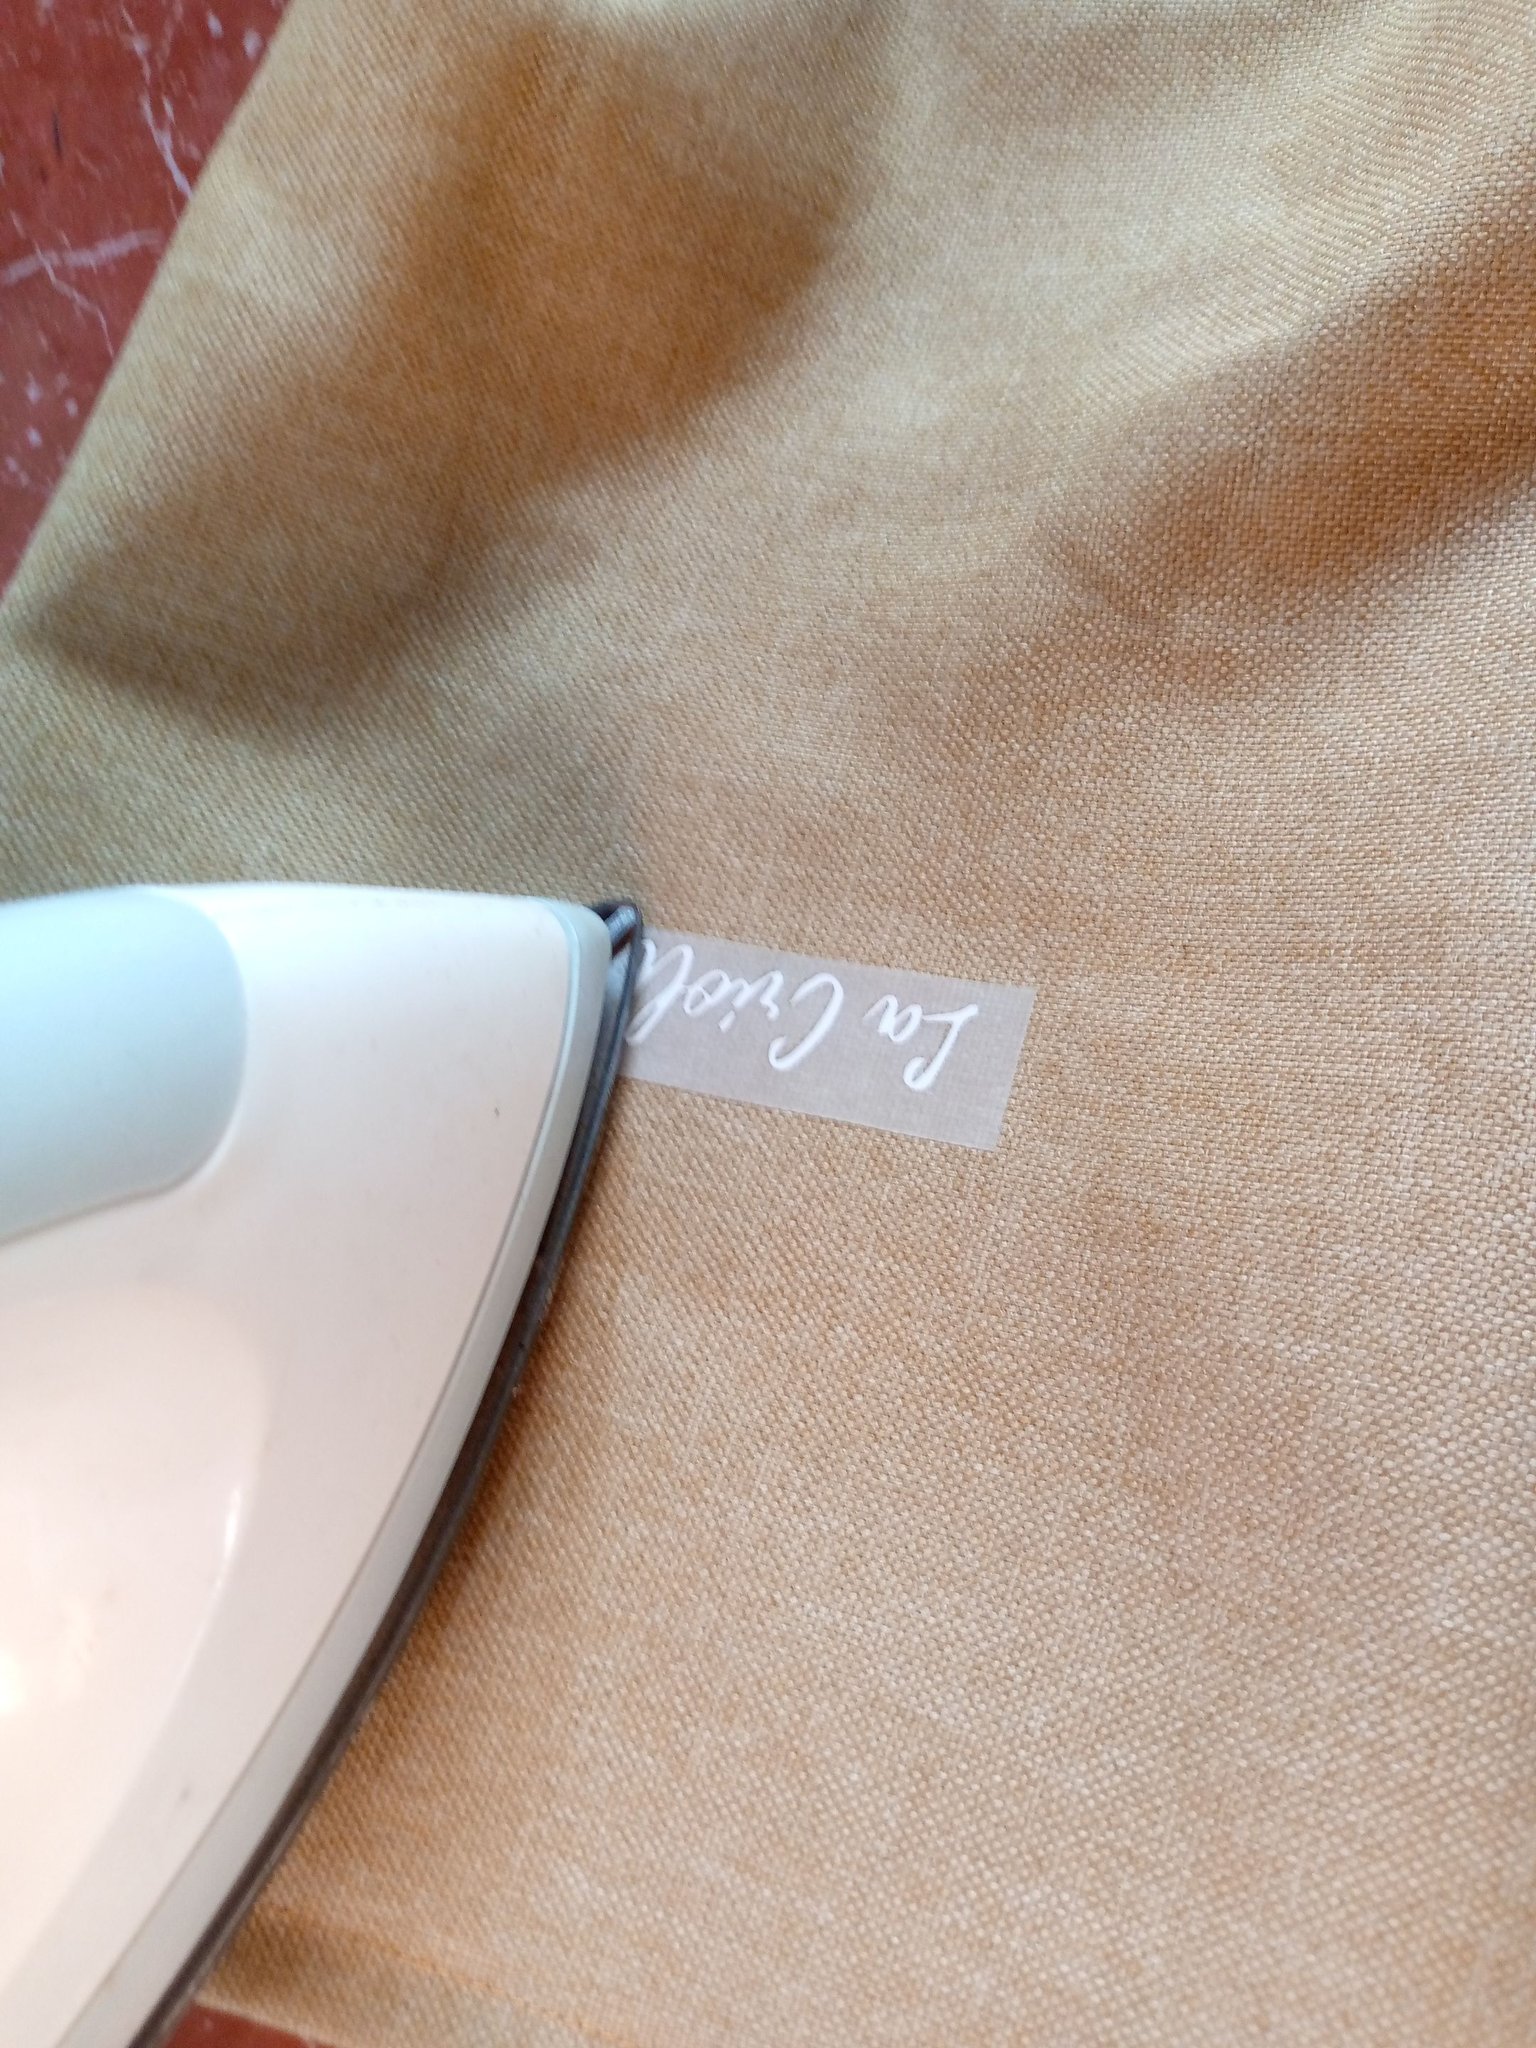
Con la ayuda de la plancha es hora de pagar el stiker para personalizar nuestros empaques:
With the help of the iron, it's time to pay for the sticker to personalize our packaging:
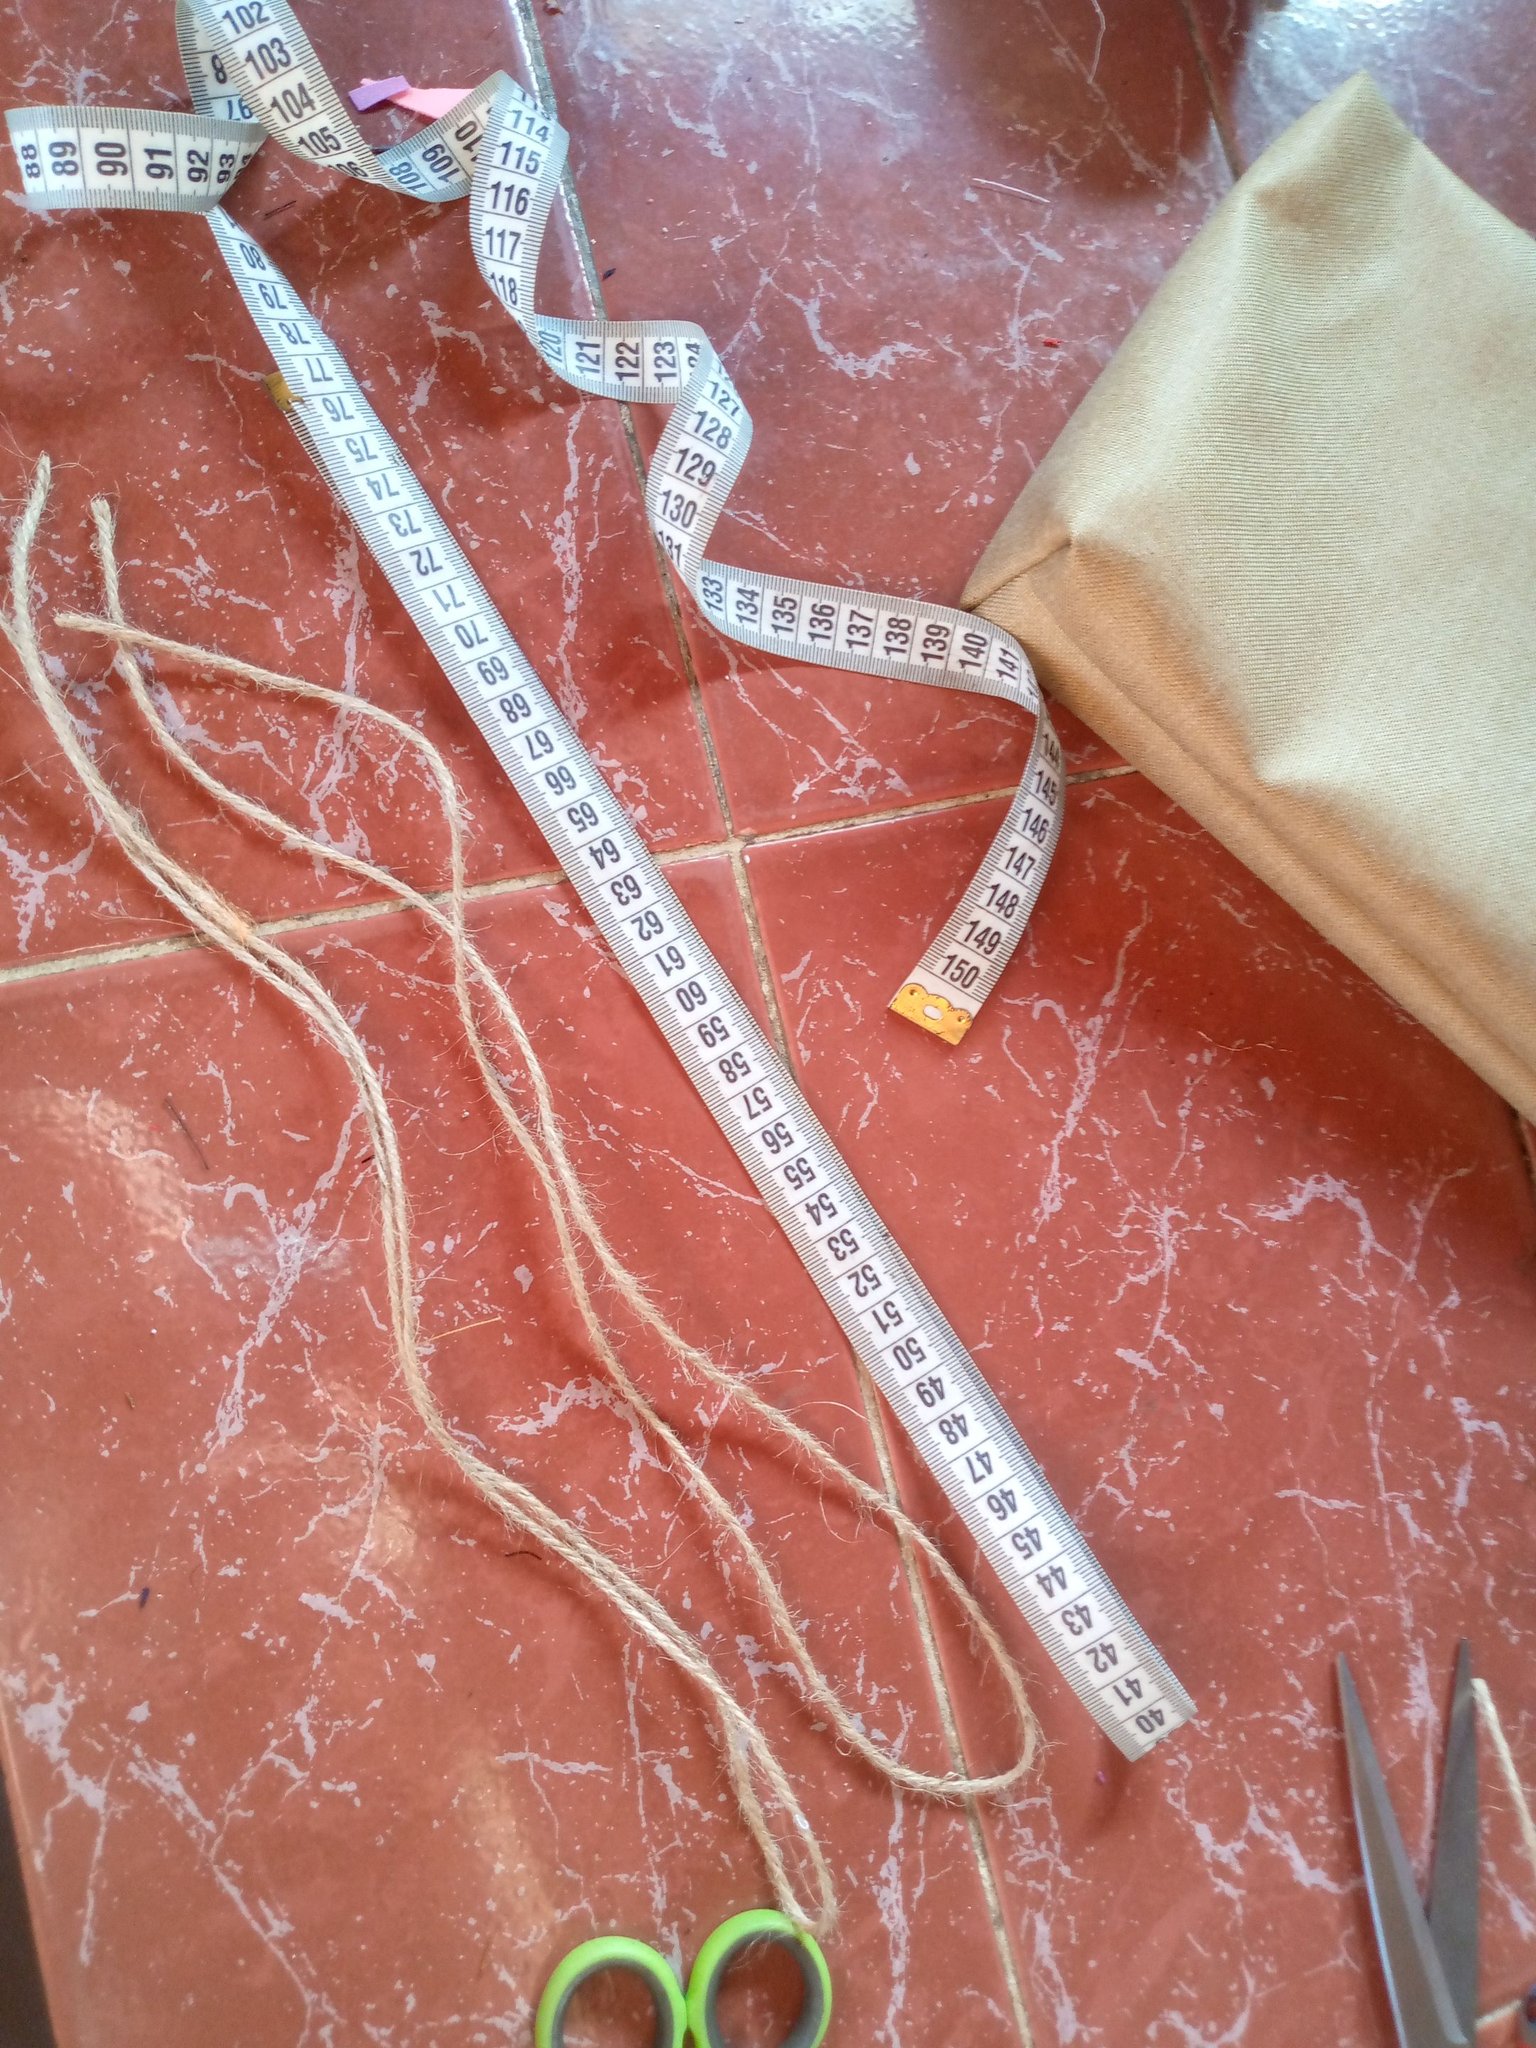
Para las trenzas, vamos a cortar dos piezas de Macatillo de 77cm aproximadamente.
For the braids, we are going to cut two pieces of Macatillo measuring approximately 77cm.
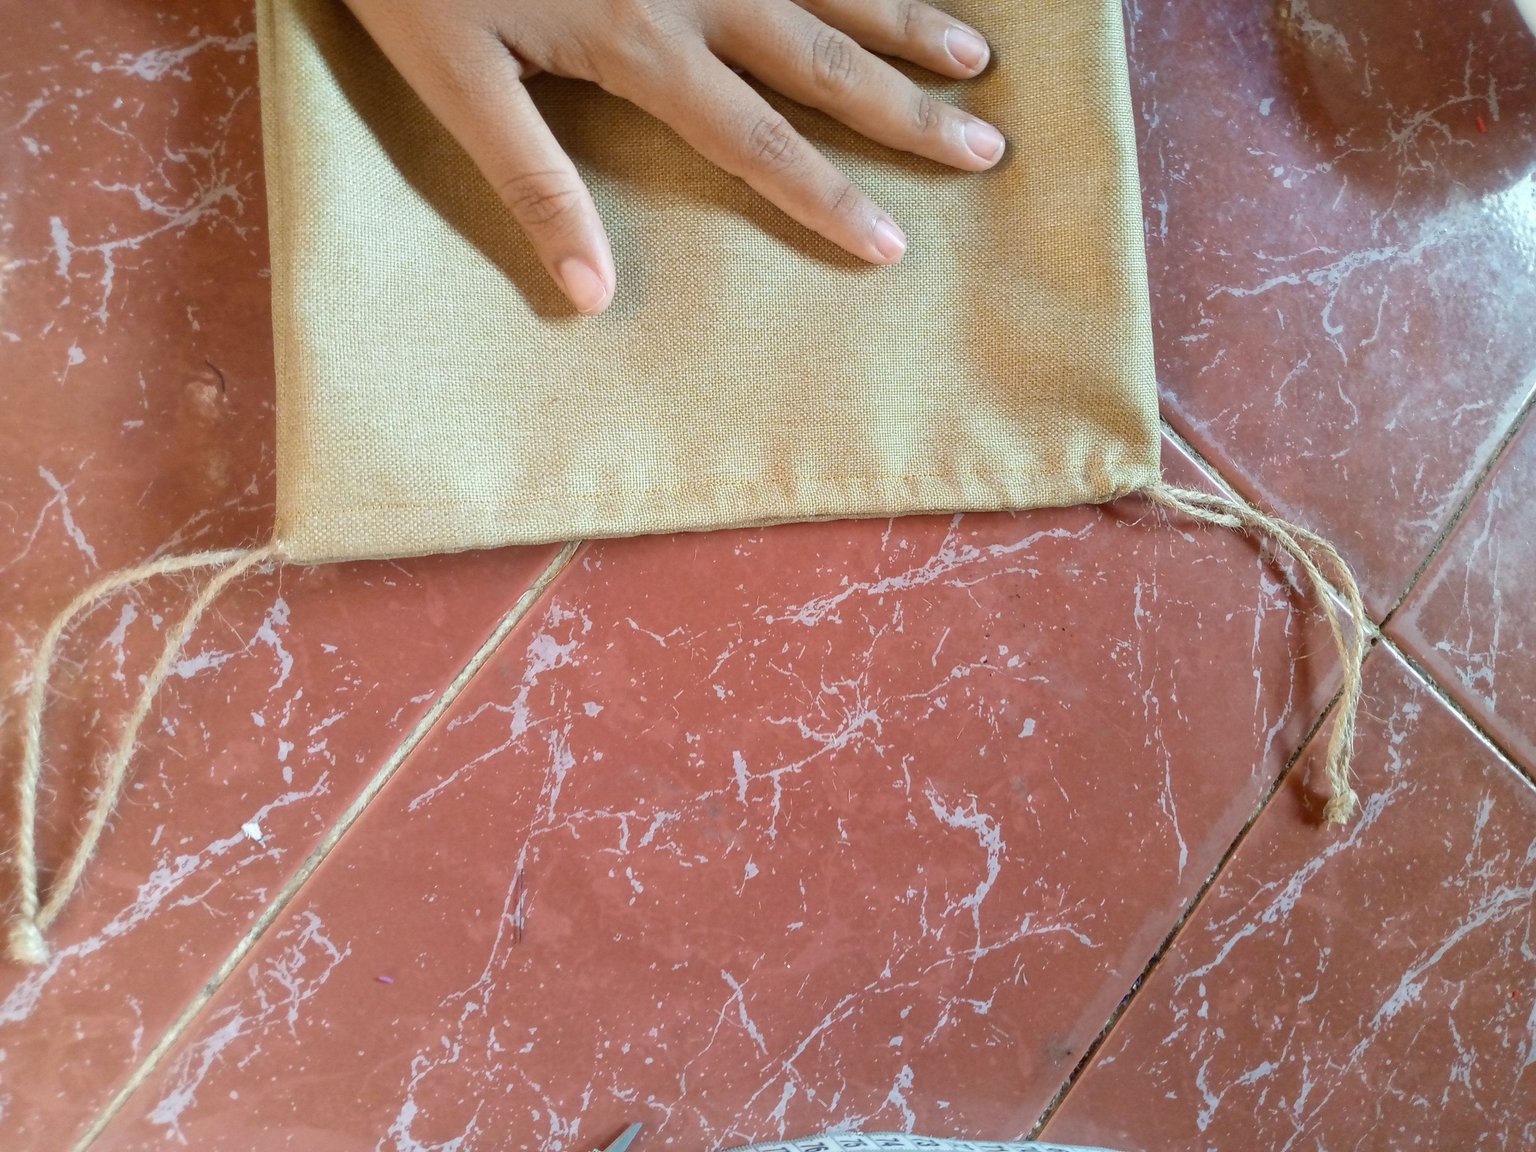
Y las introducimos una de cada lado de esta forma, para lograr cerrar la bolsita
And we introduce them one on each side in this way, to close the bag.
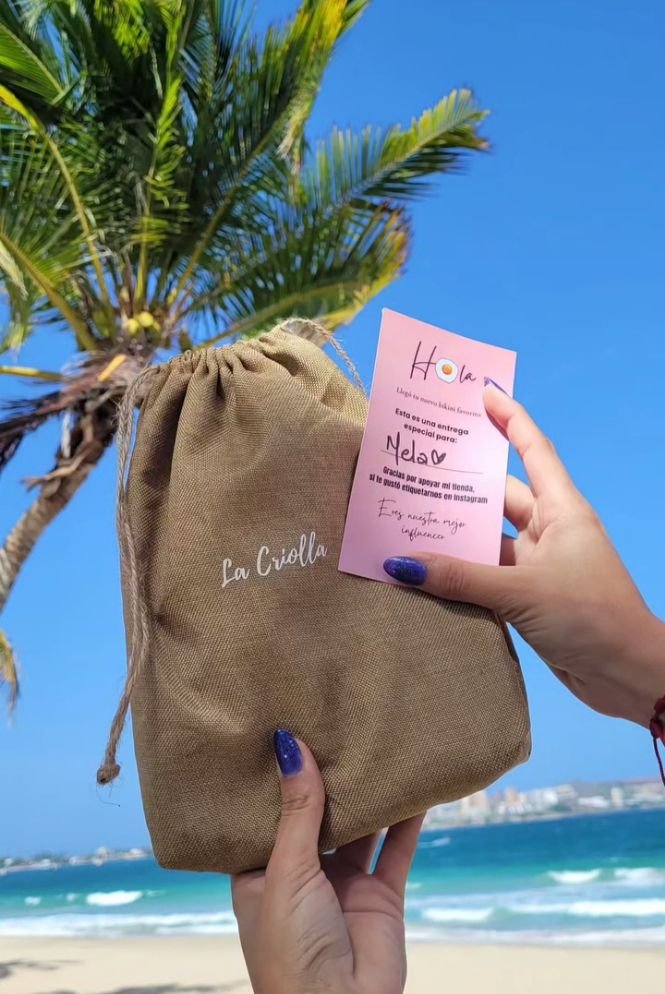
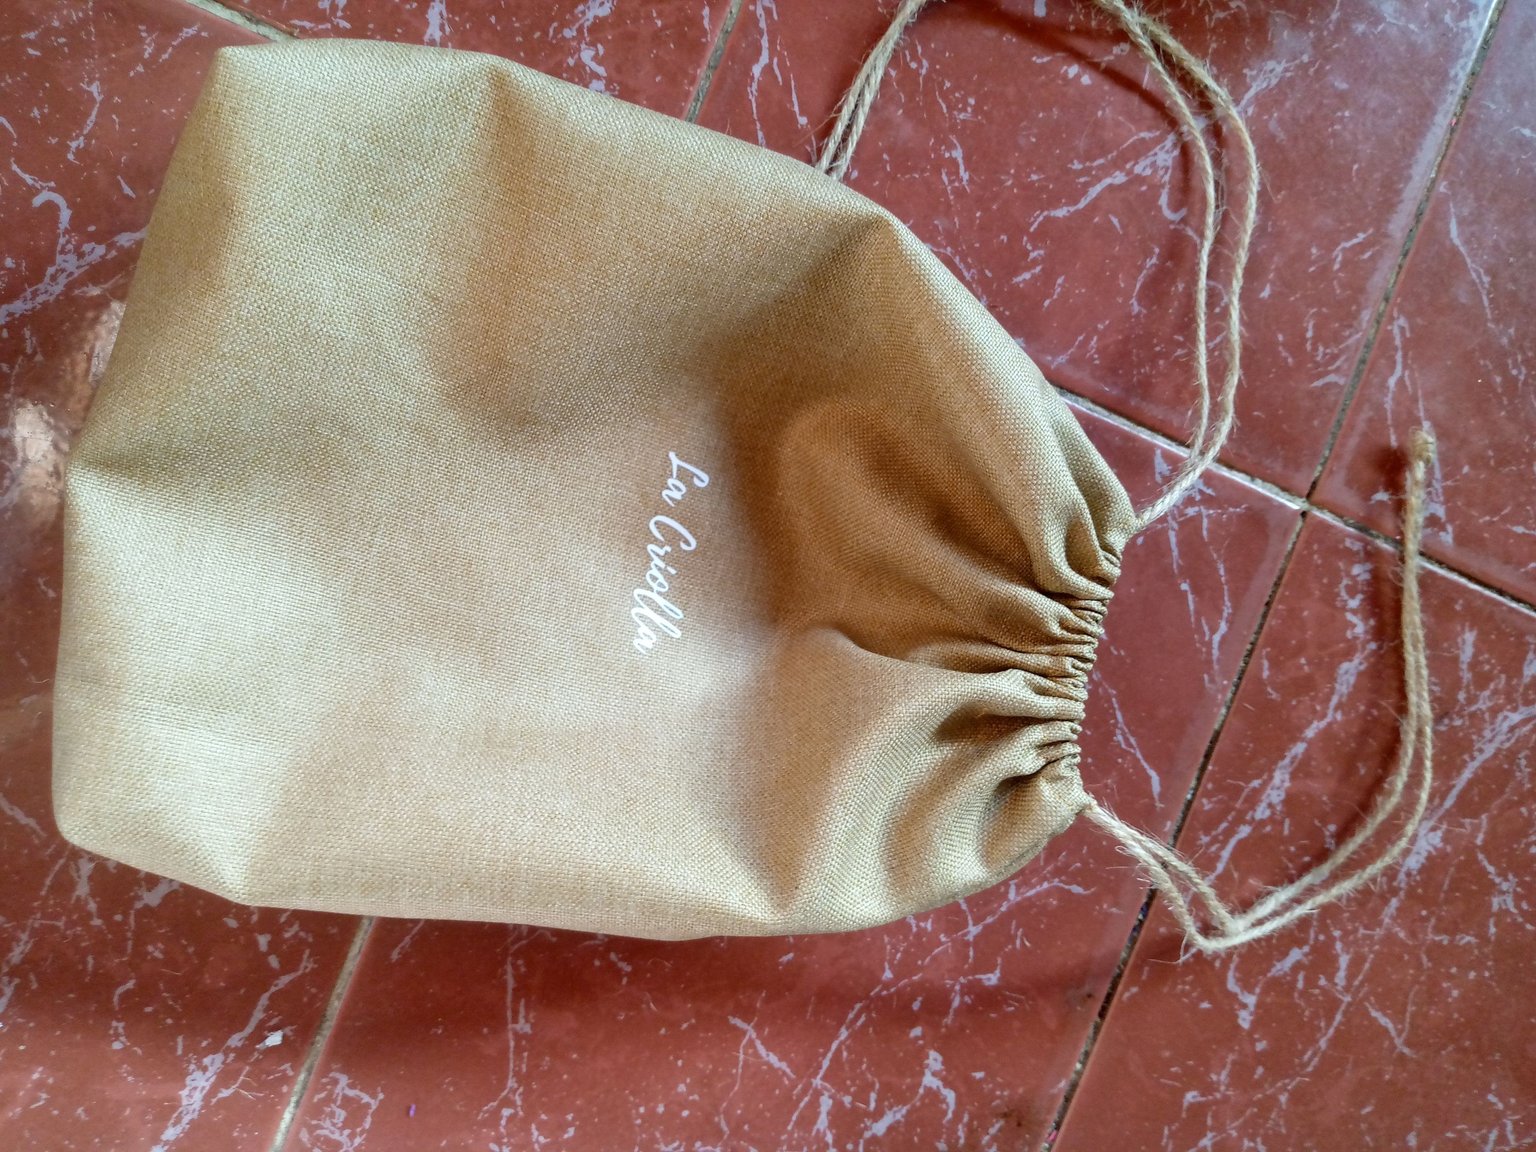
Y este es el resultado, está lista para introducir los bikinis y entregar.
And this is the result, she's ready to introduce bikinis and deliver.
Hasta aquí mi post de hoy, espero hacerles más tutoriales pronto❤️
That's all for my post today, I hope to make more tutorials soon❤️