¡Hola queridos usuarios de Hive ✨💕!
Hi dear Hive users ✨💕!
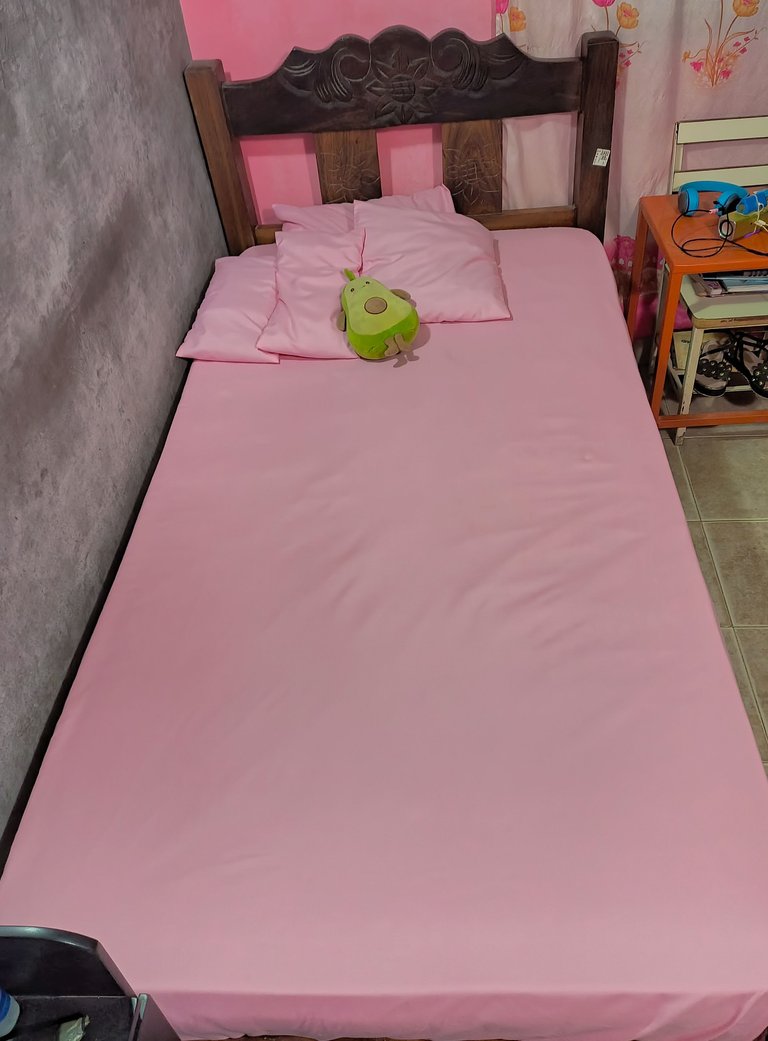
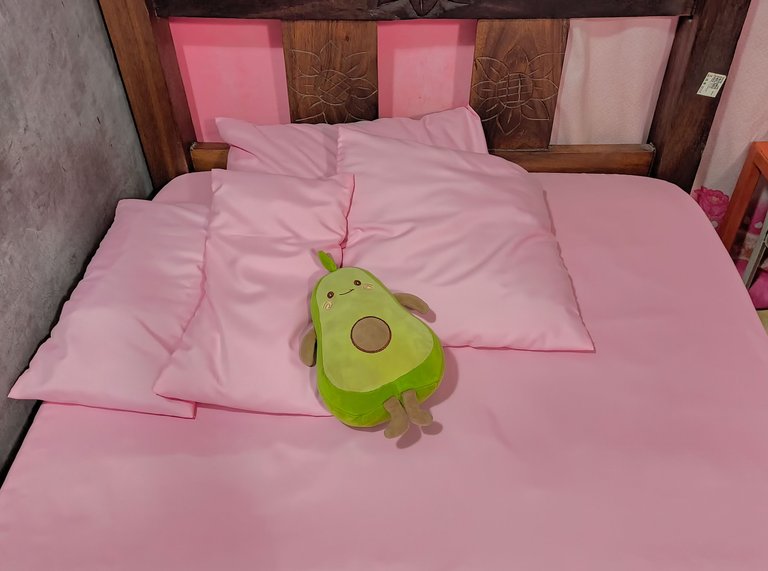
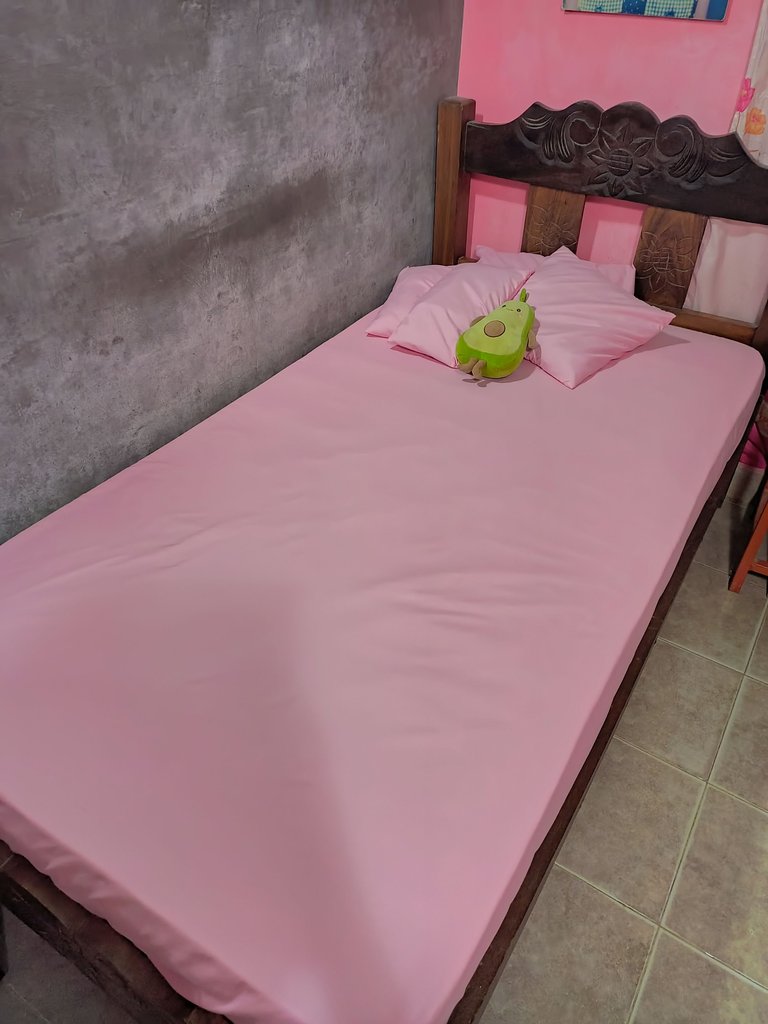
¡Hola Hola Comunidad! ✨, regresamos nuevamente a un proyecto de costura, ésta vez para realizar algo un poco más sencillo pero de muchísima utilidad, y es que creo yo que todos en casa usamos sábanas ¿No? 🤣🤣, pero pocas veces se piensa en la manera en cómo estás se hacen, y aunque se podría creer que es algo complicado de hacer, la verdad es que las sábanas son de los proyectos de costura más sencillos de hacer, sí es cierto que se trabaja con mucha tela y en ocasiones eso complica la labor, pero en términos de confección es muy sencillo, y es por eso que hoy te comparto cómo realicé éste bello set de sábanas para mi cama 🛏️💖.
Hello Hello Community! ✨, We return again to a sewing project, this time to make something a bit simpler but very useful, and I think that we all use sheets at home, don't we? 🤣🤣, but we rarely think about how they are made, and although you might think that it is something complicated to do, the truth is that the sheets are one of the easiest sewing projects to do, it is true that you work with a lot of fabric and sometimes that complicates the work, but in terms of tailoring it is very simple, and that's why today I share with you how I made this beautiful set of sheets for my bed 🛏️💖.


🧵 MATERIALES || MATERIALS 🛏️
Las medidas aquí presentadas corresponden a una cama individual de entre 90cm a 100cm de ancho, para la confección de una sábana esquinero y fundas.
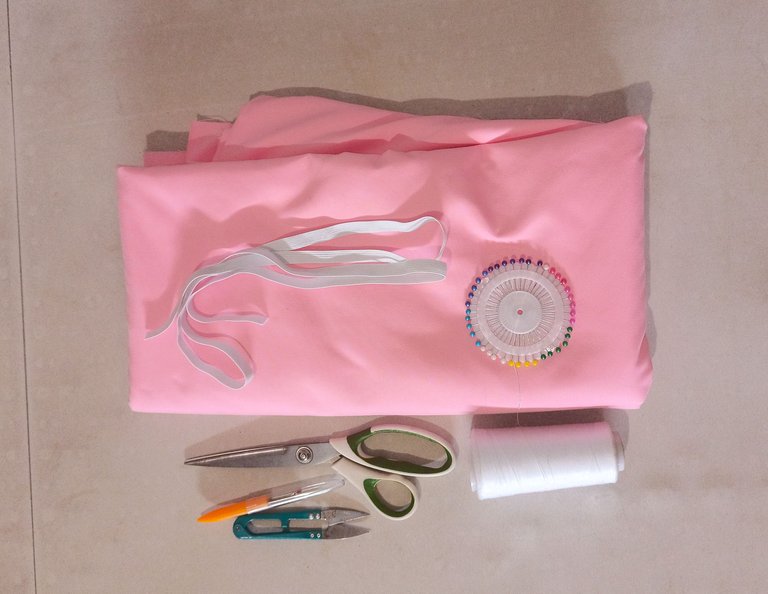
- 2 ½ m de tela para sábana (en mi caso estoy usando microfibra).
- 1.20m de goma elástica de 1 cm de grosor.
- Hilo de color de la tela.
- Utensilios de costura (cinta metrica, tijeras, alfileres, entre otros).
The measurements presented here correspond to a single bed of between 90cm to 100cm wide, for the making of a corner sheet and covers.
- 2 ½ m of sheet fabric (in my case I am using microfibre).
- 1.20m of 1cm thick elastic rubber band.
- Thread in the colour of the fabric.
- Sewing utensils (measuring tape, scissors, pins, among others).
🧵 MANOS A LA AGUJA || HANDS ON THE NEEDLE 🛏️
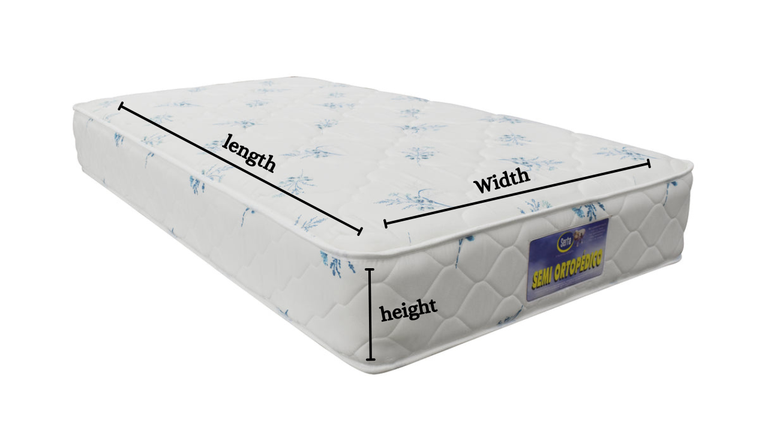
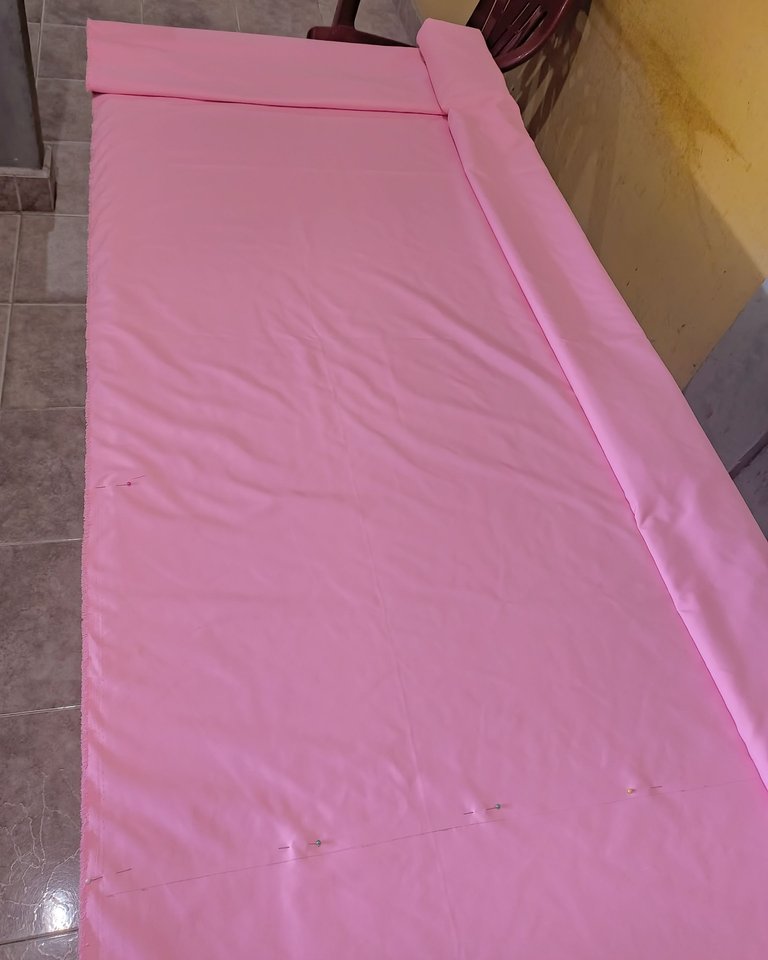
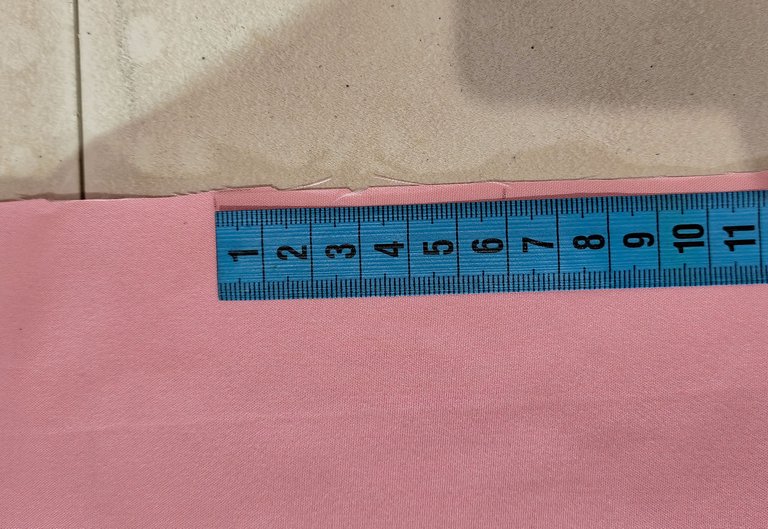
Lo primero con lo que debemos arrancar es midiendo nuestro colchón, para ello lo vamos a medir por el ancho, por el largo y la altura del mismo, esto último es sumamente importante porque aunque la mayoría de los colchones pueden tener medidas estándares de ancho y largo, la altura es lo que más tiende a cambiar y lo que va a garantizar que nuestro esquinero quede perfecto. A la medida tanto del ancho como del largo le vamos a sumar la medida de altura x 2 + 20cm, es decir, si tenemos un colchón de 90cm de ancho y 30cm de alto, a esos 90cm le sumamos 60cm (que es la altura x 2) y 20cm extras, que corresponden a lo que debe quedar por debajo del colchón y márgenes de costura, lo mismo se hace con el largo, y es con esos dos resultados que se corta en la tela la pieza de la sábana.
The first thing we should start with is measuring our mattress, for this we are going to measure the width, length and height of the mattress, the latter is extremely important because although most mattresses can have standard width and length measurements, the height is what tends to change the most and what will ensure that our corner mattress is perfect. To the width and length measurements we will add the height measurement x 2 + 20cm, that is, if we have a mattress 90cm wide and 30cm high, to those 90cm we add 60cm (which is the height x 2) and 20cm extra, which correspond to what should be left under the mattress and seam allowances, the same is done with the length, and it is with those two results that the sheet is cut out of the fabric.
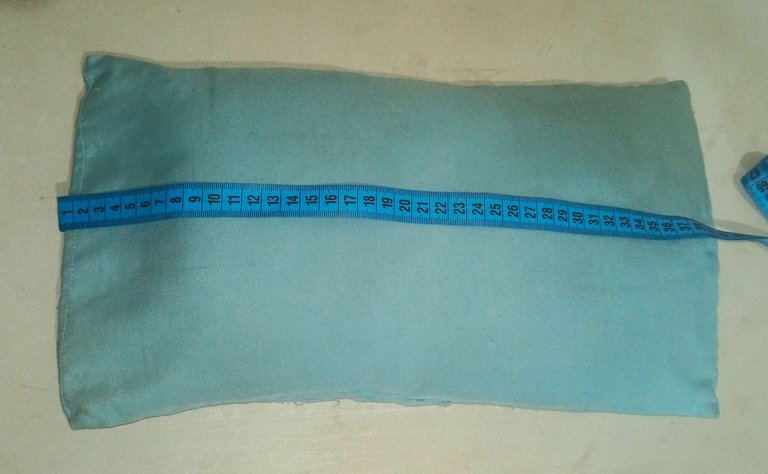
Para las fundas, vamos a medir el largo y ancho de nuestra almohada, y cortaremos una pieza que tenga el ancho que medimos + 3cm (de márgenes de costura) por la medida que dé multiplicar el largo x 2 + 6cm + 4cm (de dobladillo), es decir, si tenemos un cojín de 40x40cm, la pieza que debemos cortar es de 43cm x 90cm (40 x 2 + 6 + 4 = 90), lo sé muchas sumas y multiplicaciones 🤣, pero les aseguro que ésto es lo más complicado de ésto. Esto mismo lo repites con todas las fundas que quieras hacer.
For the pillowcases, we will measure the length and width of our pillow, and we will cut a piece that has the width we measured + 3cm (seam allowance) by multiplying the length x 2 + 6cm + 4cm (hem), that is to say, if we have a 40x40cm cushion, the piece we have to cut is 43cm x 90cm (40 x 2 + 6 + 4 + 4 = 90), I know a lot of additions and multiplications 🤣, but I assure you that this is the most complicated part of it. You repeat this with all the covers you want to make.
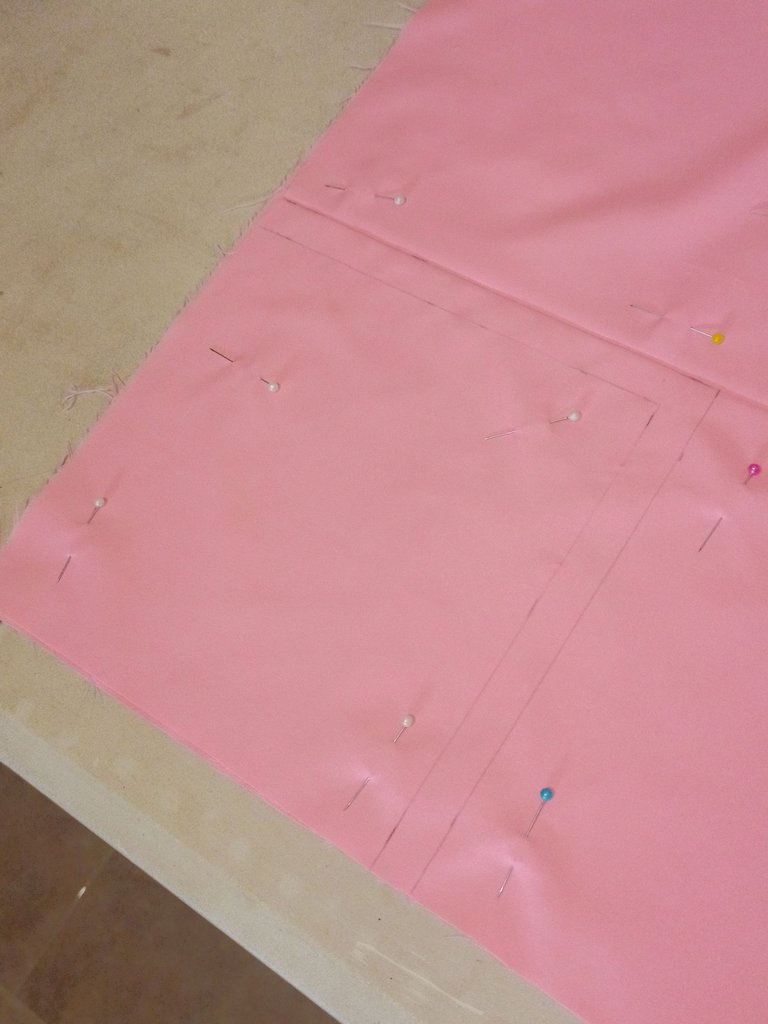
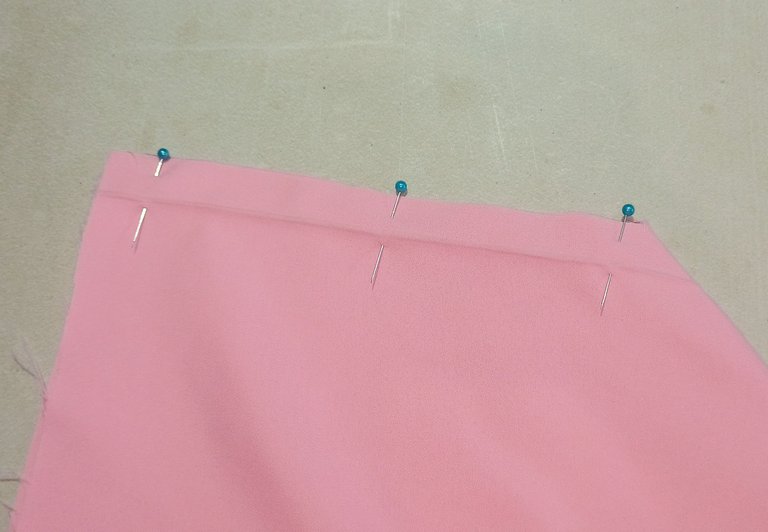
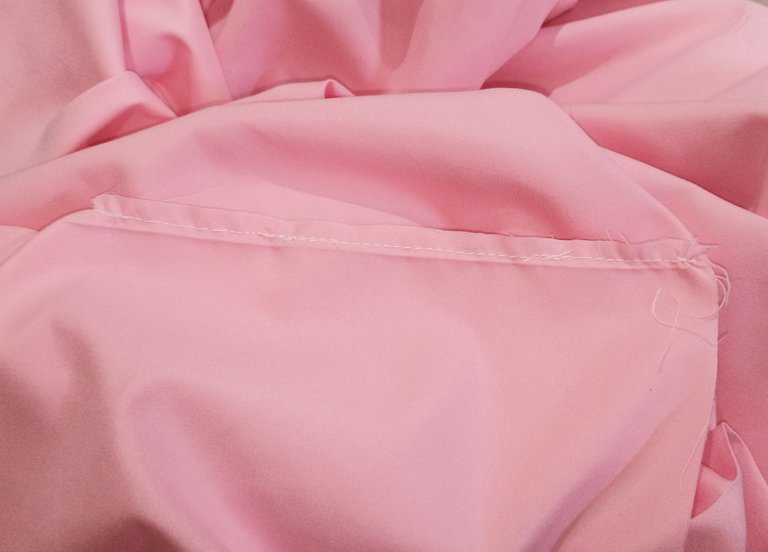
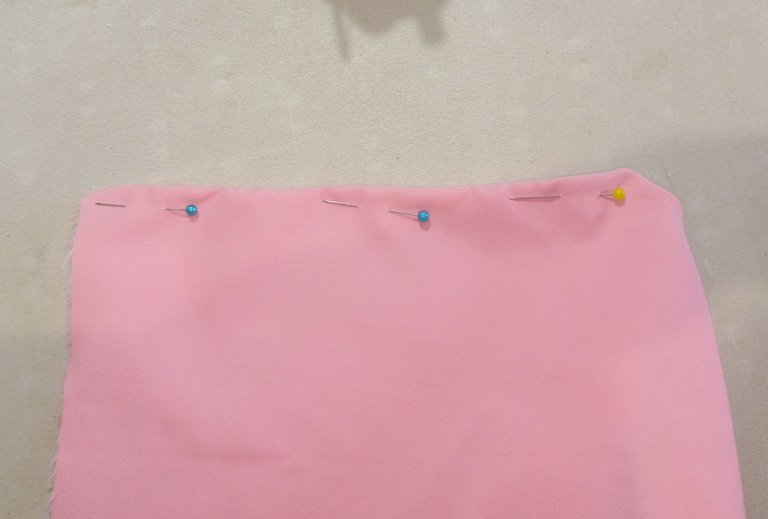
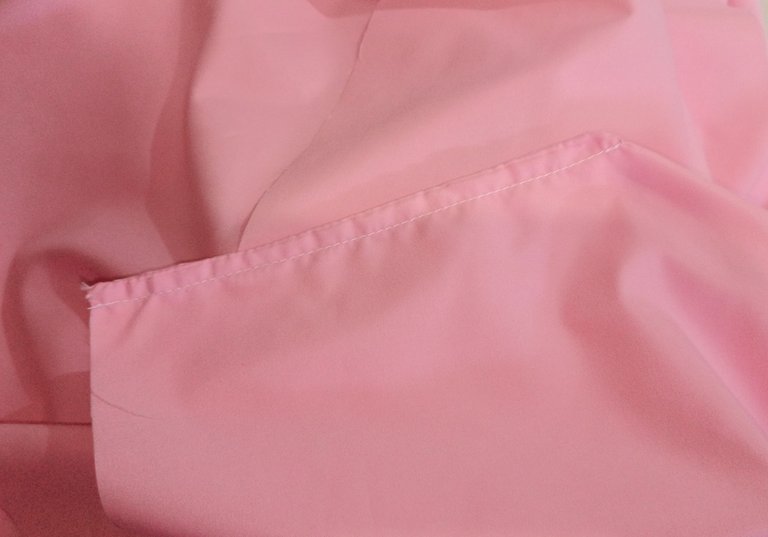
Arrancamos entonces con la sábana esquinero, en cada esquina de la pieza cortada vamos a medir la altura del colchón + 6cm, formamos un cuadrado y nos saldremos 1,5cm (de margen de costura) y en esa línea recortamos. Durante todo éste proyecto estaré trabajando con costura francesa (que es una costura que queda cubierta por la misma tela), por esa razón se ha dejado 1,5cm de margen de costura en vez de 1cm, y por esa razón las esquinas de la sábana se van a cerrar juntando primero el revés de la tela y cosiendo a medio cm, luego damos la vuelta (si quieren pueden planchar la costura) y ahora que los derechos están enfrentados, se cose a 1cm, ésto se repite en las 4 esquinas de la tela.
We start with the corner sheet, at each corner of the cut piece we will measure the height of the mattress + 6cm, form a square and we will leave 1,5cm (seam allowance) and on that line we will cut out. Throughout this project I will be working with a French seam (which is a seam that is covered by the fabric itself), for that reason we have left 1.5cm seam allowance instead of 1cm, and for that reason the corners of the sheet will be closed by first joining the back of the fabric and sewing at half a cm, then we turn it over (if you want you can iron the seam) and now that the rights are facing each other, we sew at 1cm, this is repeated in the 4 corners of the fabric.
 |  |
|---|
 |  |
|---|
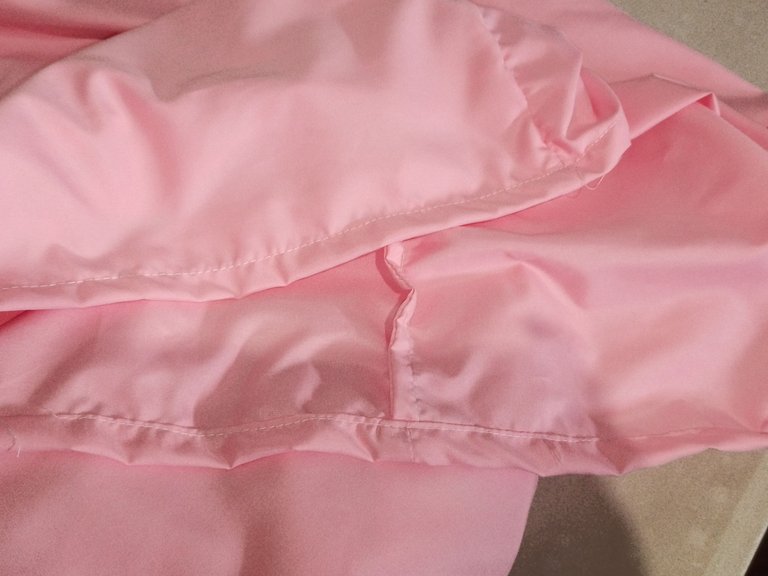
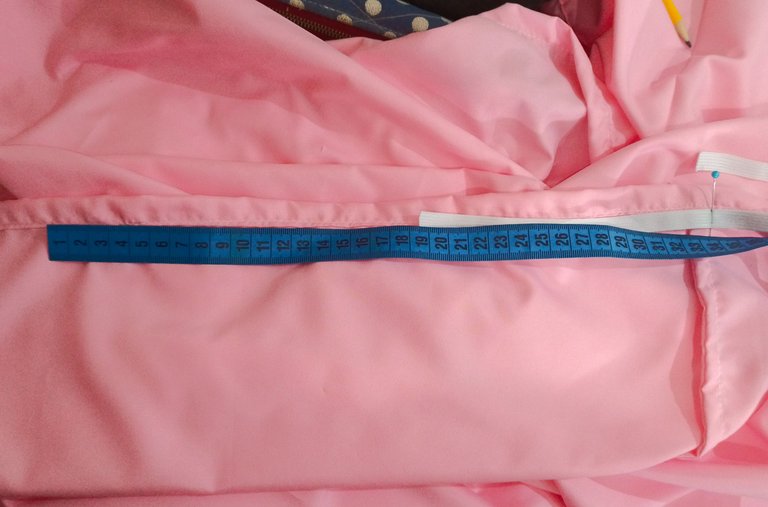
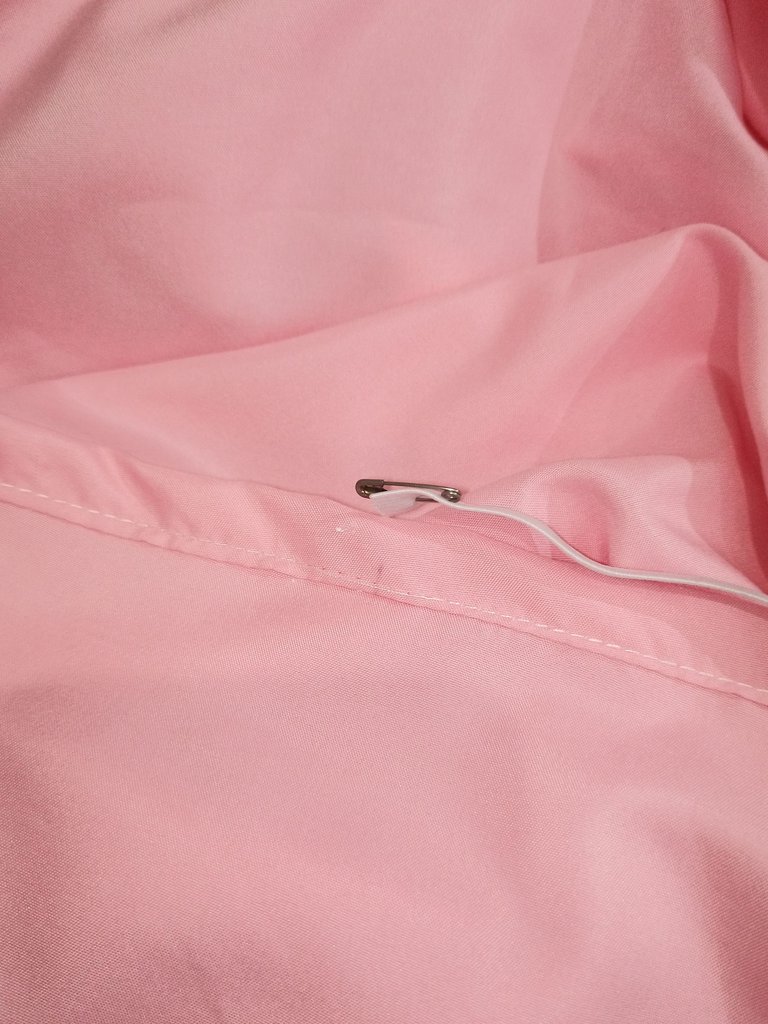
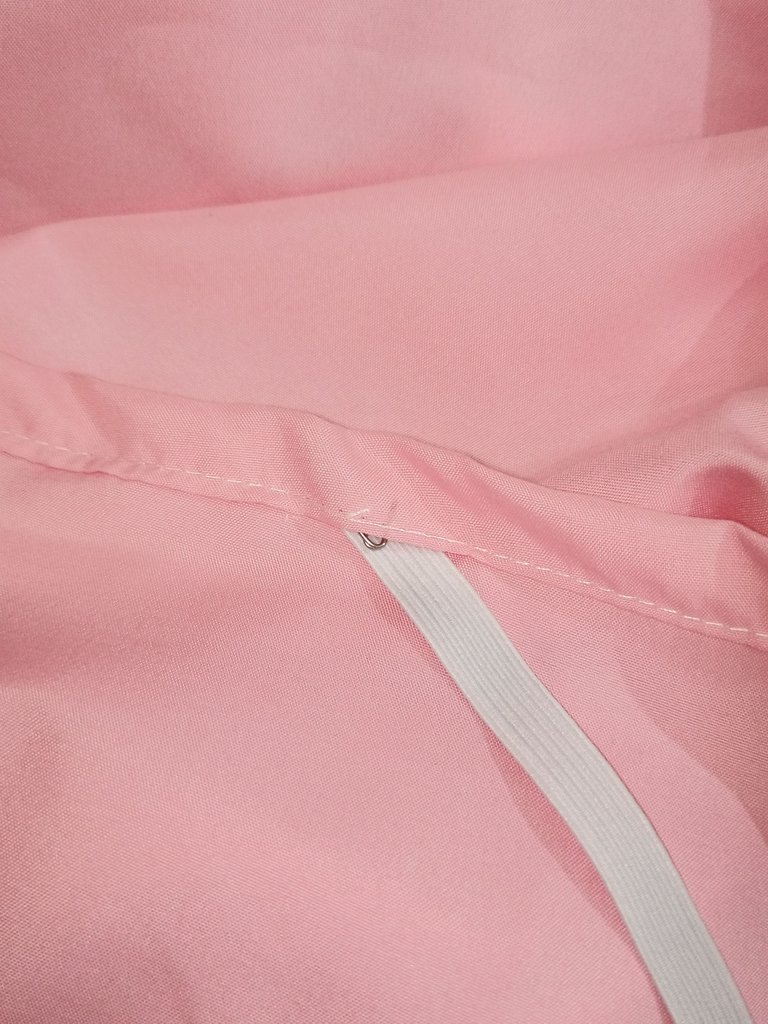
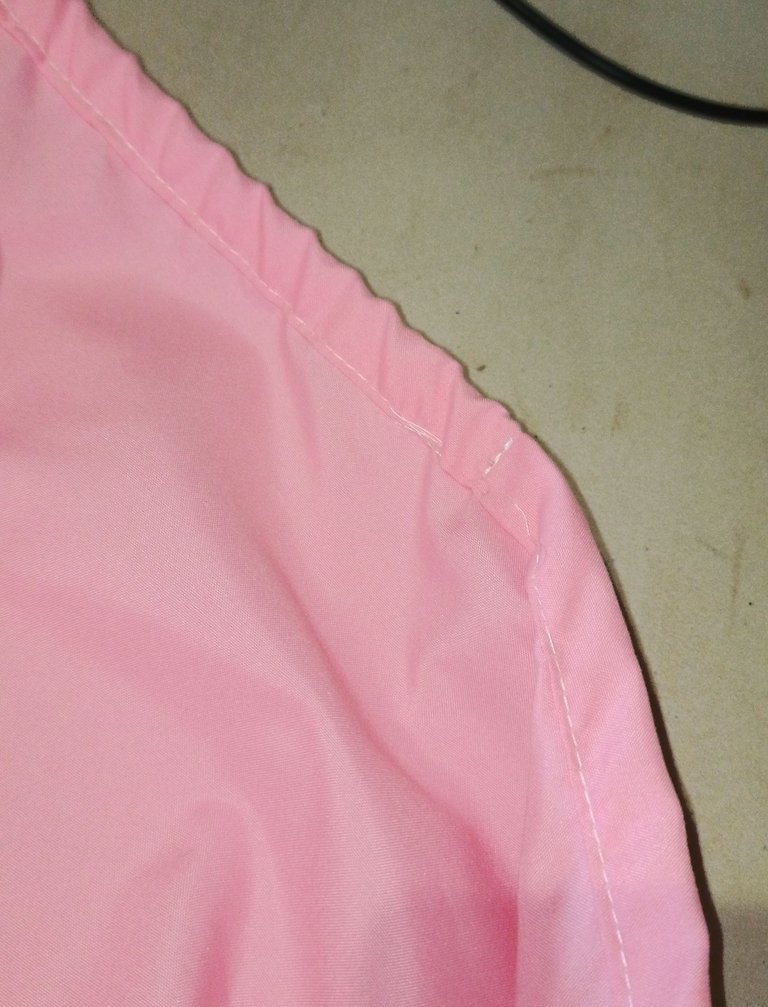
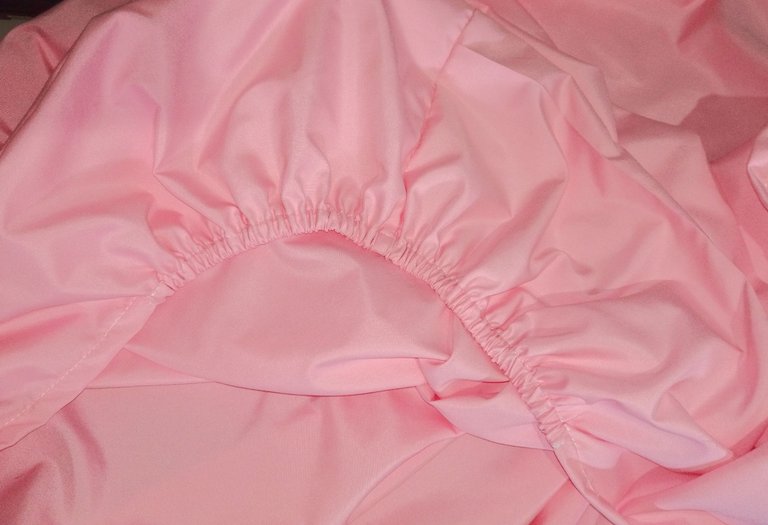
Con las esquinas formadas entonces pasamos a realizar un dobladillo por todo el alrededor de la sábana, tratando de que quede de aproximadamente unos 1.20cm. Cuando ésto se encuentre listo entonces cortamos la goma en 4 pedazos (deberían quedar de 30cm cada uno), en cada esquina desde la costura hacía cada lado (izquierda y derecha) mediremos 30cm y haremos una marca, en cada una de esas marca descoseremos y con ayuda de un imperdible vamos a introducir la goma, aseguramos los extremos de la goma y realizamos una costura en vertical, luego cosemos los espacios que habíamos abierto y estiramos la goma. De ésta manera se forman las esquinas engomadas de la sábana, y realizándose con ésta técnica, no perdemos elasticidad en la goma y la misma se deteriora menos.
With the corners formed we then go on to hem all the way around the sheet, trying to get it to be about 1.20cm. When this is ready then we cut the rubber in 4 pieces (they should be 30cm each), in each corner from the seam to each side (left and right) we will measure 30cm and make a mark, in each of these marks we will unpick and with the help of a safety pin we will introduce the rubber, we secure the ends of the rubber and make a vertical seam, then we sew the spaces that we had opened and stretch the rubber. In this way the rubber corners of the sheet are formed, and by using this technique, we do not lose elasticity in the rubber and it deteriorates less.
 |  |
|---|
 |  |  |
|---|
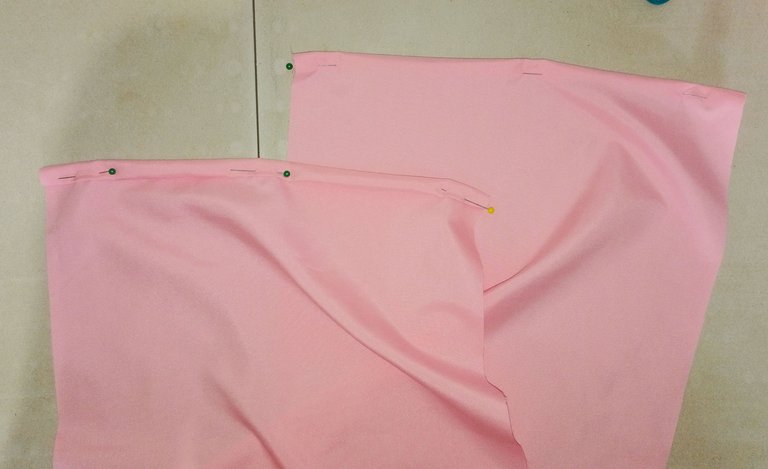
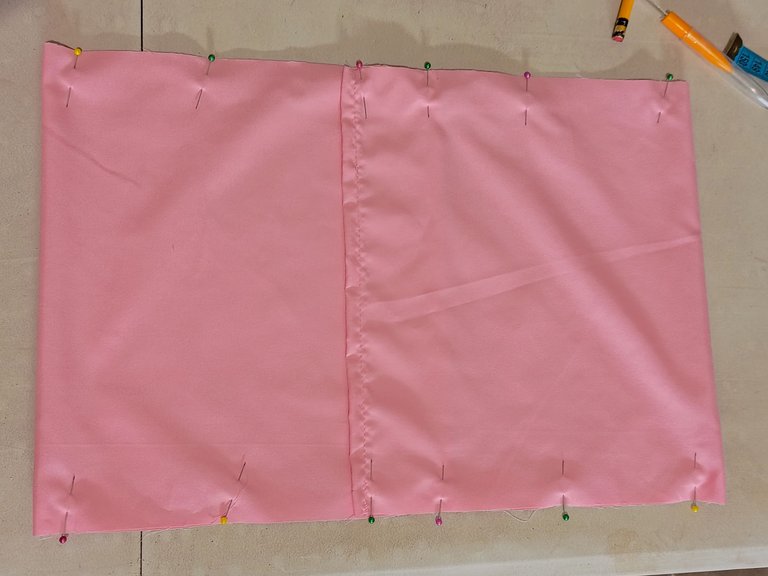
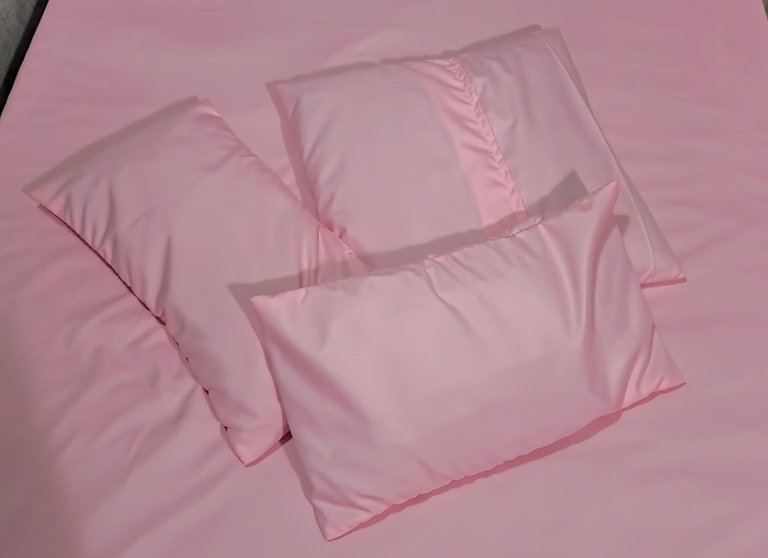
Ahora con las fundas haremos un procedimiento que creo haber explicado hace algún tiempo, arrancando con un dobladillo a cada extremo de la pieza de tela cortada. Marcamos el centro de la pieza y medimos 3cm a cada lado de ésta, doblamos la pieza enfrentando el revés y ubicamos los extremos con el dobladillo hecho en las marcas realizadas, no en el centro sino en la marca siguiente, es decir 3cm después del centro, lo hacemos tanto con un lado como con el otro, y realizamos la primera costura a medio cm, volteamos y hacemos la segunda a 1cm. De ésta forma tan sencilla, obtendremos una funda que se solapa entre sí y que impide que las almohadas se salgan (sobre todo si tienen un sueño turbulento 🤣🤣).
Now with the covers we will do a procedure that I think I explained some time ago, starting with a hem at each end of the cut piece of fabric. We mark the centre of the piece and measure 3cm on each side of it, fold the piece facing the back and place the ends with the hem made on the marks made, not in the centre but on the next mark, that is to say 3cm after the centre, we do this with one side as well as the other, and we make the first seam at half a cm, we turn and make the second seam at 1cm. In this simple way, you will get a pillowcase that overlaps each other and prevents the pillows from slipping out (especially if you are a restless sleeper 🤣🤣).


Instagram Personal:@susijackeline
Instagram de Maquillaje:@makeup_sm22
Twitter:@kiut_variedades
All Images are my Property
Translator DeepL
~~~ embed:1856521819718598684?t=GPiGC6Mgh_Li3B6IbwgJ7g&s=19 twitter metadata:a2l1dF92YXJpZWRhZGVzfHxodHRwczovL3R3aXR0ZXIuY29tL2tpdXRfdmFyaWVkYWRlcy9zdGF0dXMvMTg1NjUyMTgxOTcxODU5ODY4NHw= ~~~
Quedó muy hermoso ese juego de sábanas, amiga! Yo estoy buscando tutoriales para hacer una pero es para una queen size😵💫, como es más grande siento que es más trabajo porque yo no tengo máquina de coser 🤯😅
Bueno sin máquina de coser sí se hace más complicado, pero para tomar las medidas es exactamente igual a como lo explico aqui 💖.
¿ᴺᵉᶜᵉˢᶦᵗᵃˢ ᴴᴮᴰ? ᵀᵉ ˡᵒ ᵖʳᵉˢᵗᵃᵐᵒˢ ᶜᵒⁿ
The color is really nice, you did a great and beautiful work, well-done
Thank you very much 💖, what makes me really happy is just the colour 💕.
Nice one! It only looks easy to make it based on the post and pictures but I'm sure if one has to make it the first time it is actually challenging. Good for you that you finished this project 💖
Well, when I started sewing I had to make a set of sheets, and I remember that at the time the hardest part was taking the measurements and cutting, I am aware that now that I have more experience the result was better and it was easier, but I do think that this is a good practice project for when you start sewing 💖.
¡Me encanta! Te quedó demasiado bien y aparte es tu color 🩷. Tienes demasiado talento para estas cosas
Ay gracias 🙈, definitivamente yo lo que más amo es el color 💖.
Wow te felicito querida, esta sabana se ve hermosa, realmente haces ver su elaboración muy sencilla, quizas en la próxima visita a la tienda textil me anime a confeccionar la mia.
Anímate! De verdad es algo bastante sencillo, lo más complicado es cortarlo porque es mucha tela, pero después es sencillo 💖.
Hermoso trabajo @kiutvariedades, las fundas con solapa son mis favoritas y especiales para proteger la almohada cuando los niños juegan con ellas.
Saludos!
Ésta clase de fundas también es mi favorita, hace que la almohada quede súper protegida y cubierta al 100% 😌.