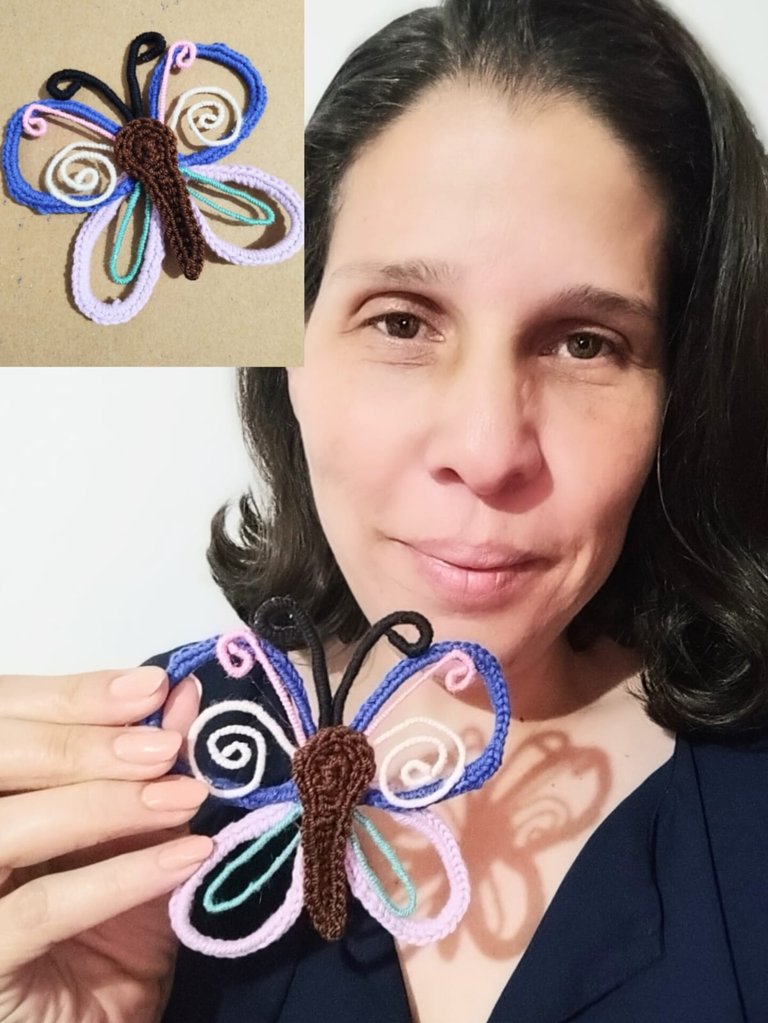
| Rehearsal Butterfly with wires and a little crochet. | Ensayo Mariposa con alambres y un poco de crochet. |
|---|---|
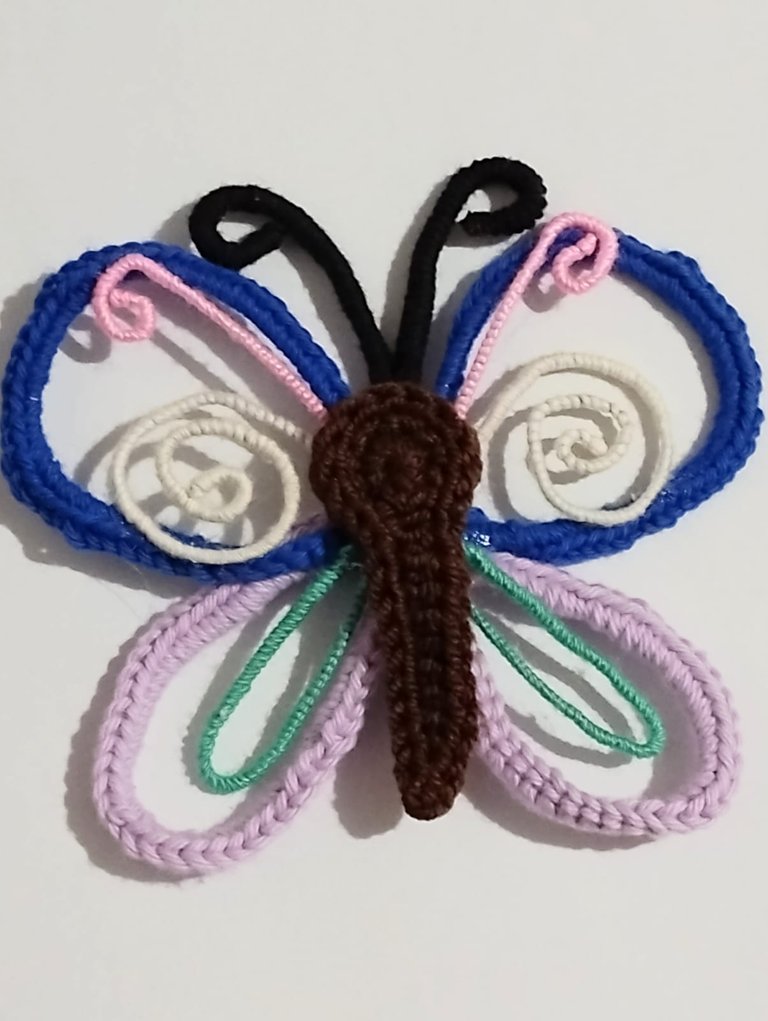
Yes, just a little crochet. Before I explain myself, because you are probably wondering, I am going to greet you wishing you a prosperous day. Now yes, the reason for just a little crochet is that because of the scale in which I worked this butterfly ornament is a little small and I did not have enough space to crochet, except for the outline of the wings and the little caterpillar. | Si, solo un poco de crochet. Antes de explicarme, porque seguramente se lo estarán preguntando, les voy a saludar deseándoles un día próspero. Ahora sí, el porqué de solo un poco de crochet es que por la escala en la que trabajé este adorno de mariposa es algo pequeño y no conté con suficiente espacio para tejer, excepto en el contorno de las alas y la pequeña oruga. |

This is a small test of a butterfly I would like to make for Rafaella's bedroom door, and since I had a small piece of wire left over from other projects, I wondered what it would look like. The truth is that I didn't need to invest too much time in this test and it also gave me the idea to make small ornaments like for the fridge, for example. | Este es un pequeño ensayo de una mariposa que quisiera hacer para la puerta del cuarto de Rafaella, y como tenía un pequeño trozo de alambre que me ha sobrado de otros proyectos, entonces me preguntaba cómo se vería. La verdad es que no necesité invertir demasiado tiempo en este ensayo y también me dio la idea de hacer pequeños adornos como para la nevera, por ejemplo. |

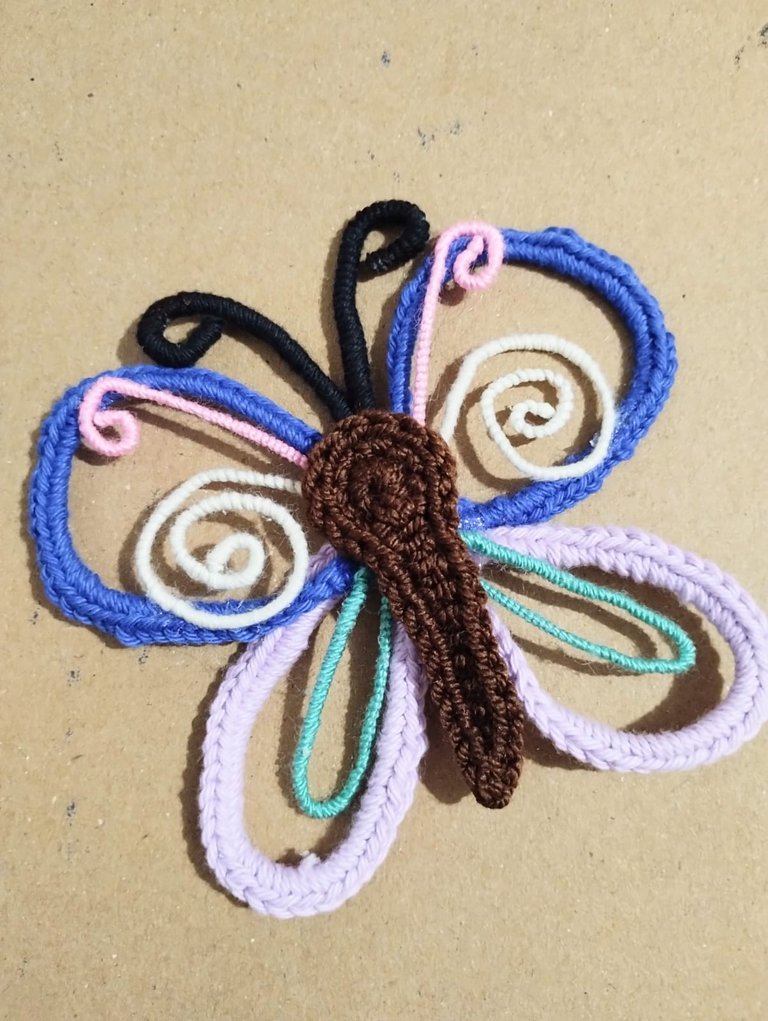

In this case, unlike the work where I made my daughter's name, I realized that it was convenient to make the figure first since I had to change the color of each part of the wings and this requires symmetry. This leads me to conclude that covering the wire depends mainly on the design of the figure we are making. | En este caso, a diferencia del trabajo donde realicé el nombre de mi hija, me dí cuenta que me convenía hacer la figura primero ya que debía cambiar de color eb cada parte de las alas y Esto requiere simetría. Esto me lleva a concluir que cubrir el alambre depende principalmente del diseño de la figura que estemos realizando. |

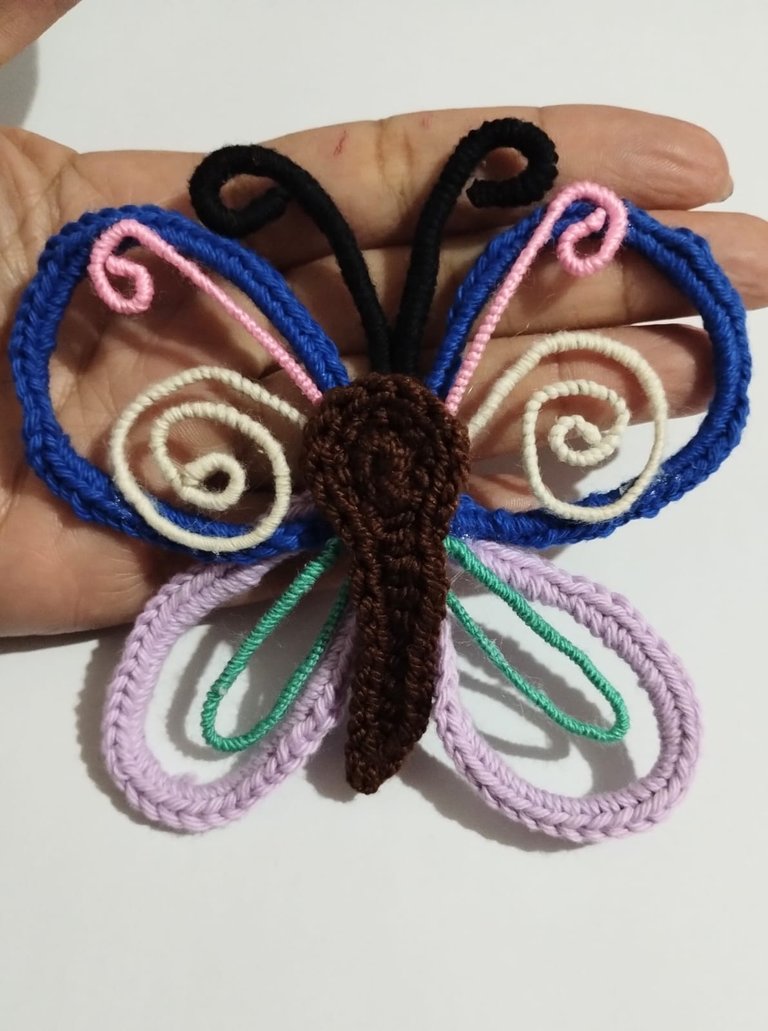

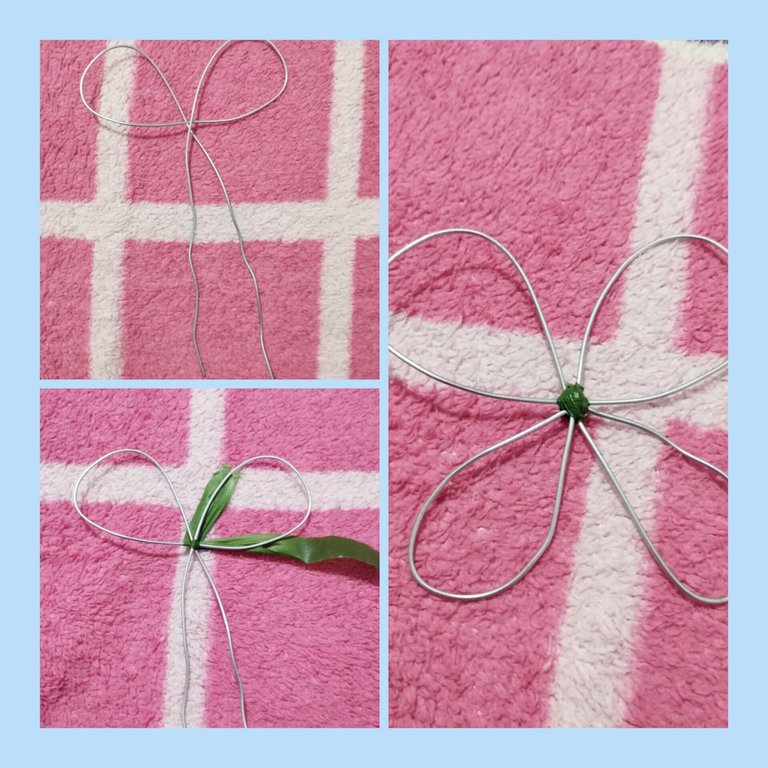
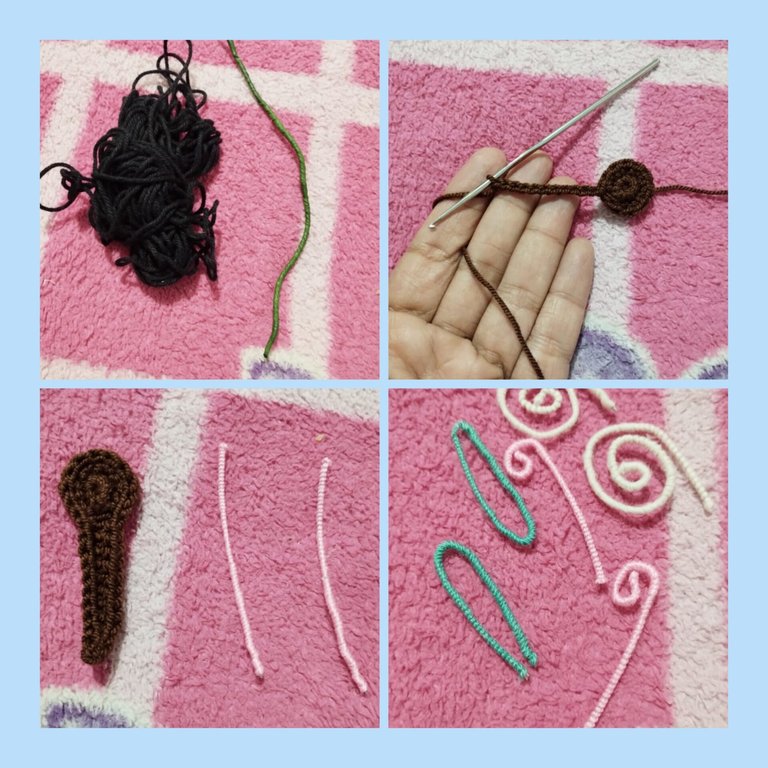
Once I had the butterfly design assembled on the wire, I secured it nicely in the center with floral tape and proceeded to cover it by doing a simple low stitch weave on the top wings with blue thread. When I finished the upper wings, I changed to lilac to make the lower wings. | Una vez que tuve el diseño de la mariposa armada en el alambre, lo fijé muy bien en el centro con cinta floral y procedí a cubrirlo haciendo un tejido simple de puntos bajos en las alas de arriba con hilo azul. Al terminar las alas superiores, cambié a color lila para hacer las alas de abajo. |


For the caterpillar I made a magic ring of 6 single crochet stitches, then increased to 12 single crochet stitches and knit a chain of 12 stitches. Leaving a stitch in the middle I move to the next stitch and knit a slip stitch, then a single crochet and then a double crochet until I reach the base of the circle. Then I knit one round all the way around with slip stitches. This will give the knitting more firmness by preventing it from rolling up. | Para la oruga realicé un anillo mágico de 6 puntos bajos, luego aumenté a 12 puntos bajos y tejí una cadena de 12 puntos. Dejando un punto por el medio paso al siguiente y hago un punto deslizado, luego un punto bajo y seguido puntos medio bajo hasta llegar a la base del círculo. En seguida tejo una vuelta en todo el contorno con puntos deslizados. Esto le dará más firmeza al tejido evitando que se enrolle. |


I covered three pairs of wire to make arabesques on the inside of the wings and antennae, all in different colors. With liquid silicone I glued the arabesques, unlike the antennae which I covered and tied with a thread for greater firmness. | Cubrí tres pares de alambre para hacer arabescos en el interior de las alas y las antenas, todo esto en diferentes colores. Con silicona líquida pegué los arabescos, a diferencia de las antenas las cuales cubrí amarré con un hilo para mayor firmeza. |


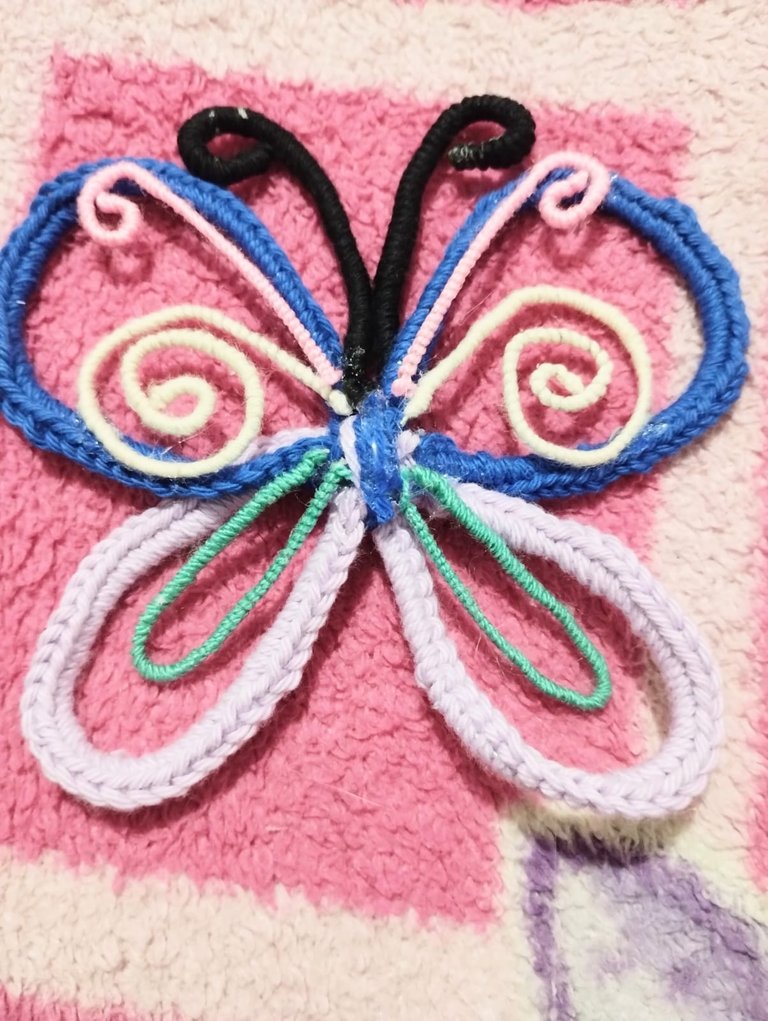

Making a larger one will obviously be a bigger challenge. But I would like to make it with woven cord and this will take more time and materials. For now I am satisfied with this butterfly and I have covered the desire I had to make it, but the other one is not out of my mind. It will be a slightly bigger project. I already want to start planning it. I say goodbye for now, sending many blessings to all. | Hacer una más grande, obviamente será un reto mayor. Pero me gustaría hacerla con el cordón tejido y esto llevará más tiempo y materiales. Por ahora me conformo con esta mariposita y he cubierto las ganas que tenía de hacerla, pero no sale de mi pensamiento la otra. Será un proyecto un poquito más grande. Ya quiero empezar a planificarlo. Me despido por ahora, enviando muchas bendiciones para todos. |



Imágenes editadas en: inshot
Fotos tomadas con MOTOROLA G 32

Images edited in: inshot
Photos taken with MOTOROLA G 32

Congratulations @karen.art! You have completed the following achievement on the Hive blockchain And have been rewarded with New badge(s)
<table><tr><td><img src="https://images.hive.blog/60x70/https://hivebuzz.me/@karen.art/upvoted.png?202406112357" /><td>You received more than 4250 upvotes.<br />Your next target is to reach 4500 upvotes. <p dir="auto"><sub><em>You can view your badges on <a href="https://hivebuzz.me/@karen.art" target="_blank" rel="noreferrer noopener" title="This link will take you away from hive.blog" class="external_link">your board and compare yourself to others in the <a href="https://hivebuzz.me/ranking" target="_blank" rel="noreferrer noopener" title="This link will take you away from hive.blog" class="external_link">Ranking<br /> <sub><em>If you no longer want to receive notifications, reply to this comment with the word <code>STOP <p dir="auto"><strong>Check out our last posts: <table><tr><td><a href="/hive-122221/@hivebuzz/lpud-202406"><img src="https://images.hive.blog/64x128/https://i.imgur.com/pVZi2Md.png" /><td><a href="/hive-122221/@hivebuzz/lpud-202406">LEO Power Up Day - June 15, 2024It looks great. It makes you look like a real one. Great job! Thanks!
Hola Karen, tú mariposa está de lujo. Recuerdo cuando mamá usaba un gancho tipo mariposa de alambre en sus cabellos, lo llamaba "mariposa voladora", llevaba resorte en la insersección de sus alas y era como si volase. Tú mariposa lleva técnica mixta, esa técnica me falta practicarla. Abrazos.
Verdaderamente agradezco tu comentario, me ilustra sobre esta técnica, solo ha sido un poco de improvisación y mas bien, fue la forma en que logré ir resolviendo cada pequeña parte del rompecabezas.
Imagino la mariposa de tu mamá, y debió ser muy bella.
Saludos.
Que hermosa mariposa @karen.art, los colores me encantan, es el adorno perefecto para la sala o jardín.
Saludos!
Ay siiii, para el jardín. Gracias por esta bella idea y tu lindo comentario.
Saludos amiga.