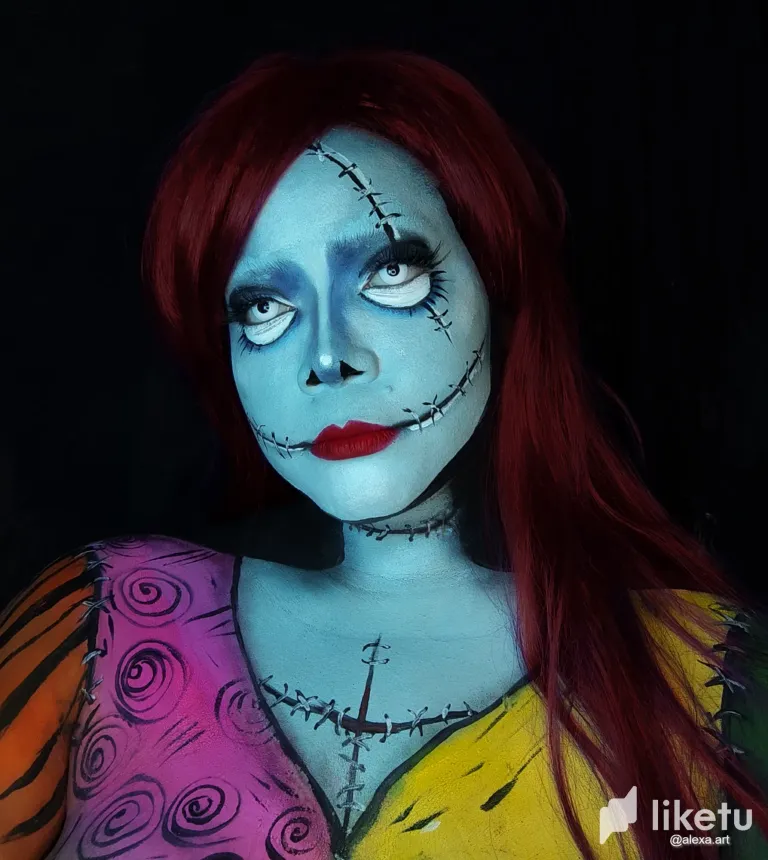
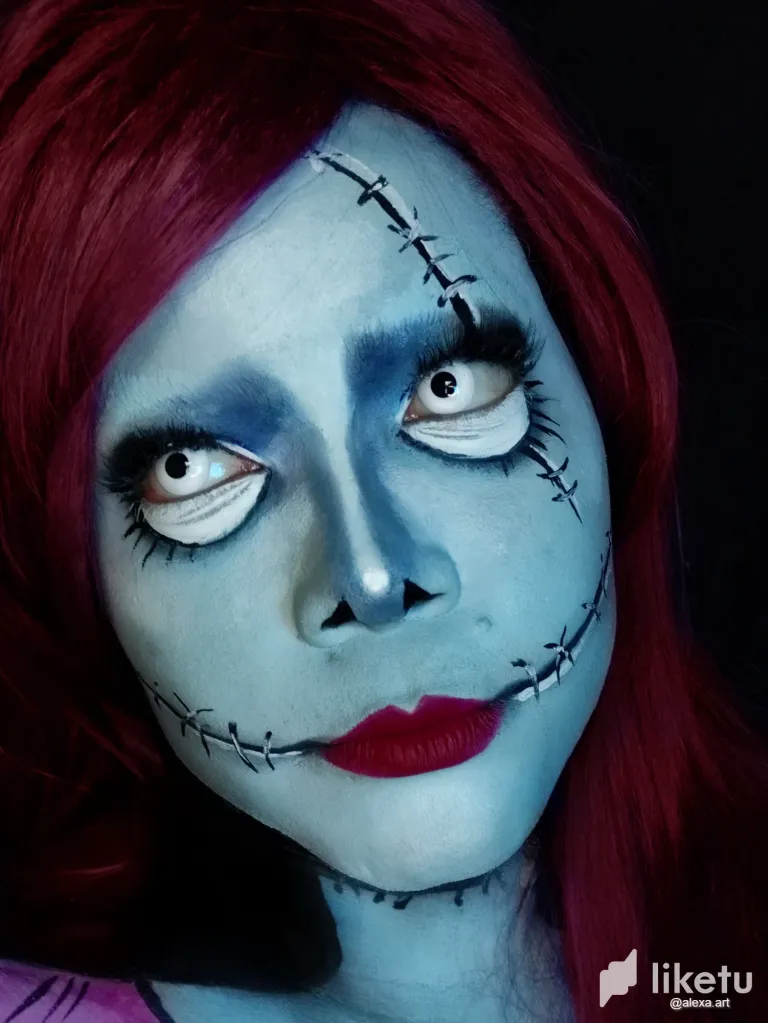
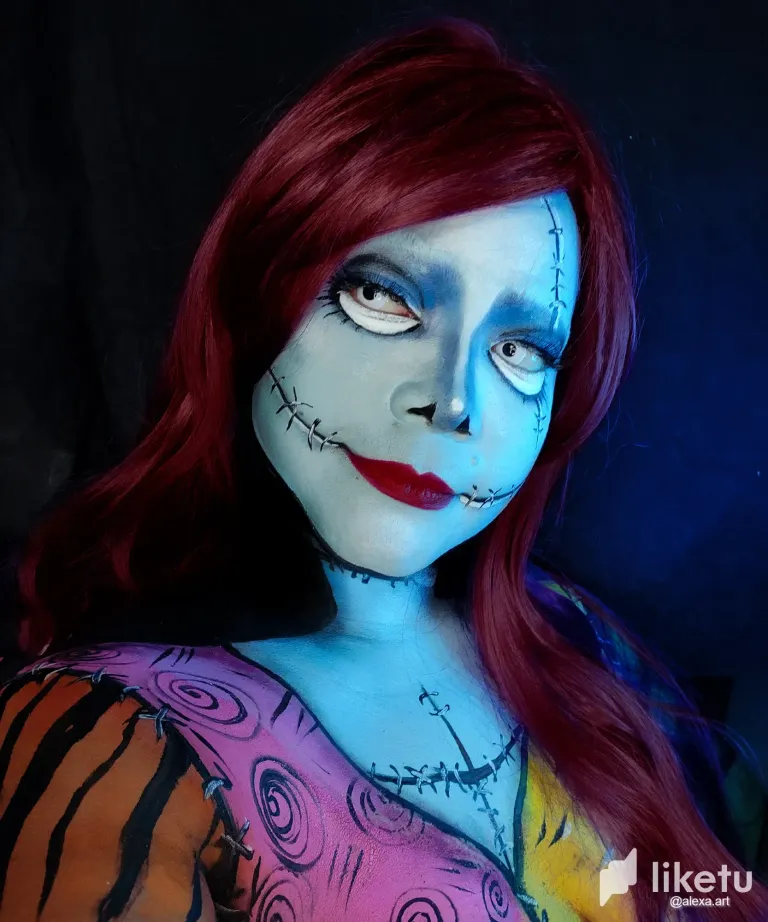
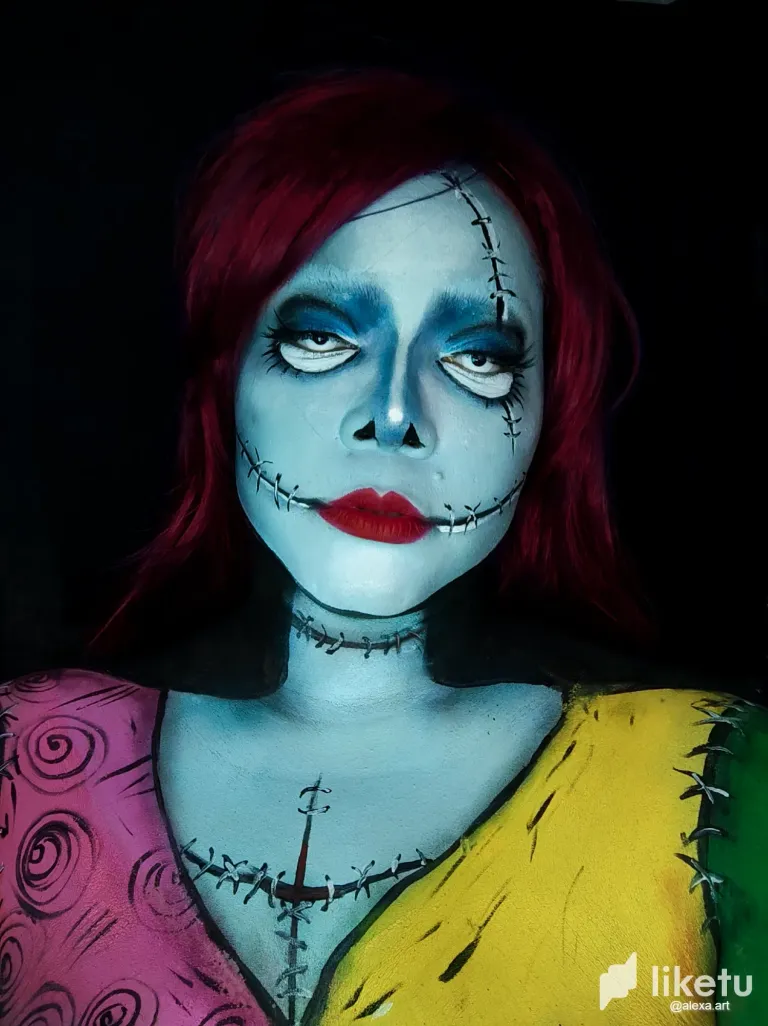
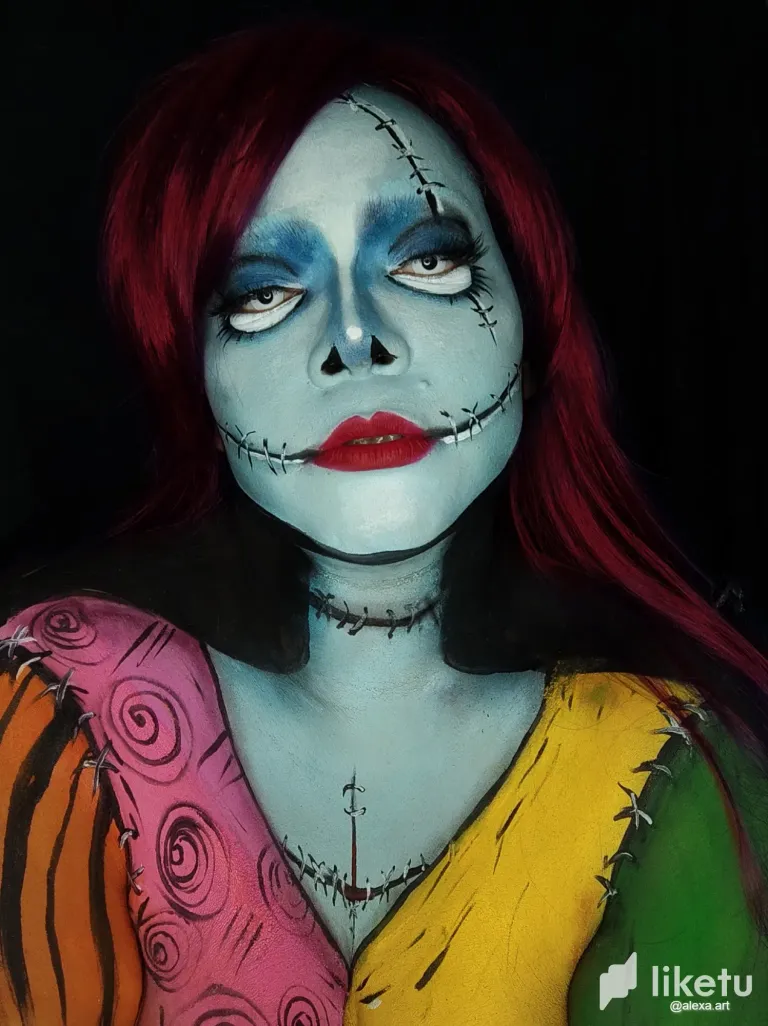
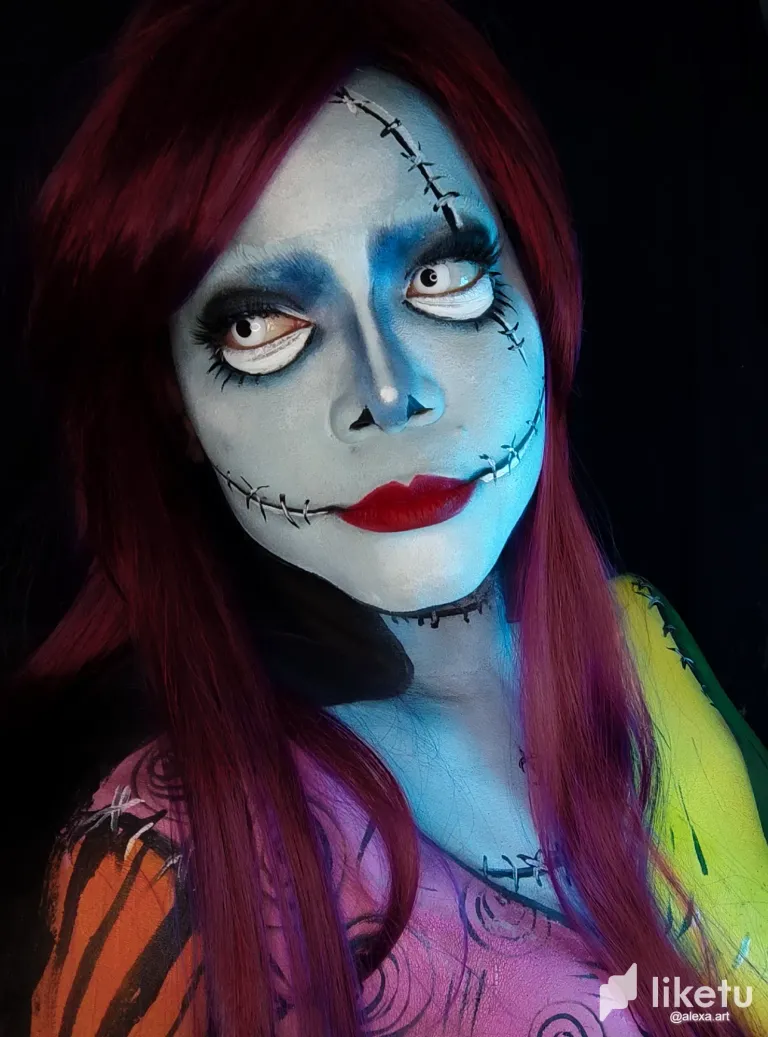
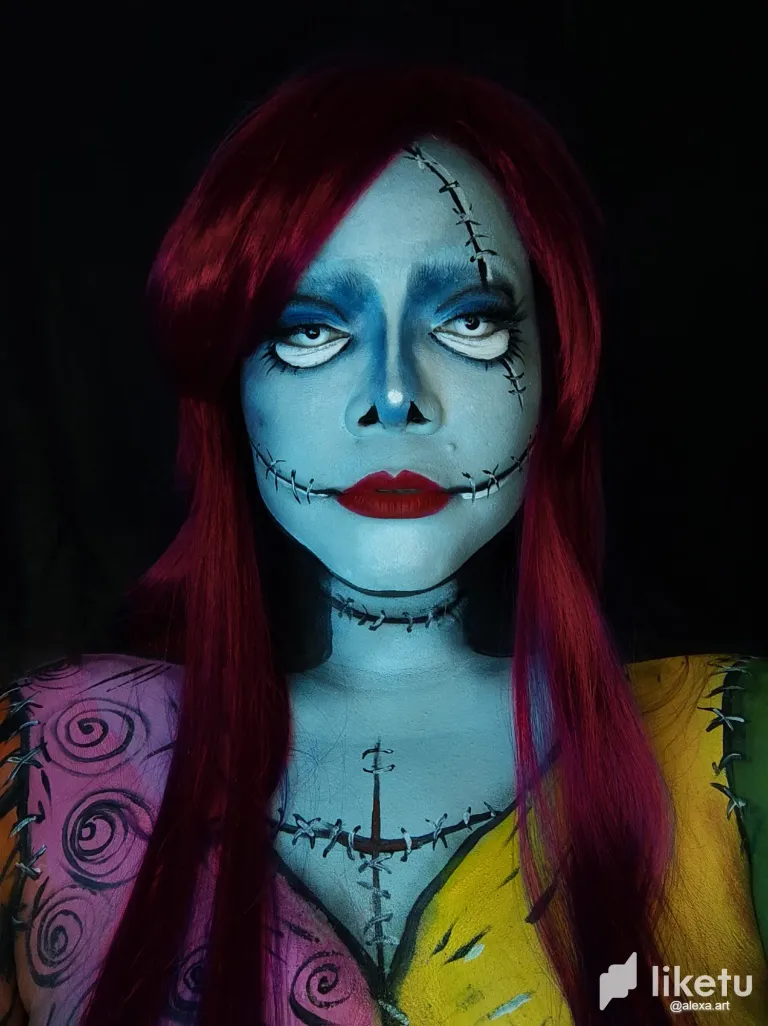
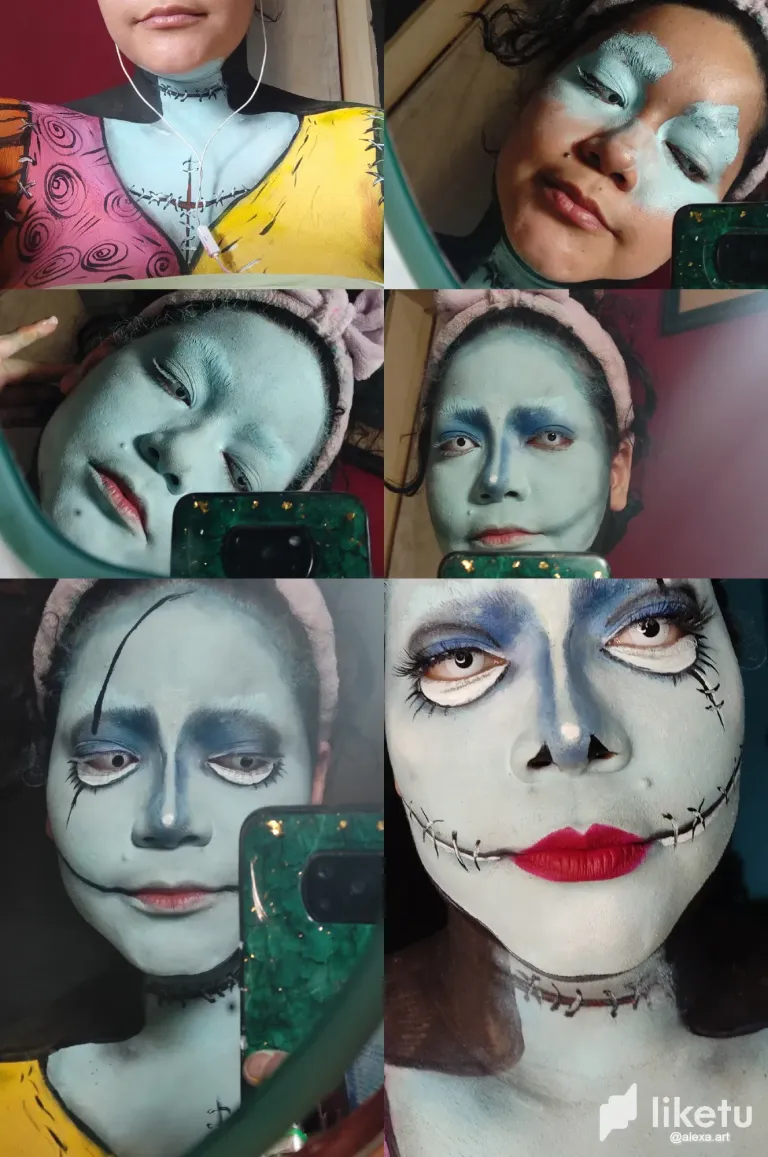
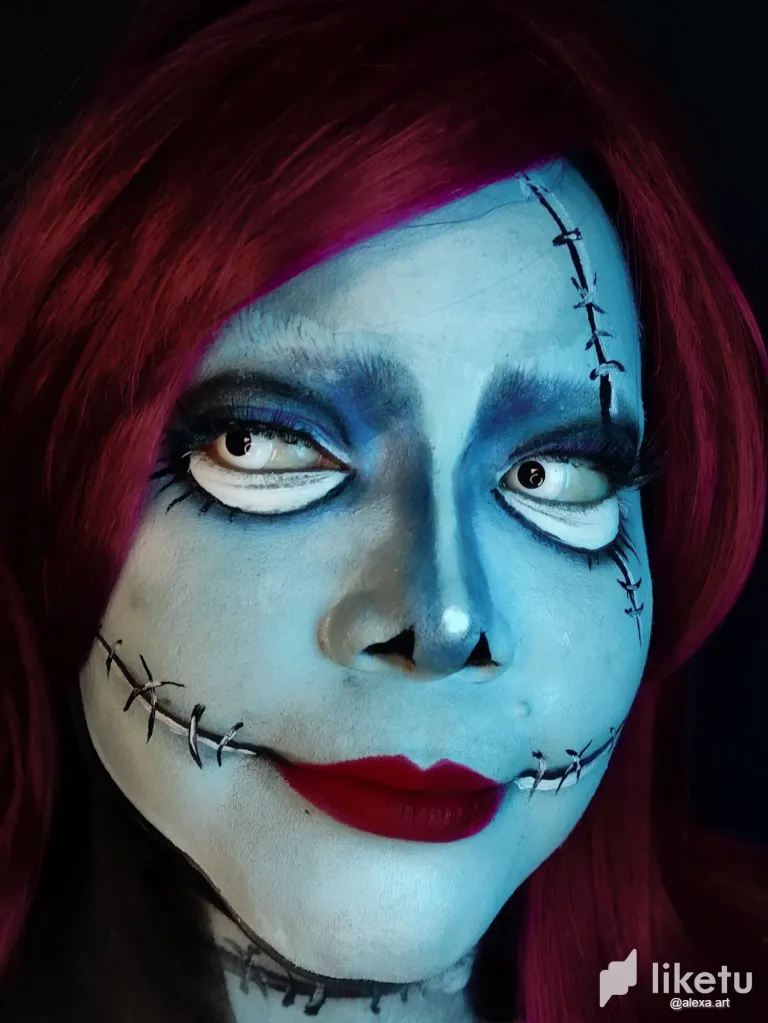
Siendo final de octubre y principio de noviembre me pareció que un maquillaje inspirado en un personaje de la película The nightmare before christmas era una opción excelente, escogí a Sally, siempre he querido hacer este maquillaje, pero sinceramente pensé que no seria capaz, lo veía bastante complicado, sin embargo, hoy aproveche un tiempo libre que tuve en la mañana para ponerme manos a la obra, este maquillaje me hizo hacer bastante desastre en mi mesa de trabajo, tuve que usar diferentes tipos de pinturas, colores, hacer mezclas para obtener un tono de piel azul pálido y muchas sombras de ojos para hacer pequeños detalles de profundidad, confié en el proceso y estoy bastante feliz con el resultado, de lo único que me puedo quejar es que me canse bastante, tarde casi 4 horas pero valió la pena, por cierto, no tenia una peluca roja larga, asi que decidí usar una morada y editarla cambiándole el tono a rojo en Photoshop, jamás pensé que quedaría tan bien realmente no me tenia fe a mi misma, espero que a ustedes también les guste.
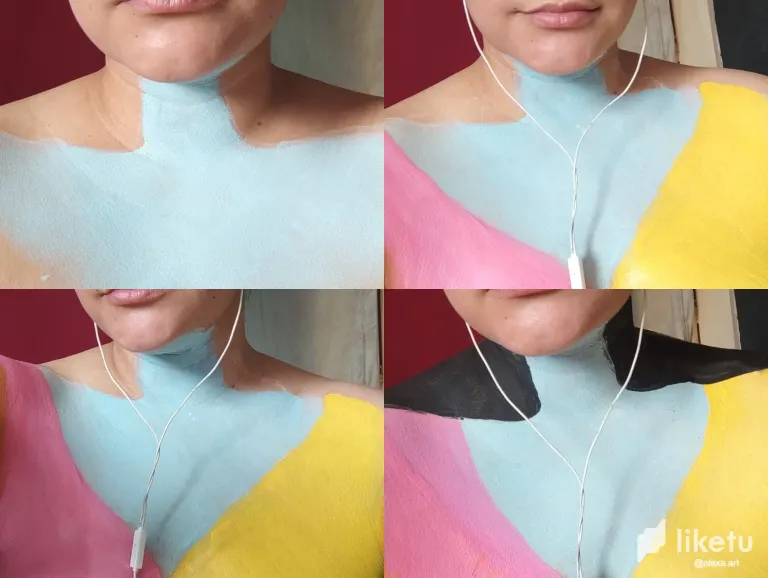
Empecé a pintar mi pecho ya que asi podía ver bien los detalles que iba a plasmar ahí usando mis lentes, tomé una mezcla de azul claro con blanco y una gotita de negro que hice para tener ese color de piel azulado pero pálido, empecé a pintar todo el pecho creando la forma que quería, luego empecé a dibujar la ropa usando rosa y amarillo, le di varias capas y selle con polvo traslucido, alrededor de la silueta del cuello pinte de negro para dar ese efecto de cuello estrecho como es típico de los personajes de Tim Burton, para esta parte negra use pintura corporal a base de agua que es mas facil al momento de hacer trazos con precisión.
Luego pinte las mangas de la camisa en un lado verde y en el otro naranja, empecé a dibujar el diseño de cada parte de la tela, en el rosa haciendo espirales, amarillo solo coloque algunas líneas negras, en la parte verde solo agregue diferentes tonos de verde y en la naranja un patrón de rayas, con pintura negra empecé a realizar este efecto de cosido en todas las uniones de las telas y tambien en el pecho y cuello, resalte los hilos con pintura blanca.
Después de terminar con el pecho me encargue del rostro, selle mis cejas con pegamento en barra aplicando 5 capas, deje secar y luego comencé a pintar encima de todo el rostro con la mezcla de colores que hice al principio, selle con polvo traslucido y empecé a realizar sombras usando sombra de ojos azul oscuro, contorneando mi nariz y los ojos, tambien agregue sombra en el contorno de mi rostro y en la parte de la boca donde iría la parte cosida, luego pinte de blanco debajo de mis ojos para dar ese efecto de ojo grande, alrededor agregue profundidad usando negro y azul oscuro, dibuje las pestañas y después empecé a trazar las líneas de heridas en el rostro con pintura negra.
- A medida que iba avanzando agregue mas detalles de sombras en los ojos, tambien aplique mascara de pestañas y pegue las pestañas postizas mas grandes que tengo, aunque no son lo suficientemente enormes como quería, se ve bien, pinte los hilos en las heridas y aplique labial rojo intenso, para terminar quise cambiar la forma de la nariz haciendo los orificios de una forma triangular.
Being the end of October and beginning of November I thought that a makeup inspired by a character from the movie The nightmare before christmas was an excellent option, I chose Sally, I have always wanted to do this makeup, but I honestly thought I would not be able to, I saw it quite complicated, however, today I took advantage of some free time I had in the morning to get down to work, this makeup made me make quite a mess on my work table, I had to use different types of paints, colors, blends to get a pale blue skin tone and a lot of eye shadows to make small details of depth, I trusted the process and I'm quite happy with the result, the only thing I can complain about is that I got quite tired, it took me almost 4 hours but it was worth it, by the way, I didn't have a long red wig, so I decided to use a purple one and edit it changing the tone to red in Photoshop, I never thought it would look so good I really didn't have faith in myself, I hope you like it too.
I started to paint my chest so I could see well the details I was going to paint there using my glasses, I took a mixture of light blue with white and a drop of black that I did to have that bluish but pale skin color, I started to paint the whole chest creating the shape I wanted, then I started to draw the clothes using pink and yellow, I gave several layers and sealed with translucent powder, around the neck silhouette I painted black to give that narrow neck effect as typical of Tim Burton's characters, for this black part I used water based body paint which is easier to make precise strokes.
Then I painted the sleeves of the shirt on one side green and on the other orange, I began to draw the design of each part of the fabric, in the pink making spirals, yellow just put some black lines, in the green part I only added different shades of green and in the orange a striped pattern, with black paint I began to make this effect of stitching in all the joints of the fabrics and also in the chest and neck, highlight the threads with white paint.
After finishing with the chest I took care of the face, I sealed my eyebrows with glue stick applying 5 coats, let it dry and then I started to paint over the whole face with the mix of colors I did at the beginning, I sealed with translucent powder and started to make shadows using dark blue eyeshadow, contouring my nose and eyes, I also added shadow on the contour of my face and on the part of the mouth where the stitched part would go, then I painted white under my eyes to give that big eye effect, all around I added depth using black and dark blue, I drew the eyelashes and then I started to draw the wound lines on the face with black paint.
- As I went on I added more details of shadows on the eyes, I also applied mascara and glued the biggest false eyelashes I have, although they are not huge enough as I wanted, it looks good, I painted the threads in the wounds and applied deep red lipstick, to finish I wanted to change the shape of the nose making the holes in a triangular shape.
For the best experience view this post on Liketu
!LOL
lolztoken.com
To get his quarterback.
Credit: reddit
$LOLZ on behalf of hivephoto
(8/10)
Farm LOLZ tokens when you Delegate Hive or Hive Tokens.
Click to delegate: 10 - 20 - 50 - 100 HP@alexa.art, I sent you an
Such a fancy creation!
Thank you!