Español
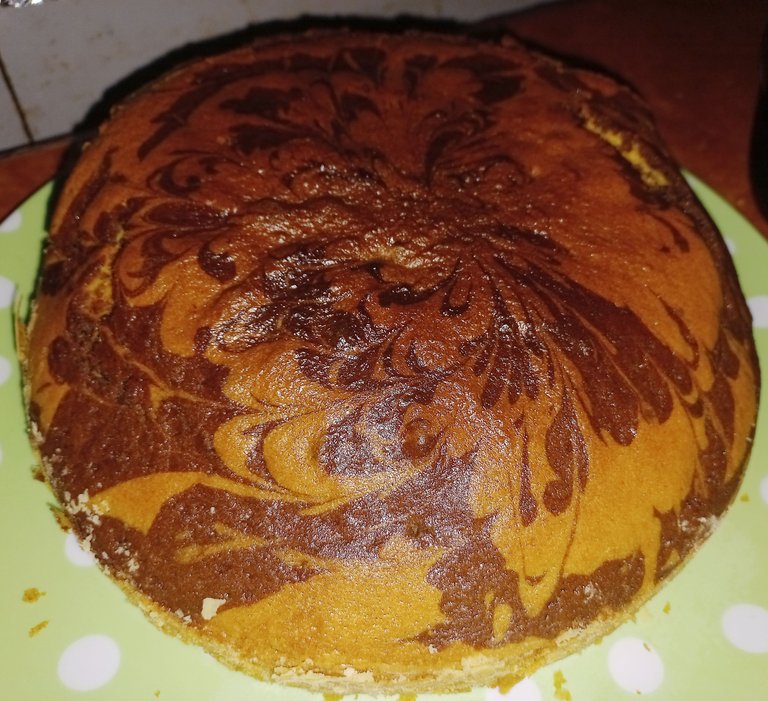
Hace unas semanas alguien -que sabe que me gusta preparar de vez en cuando tortas- me obsequió un paquete de preparación instantánea de torta marmoleada.
Entre el quehacer laboral y académico pasaron los días y yo aún no preparaba la torta. Sabía que solo necesitaba dos ingredientes, los cuales tenía en casa, pero por razones de tiempo no me ponía manos a la obra.
Hasta que al fin, hice un paréntesis. En realidad me asustaba un poco que no saliera como quería, pues necesitaba electricidad para hornear, pero nada perdía con intentarlo. Y es que en el lugar donde resido enfrentamos cortes de electricidad a diario y nunca se sabe cuál es la programación.
Además, para que sea marmoleada, obviamente necesitaba un poco de cacao. Pero me dieron solo un paquete, era lo que yo creía. Para ello pensé en una solución: emplear un poco de mezcla instantánea para bebida a base de chocolate (en realidad no sé si realmente hubiera funcionado al agregarlo a una parte de la masa). Sin embargo, vaya sorpresa, en el interior del empaque venía otro pequeño envoltorio con el contenido achocolatado con un aroma muy provocativo.
Sin más preámbulo, les explico la receta.
Ingredientes:
• 1 paquete de mezcla instantánea para tortas
• 3 huevos
• 1/2 taza de aceite
• 10 cucharadas de agua
• un poco de mantequilla y harina para untar el molde
Preparación:
Según las indicaciones del empaque, el primer paso consiste en mezclar los huevos con el aceite. Así que coloqué ambos ingredientes en un bol seco y procedí a mezclarlos bien durante unos segundos.
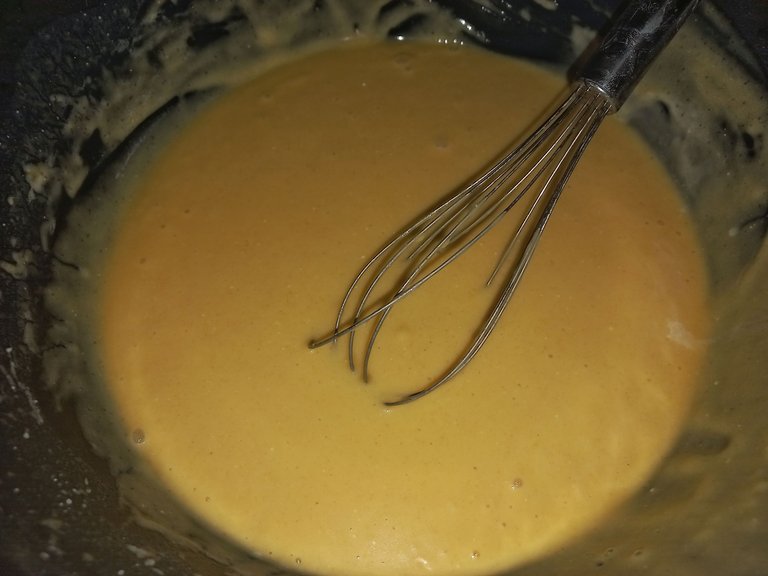
Seguidamente, fui agregando el polvo instantáneo del empaque. Poco a poco lo fui incorporando hasta que noté que empezaba a quedar bastante espeso. Poco a poco fui agregando agua.
Les confieso que cuando leí que la preparación necesitaba 10 cucharadas de agua me parecía muy poca cantidad. Las medi en una taza y apenas llegaba a la mitad. Así que terminé de llenarla. Menos mal no la agregué toda de lleno a la mezcla. De haberlo hecho, hubiese cometido un error.
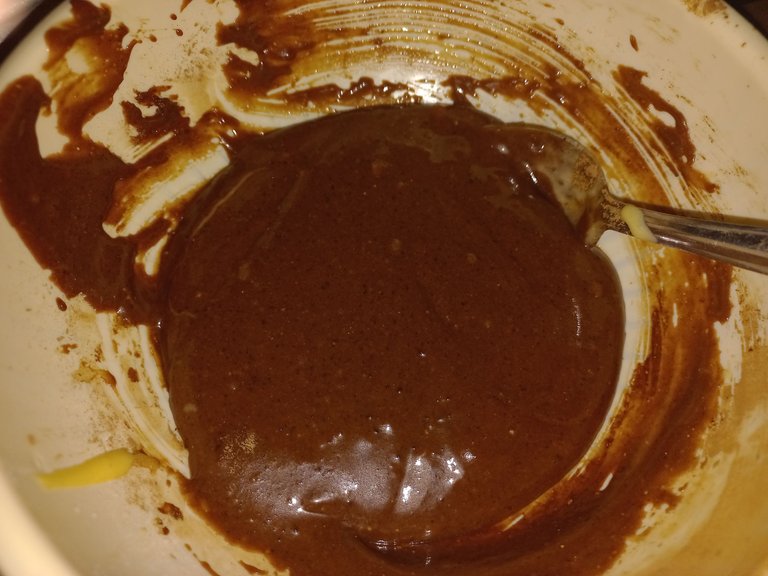
Una vez terminé, separé la mitad de la mezcla. A esa le agregué el polvo achocolatado, color marrón. Reservé ambas mezclas.
Unté con mantequilla un pequeño molde, de un cuarto de kilo, aproximadamente. Seguidamente le esparcí un poco de harina de trigo.
Procedí a vaciar las mezclas en el molde. Primero coloqué en el centro un poco de la mezcla de chocolate, luego agregué por los lados una parte de la mezcla de vainilla. Y así fui alternándolas. Hasta agregar todo al molde.Y, con la ayuda de un palillo fui dibujando la figura en la superficie
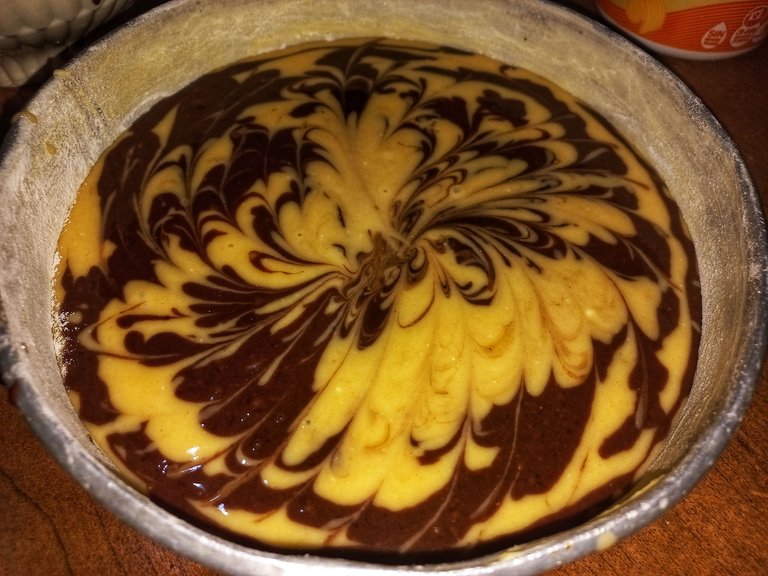
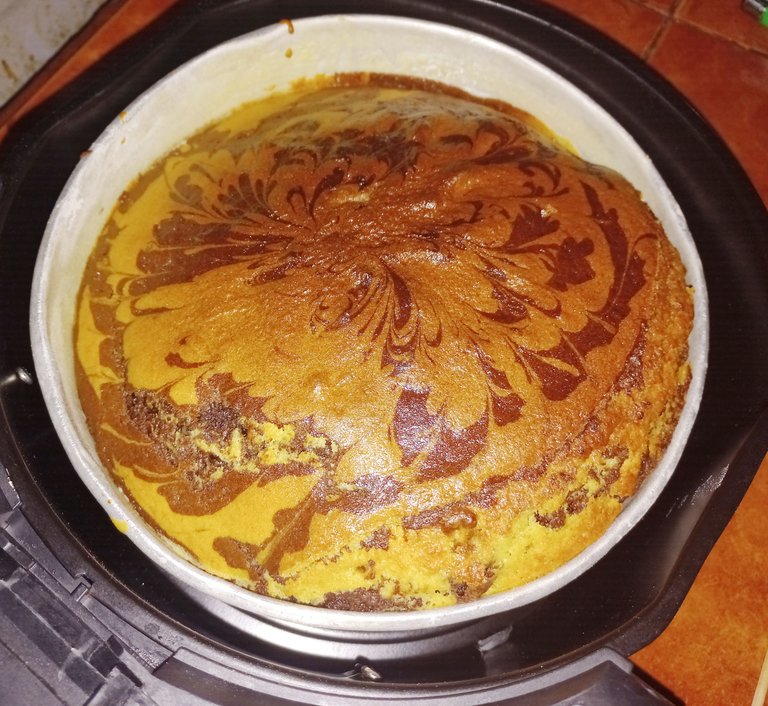
Llevé a la freidora de aire precalentada, a 180 ° durante media hora. A los 15 minutos abrí para verificar que todo estuviera en orden. Me sorprendió cuanto había crecido.
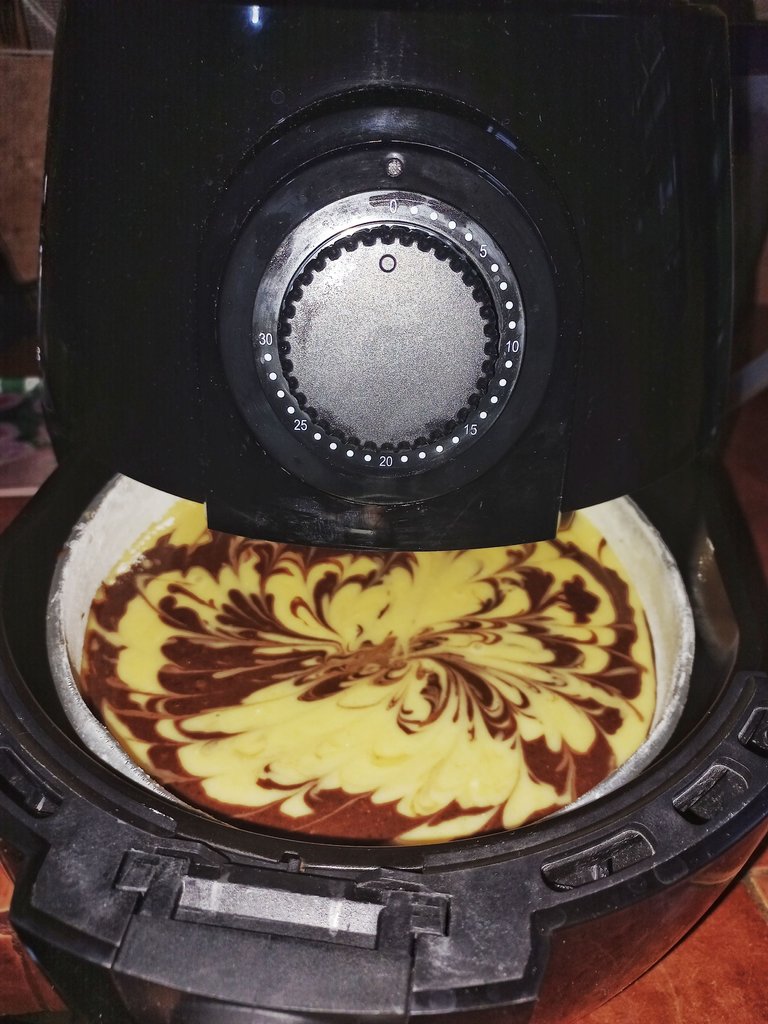
Quedó muy deliciosa y esponjosa la pequeña torta. Aquí les comparto algunas imágenes que capturé.
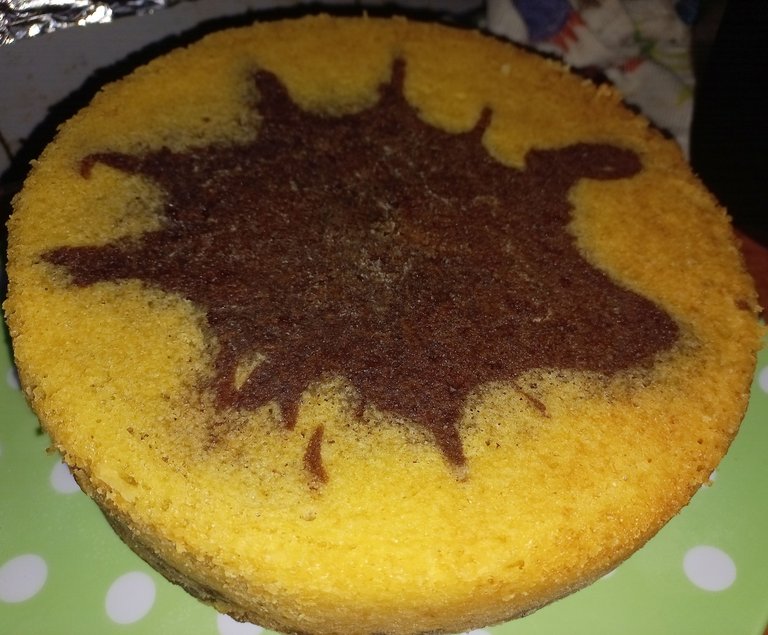
Gracias por tu lectura y apoyo.
English

A few weeks ago, someone -who knows that I like to bake cakes from time to time- gave me a bag of instant cake mix as a gift.
Between work and school, days went by and I still hadn't prepared the cake. I knew I only needed two ingredients, which I had at home, but due to time constraints I didn't get around to it.
Until finally, I took a break. Actually, I was a little scared that it wouldn't turn out the way I wanted, since I needed electricity to bake it, but I didn't lose anything by trying. And the thing is that where I live we face daily power outages and you never know what the schedule is.
Besides, to make it marbled, I obviously needed some cocoa. And I had it too: I was planning to solve it with some instant chocolate-based drink mix (actually I don't know if it would have really worked by adding it to some of the batter). However, what a surprise, inside the package came another small wrapper with the chocolatey contents with a very provocative aroma.
Without further ado, I'll explain the recipe.
Ingredients:
- 1 package of instant cake mix
- 3 eggs
- 1/2 cup oil
- 10 tablespoons of water
- a little butter and flour to grease the pan
Preparation:
According to the package directions, the first step is to mix the eggs with the oil. So I placed both ingredients in a dry bowl and proceeded to mix them well for a few seconds.

Next, I added the instant powder from the package. Little by little I incorporated it until I noticed that it started to become quite thick. Little by little I added water.
I confess that when I read that the preparation needed 10 tablespoons of water, I thought it was too little. I measured them in a cup and it was barely half full. So I ended up filling it. Thank goodness I didn't add it all the way to the mix. If I had, I would have made a mistake.
Once I was done, I separated half of the mixture. To that I added the chocolate powder, colored brown. I set both mixtures aside.

I buttered a small mold, about 20 centimeters in diameter. Then I sprinkled a little wheat flour on it.
I proceeded to pour the mixtures into the mold. First I placed a little of the chocolate mixture in the center, then I added some of the vanilla mixture on the sides. And so I alternated them. Until I added everything to the mold.
I took it to the preheated air fryer at 180 ° for half an hour. After 15 minutes, I opened it to check that everything was in order. I was surprised how much it had grown.

It was very delicious and fluffy little cake. Here are some pictures I captured.


Thank you for your reading and support.
Traducido al inglés con Deepl // Translated to English with Deepl
Fotografías: fuente propia // Photography: source own
Edición de fotografías: Snapseed // Photo editing: Snapseed
¡Felicitaciones!
1. Invierte en el PROYECTO ENTROPÍA y recibe ganancias semanalmente. Entra aquí para más información.
3. Suscríbete a nuestra COMUNIDADEntra aquí para más información sobre nuestro trail., apoya al trail de @Entropia y así podrás ganar recompensas de curación de forma automática.
4. Creación de cuentas nuevas de Hive aquí.
5. Visita nuestro canal de Youtube.
Atentamente
El equipo de curación del PROYECTO ENTROPÍA
Wow que rico se ve eso, que bueno tenerte por aquí nuevamente amiga, saludos.
Igualmente, saludos.Sii... Gracias,amigo @ismaelgranados