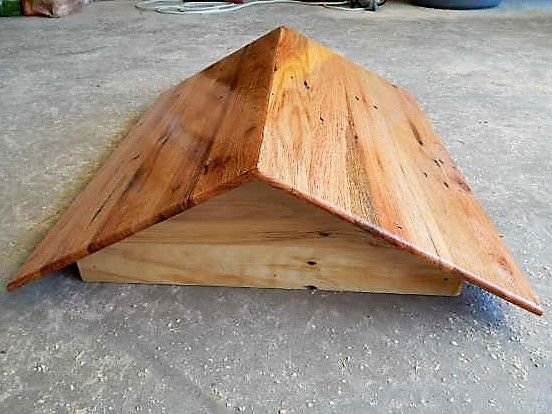
The Plans
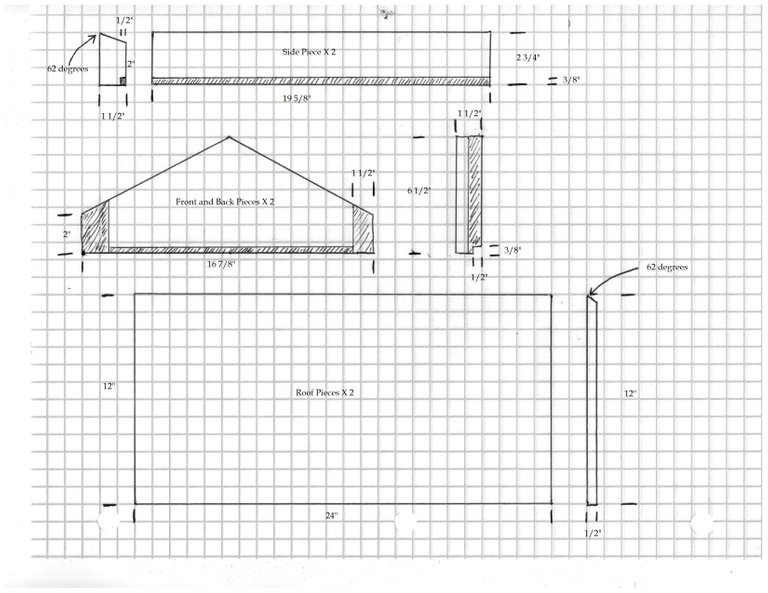
Lumber Needed
- (2) - 19 5/8” x 2 ¾” x 1 ½”
- (2) - 24” x 12” x ½”
- (2) - 16 7/8” x 6 ½” x 1 ½”
The Process
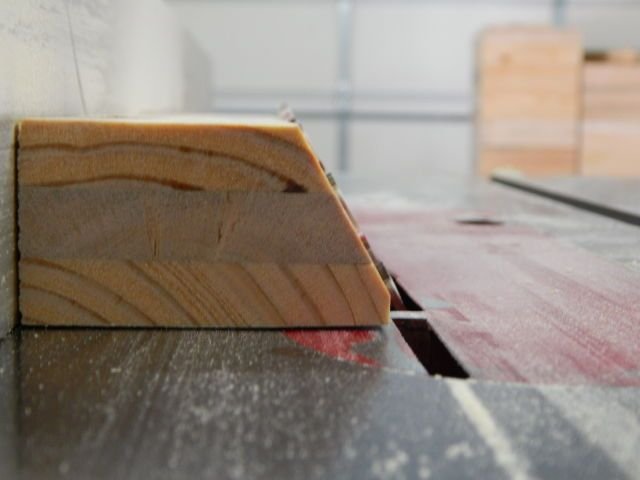
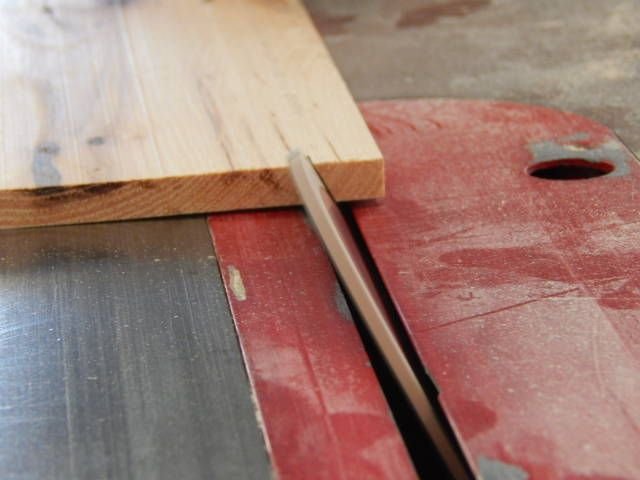
First on the boards that are 19 5/8” long set your table saw fence to 2 ¾” and tilt your blade to 28 degrees. Rip both pieces.
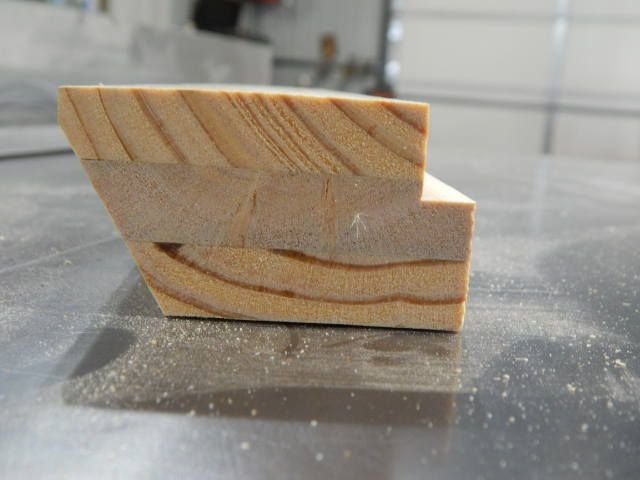
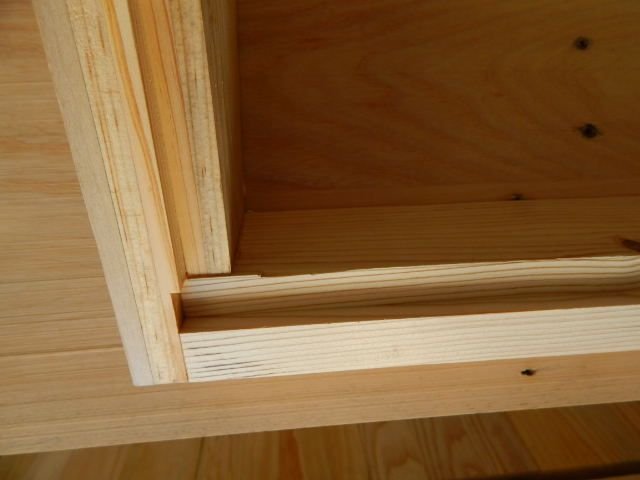
Next set up a ½” dado blade and move the fence 1” off the blade. Raise the dado blade 3/8” up. Run your board through with the 2” side against the fence.
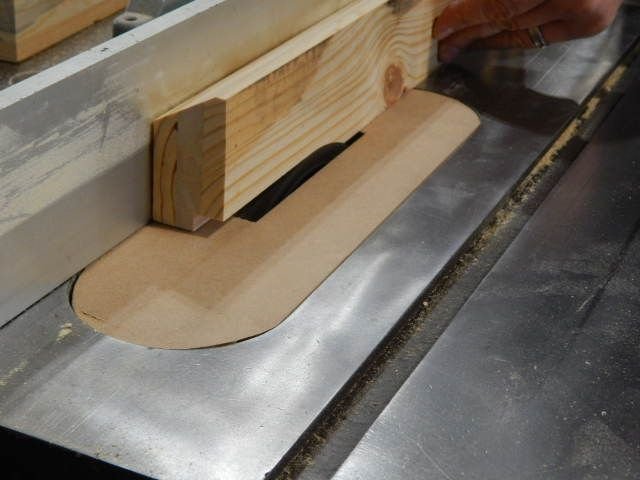
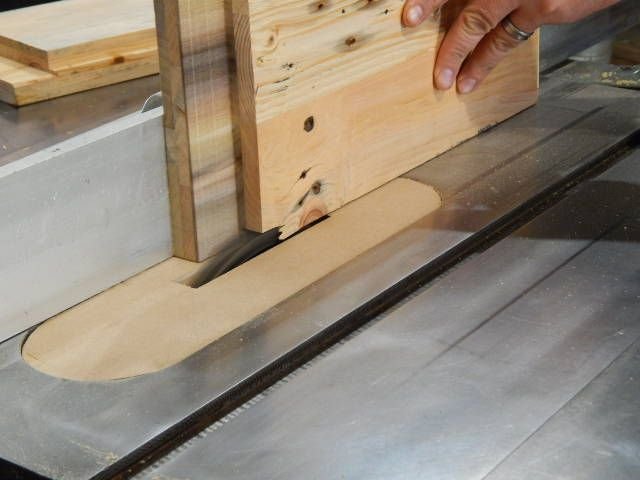
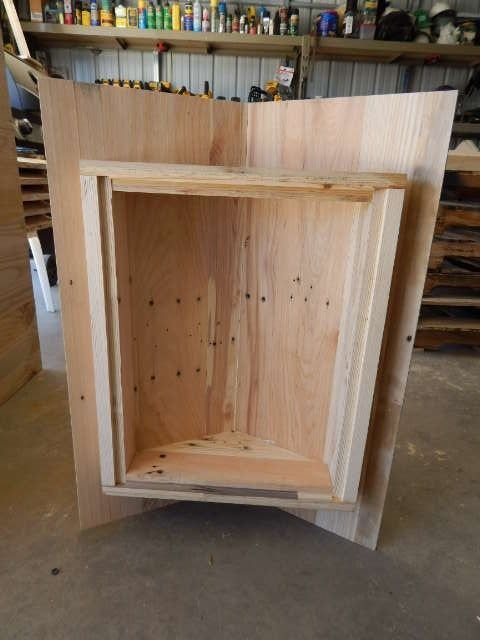
Then on the 16 7/8” board set up your ½” dado blade and raise to ¾” up. Set the fence 1” off the blade, make successive passes until you have removed 1 ½” - as shown in the image.
Next lower the dado blade to 3/8” up and pass it though on the long side of the board.
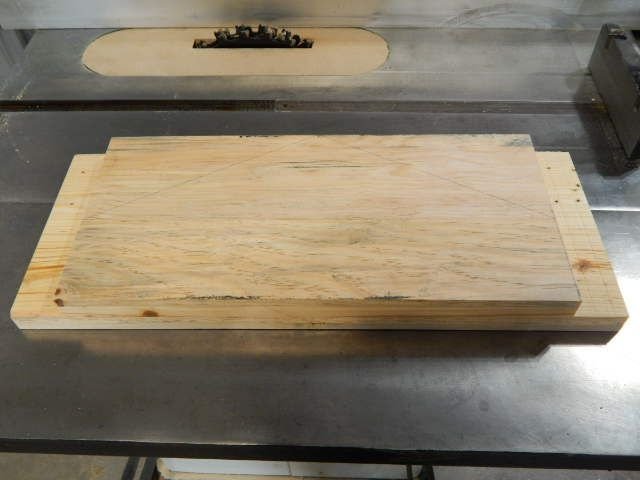
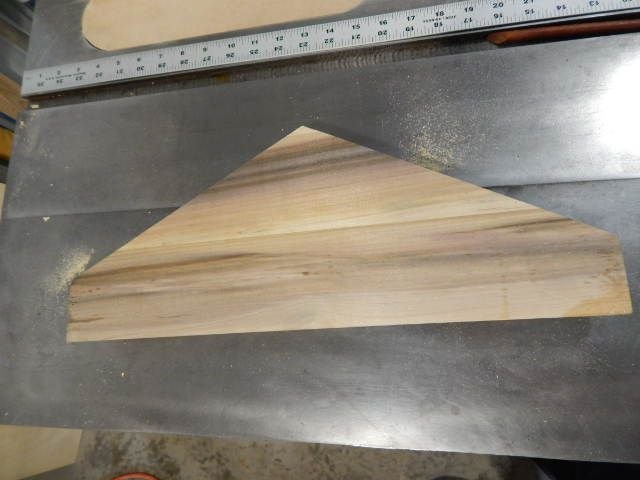
Finally make 62 degree cut from the center point. Easy way to accomplish this is to make a center mark on the 16 7/8” side and then make a mark 2” up on the opposite side. Draw a line between the two points and that’s your cut line.
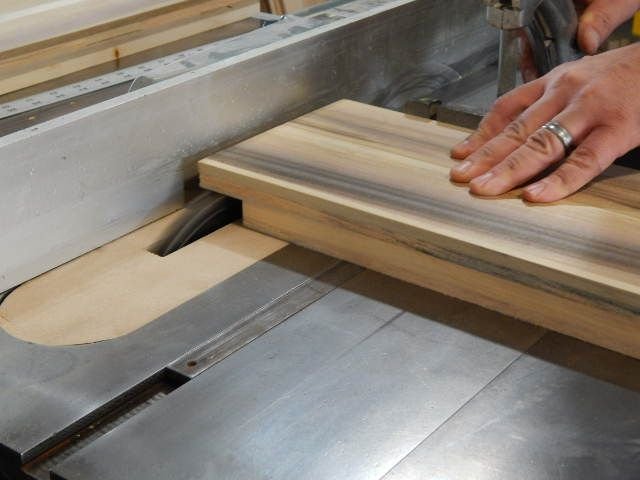
For the roof piece set your blade at 28 degrees and set your fence 12” off the blade. Rip each piece, make sure the nicer face is staying 12” wide – this will be the outside surface of the roof.
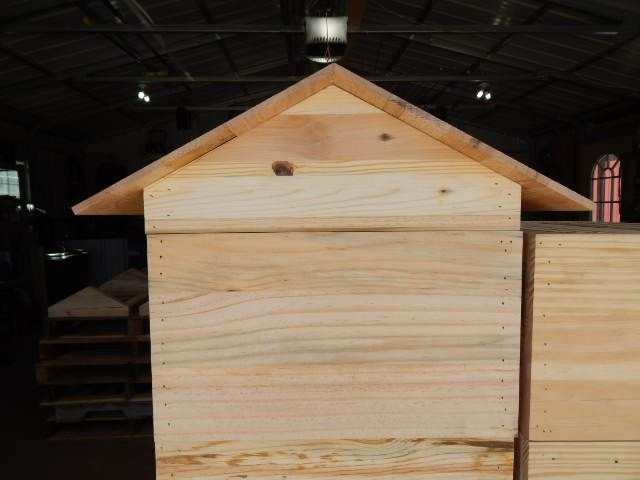
Then we simply glue the side walls together and once dried add your roof pieces, stapling to add stability and strength.
Next using some recycled screen material, we stapled it to the interior of the roof box and filled it with pine shavings. This adds additional insulation for the bees; keeping them warm in the winter and cool in the summer months.
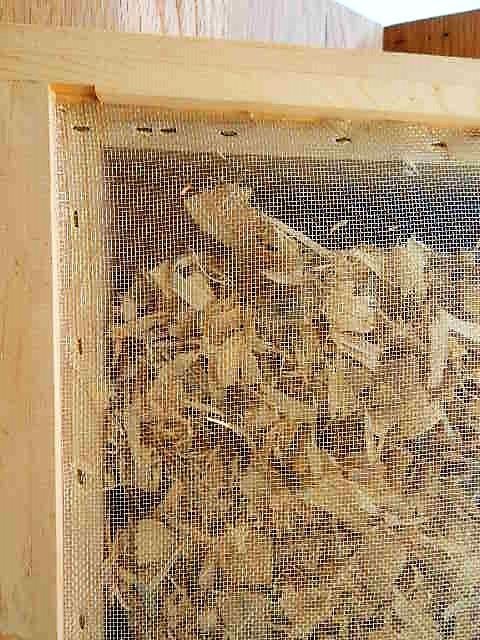
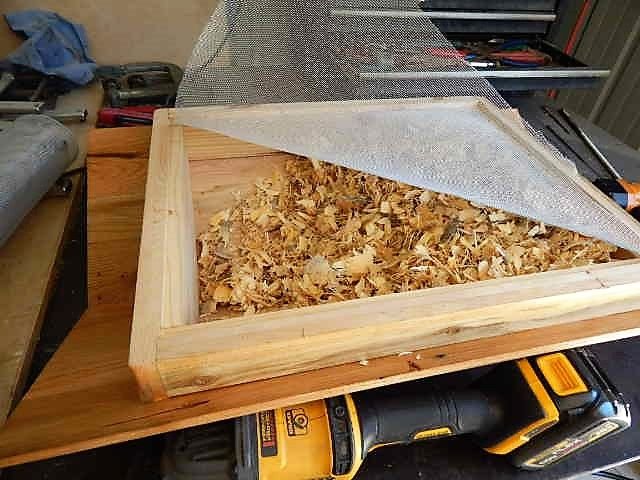
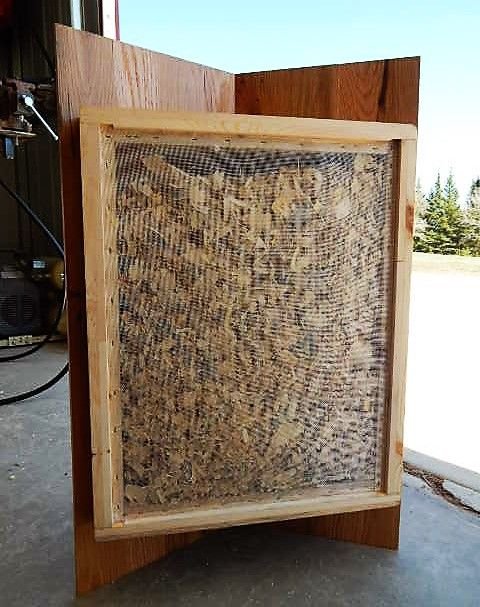
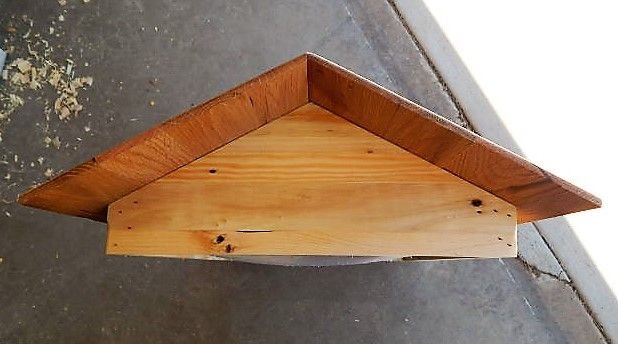
When you are finished you are left with a gorgeous top to your own handmade beehive.

Pallet Wood Beehive Series
Happy Homesteading.
All content and photos are our own. Please do not use any part of this post without our expressed permission. Thank you.
Thats a brilliant job!
Although i would have to make it using hand tools and would probably look a bit more, shall we say 'RUSTIC' lol
Nice job man.....
I like the idea of the shavings as insulation too.
Thank you so much! The pine shavings have been great because they help absorb any moisture the bees have created in the hive as well. And hey, bees don’t mind rustic 😉
This is great work. I love using reclaimed or free wood I should say. I use pallets for so many things.
Thank you!! Pallets are such a great resource for free material. We have made so many things with them and are actually about to start some patio furniture made out of them. Not only is it cost effective, but it’s nice that they don’t end up in a landfill as well. We really enjoy using them!
SO cool! I'd so do this if I didn't live in a neighborhood with such tiny back yards.. they might become disgruntled with me.. or kill my bees :(
Thank you ❤️!! You might check out your local codes for keeping bees, they might surprise you. I know many individuals that keep bees on their small yards in the city. Crazy enough they are very calm and don’t bother you at all.
Some great carpentry skills, and for the fabulous 🐝 what’s next on the list?
Thank you! We are going to do an overview of the finished hive next and then the supers and queen excluder. Then we will be uploading videos of the bees throughout the season as well. Thanks for the support!
You're a wonderful inspiration, dear! <3I love this @llfarms – not just for the awesomeness of repurposing pallet wood, but for the in-depth instruction you offer so that others may follow suit.
Thank you so much! Your kind words just made my day ❤️.
Also, clearly this is my most favorite picture of yours.. those colors 😍 stunning!!
We have a woodworking community here on steemit and would welcome you. We have a discord channel, link here: Woodworking on Steem Discord Channel
Thanks guys!
Peace, Abundance, and Liberty Network (PALnet) Discord Channel. It's a completely public and open space to all members of the Steemit community who voluntarily choose to be there.Congratulations! This post has been upvoted from the communal account, @minnowsupport, by LLFarms from the Minnow Support Project. It's a witness project run by aggroed, ausbitbank, teamsteem, theprophet0, someguy123, neoxian, followbtcnews, and netuoso. The goal is to help Steemit grow by supporting Minnows. Please find us at the
If you would like to delegate to the Minnow Support Project you can do so by clicking on the following links: 50SP, 100SP, 250SP, 500SP, 1000SP, 5000SP.
Be sure to leave at least 50SP undelegated on your account.