

Hello my dear readers, I hope you had or are having a great day. I am once again making a presentation of a craft work I did, regarding the life cycle of a chicken.
I needed to make a model to be more specific, but I was checking on the internet and almost all the models were similar, they all explained the process in the form of a sheet or a sphere divided into 4 parts, where you go around and in each one, you explain or the respective image is shown.
But the truth is that I didn't want to make something like everyone else, or something that I couldn't keep and reuse, because it would be damaged, because it was too big, or because a sheet would wrinkle and things like that. So, between looking and looking on the internet, they were giving me suggestions and there was one that I liked, it was a kind of book and I wanted to recreate one, which is easy to make, especially that I could use the materials available and I got down to work.
So here I want to show you a step by step of how I made it and I didn't spend a lot of money and together with my daughter who helped me in the process, we had fun and had a nice time, teaching her and learning.


STEP BY STEP:
I have a sister who works in an office and I asked her to print some drawings for me, I forgot to tell her to save the links from where I download them, so unfortunately I don't have them. On a sheet of recycled paper, I transferred the drawing and then colored it, as shown in the image.


I used a yellow color and with the black color I made all the edges, I painted orange the beak and once I finished coloring it, I cut it with the help of the scissors, trying not to cut the edge of black color, remaining this way.

I did the same procedure, coloring a little more grown up chick, made it on a piece of paper and painted it.


Now I drew a chicken, painted it brown and made the edges with the same color and then cut it out.


Draw a newborn chick and a broken egg, simulating an unborn chicken.

Continue with the same process of coloring and cutting out, in this case drawing a chicken and a cooked chicken.


And once I'm done with all the drawings, I'll put them aside while I finish the rest of the book.

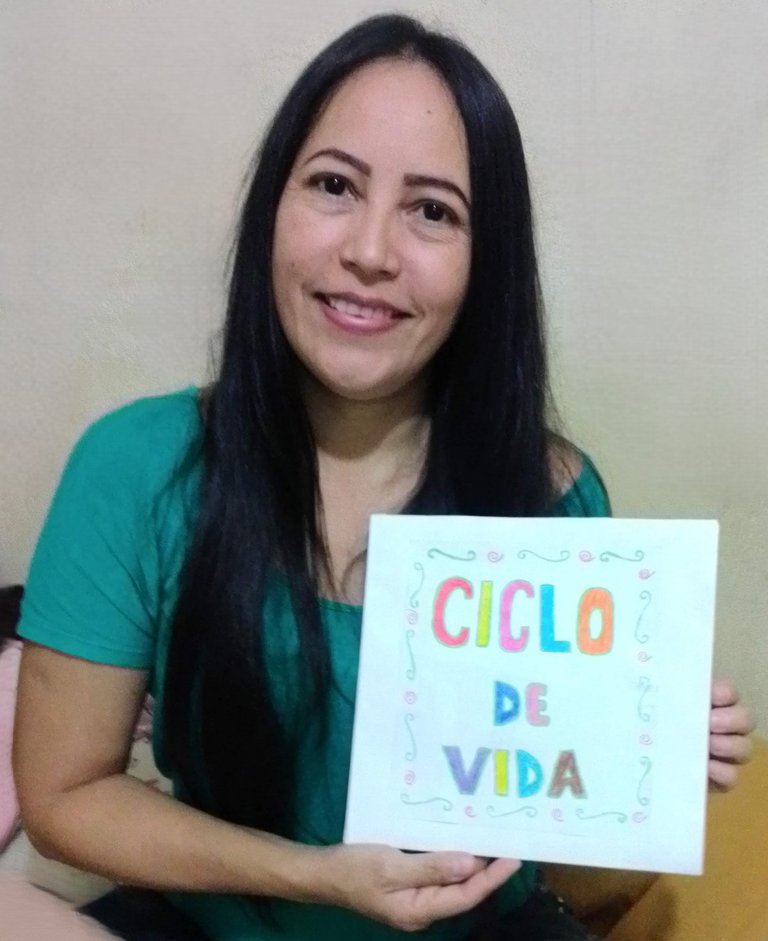
Now I colored the cover that I will use for the book and the indicators or talkers (I don't know how they are called in another country) that I will use on each page.


(CLIFE CYCLE)

Now I will make the indicators or speakers, (I don't know how they are called in another country), but these are the ones that will explain each process.

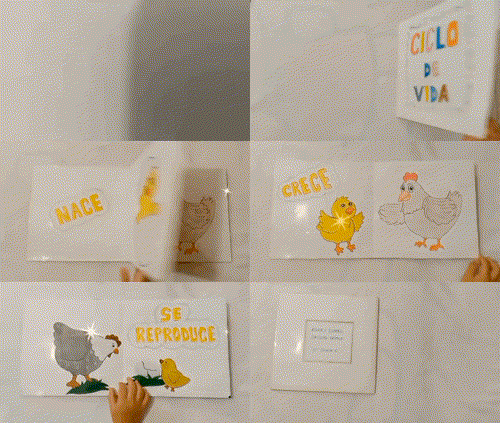
(GROW)

(REPRODUCES)

Now I have all the designs for the book ready. The only thing left to do is to assemble the book as such.

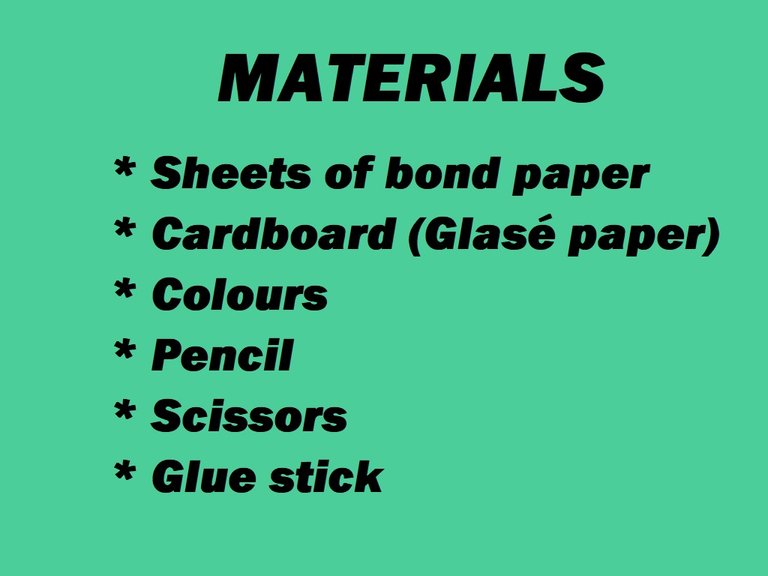
In a cardboard I cut out 4 rectangles of 60 x 30 cm, which I folded in half. This cardboard was from an advertisement, and the material is made of glazed paper (I don't know how it is called in another country either), it is a totally smooth paper. As it was from an advertisement, I will use the back side which is totally white.


Once folded in half, with the help of the glue, I will glue the sheets, as shown in the image.


And this is how it turned out, I trimmed the excess that was left on the sides, so that the colored part of the advertisement would not show through.

Now I just have to paste the images in the book and in the right order.


Finally I pasted the cover and now I have my book ready.

I hope you liked this tutorial that I gladly prepared for you. I say goodbye as always, but not before thanking you for taking some of your valuable time to visit my blog and support me. And as the saying goes: "Do good, without looking at whom".


Original creation content:
🐣 All photos are mine, taken and edited with my Alcatel phone.
🐤 The cover image was made with the Canva app and edited by me.
🦃 The images of the dividers were taken from glitter-graphics.com
🍗 English translation was made with the help of deepl.com/translator
💖 The letters indicating the languages and the gif were taken from: en.bloggif.com


Hola mis queridos lectores, espero que hayan tenido o tengan un excelente día. Me encuentro nuevamente haciendo una presentación de un trabajo de manualidad que realice, con respecto a cómo sería el Ciclo de vida de una gallina.
Necesitaba realizar una maqueta para ser más específica, pero estuve revisando en internet y casi todas las maquetas eran parecidas, todas explicaban el proceso en forma de lámina o de una esfera dividida en 4 partes, donde le vas dando vueltas y en cada una, explicas o se muestra la imagen respectiva.
Pero la verdad es que no quería hacer algo igual a todos, o algo que no pudiera guardar y reusar, porque se dañaría, por ser muy grande, o porque una lámina se arruga y cosas así. Por lo tanto, entre tanto ver y ver en internet, me iban dando sugerencias y hubo una que me gusto, era una especie de libro y quise recrear uno, que sea fácil de hacer, en especial que pudiera usar los materiales que disponía y me puse manos a la obra.
Así que aquí les quiero mostrar, un paso a paso de cómo lo realice y no hice un gasto excesivo y junto con mi hija que me ayudo en el proceso, nos divertimos y pasamos un rato agradable, enseñándole y aprendiendo.


PASO A PASO:
Tengo una hermana que trabaja en una oficina y le pedí que me imprimiera unos dibujos, se me paso decirle que me guardara los links de donde los descargo, así que lamentablemente no los tengo.
En una hoja de papel reciclado, transferí el dibujo para luego colorearlo, tal como se muestra en la imagen.


Use un color amarillo y con el color negro le realice todos los bordes, le pinte de naranja el pico y una vez de terminar de colorearlo, lo recorte con la ayuda de la tijera, tratando de no cortar el borde de color negro, quedando de esta manera.

Hice el mismo procedimiento, coloreando un pollito un poco más crecido, lo realice en un pedazo de papel y lo pinte.


Ahora dibuje una gallina, la pinte de color marrón e hice los bordes con el mismo color y luego recorte.


Dibuje un pollito recién nacido y un huevo quebrado, simulando un pollo por nacer.

Continúe con los mismos procesos de colorear y recortar, en este caso dibuje una gallina y un pollo ya cocido.


Y una vez que ya termine de realizar todos los dibujos, los reservaré mientras termino con el resto del libro.

Ahora coloree la portada que usaré para el libro y los indicadores o habladores (no sé cómo se le dicen en otro país) que usaré en cada página.


Ahora realizaré los indicadores o habladores, (no sé cómo le dicen en otro país), pero estos son los que explicarán cada proceso.


Ahora ya tengo listo todos los diseños que llevara el libro. Solo queda armar el libro como tal.

En un cartón recorté 4 rectángulos de 60 x 30 cm, el cual doblaré por la mitad. Este cartón era de una publicidad y el material es de papel glasé (tampoco sé cómo se le dice en otro país), es un papel totalmente liso. Como era de una publicidad, usaré la parte de atrás que está totalmente blanca.


Una vez doblados por la mitad, con la ayuda de la pega, pegaré las láminas, tal como se muestra en la imagen.


Y así fue como quedo, recorte los excesos que quedaron por los lados, para que no se vea la parte de color de la publicidad.

Ya solo me queda pegar las imágenes en el libro y en el orden que corresponde.


De último pegué la portada y ahora sí ya tengo listo mi libro.

Espero que te haya gustado este tutorial que con mucho gusto preparé para ustedes. Me despido como siempre, no sin antes agradecerte por tomar parte de tu valioso tiempo en visitar mi blog y apoyarme. Y como dice el refrán: "Haz el bien, sin mirar a quién".


Contenido de creación original:
🐣 Todas las fotos son mías, hechas y editadas con mi teléfono Alcatel
🐤 La imagen de portada la realicé con la app Canva y editada por mí
🦃 Las imágenes de los separadores fueron tomadas de glitter-graphics.com
🍗 La traducción al inglés la realicé con la ayuda de deepl.com/translator
💖 Las letras que indican los idiomas y el gif las realice en la página: es.bloggif.com
Great work
Thank you very much for your visit and support as well. Best regards.
Welcome dear friend💕💕💕
That is a nice and educational piece. 👏
Thank you very much. You always have to find a fun way to teach children, that way they learn better. Thank you for your support and visit. Best regards.
Discord Felicitaciones, su publicación ha sido votada por @ dsc-r2cornell. Puedes usar el tag #R2cornell. También, nos puedes encontrar en
un trabajo impecable, los dibujos están lindos, sencillos, calidad para los niños!
impeccable work, the drawings are beautiful, simple, quality for children!