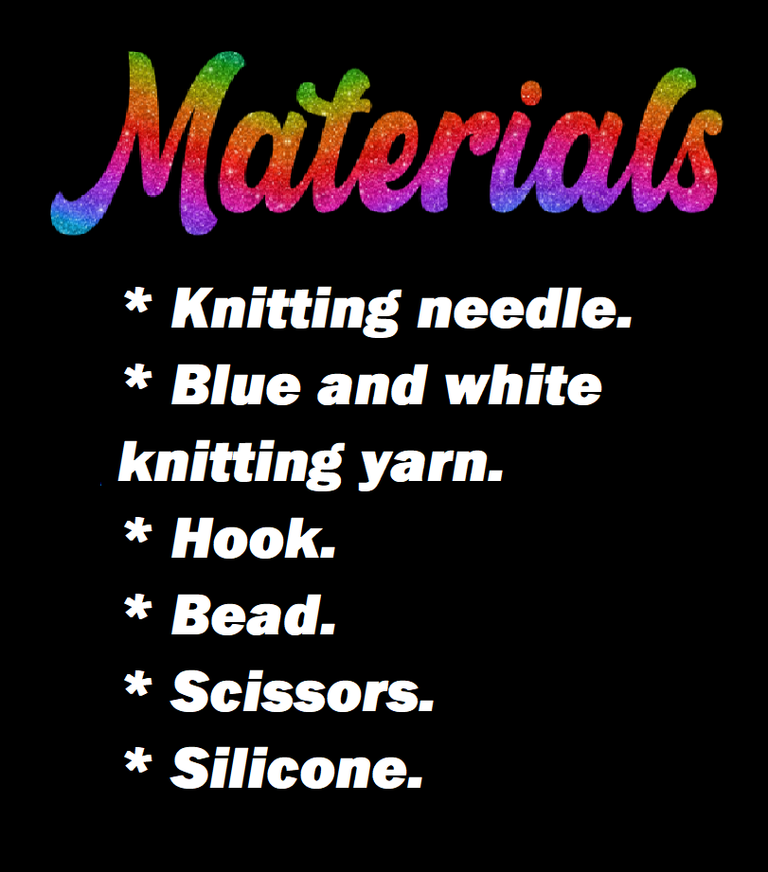


Hello dear readers, I hope you are having or have had an excellent day. I am with you again sharing something that I love to do, even though I am not an expert, I try to do the best I can.
I wanted to decorate a hair clip that I bought for my daughter to use when she goes to school, so I wanted to give it a personal touch and make it look cute. So without further ado, I show you the step by step.


STEP BY STEP:
I confess that I don't have a collection of needles, as I would love to have, so I do what I can with what I have.
For this work I used a No. 1.25 needle, it is a fine needle, normally used for knitting very fine yarns. The yarn I used is fine, I don't know what size it is, because it is a yarn I had saved a long time ago, from some work I did.

The hook lends itself very well to make this work, given its pattern. But I make another confession, it is the first time I do a work like this, and although I know it looks easy to knit it, for me, it was quite uncomfortable at first, and it was hard to adapt.
I started by knitting medium stitches all along the edge of the hook, as shown in the picture.

Work with low stitches along the entire edge of the hook until you reach the thick part of the hook.


Then I knit 4 chains and inserted it on the other side of the hook joining it with single crochet, doing the same process I did before.


Since the hook has a thinner part at the tip, I ended up knitting low stitches all the way around until I got to where I started, on the other side of the hook.


Once I get to the beginning, I close the row with a slip knot and continue knitting 4 chains, which I close on the next single crochet. And so I will continue knitting a whole round of 4 chains in each single crochet.


When I reached the thick part of the hook, right where I had made the chain stitches, I knit the same thing, only this time I introduced the stitch into the chain stitch and continued like this until I finished the whole row. I finished the row with a slip stitch and cut the yarn.


And this way the hook is already knitted. Now it only remains to make a flower to decorate.

To make the flower, I made a magic ring and on it I start with three chains.


I continued knitting three double crochet, then three chain stitches, which I attached to the magic ring and repeat, 3 chain stitches, 3 double crochet, 3 chain stitches, 3 chain stitches and insert to the magic ring, until completing five petals.


Once the 5 petals were finished, I closed with a slipped stitch, leaving extra yarn to attach the bead.

As shown in the picture, I insert the bead into the thread I left and then tie it on the back. This way you can cover the joint that was made with the magic ring.


And that's how the hook is finished, ready to use.
I hope you liked this tutorial that I gladly prepared for you.
I say goodbye as always, but not before thanking you for taking a little of your valuable time to visit my blog and support me.
And as the saying goes, “Do good, without looking at whom.”


Original creation content:
❤️ All photos are mine, taken and edited with my Infinix SMART 8 phone.
💛 The cover image and materials were made with the Canva app and edited by me.
💚 English translation was done with the help of deepl.com/translator.
💙 The images of the dividers were taken from: glitter-graphics.com/
🧡 The letters indicating the languages were made at es.textstudio.com and edited by me.


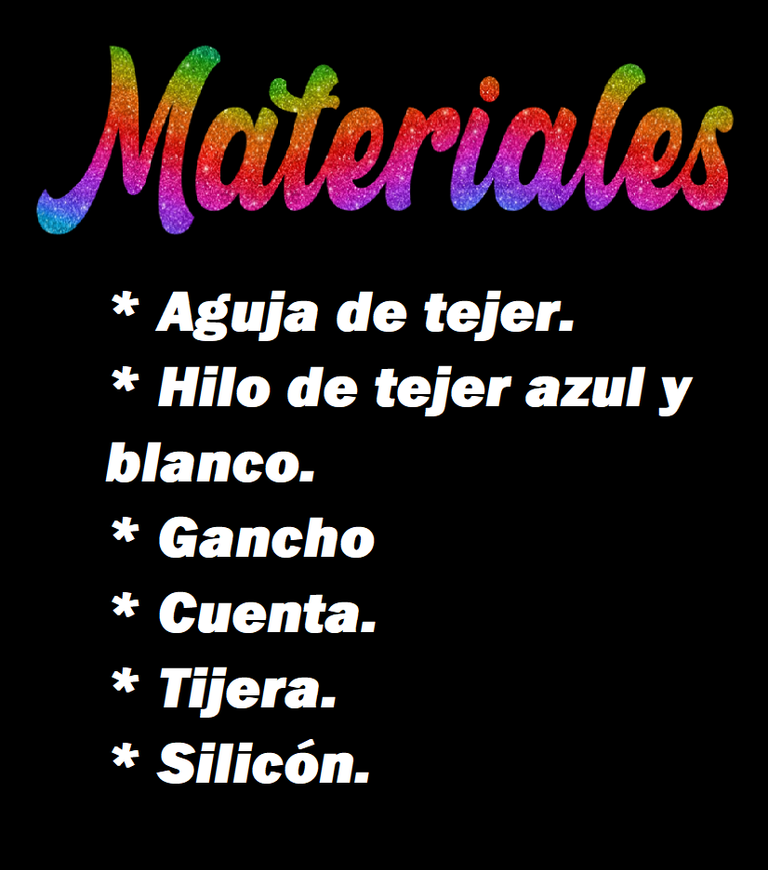
Hola queridos lectores, espero que tengan o hayan tenido un excelente día. Me encuentro nuevamente con ustedes compartiendo algo que me apasiona hacer, a pesar de que no soy una experta, intento hacer lo mejor que pueda.
Quise decorar un gancho para el cabello que le compre a mi hija para que lo use cuando vaya al colegio, así que quise darle un toque personal y que quedara bien coqueto. Así que sin más preámbulos les muestro el paso a paso.


PASO A PASO:
Les confieso que no tengo una colección de agujas, como me encantaría tener, así que hago lo que puedo con lo que tengo.
Para este trabajo usé una aguja N.º 1.25, es una aguja fina, normalmente se usa para tejer hilos muy finos. El hilo que use es fino, no sé qué medida es, porque es un hilo que tenía guardado hace mucho tiempo, de algún trabajo que realice.

El gancho se presta muy bien para realizar este trabajo, dado a su modelo. Pero les hago otra confesión, es la primera vez que realizo un trabajo así y a pesar de que sé ve fácil tejerlo, para mí, fue bastante incómodo al principio, y me costó adaptarme.
Empecé haciendo puntos medios en toda la orilla del gancho, tal como se muestra en la imagen.

Trabaje con puntos bajos toda orilla del gancho hasta llegar a la parte gruesa del gancho.


Después tejí 4 cadenetas y la inserté del otro lado del gancho uniéndolo con puntos bajos, haciendo el mismo proceso que realicé anteriormente.


Como el gancho tiene una parte más fina en la punta, termine tejiendo puntos bajos por todo el alrededor hasta llegar a donde empecé, del otro lado del gancho.


Una vez que llegue al principio, cerré la vuelta con un nudo deslizado y continuo tejiendo 4 cadenetas, que cerré en el punto bajo siguiente. Y así continuaré tejiendo toda una vuelta de 4 cadenetas en cada punto bajo.


Cuando llegue a la parte gruesa del gancho, justo donde había hecho las cadenetas, allí tejí igual, solo que esta vez introducía el punto en la cadeneta y seguí así hasta terminar la vuelta completa. Finalice la vuelta con un punto deslizado y corte el hilo.


Y de esta manera queda el gancho ya todo tejido. Ahora solo queda hacerle una flor par decorar.

Para hacer la flor, realicé un anillo mágico y en ella comienzo con tres cadenetas.


Seguí tejiendo tres puntos altos, luego tres cadenetas, las cuales uni al anillo mágico y vuelvo a repetir, 3 cadenetas, 3 puntos altos, 3 cadenetas e inserto al anillo mágico, así hasta completar cinco pétalos.


Una vez finalizado los 5 pétalos, cerré con un punto deslizado, dejando hilo sobrante para colocar la cuenta.

Como se aprecia en la imagen, inserto la cuenta en el hilo que deje y luego lo amarro por la parte de atrás. Así se puede tapar la unión que se hizo con el anillo mágico.


Y así quedo ya terminado el gancho, listo para usar.
Espero que les haya gustado este tutorial que con mucho gusto les prepare para ustedes.
Me despido como siempre, no sin antes agradecerles por tomarse un poco de su valioso tiempo, para visitar mi blog y apoyarme.
Y como dice el dicho: "Haz bien, sin mirar a quién."


Contenido de la creación original:
❤️ Todas las fotos son mías, tomadas y editadas con mi teléfono Infinix SMART 8.
💛 La imagen de portada y los materiales fueron hechos con la app Canva y editados por mí.
💚 La traducción al inglés se hizo con la ayuda de deepl.com/translator.
💙 Las imágenes de los separadores fueron tomadas de: glitter-graphics.com/
🧡 Las letras que indican los idiomas se hicieron en es.textstudio.com y las edité yo.
You just changed its outlook. It is elegant, stylish, and beautiful. Good to see how you made this. Nice work!
Thank you very much, it did change the look quite a bit and my daughter loved it. Thank you for your support. Best regards.
Quedó hermoso, tu hija lucirá muy bonita con su gancho y el uniforme.
Saludos.
Hola. No es porque sea mi hija, pero sí, se ve hermosa con su ganchito adornado. Gracias por tu visita y apoyo.